


Using AI technology similar to ChatGPT, but specifically tailored by Microsoft for its users, the Copilot is more than just an assistant. It’s an AI-powered partner that’s available right from your Windows desktop, as well as the Microsoft Edge browser. Whether you’re a student and need help finishing your assignments, a professional in search of a sidekick to help you with all the projects on your plate, or a casual home user looking to have some fun with AI (Artificial Intelligence), Copilot can make your life easier. In this article, I’ll show you nine ways in which you can use Copilot on Windows to make the most out of your experience:
NOTE: Copilot is a free app that offers the same experience in Windows 11, Windows 10, and Android. Although I’ve created this guide on a Windows PC, the tips in this article apply to all three platforms. To learn how to open Copilot on Windows, read this guide: 10 ways to open Copilot in Windows.
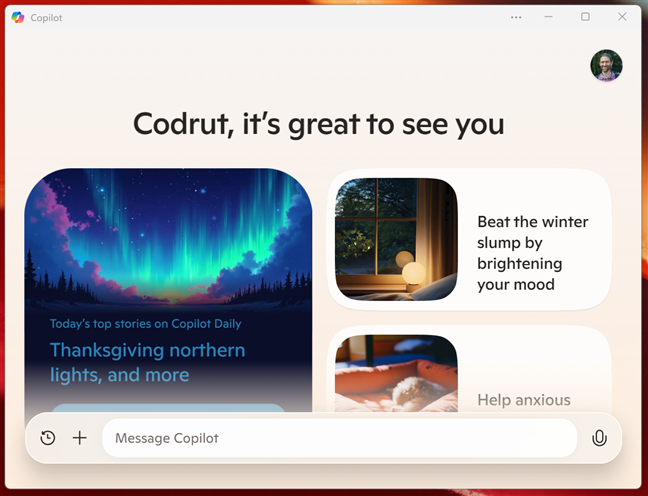
 Go to the Copilot's home page
Copilot then offers you some quick suggestions to help you get started. From summarizing today’s top stories to exploring new features, this home page acts as a starting location for tailored recommendations.
Go to the Copilot's home page
Copilot then offers you some quick suggestions to help you get started. From summarizing today’s top stories to exploring new features, this home page acts as a starting location for tailored recommendations.
 Copilot ideas and suggestions
The things you’ll see on Copilot’s home page are tailored for you and change depending on your activity and interests.
Copilot ideas and suggestions
The things you’ll see on Copilot’s home page are tailored for you and change depending on your activity and interests.

 Using the Copilot to rewrite some text
And as you can see in the screenshot above, Copilot does a pretty good job.
Using the Copilot to rewrite some text
And as you can see in the screenshot above, Copilot does a pretty good job.
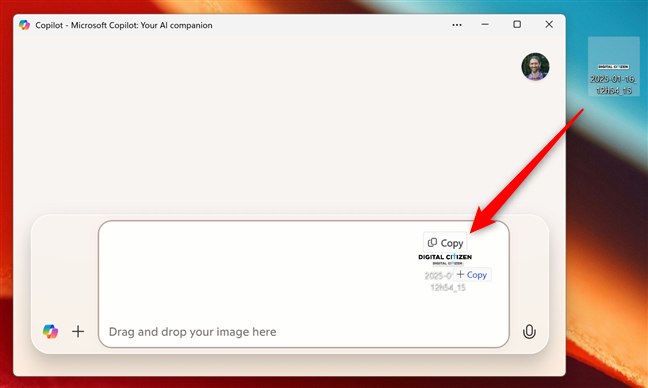
 Drag and drop an image to the Copilot
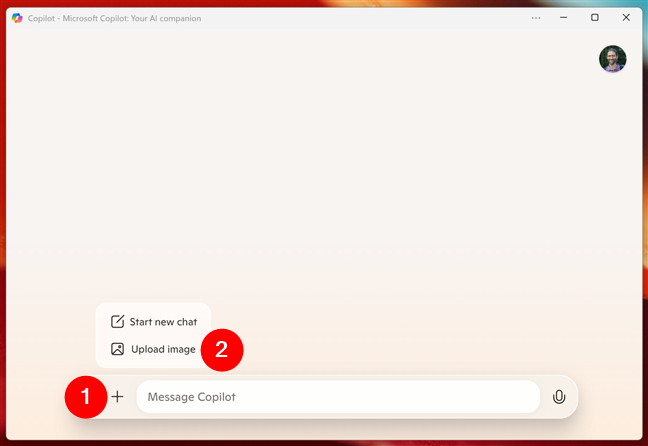
Alternatively, you can click or tap the + (plus) button in the Copilot window, choose Upload image, and select from your computer the image you want to analyze.
Drag and drop an image to the Copilot
Alternatively, you can click or tap the + (plus) button in the Copilot window, choose Upload image, and select from your computer the image you want to analyze.
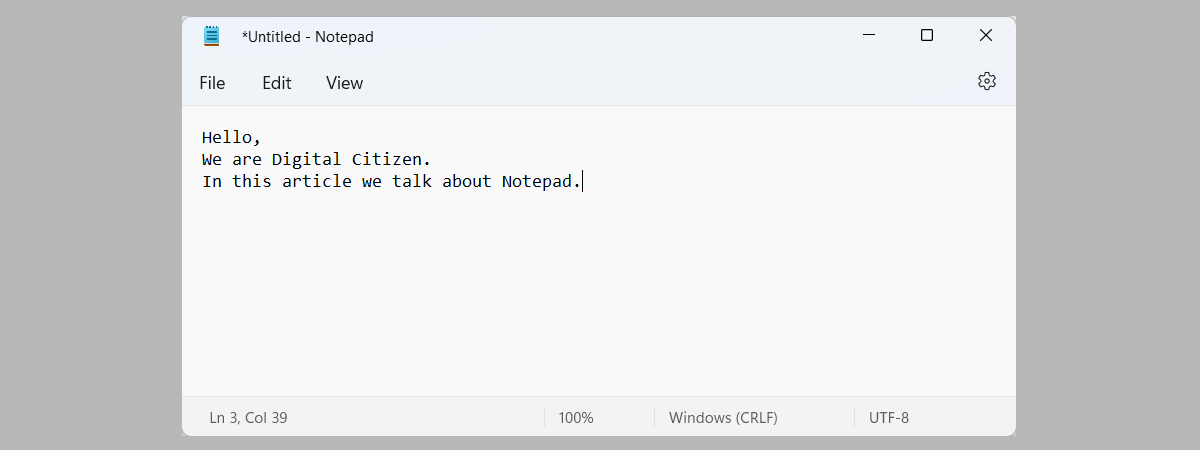
 Upload an image to the Copilot
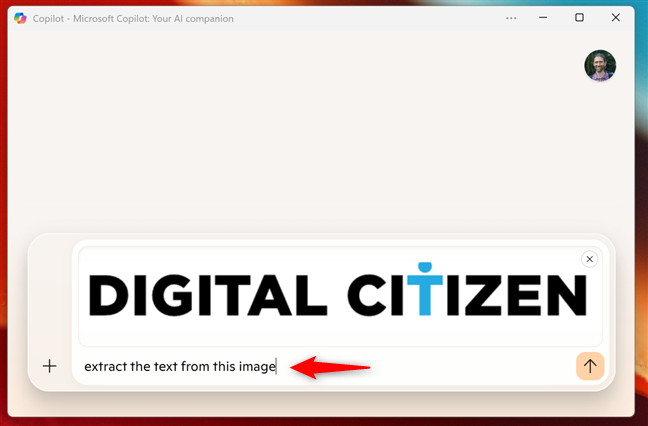
Either way, once the image is uploaded, type the request you want Copilot to fulfill regarding the picture. For instance, in the next screenshot, you can see that I asked Copilot to extract the text from an image with our site’s name.
Upload an image to the Copilot
Either way, once the image is uploaded, type the request you want Copilot to fulfill regarding the picture. For instance, in the next screenshot, you can see that I asked Copilot to extract the text from an image with our site’s name.
 Telling the Copilot what you want to do with the image
After analyzing it, Copilot answered my request.
Telling the Copilot what you want to do with the image
After analyzing it, Copilot answered my request.
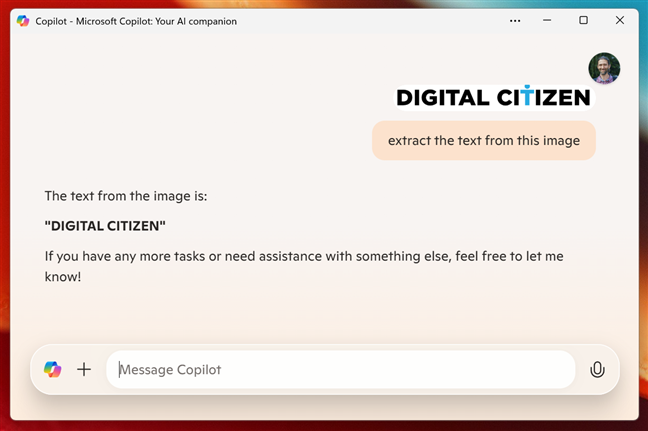
 Copilot extracting text from an image
Regardless of what you need from an image, try asking Copilot to help. You may be surprised by what it can do…
Copilot extracting text from an image
Regardless of what you need from an image, try asking Copilot to help. You may be surprised by what it can do…

 Using the Copilot to translate text
Copilot will deliver an accurate translation instantly.
Using the Copilot to translate text
Copilot will deliver an accurate translation instantly.
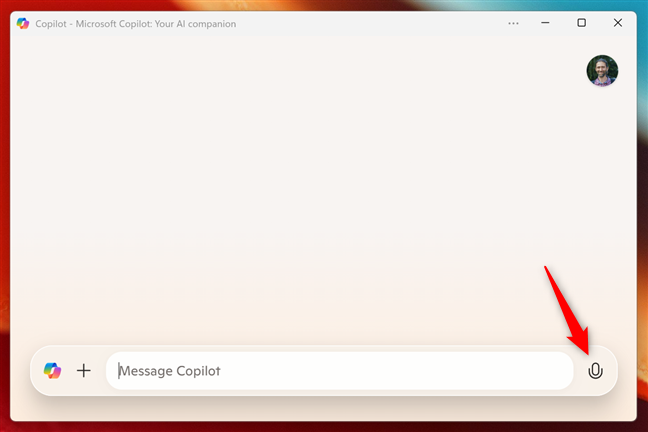
 Press the microphone button in the Copilot window
Copilot will then start listening to what you have to say. While it does that, you’ll see its window display an image similar to the one below.
Press the microphone button in the Copilot window
Copilot will then start listening to what you have to say. While it does that, you’ll see its window display an image similar to the one below.
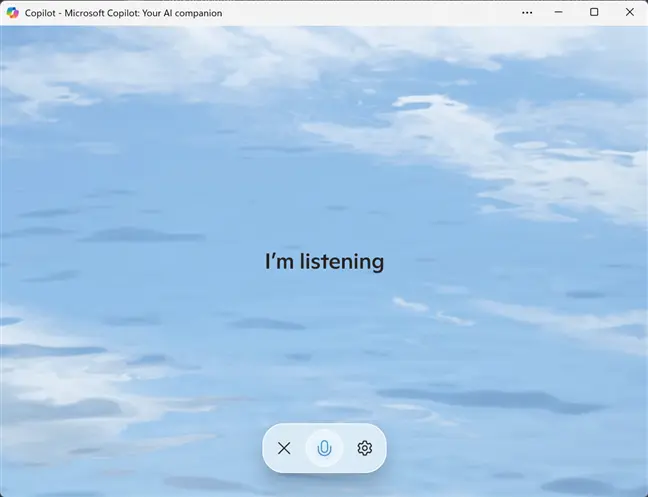
 The Copilot listening
Ask it what you want, and Copilot answers both in voice and in written text.
The Copilot listening
Ask it what you want, and Copilot answers both in voice and in written text.
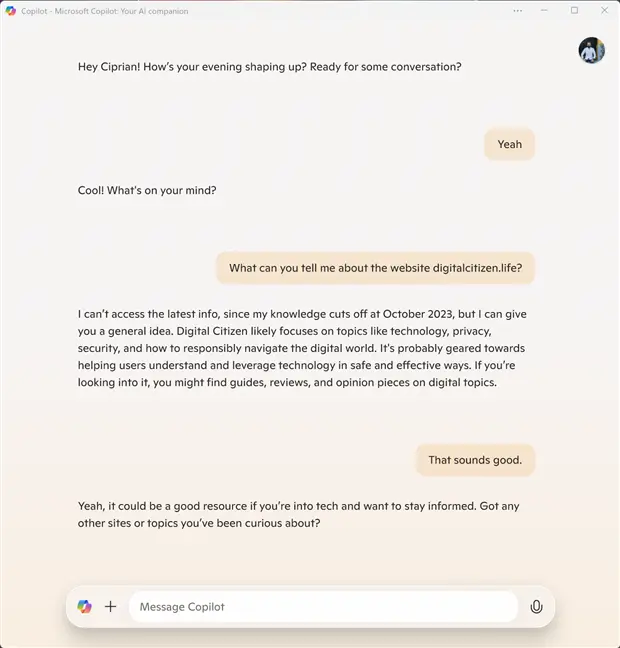
 Having a spoken conversation with the Copilot
Just talk to Copilot like you would normally do to a human. You may be surprised at how real your conversations will be.
Having a spoken conversation with the Copilot
Just talk to Copilot like you would normally do to a human. You may be surprised at how real your conversations will be.
 Start a new chat with the Copilot
Copilot will then clear its window of any old content, so you can start fresh.
Start a new chat with the Copilot
Copilot will then clear its window of any old content, so you can start fresh.
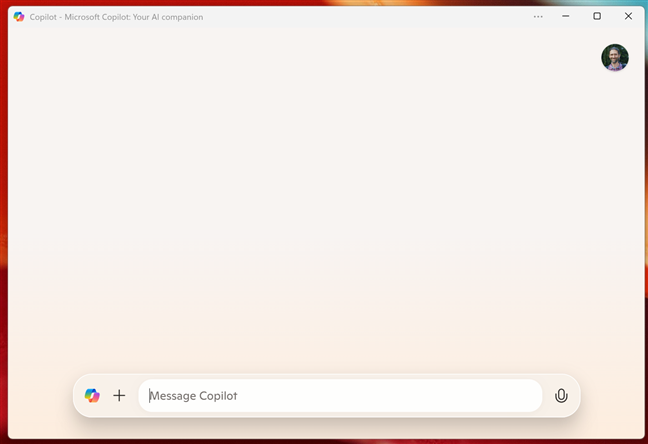 A new chat in the Copilot
However, that doesn’t mean that your old conversations are lost. If you want to go back to one of them, here’s how to…
A new chat in the Copilot
However, that doesn’t mean that your old conversations are lost. If you want to go back to one of them, here’s how to…
 Go to home in the Copilot window
Copilot then switches to its home page, and the Go to home button changes to View history. Click or tap it, and you get to see the list of conversations you’ve had with Copilot.
Go to home in the Copilot window
Copilot then switches to its home page, and the Go to home button changes to View history. Click or tap it, and you get to see the list of conversations you’ve had with Copilot.
 Click or tap the View history button
You can then simply select an old conversation to reopen and continue it.
Click or tap the View history button
You can then simply select an old conversation to reopen and continue it.
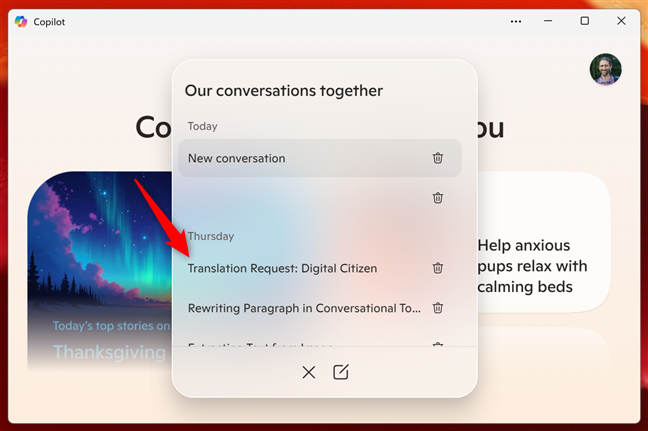 The list of old conversations
 Deleting an old conversation
Then, Copilot warns you that the conversation will be removed from all the devices where you’re using the app. If you’re okay with that, confirm that you really want to remove that chat from Copilot’s history. Note that you can also choose not to get this warning ever again by checking the “Don’t remind me again” option before pressing Delete. And of course, if you change your mind, you can also choose to Keep the conversation in question.
Deleting an old conversation
Then, Copilot warns you that the conversation will be removed from all the devices where you’re using the app. If you’re okay with that, confirm that you really want to remove that chat from Copilot’s history. Note that you can also choose not to get this warning ever again by checking the “Don’t remind me again” option before pressing Delete. And of course, if you change your mind, you can also choose to Keep the conversation in question.
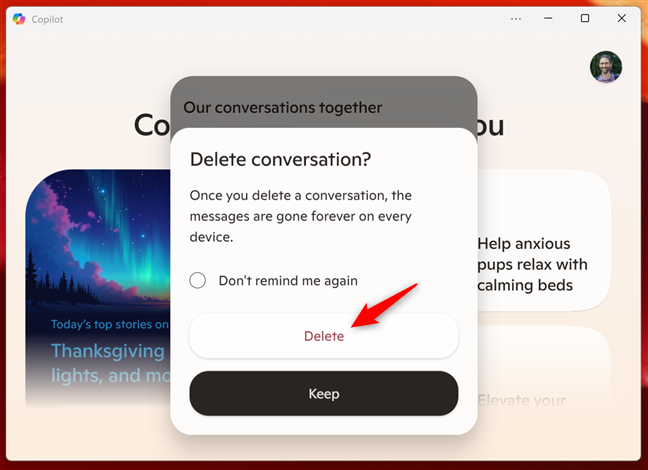
 Confirming that you want to delete a conversation with the Copilot
Having reached the end of this list…
Confirming that you want to delete a conversation with the Copilot
Having reached the end of this list…
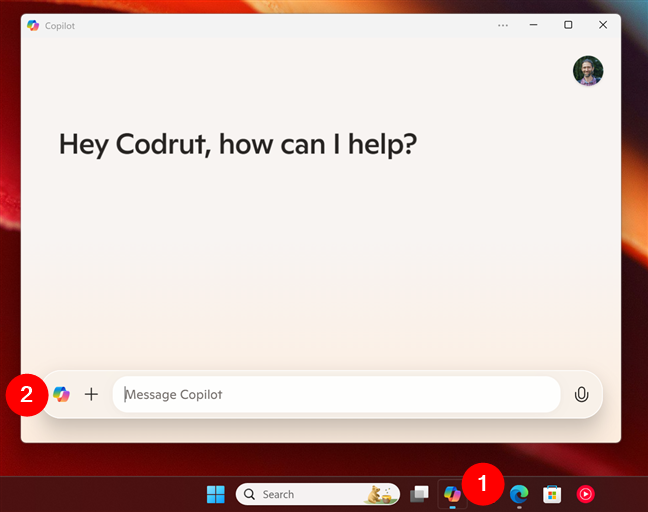
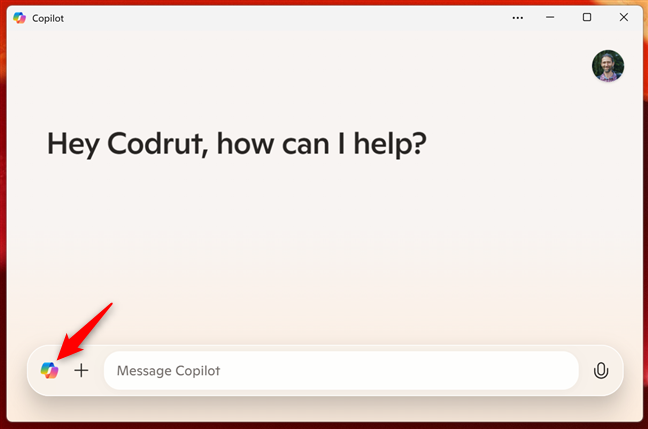
1. Get personalized ideas tailored by Copilot just for you
Although this article gives you quite a few ideas on how to use Copilot, it’s best if I first tell you that Copilot can give you such ideas itself. That’s because it includes a home page where it shows suggestions and features that you may be interested in. For that, open the Copilot by clicking or tapping its taskbar shortcut, and then press the Copilot button left of the text input field.2. Stay informed with personalized news updates from Copilot
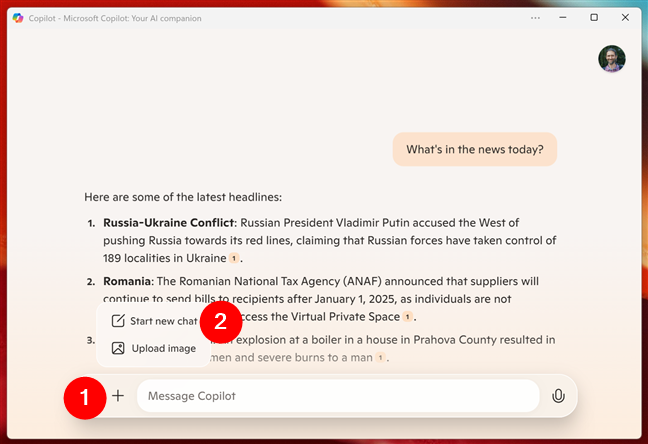
One of my favorite Copilot abilities is getting a quick news summary. If you’re running late and have no time to spend sipping your morning coffee while reading the news of the day, you can ask Copilot to give you a breakdown. I’ve asked Copilot to do that a couple of times now, and I found it can deliver just the headlines that matter to me, without overwhelming me with unnecessary details. If you want that too, simply open Copilot by pressing the Copilot key on your keyboard or by clicking/tapping its icon in the taskbar, then type:What’s in the news today?[DC-CODE]
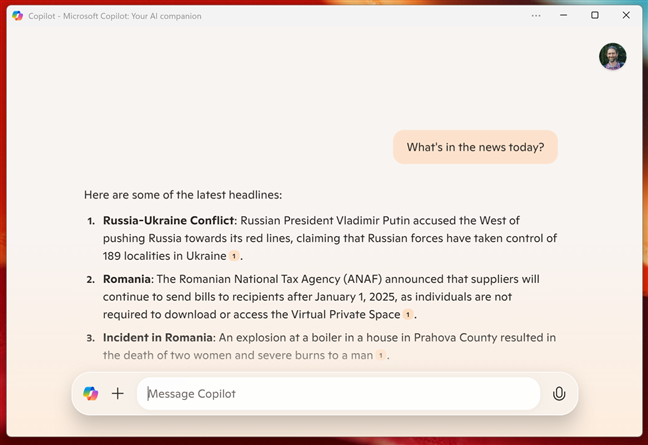
 Asking the Copilot for today's headlines
Copilot immediately pulls up a curated list of relevant articles, saving you the trouble of navigating multiple news sites.
[DC-TEXT-AD]
Asking the Copilot for today's headlines
Copilot immediately pulls up a curated list of relevant articles, saving you the trouble of navigating multiple news sites.
[DC-TEXT-AD]
…followed by the text I need improving, and Copilot takes it from there. Just like here:
3. Write emails, articles, and other types of text content using Copilot
Writing emails, articles, or even simple to-do lists can sometimes feel very slow, and you may feel like inspiration has left the building. 🙂 When that happens, Copilot can be a lifesaver, as you can ask it to expand on your ideas, suggest rewrites and better phrasing, or even draft content from scratch. You can even ask it to maintain a personal tone if that’s what you want. For instance, when I’m stuck, I type something like: [DC-CODE]Help me rewrite this paragraph in a more conversational tone4. Upload images and ask Copilot to analyze them
Another amazing feature of Copilot, that may surprise you, is its ability to understand the content inside images. If you need text extracted from a screenshot, a detailed analysis of the charts inside an image, or a description of a picture’s content, Copilot can do it all. To begin, you just need to drag and drop the image into the Copilot chat.5. Translate text with Copilot
Need to translate text into another language? With Copilot’s translation skills, you no longer need to access specialized websites online. Copilot already knows multiple languages and can provide you with quick and clear translations. If you need to translate something, simply type the phrase followed by the language you need it in. For instance:Translate “Digital Citizen: Life in a digital world!” into Spanish!
6. Talk to Copilot hands-free
Sometimes, typing isn’t practical. For instance, when you’re multitasking or trying to workout while working. 🙂 In such situations, you may prefer to use Copilot’s voice input feature. You can switch to using your voice instead of typing by clicking the microphone icon in the Copilot window.7. Start a new chat with Copilot
On the same subject, if you want to end a conversation and start new, you can. Just click or tap the + (plus) button in Copilot’s window, and select Start new chat in the menu displayed.8. Access Copilot’s chat history
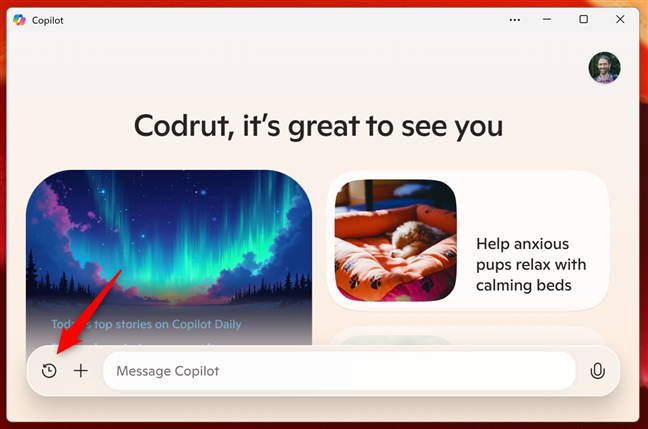
I don’t know about you, but I have many moments where I wish I could rewind a conversation to find a critical piece of information I’ve forgotten. Copilot’s conversation history makes that a reality. To revisit a previous interaction, open Copilot and click or tap the Go to home button.9. Delete old conversations from Copilot’s history
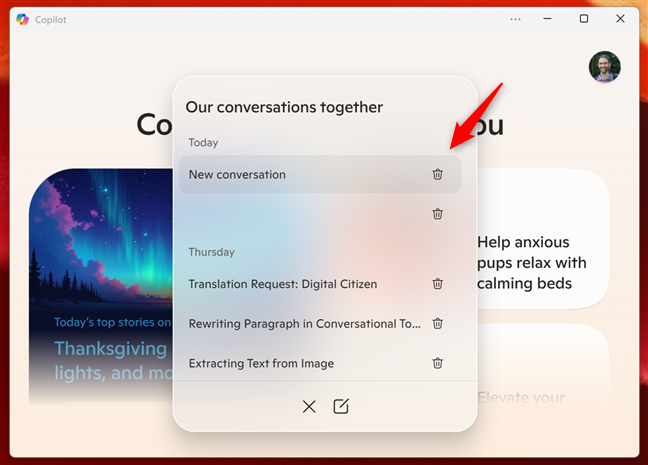
As you probably noticed in the previous screenshot, you can also delete any of your old conversations. For that, access your chat history in the Copilot window and click or tap the trash button next to a conversation.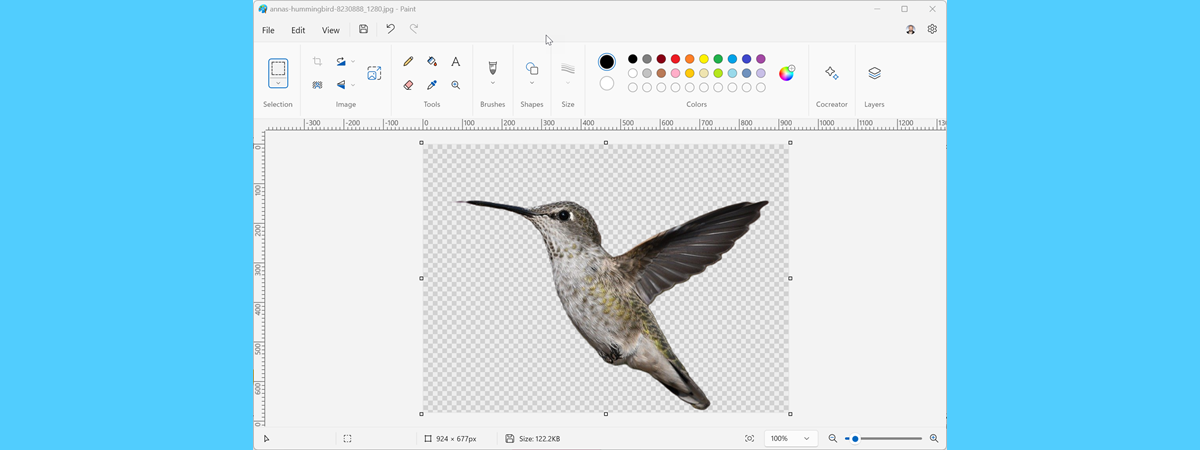

Discussion (0)
Be the first to comment.