


If you’re asking how to check blood pressure with Apple Watch, the short answer is: you need a compatible blood pressure monitor. At the time of writing, Apple Watch doesn’t take blood pressure by itself. It pairs with a validated cuff and logs results in the Health app, and you can enable hypertension notifications to stay informed.
What You Need
- An Apple Watch paired to your iPhone with the latest watchOS.
- A validated wireless upper-arm blood pressure monitor that syncs with iPhone.
- The monitor’s companion app and access to the Health app on iPhone.
How to Check Blood Pressure With Apple Watch (Works Today)
These steps show how to check blood pressure with Apple Watch using a connected cuff and save the reading to Health.
- Install the cuff’s iPhone app and complete setup. Enable Bluetooth and grant Health permissions to write Blood Pressure.

- Put the cuff on your upper arm at heart level and sit quietly for 5 minutes.

- Open the cuff’s app on iPhone and start a measurement. Keep still until it finishes.
- The result saves to Health. Open the Health app > Browse > Vitals > View Blood Pressure Log to view the systolic/diastolic values and trends.
- Optionally, add a complication or shortcut to quickly start your cuff from Apple Watch if the companion app supports it.
Tip: For best accuracy, take two to three readings one minute apart and average them. This improves Apple Watch blood pressure trends in the Health app.
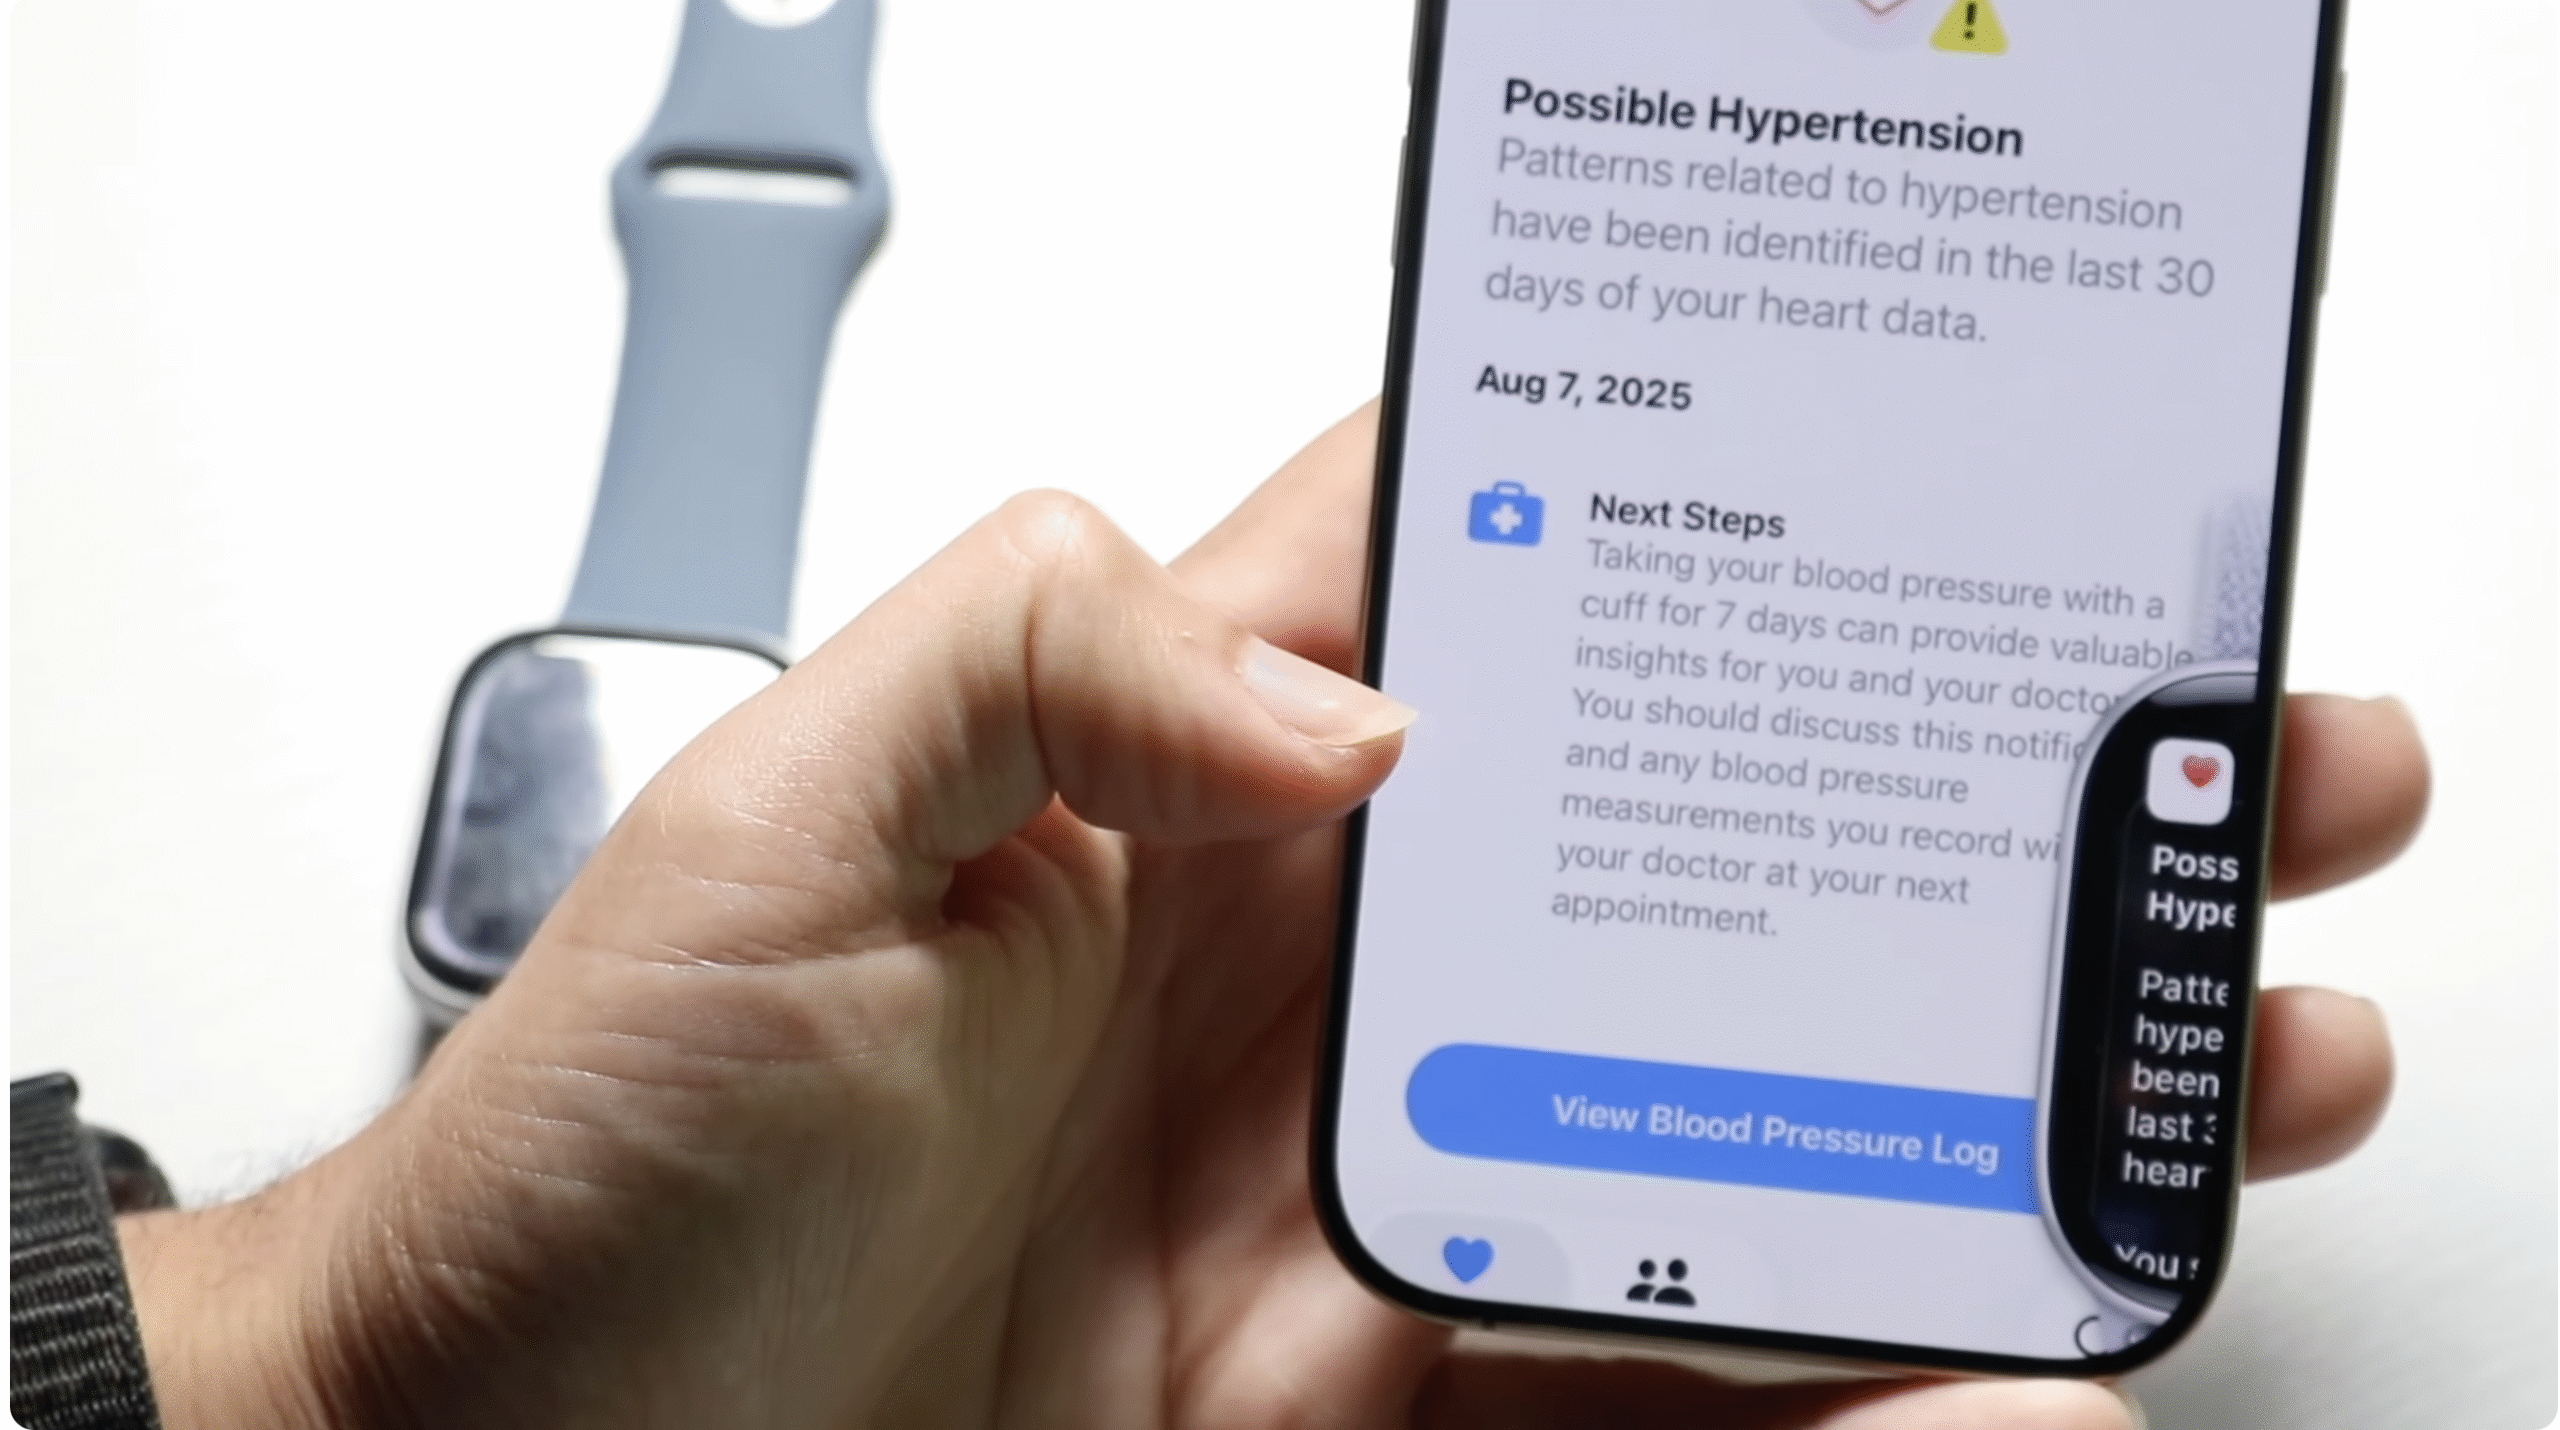
Turn On Hypertension Notifications
You can receive alerts when your long-term readings indicate possible hypertension. This does not measure blood pressure on its own but helps you act sooner.
- On iPhone, open Health and tap on the Profile icon at the top right.
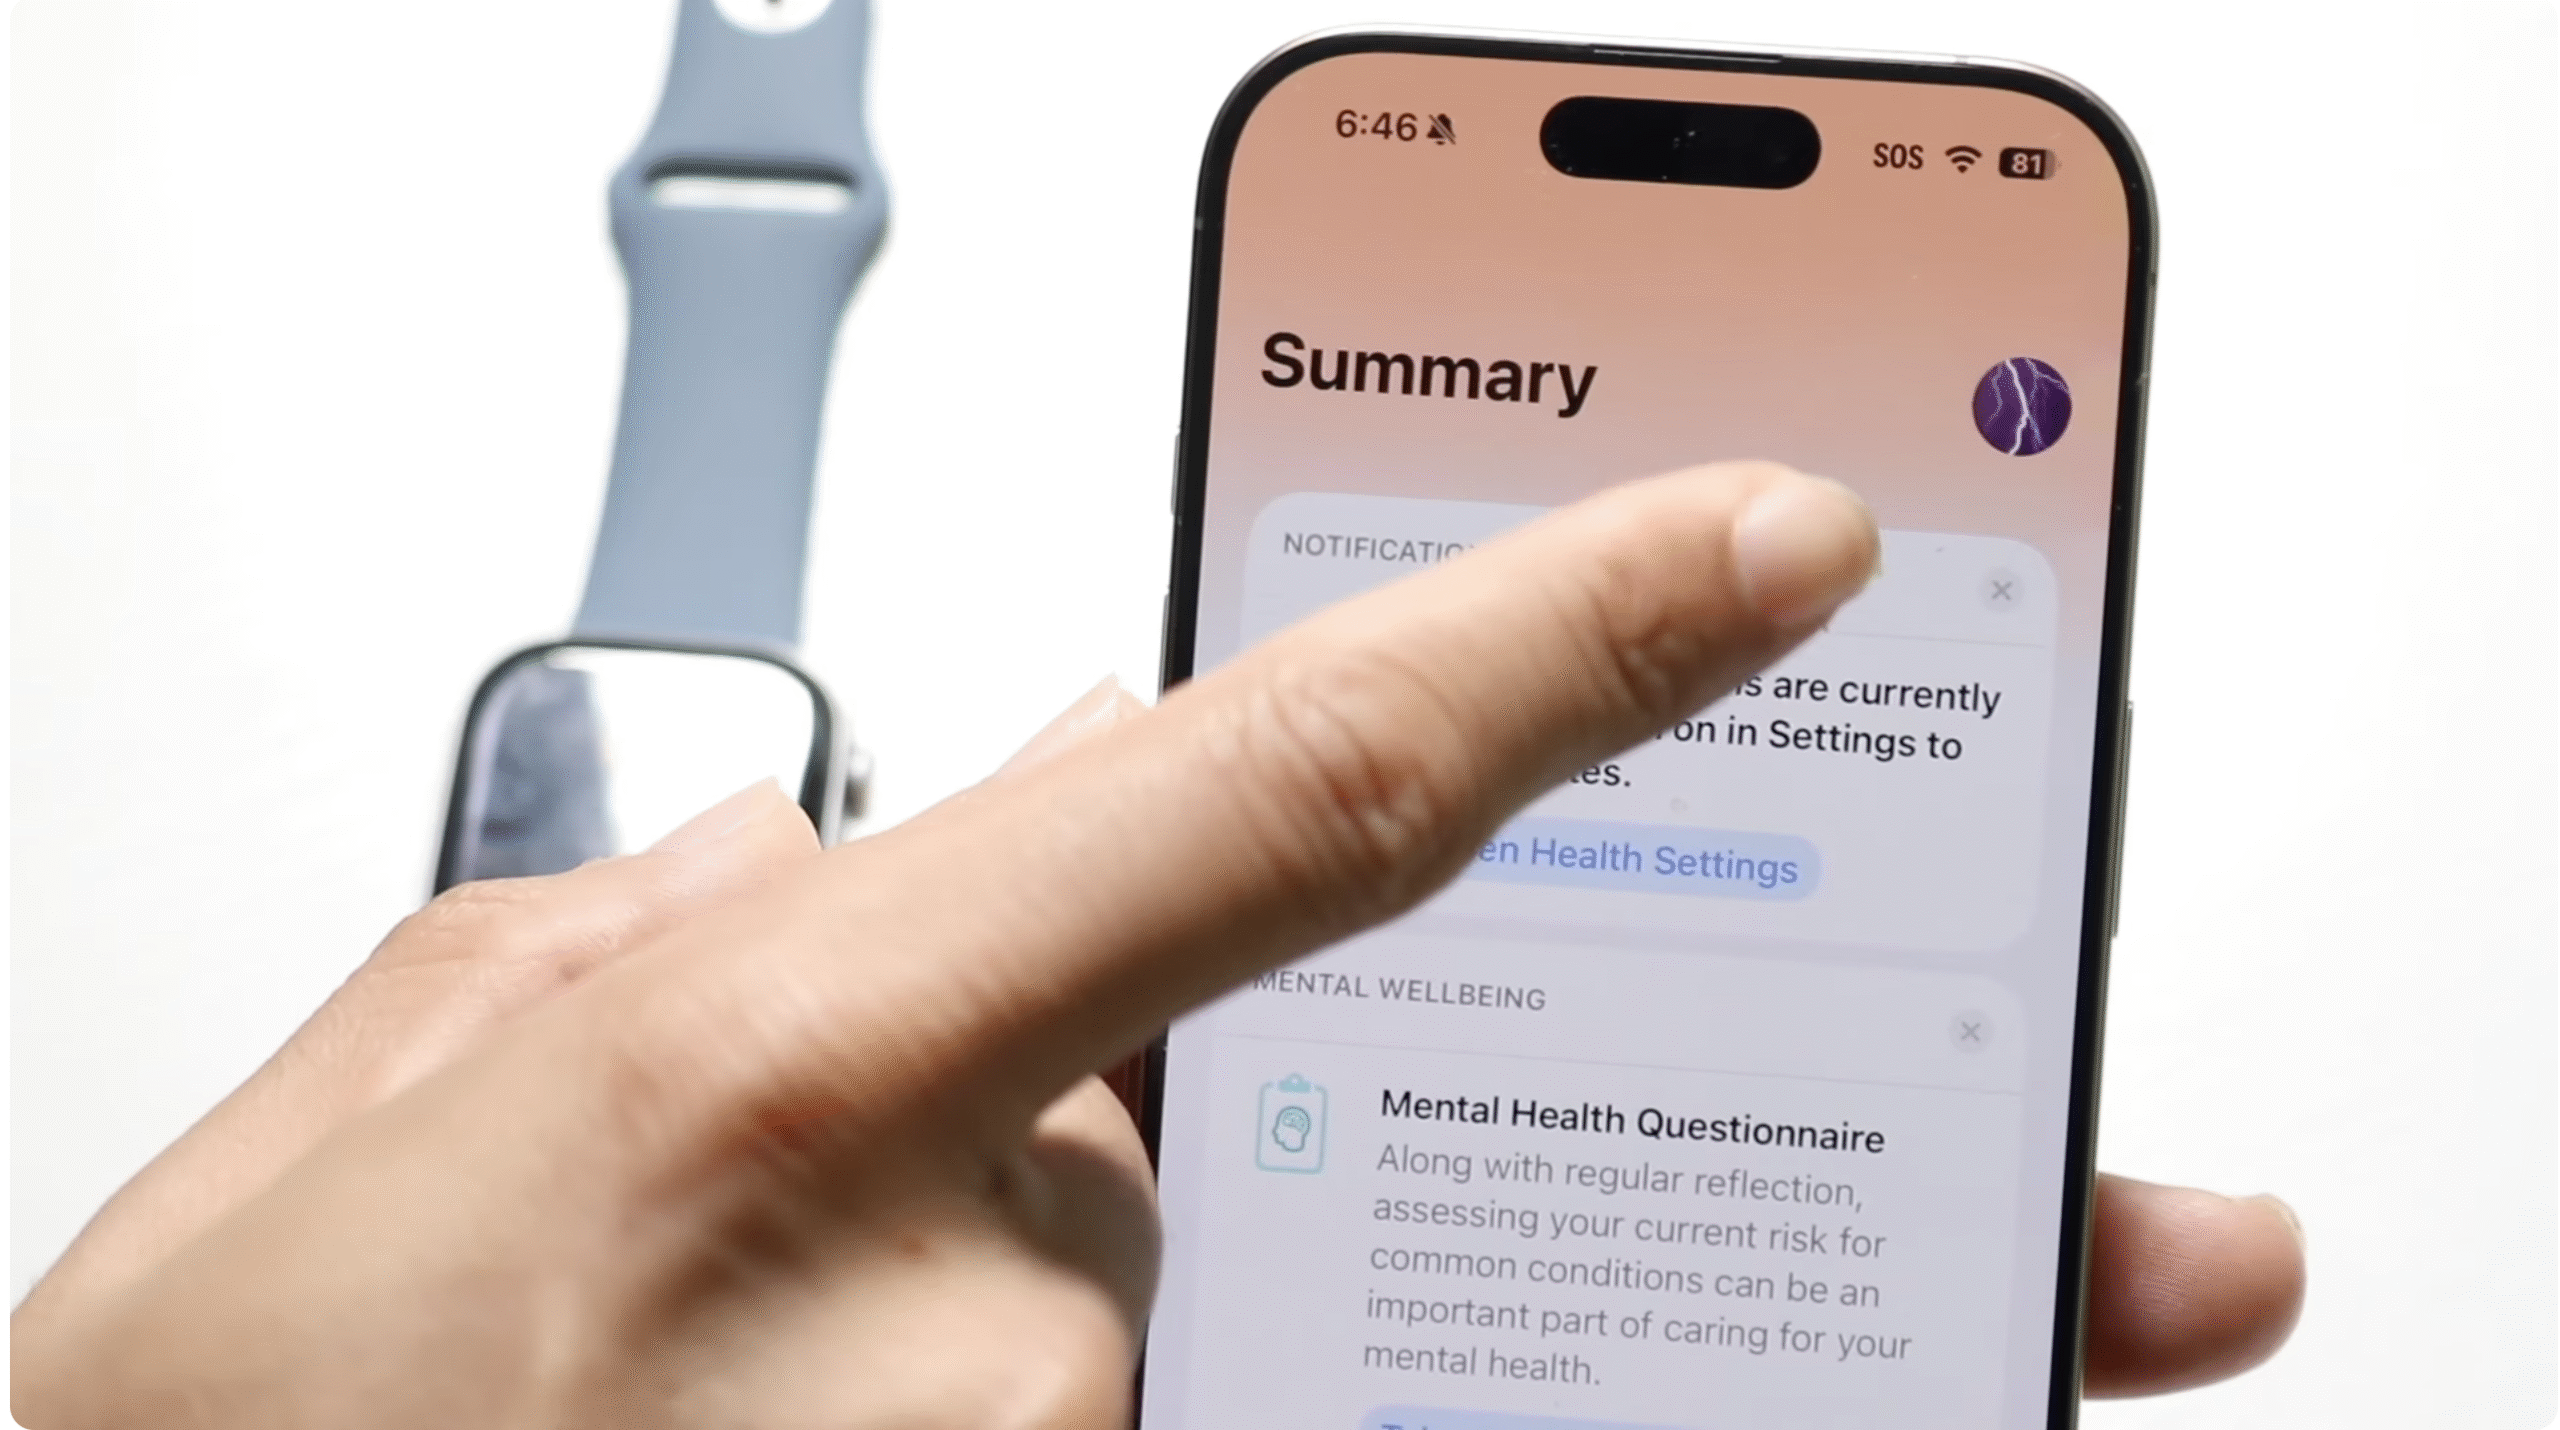
- Tap your profile picture > Health Checklist.
- Find Hypertension Notifications and follow the prompts to set them up.
This is useful if you prefer to check blood pressure with a watch workflow and want gentle reminders based on your saved readings.
How to Check Blood Pressure on iPhone (Manual Entry)
If your cuff doesn’t sync automatically, you can still check blood pressure on iPhone by logging results after a measurement.
- Measure with your cuff as usual.
- Open Health on iPhone > Browse > Vitals > Blood Pressure.
- Tap Add Data, enter Systolic and Diastolic, and save.
Set Up Reliable Tracking on Apple Watch
- Add a Health complication to your watch face for quick access to recent blood pressure entries.
- Use Focus or reminders to take readings at the same time daily.
- Share your Health data with a clinician for review when needed.
Accuracy Tips You Should Follow
- Use an upper-arm cuff, not a wrist cuff, for most accurate results.
- Sit with back supported, feet flat, legs uncrossed, and arm supported at heart level.
- Avoid caffeine, nicotine, or exercise 30 minutes before measuring.
- Take multiple readings and record the average in Health.
Understand Your Numbers
Blood pressure readings include systolic over diastolic (for example, 120/80 mmHg). Elevated or high numbers over time may require lifestyle changes or treatment. Discuss trends with your clinician.
FAQs
Can I check blood pressure with a watch without a cuff?
No. At the time of writing, Apple Watch can’t measure blood pressure on its own. You need a compatible cuff and app.
Does Apple Watch blood pressure tracking work offline?
Yes. Readings save to the Health app on iPhone and sync to Apple Watch later. Sharing features need connectivity.
How often should I check?
Follow your clinician’s advice. Many people check daily at the same time for two weeks, then weekly if values are stable.
Can I export my data?
Yes. In Health, tap your profile > Export All Health Data to share readings securely with your care team.
Summary
- Pair a validated upper-arm cuff to iPhone, grant Health permissions.
- Measure correctly and save results to Health for Apple Watch access.
- Enable hypertension notifications for proactive alerts.
- Use consistent times and multiple readings to improve accuracy.
That’s how to check blood pressure with Apple Watch reliably today while keeping your trends organized on iPhone.

Discussion (0)
Be the first to comment.