



Windows comes with a Snipping Tool. It works fine for a quick rectangle capture. But the moment you need something more, capturing a full webpage by scrolling through it, annotating an image before saving it, extracting text from a screenshot, or recording a short screen clip with audio, the Snipping Tool simply cannot do it.
ShareX can. It is a free, open-source screenshot and screen recording tool for Windows that has been actively developed since 2007, covers virtually every capture scenario you can think of, and costs nothing. This guide explains what it is and how to use it.
What Is ShareX?
ShareX is a free, open-source screen capture tool for Windows developed by a volunteer team and available on both the official website and the Microsoft Store. It has been in active development for over seventeen years and is the tool most commonly recommended when people outgrow the Snipping Tool.
What makes ShareX different is control. You decide the capture mode, what happens immediately after the shot, whether the image gets annotated, where it saves, and whether it uploads anywhere automatically. The defaults are sensible out of the box. The deeper options are there when you want them.
It is Windows-only, completely free, has no feature limits, no subscription, and no watermarks anywhere.
How to Install ShareX
Go to getsharex.com or search for ShareX in the Microsoft Store. Both are safe and free. The Microsoft Store version updates automatically, which makes it the easier long-term choice. Installation takes about thirty seconds.
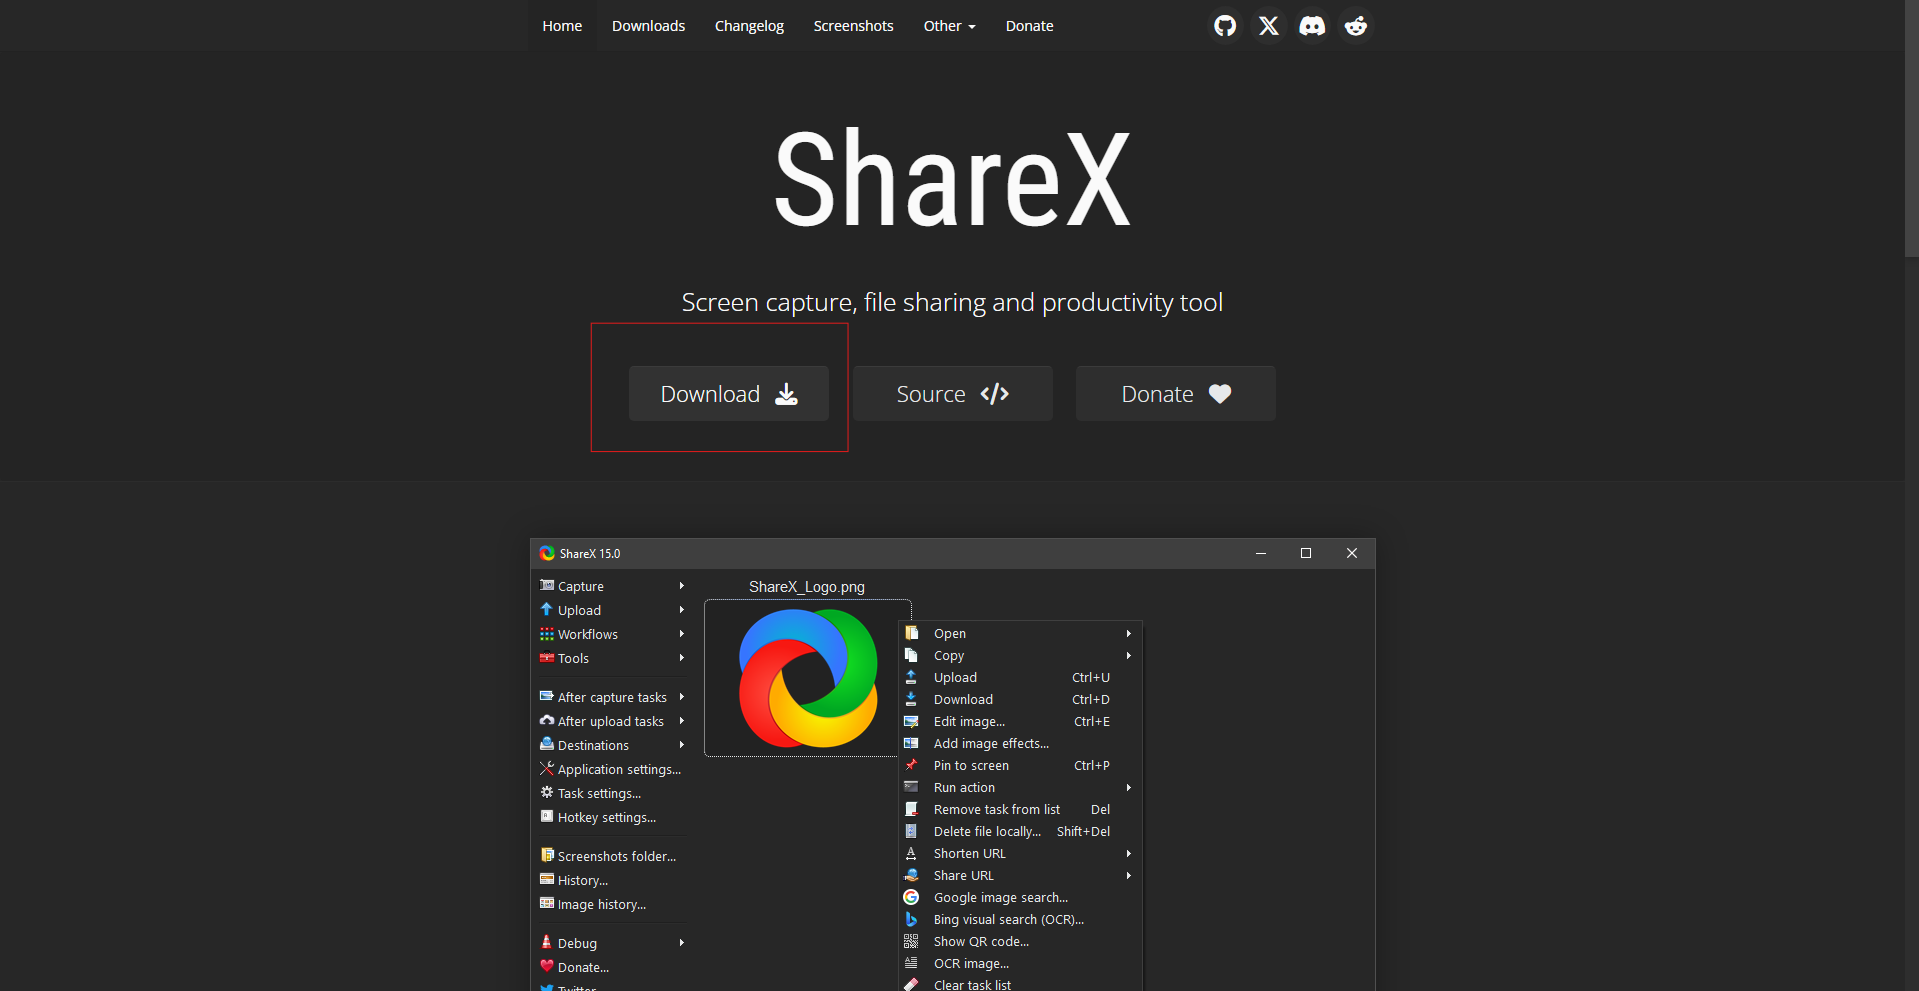
After installing, ShareX places a small icon in your system tray. It runs quietly in the background and is ready whenever you need it. Right-clicking that tray icon is the fastest way to access everything ShareX can do.
How to Take a Screenshot
Right-click the ShareX tray icon, hover over Capture, and you will see all available capture modes. The ones most people use are:
Region Capture
Press Print Screen and your cursor becomes a crosshair. Draw a rectangle around whatever you want and release the mouse. ShareX captures exactly that area and shows a quick action toolbar so you can copy, save, annotate, or upload the result immediately.
Fullscreen Capture
Captures your entire screen in one keystroke. No drawing required. Useful when you need everything visible on the monitor.
Active Window Capture
Captures only the application currently in focus, cleanly cropped to its edges. Cleaner than a fullscreen grab when you only need one specific app.
Scrolling Capture
This is one of ShareX's genuinely standout features. It captures an entire webpage or long document by scrolling through it automatically and stitching the result into one tall image. Go to Capture, select Scrolling Capture, click inside the page you want to capture, and click Start. ShareX handles the rest. No other built-in Windows tool can do this.
How to Annotate a Screenshot
After any capture, clicking the annotation option in the quick toolbar opens ShareX's built-in image editor. It is simple and covers what most people actually need.
The left toolbar gives you arrows, text labels, rectangles, circles, and freehand drawing for highlighting and explaining things in an image. Two tools that are particularly useful in practice are Blur and Pixelate, both of which let you draw over sensitive information like passwords, email addresses, or personal details before saving or sharing the screenshot. Draw over the area and it is obscured instantly.
When you are done, click the green tick to confirm and the image moves through ShareX's normal save workflow.
How to Extract Text From a Screenshot
ShareX has a built-in OCR tool that reads text from any area of your screen and converts it to copyable text. This is useful when you see text you need but cannot select it because it is inside an image, a PDF that blocks copying, or a video frame.
Right-click the tray icon, go to Capture, and select Text Capture (OCR). Draw a rectangle around the text. ShareX processes it locally and opens a small window with the extracted text ready to copy. It works well for clear, readable text on a plain background.
How to Record Your Screen
Right-click the tray icon, go to Capture, and select Screen Recording. Your cursor becomes a crosshair. Draw a rectangle around the area you want to record, or press Enter for the full screen. Recording starts immediately. A small floating toolbar shows a timer and a stop button. Click Stop when finished and ShareX saves an MP4 to your screenshots folder.
For audio, open Task Settings before recording, go to Capture then Screen Recorder, and under FFmpeg options select your microphone or system audio source. Once configured, every recording includes audio automatically.
ShareX can also record animated GIFs. Choose Screen Recording (GIF) from the Capture menu. Useful for short loops showing a repeated action, though file sizes grow quickly for anything longer than a few seconds.
Where Files Are Saved
ShareX saves everything to a Screenshots folder inside your Documents, organized automatically into subfolders by year and month. To change the location, open Application Settings from the main ShareX window and set any folder you prefer under Paths.
ShareX vs Windows Snipping Tool
| Feature | ShareX | Snipping Tool |
|---|---|---|
| Region capture | Yes | Yes |
| Scrolling capture | Yes | No |
| Screen recording | Yes | Yes |
| Audio recording | Yes | No |
| GIF recording | Yes | No |
| Built-in annotation | Full tools | Basic only |
| OCR text extraction | Yes | No |
| Auto-upload to cloud | Yes, 80+ services | No |
| Customizable hotkeys | Yes | Limited |
| Free and open-source | Yes | No |
Final Thoughts
ShareX is one of those tools that feels excessive until the day you need it, and then becomes something you use every week. The Snipping Tool handles the simplest cases perfectly well. But for anyone who regularly takes screenshots as part of their work, whether for documentation, support, tutorials, or content creation, ShareX covers every scenario with purpose-built features and zero cost. It installs in thirty seconds, runs silently in the background, and stays out of your way until you need it.
Frequently Asked Questions
Is ShareX completely free?
Yes. ShareX is free and open-source with no subscription, no feature limits, no watermarks, and no ads. It has been free for its entire seventeen-year history. You get the full feature set at no cost.
Does ShareX work on Windows 11?
Yes. ShareX works on Windows 7 and all later versions including Windows 10 and Windows 11. Download it from getsharex.com or the Microsoft Store.
Can ShareX capture a full webpage including content below the fold?
Yes, through the Scrolling Capture feature. Go to Capture in the tray icon menu, select Scrolling Capture, click inside the page, and start the capture. ShareX scrolls through the page and stitches everything into one long image.
Does ShareX record audio?
Not by default. Open Task Settings, go to Capture then Screen Recorder, and under FFmpeg options select your microphone or system audio source. After that one-time setup, all recordings include audio.
Can ShareX replace the Snipping Tool entirely?
For most users, yes. ShareX does everything the Snipping Tool does and considerably more. The only reason to keep using the Snipping Tool is if you prefer its simpler interface for very quick, uncomplicated captures.


Discussion (0)
Be the first to comment.