

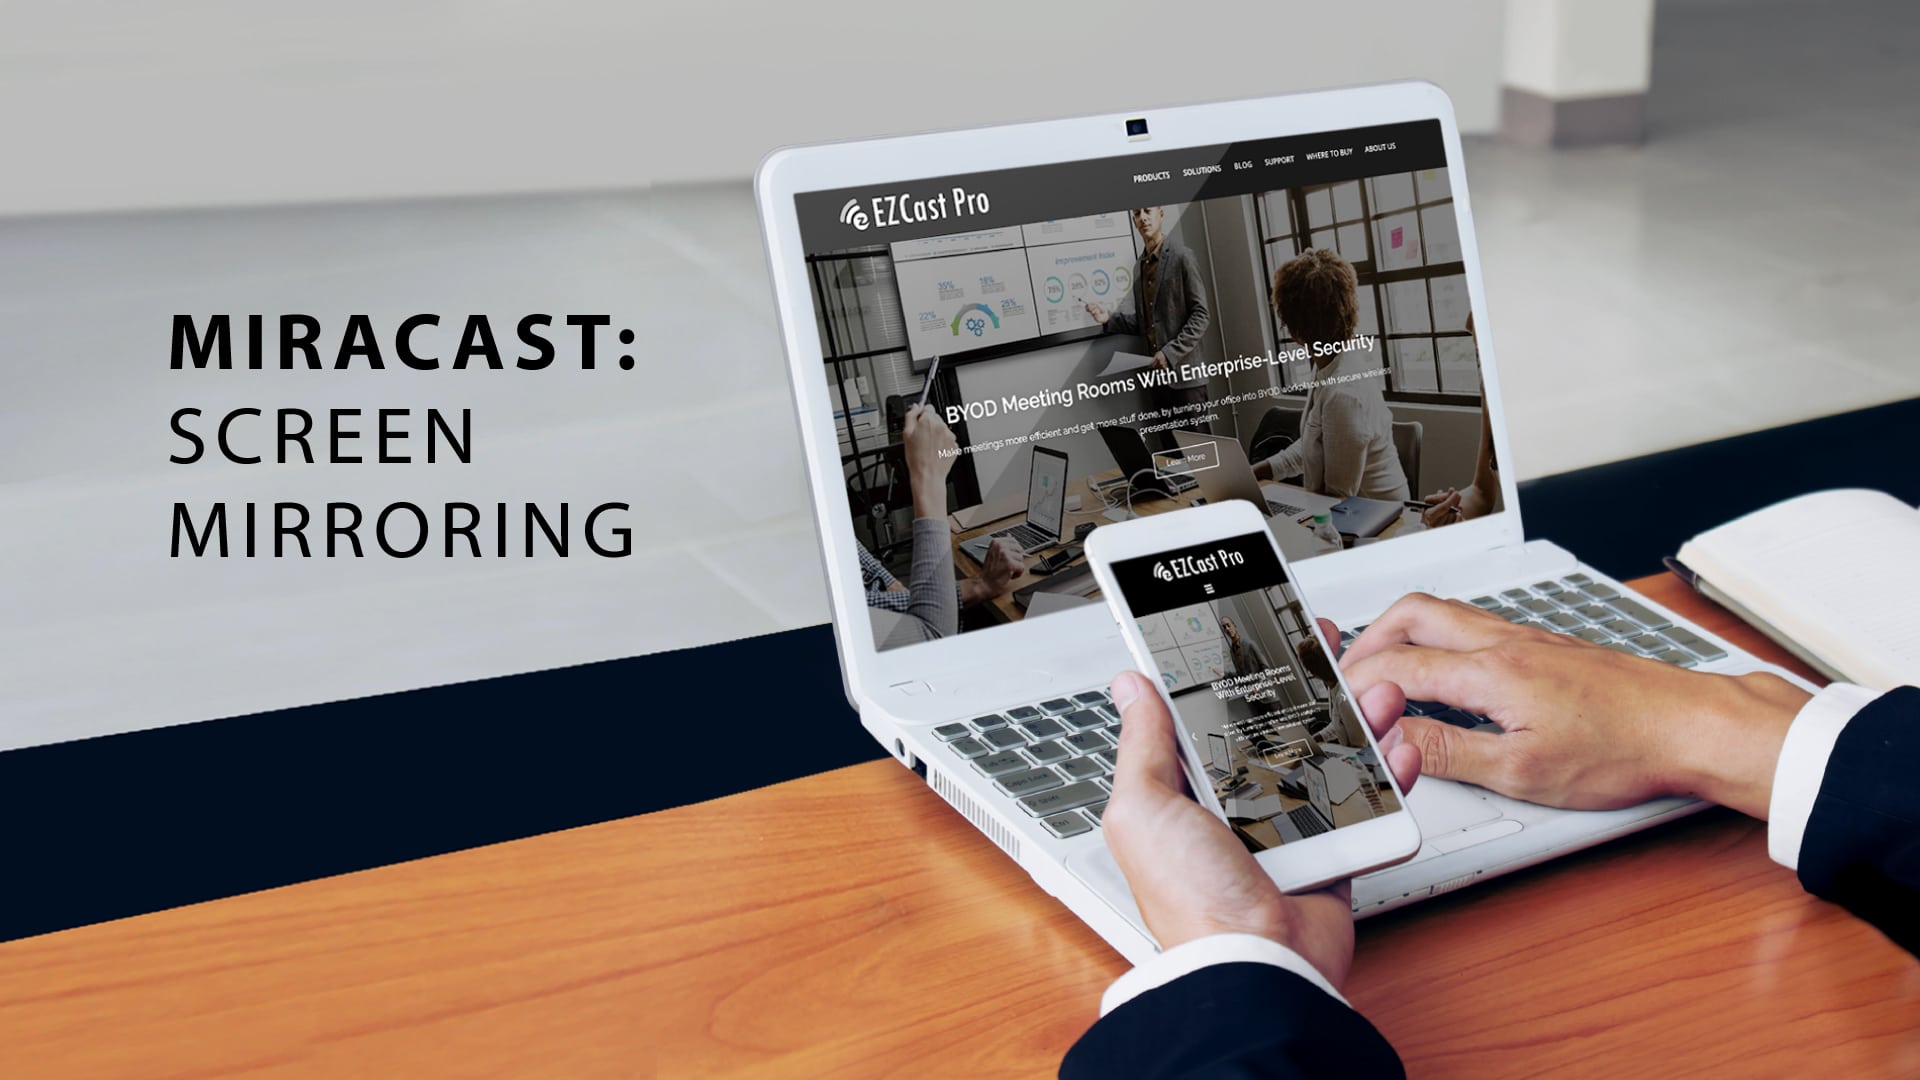
Miracast lets you wirelessly mirror your Windows 10 PC screen to a TV, monitor, or projector without using cables. It works over Wi-Fi and is commonly used for presentations, streaming videos, or sharing your screen on a larger display.
This guide explains how to set up Miracast on a Windows 10 PC, check if your system supports it, connect to a wireless display, and fix common Miracast problems.
What Is Miracast and How It Works
Miracast is a wireless display standard that allows screen sharing between devices over Wi-Fi Direct.
With Miracast, you can:
- Mirror your PC screen to a TV or monitor
- Extend your desktop wirelessly
- Use a projector without HDMI cables
- Share presentations easily
Miracast does not require an internet connection, but both devices must support it.
Does Your Windows 10 PC Support Miracast?
Before setting it up, confirm that your PC supports Miracast.
Check Miracast Support Using DxDiag
Steps:
- Press Windows + R
- Type dxdiag and press Enter
- Click Save All Information
- Open the saved text file
- Look for Miracast
If it says Available, your PC supports Miracast.
If it says Not Supported, your hardware or drivers may not be compatible.
How to Enable Miracast on Windows 10
Miracast does not need to be enabled manually, but required components must be working.
Make sure:
- Wi-Fi is turned on
- Graphics drivers are updated
- Network drivers are updated
Miracast will not work over Ethernet alone. Wi-Fi must be enabled even if you are connected to the internet via cable.
How to Connect to a Wireless Display Using Miracast
Step-by-Step Instructions
- Turn on your TV, monitor, or projector
- Enable Miracast or Screen Mirroring on the display
- On your Windows 10 PC, press Windows + K
- Select your wireless display from the list
- Wait for the connection to complete
Your screen should now appear on the external display.
Change Display Mode After Connecting
Once connected, you can control how the screen behaves.
Press Windows + P and choose one option:
- Duplicate: Same screen on both displays
- Extend: Use the display as a second screen
- Second screen only: Show content only on the external display
This is useful for presentations or multitasking.
Fix Miracast Not Working on Windows 10
If Miracast fails to connect or does not appear, try these fixes.
Update Graphics and Network Drivers
Outdated drivers are the most common cause of Miracast issues.
Steps:
- Open Device Manager
- Update display adapter drivers
- Update network adapter drivers
- Restart your PC
Check Wi-Fi Network Compatibility
Miracast works best when:
- Both devices are on the same Wi-Fi network
- Your router supports Wi-Fi Direct
- Firewall or VPN is disabled temporarily
Check Display Device Compatibility
Not all TVs and monitors support Miracast natively.
If your display does not support it:
- Use a Miracast adapter
- Use a streaming device that supports Miracast
Restart Required Services
Steps:
- Press Windows + R
- Type services.msc
- Restart these services:
- WLAN AutoConfig
- Windows Connection Manager
Final Thoughts
Setting up Miracast on a Windows 10 PC is simple if your hardware and drivers support it. Once connected, Miracast provides a convenient way to share your screen wirelessly without cables. If issues occur, updating drivers and checking Wi-Fi settings usually resolves them quickly.
FAQs
Does Miracast require internet access?
No. It works over Wi-Fi Direct.
Can I use Miracast with Ethernet?
Wi-Fi must be enabled, even if Ethernet is connected.
Why does Miracast lag?
Lag can occur due to weak Wi-Fi, outdated drivers, or hardware limitations.
Is Miracast secure?
Yes. Connections are encrypted by default.


Discussion (0)
Be the first to comment.