




A custom gaming mouse pad gives you full control over glide, durability, and design. You can build one at home with simple materials and a reliable printing process. This guide shows you how to create a pad that performs well for FPS, MOBA, and everyday use.
Table of contents
- What you need before you start
- How to design your custom gaming surface
- How to build the mouse pad base
- How to attach the fabric surface
- How to sublimate or heat-press your custom design
- How to finish and protect the edges
- How to optimize your custom mouse pad for gaming
- Troubleshooting common issues
- FAQs
- Tips for better durability and feel
- Summary
What you need before you start
To make the task of building a custom mouse pad easy, gather the right tools before you start doing anything. The materials you choose decide how smooth the surface feels, how well it tracks, and how long it lasts.
Materials for the base layer
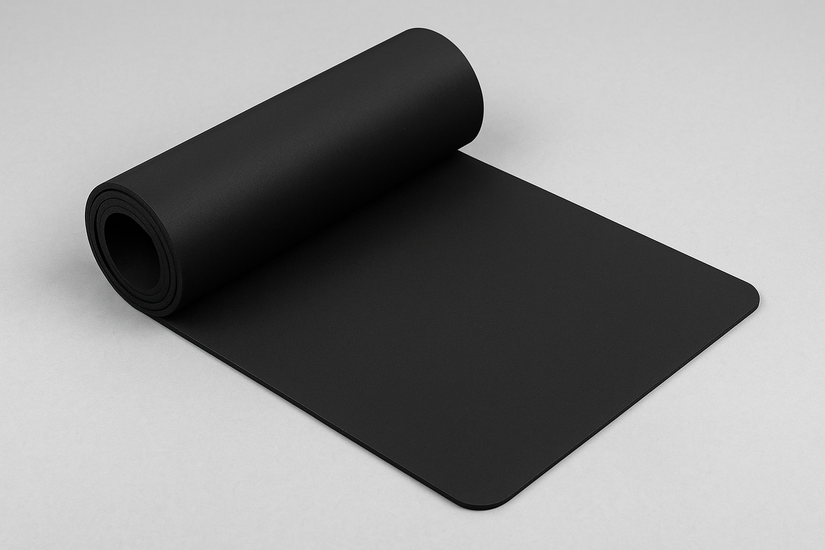
Pick a natural rubber sheet at 3–4 mm thickness for stability. Thicker bases reduce sliding and help the pad stay flat.
Fabric options for the tracking surface
Choose a tightly woven microfiber or polyester cloth. These fabrics support accurate sensor tracking and a smooth glide for gaming.
Adhesives and finishing tools
Use a high-strength spray adhesive designed for fabric and rubber. A roller, sharp knife, and straightedge help you finish clean edges.
How to design your custom gaming surface
A high-quality design improves the final look of your pad. Stick to high resolution artwork to avoid blurry prints.
Choose canvas size and resolution
Set your canvas to the exact pad dimensions, including any extra bleed. Aim for at least 300 DPI for crisp visuals.
Prepare artwork for printing
Export your artwork as PNG or high-quality JPG. Keep colors consistent across monitors and printers to avoid surprises.
How to build the mouse pad base
The rubber base gives your pad structure. Work slowly to keep the edges clean and even.
Cut the rubber sheet to size
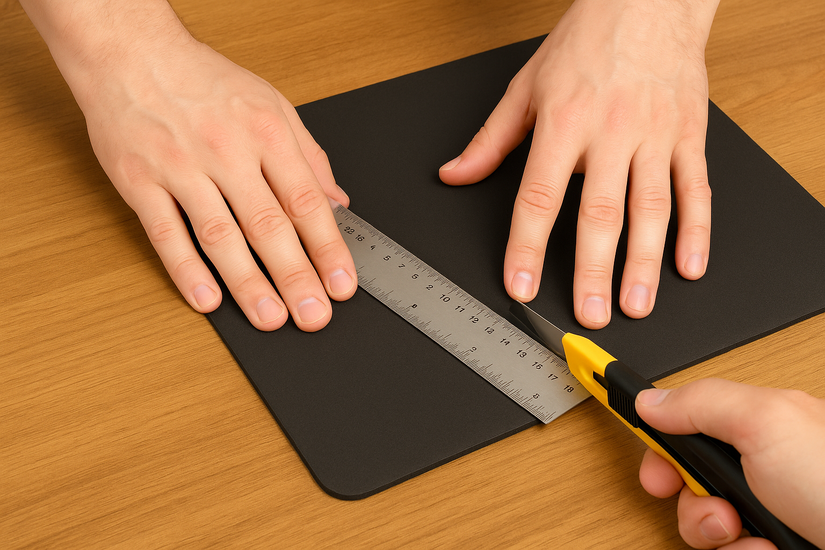
Use a metal ruler and a sharp utility knife for straight cuts. Replace blades often to avoid jagged edges.
Smooth and clean the base surface
Wipe the rubber with isopropyl alcohol to remove dust and oils. A clean surface helps the adhesive bond strongly.
How to attach the fabric surface
You attach the cloth layer to the base to form the tracking surface. Apply steady pressure to avoid bubbles.
Apply adhesive evenly
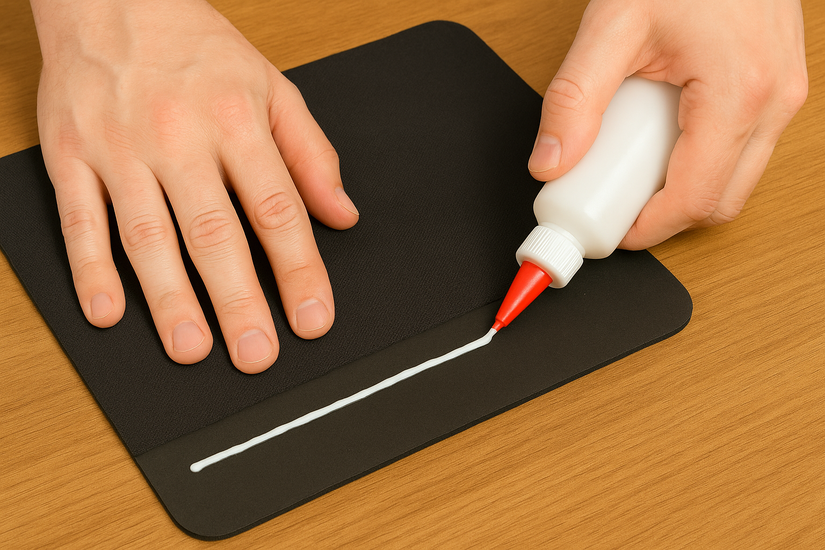
Spray a thin and uniform coat over the rubber. Cover the edges well to prevent future lifting.
Laminate the fabric to the rubber
Lay the fabric from one side to the other while smoothing with a roller. Maintain tension to create a flat surface.
How to sublimate or heat-press your custom design
Heat-press transfer creates durable prints that resist fading. Follow the correct time and temperature ranges for clean results.
Prepare the pad for pressing
Pre-press the pad for a few seconds to remove moisture. This step reduces print blurring and ghosting.
Apply heat and pressure correctly
Press at the recommended settings for your sublimation ink and paper. Use firm pressure to transfer the design evenly.

Cool and check the final print
Let the pad cool on a flat surface. Inspect for color consistency and sharp edges.
How to finish and protect the edges
A clean edge improves comfort and prevents fraying. You can trim or stitch the border based on your tools.
Trim excess fabric
Cut away any fabric that hangs beyond the rubber. Keep cuts smooth to maintain a professional look.
Add stitched edging (optional)
Use a sewing machine to create a protective stitch around the border. This option boosts durability for heavy gaming use.
How to optimize your custom mouse pad for gaming
You can tune glide and friction based on your preferred game style. Good calibration helps you aim more consistently.
Test sensor tracking accuracy
Move your mouse across the pad and check for jitter or skipping. Adjust DPI or surface calibration if needed.
Adjust glide with surface preparation
Lightly brush the surface to add grip for MOBA play. Clean with mild soap and water to restore smoothness for FPS games.
Troubleshooting common issues
- Bubbles or micro-wrinkles: Lift the affected area gently and re-press with a roller. Work from the center outward.
- Improve print sharpness: Check your design resolution and heat-press settings. Increase pressure or heating time if prints look washed out.
- Flatten curled or warped pads: Place the pad under heavy books for several hours. Heat the pad lightly if needed to relax the material.
FAQs
How long does a custom mouse pad last? A well-made pad can last years with regular cleaning and proper storage.
Can I wash my custom pad? You can wash most cloth pads by hand with mild soap. Air-dry the pad flat.
Do I need a heat press for printing? A heat press gives the best results, but you can use print-on-demand services if you skip the DIY printing step.
Which mouse sensors work best with cloth pads? Most modern optical sensors work well on microfiber and polyester weaves.
Tips for better durability and feel
- Clean the pad regularly to keep dust from affecting glide.
- Store the pad flat to prevent curling.
- Use stitched edges if you play for long sessions.
- Avoid harsh chemicals that damage the fabric coating.
Summary
- Gather materials such as rubber, fabric, and adhesive.
- Design your artwork at high resolution with proper sizing.
- Cut and prepare the rubber base before applying adhesive.
- Attach the fabric smoothly and heat-press your printed design.
- Finish the edges and test performance for gaming.
A custom gaming mouse pad combines personal style with performance tuning. You choose the size, feel, and artwork, and you shape how your mouse responds during play.
With the right materials and a careful workflow, you create a pad that matches both your gaming style and your desk setup. Take your time with each step and you end up with a pad that looks great and feels consistent in every match.


Discussion (0)
Be the first to comment.