




Creating your own custom mouse pad offers a perfect opportunity to blend functionality with personal flair. Whether for gaming, office use, or a travel setup, a custom mouse pad can be tailored to your needs. This guide will walk you through the process of building your own from scratch using simple materials, while also considering factors like performance, comfort, and aesthetics.
1) Materials needed for a custom mouse pad
Base material options
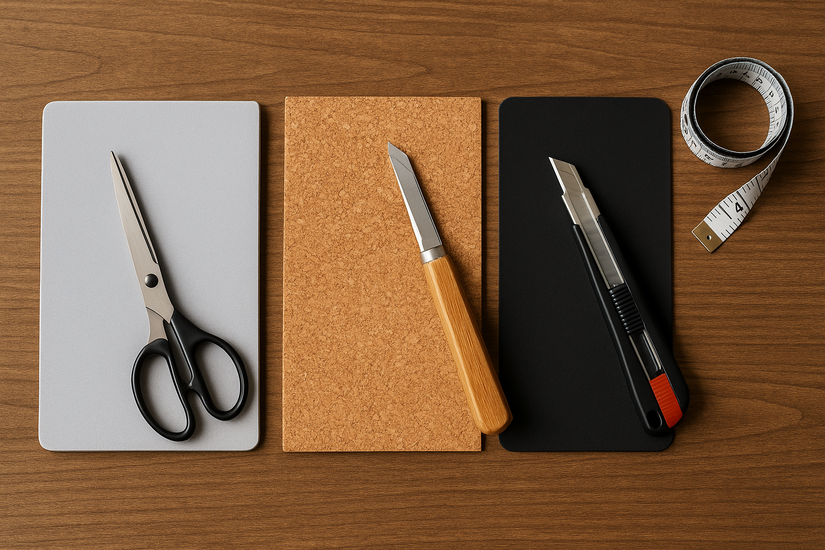
The foundation of your mouse pad is key to its durability and comfort. Common base materials include foam, cork, rubber, and neoprene.
Foam offers softness but may wear quickly, while cork provides a natural texture that’s still firm. Rubber offers excellent grip, and neoprene is flexible and durable, often used in higher-end mouse pads.
Surface options
The surface material dictates how smoothly your mouse glides. Fabric surfaces are soft and provide a smooth, controlled glide for most users.
Hard plastic surfaces offer a faster glide but might feel less comfortable for extended use. Printed canvas is another option, ideal if you want to add custom artwork without compromising performance.
Tools and supplies
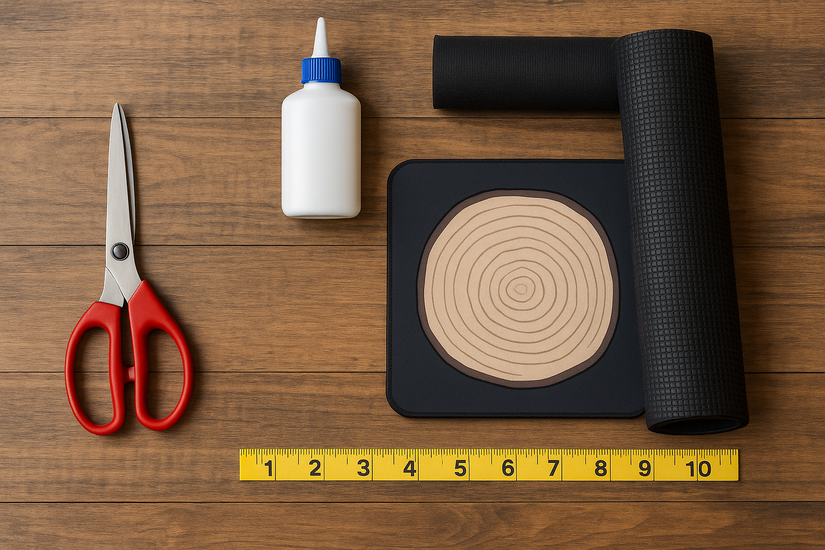
You’ll need basic tools like scissors, glue, and measuring tape. For the surface, you can use fabric, vinyl, or any other material that suits your design. An anti-slip backing (like shelf liner or rubber) is essential to ensure your pad stays in place while you work.
2) Preparing your materials
Cutting and sizing your base
The first step is to determine the size of your mouse pad. Typical mouse pads range from 9x7 inches for smaller options to large desk mats of 12x24 inches or more. Choose based on your workspace and personal preference for how much area you want to cover.
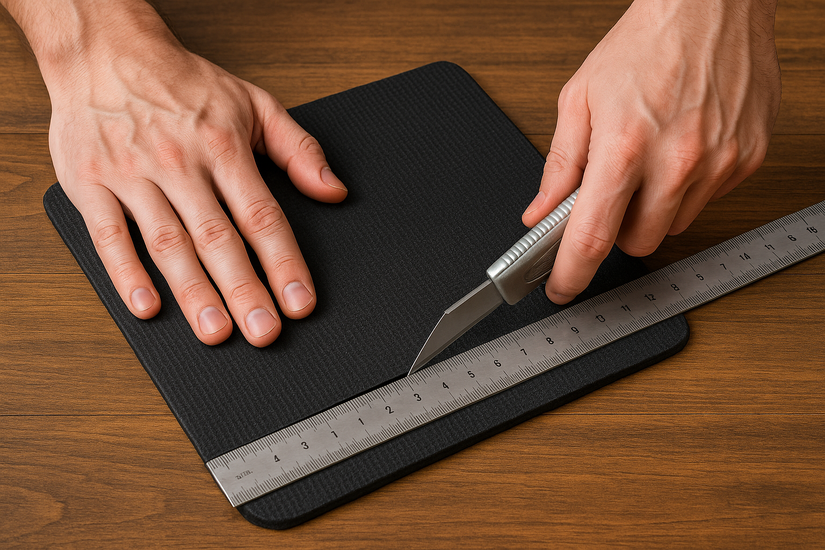
Once you’ve decided on the size, measure and cut your base material to the desired dimensions. Ensure the edges are clean for a neat finish.
Preparing the surface material
If you’re using fabric or vinyl, cut it to match the size of your base, leaving a small margin around the edges for easier attachment. Make sure the surface material fits snugly over the base without any folds or wrinkles. If you’re using a printed design, ensure the image resolution is high for a crisp look.
3) Assembling your custom mouse pad
Attaching the base to the surface
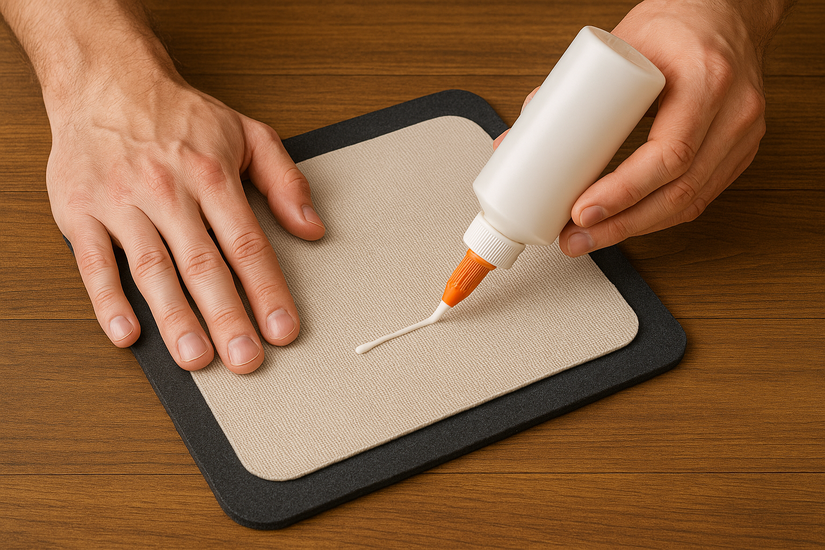
To attach the surface to the base, apply a thin layer of glue or adhesive on the base and press the surface material into place. Smooth it out to remove any air bubbles or wrinkles. Let it dry completely before proceeding to the next step.
Securing the edges
You have a few options to secure the edges. You can sew the edges for a clean, durable finish, or use fabric tape or glue to secure them. This step is optional, but it helps prevent the edges from peeling or fraying over time.
4) Testing your custom mouse pad
Mouse glide performance
Once your pad is assembled, it’s time to test the glide. Try using a few different mice (both optical and laser) to evaluate how smoothly the mouse moves across the surface. Pay attention to how well it tracks movement - some materials may cause slight resistance, while others may glide too easily.

Durability and comfort test
After using your mouse pad for a few hours, assess its comfort and durability. Does the material hold up under extended use? Is it easy to clean? These are key factors in determining whether your custom mouse pad will stand the test of time.
5) Design and personalization tips
Adding custom artwork
If you want to personalize your mouse pad, consider adding artwork, logos, or photos. Fabric paint, vinyl decals, or custom printing can all be used to enhance the design. Ensure that the design doesn’t interfere with the mouse’s movement - too much texture on the surface can disrupt glide performance.
Choosing the right colors and patterns
Colors not only add personality but also can affect your workspace atmosphere. Consider using contrasting colors for better visibility of your mouse pointer, or choose a pattern that complements your desk decor.
6) Maintaining your custom mouse pad
Cleaning and care tips
To maintain your mouse pad’s condition, clean it regularly. If it's fabric-based, you can spot clean with mild detergent and water. For hard-surface pads, a simple wipe with a damp cloth should suffice. Avoid soaking your pad, especially if it has printed artwork.
Longevity and storage
When not in use, store your mouse pad flat to avoid warping or bending. If it’s a fabric-based pad, you might want to roll it up loosely for storage, but avoid folding it to prevent permanent creases.
7) Troubleshooting common build issues
- Uneven glide or tracking issues: If your mouse isn’t gliding smoothly, check for debris or dust on the surface. Clean both the mouse sensor and the pad. Additionally, ensure the surface material is smooth - fabric may require a more polished finish for better tracking.
- Edging Problems: If the edges of your mouse pad begin to peel or fray, consider reapplying adhesive or adding a protective layer of fabric tape. Reinforcing the edges can extend the life of your custom creation.
FAQs
What is the best surface material for gaming? Harder surfaces, like plastic or rubber, tend to work best for gaming, as they provide faster movement and are less likely to cause friction with high-speed mouse movements.
Can I use a printed fabric surface for a mouse pad? Yes, but ensure the fabric is smooth and the print is high resolution. Some designs may cause friction, affecting your mouse’s performance.
How do I ensure my custom mouse pad lasts? Maintain the pad by cleaning it regularly and storing it properly. Avoid harsh cleaners, and reapply adhesive if necessary to keep the surface intact.
Can I make a mouse pad for larger desks? Absolutely! You can make custom desk mats in various sizes. Measure your desk area and cut the base material to match your desired dimensions.
Summary
- Materials: Choose the right base and surface material for comfort and durability.
- Sizing: Ensure the size fits your workspace or gaming setup.
- Assembly: Attach surface material to base, and secure the edges for durability.
- Testing: Test glide performance and comfort after assembling your pad.
- Maintenance: Regular cleaning and proper storage will extend the life of your pad.
Conclusion
Building a custom mouse pad is a fun and practical project that allows you to tailor your workspace to your needs. Whether you want a unique design or improved functionality, a custom-made pad can enhance your overall experience. By selecting the right materials, assembling them carefully, and maintaining the pad, you’ll create a durable and personalized accessory that stands out.

Discussion (0)
Be the first to comment.