




Installing an Ethernet jack helps you build a faster, more reliable wired connection for your home or office network. This guide walks you through every step - from planning and wiring to testing your new wall jack safely and cleanly.
Step 1: Plan your Ethernet jack setup
Start by choosing the right location. Pick a wall close to your computer, console, or TV, but avoid spots near electrical outlets or heavy wiring. This minimizes interference and simplifies routing.
Also, gather the following tools and materials:
- Cat6 cable
- Keystone jack and wall plate
- Punch-down tool
- Drywall saw and utility knife
- Fish tape or cable rods
- RJ45 crimping tool (if terminating manually)
- Ethernet cable tester
Finally, plan how the cable will run from your router or network switch to the new wall jack. Check for attic, crawl space, or basement access, and mark the safest path through walls or ceilings.
Step 2: Cut and prepare the wall opening
Cutting accurately prevents drywall damage and ensures a professional finish. Mark your chosen location with a pencil and trace the wall plate as a cutting template. Also, use a drywall saw to create the opening cleanly.
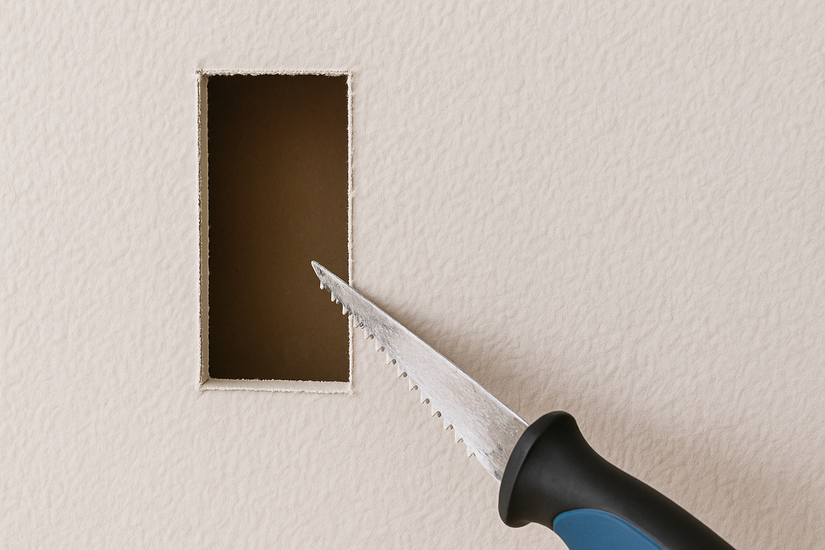
Lastly, remove debris and test-fit the mounting bracket.
Tip: Use a stud finder to avoid beams or electrical wires before making any cuts.
Step 3: Run the Ethernet cable
Routing the cable through walls keeps your setup neat and protected from damage. To do this properly, feed the Cat6 cable through the opening using fish tape and pull it toward your network equipment location.
Make sure you secure it loosely with low-voltage staples or clips. Lastly, leave about 6–8 inches of slack at both ends for connections.
Tip: Maintain gentle bends and secure the cable properly to avoid signal loss.
Step 4: Strip and terminate the cable
Terminating the wires correctly ensures stable data transfer and prevents connectivity drops. Start by stripping about two inches of the cable jacket with a utility knife. Then, untwist the pairs slightly and arrange them by the T568B color code.
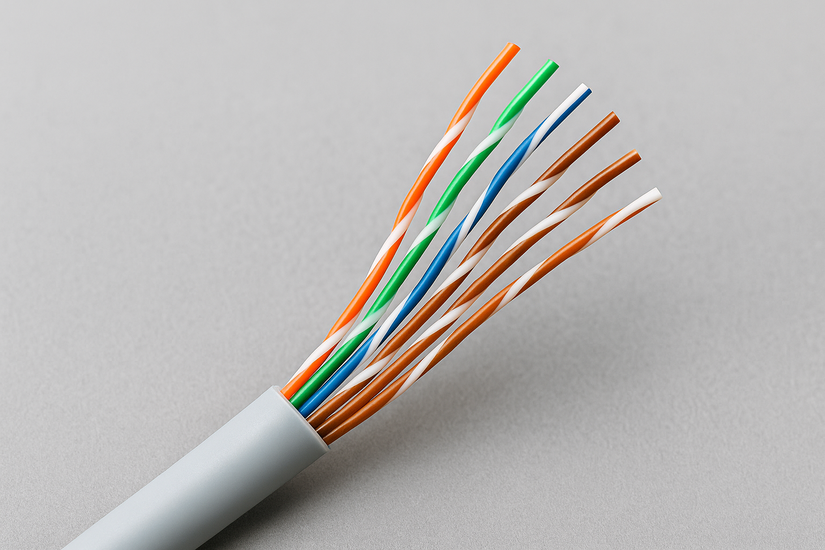
Punch down each wire into the keystone jack using a punch-down tool and trim any excess wire ends for a clean fit.
Tip: Use the T568B wiring standard for most U.S. installations.
Step 5: Mount and secure the wall jack
Snap the keystone jack into the wall plate and attach the wall plate to the bracket with screws. Ensure to double-check the fit to ensure no wire pinching.
Step 6: Connect the other end and test the line
Testing verifies your connection before finalizing the setup. To test, terminate the other cable end with an RJ45 plug or connect it to a patch panel. Next, plug both ends into a cable tester.
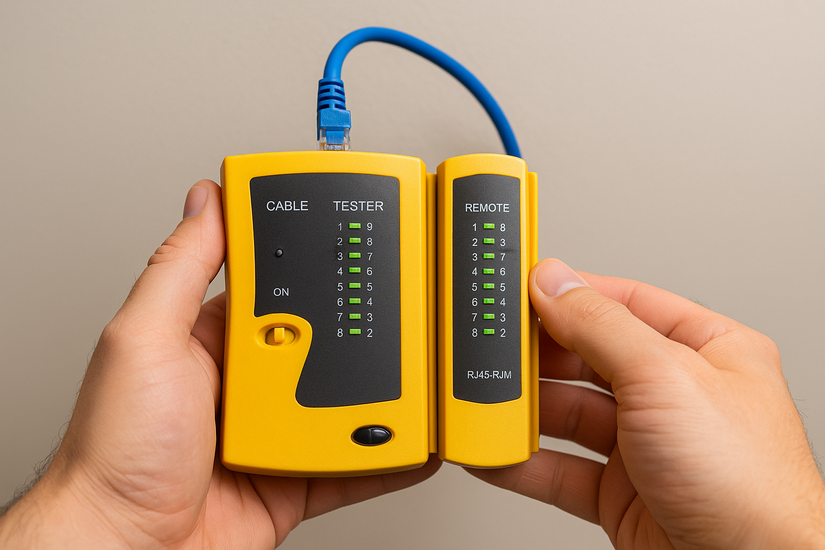
Now, confirm all eight wires pass correctly on the display, connect your device, and check for a stable network signal.
Common mistakes to avoid
- Mixing up T568A and T568B standards on each end.
- Bending cables too sharply, causing signal loss.
- Running Ethernet lines too close to AC wiring.
- Skipping the cable test step before sealing walls.
Tips for a clean and future-proof setup
- Label both ends of each cable for easy troubleshooting.
- Use Cat6a or higher for better performance and PoE compatibility.
- Keep cables at least six inches from electrical wiring.
- Install two jacks per room for future device expansion.
FAQs about installing Ethernet jacks
Can I install an Ethernet jack without cutting into the wall? Yes. You can use surface-mount boxes and plastic raceways to run cables along baseboards if you prefer not to cut drywall.
What cable type should I use? Cat6 is ideal for most home networks. It supports gigabit speeds and Power over Ethernet, making it suitable for smart devices and access points.
Do I need a professional installer? If your installation spans multiple floors or involves attic and crawl-space access, hiring a low-voltage electrician ensures compliance with local building codes.
Summary – quick steps to install an Ethernet jack
- Plan your route and gather the right tools.
- Cut the wall opening carefully.
- Run and secure the Cat6 cable.
- Terminate wires in the keystone jack.
- Mount the wall plate and test the connection.
Conclusion – enjoy a reliable wired connection
Once your Ethernet jack is installed and tested, you’ll have a dependable high-speed link for streaming, gaming, and work. Taking time to plan your wiring now makes future upgrades and additional connections much easier down the line.


Discussion (0)
Be the first to comment.