
 Published on 05.11.2025
If you're a Starlink user, you know that a fast and stable internet connection is essential for everyday activities. While Starlink's satellite internet provides reliable service, a wired connection can further enhance the speed and stability of your network. The Starlink Ethernet Adapter is a key device that enables you to connect your devices directly to the Starlink router using an Ethernet cable, ensuring a more secure and faster connection.
In this guide, we’ll walk you through the process of connecting your Starlink Ethernet Adapter and troubleshooting common issues you may encounter along the way. Whether you're connecting a laptop, gaming console, or smart TV, we'll ensure that your Starlink Ethernet setup goes smoothly.
What You Need to Get Started
Before you begin, make sure you have all the required materials to set up your Starlink Ethernet Adapter:
- Starlink Ethernet Adapter: This adapter connects your Starlink router to your devices.
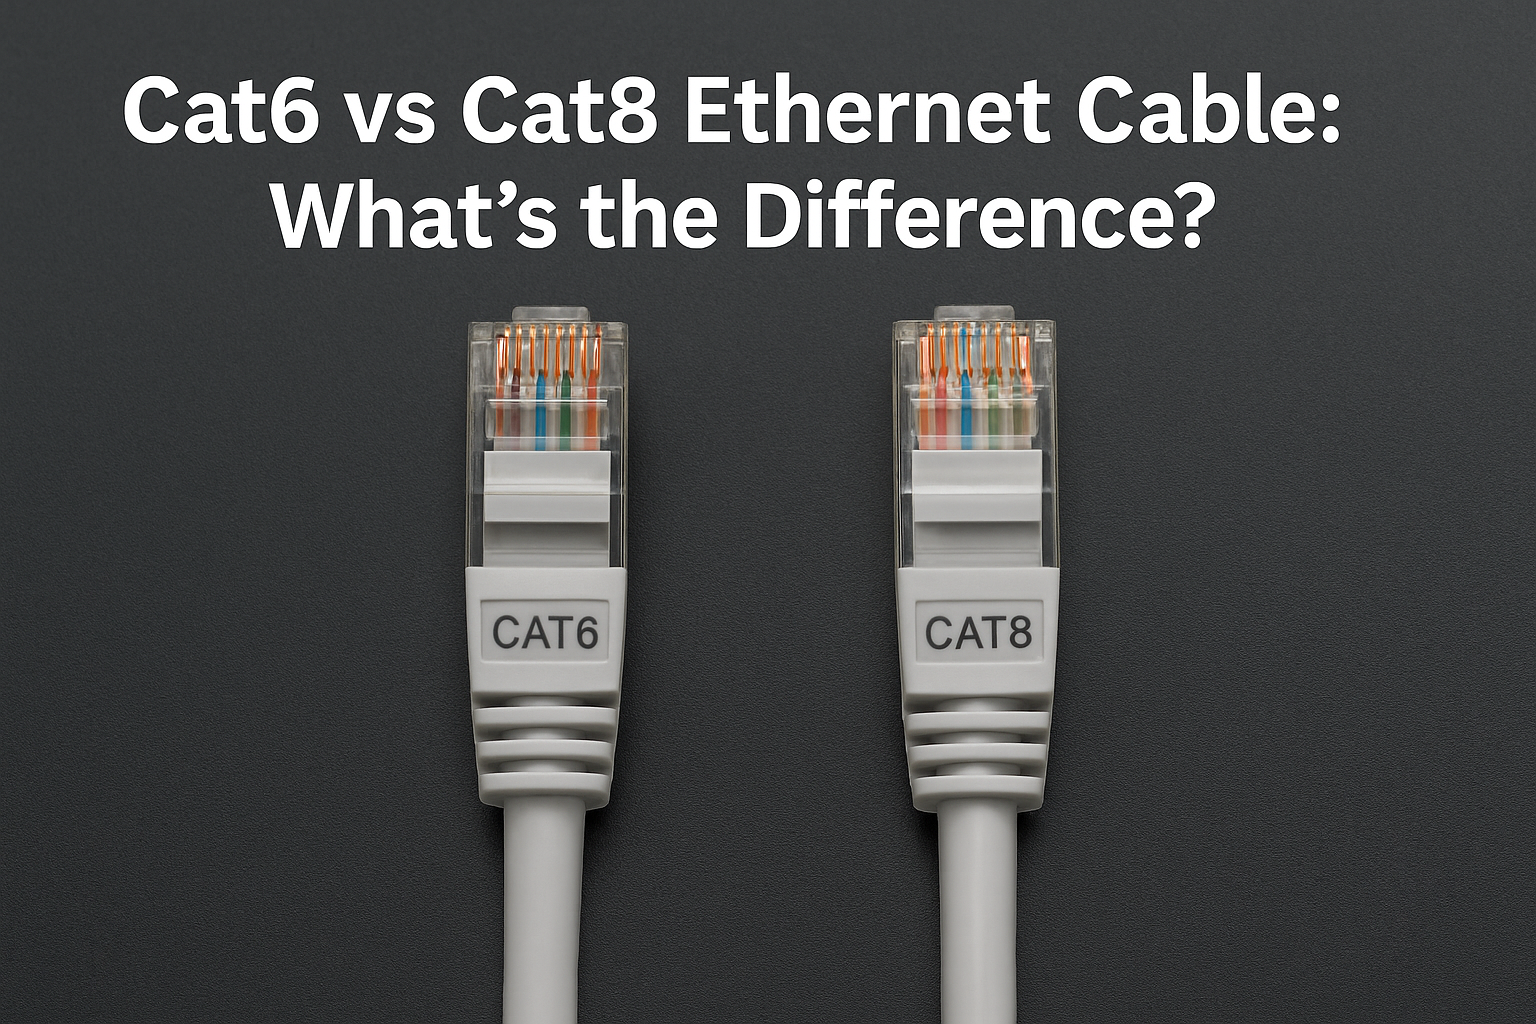
- Ethernet Cable: Use a Cat 5e or higher Ethernet cable for the best performance.
- Starlink Router: Your primary router for the Starlink network.
- Device: A laptop, smart TV, gaming console, or any device with an Ethernet port that you want to connect to the Starlink network.
Ensure these materials are ready before starting the process.
Step 1: Unbox the Starlink Ethernet Adapter
Carefully open the package containing the Starlink Ethernet Adapter:
- Remove the Starlink Ethernet Adapter and all included cables.
- Inspect the adapter for any physical damage or defects.
- Ensure that all necessary accessories, such as additional Ethernet cables or a power adapter, are included.
Handling the adapter with care is crucial. If any parts are missing or damaged, contact Starlink support for a replacement or further assistance.
Step 2: Connect the Ethernet Adapter to the Starlink Router
Now, it’s time to connect the Starlink Ethernet Adapter to your Starlink router:
- Locate the Ethernet port on the Starlink router, typically labeled “LAN” or “Ethernet”.
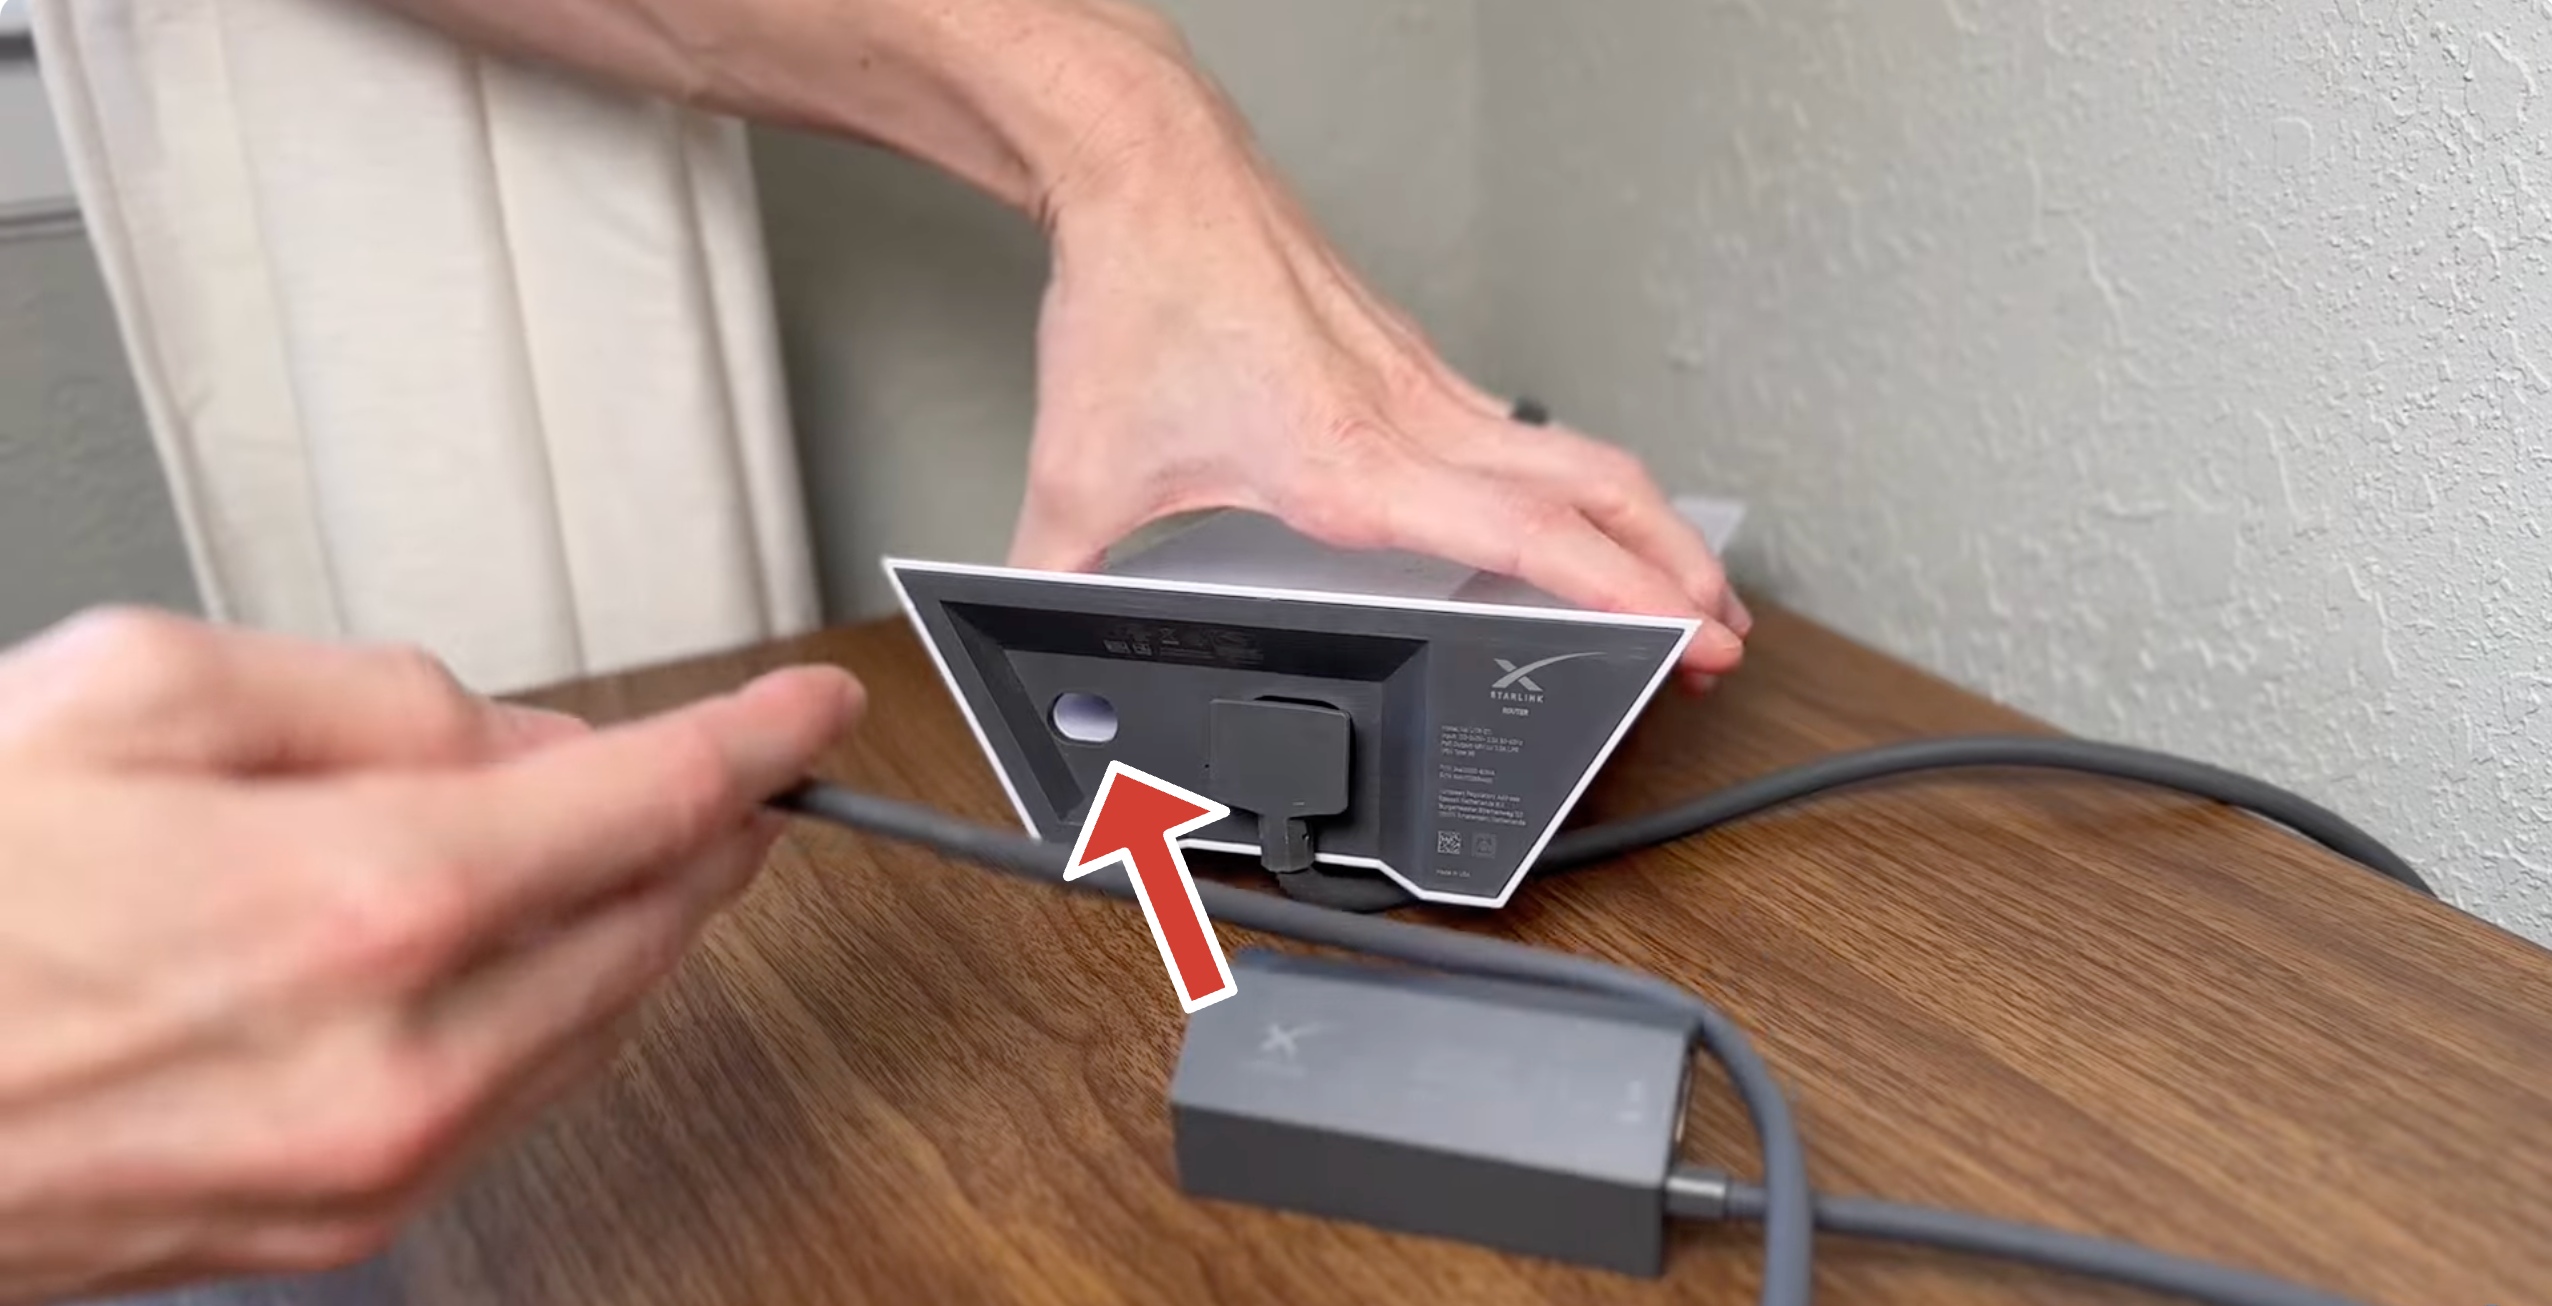
- Insert one end of your Ethernet cable into this port on the Starlink router.
- Plug the other end into the Starlink Ethernet Adapter.
- Gently tug on the cables to ensure they’re securely connected.
Once connected, power on the router by plugging it into a power source. Wait a few moments for the router to establish a connection. Verify that the Starlink Ethernet Adapter is properly connected by checking the indicator lights on both the adapter and router.
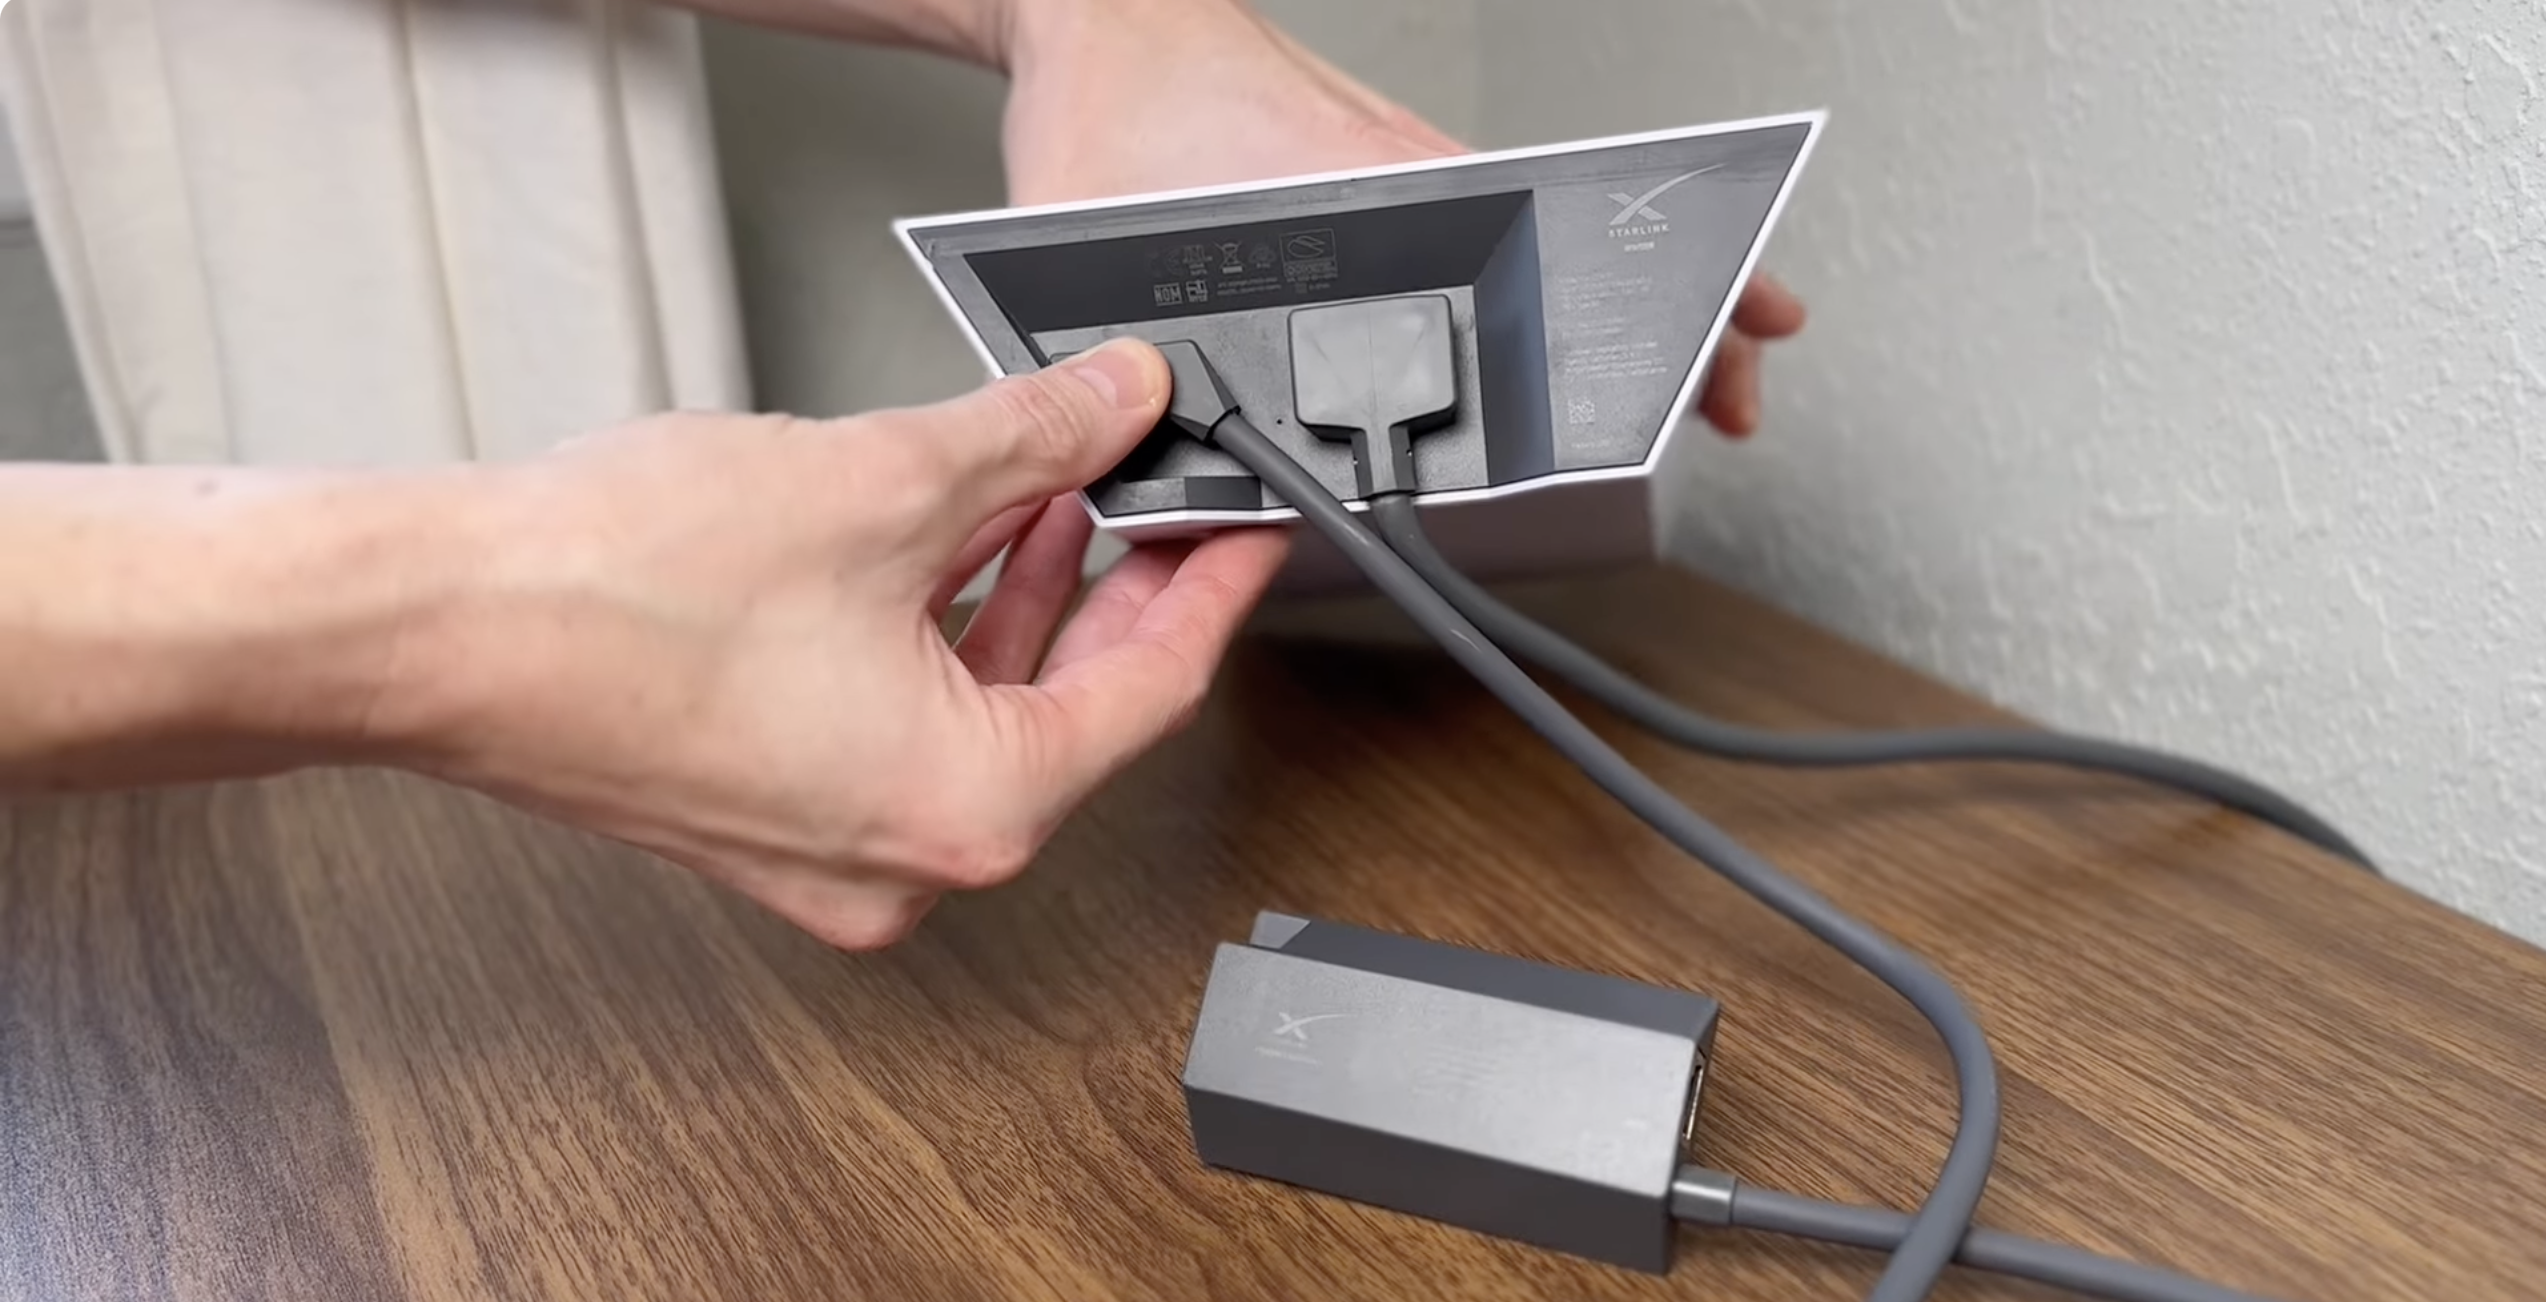
Step 3: Connect the Ethernet Adapter to Your Device
Now, connect the Ethernet adapter to your device for a wired connection:
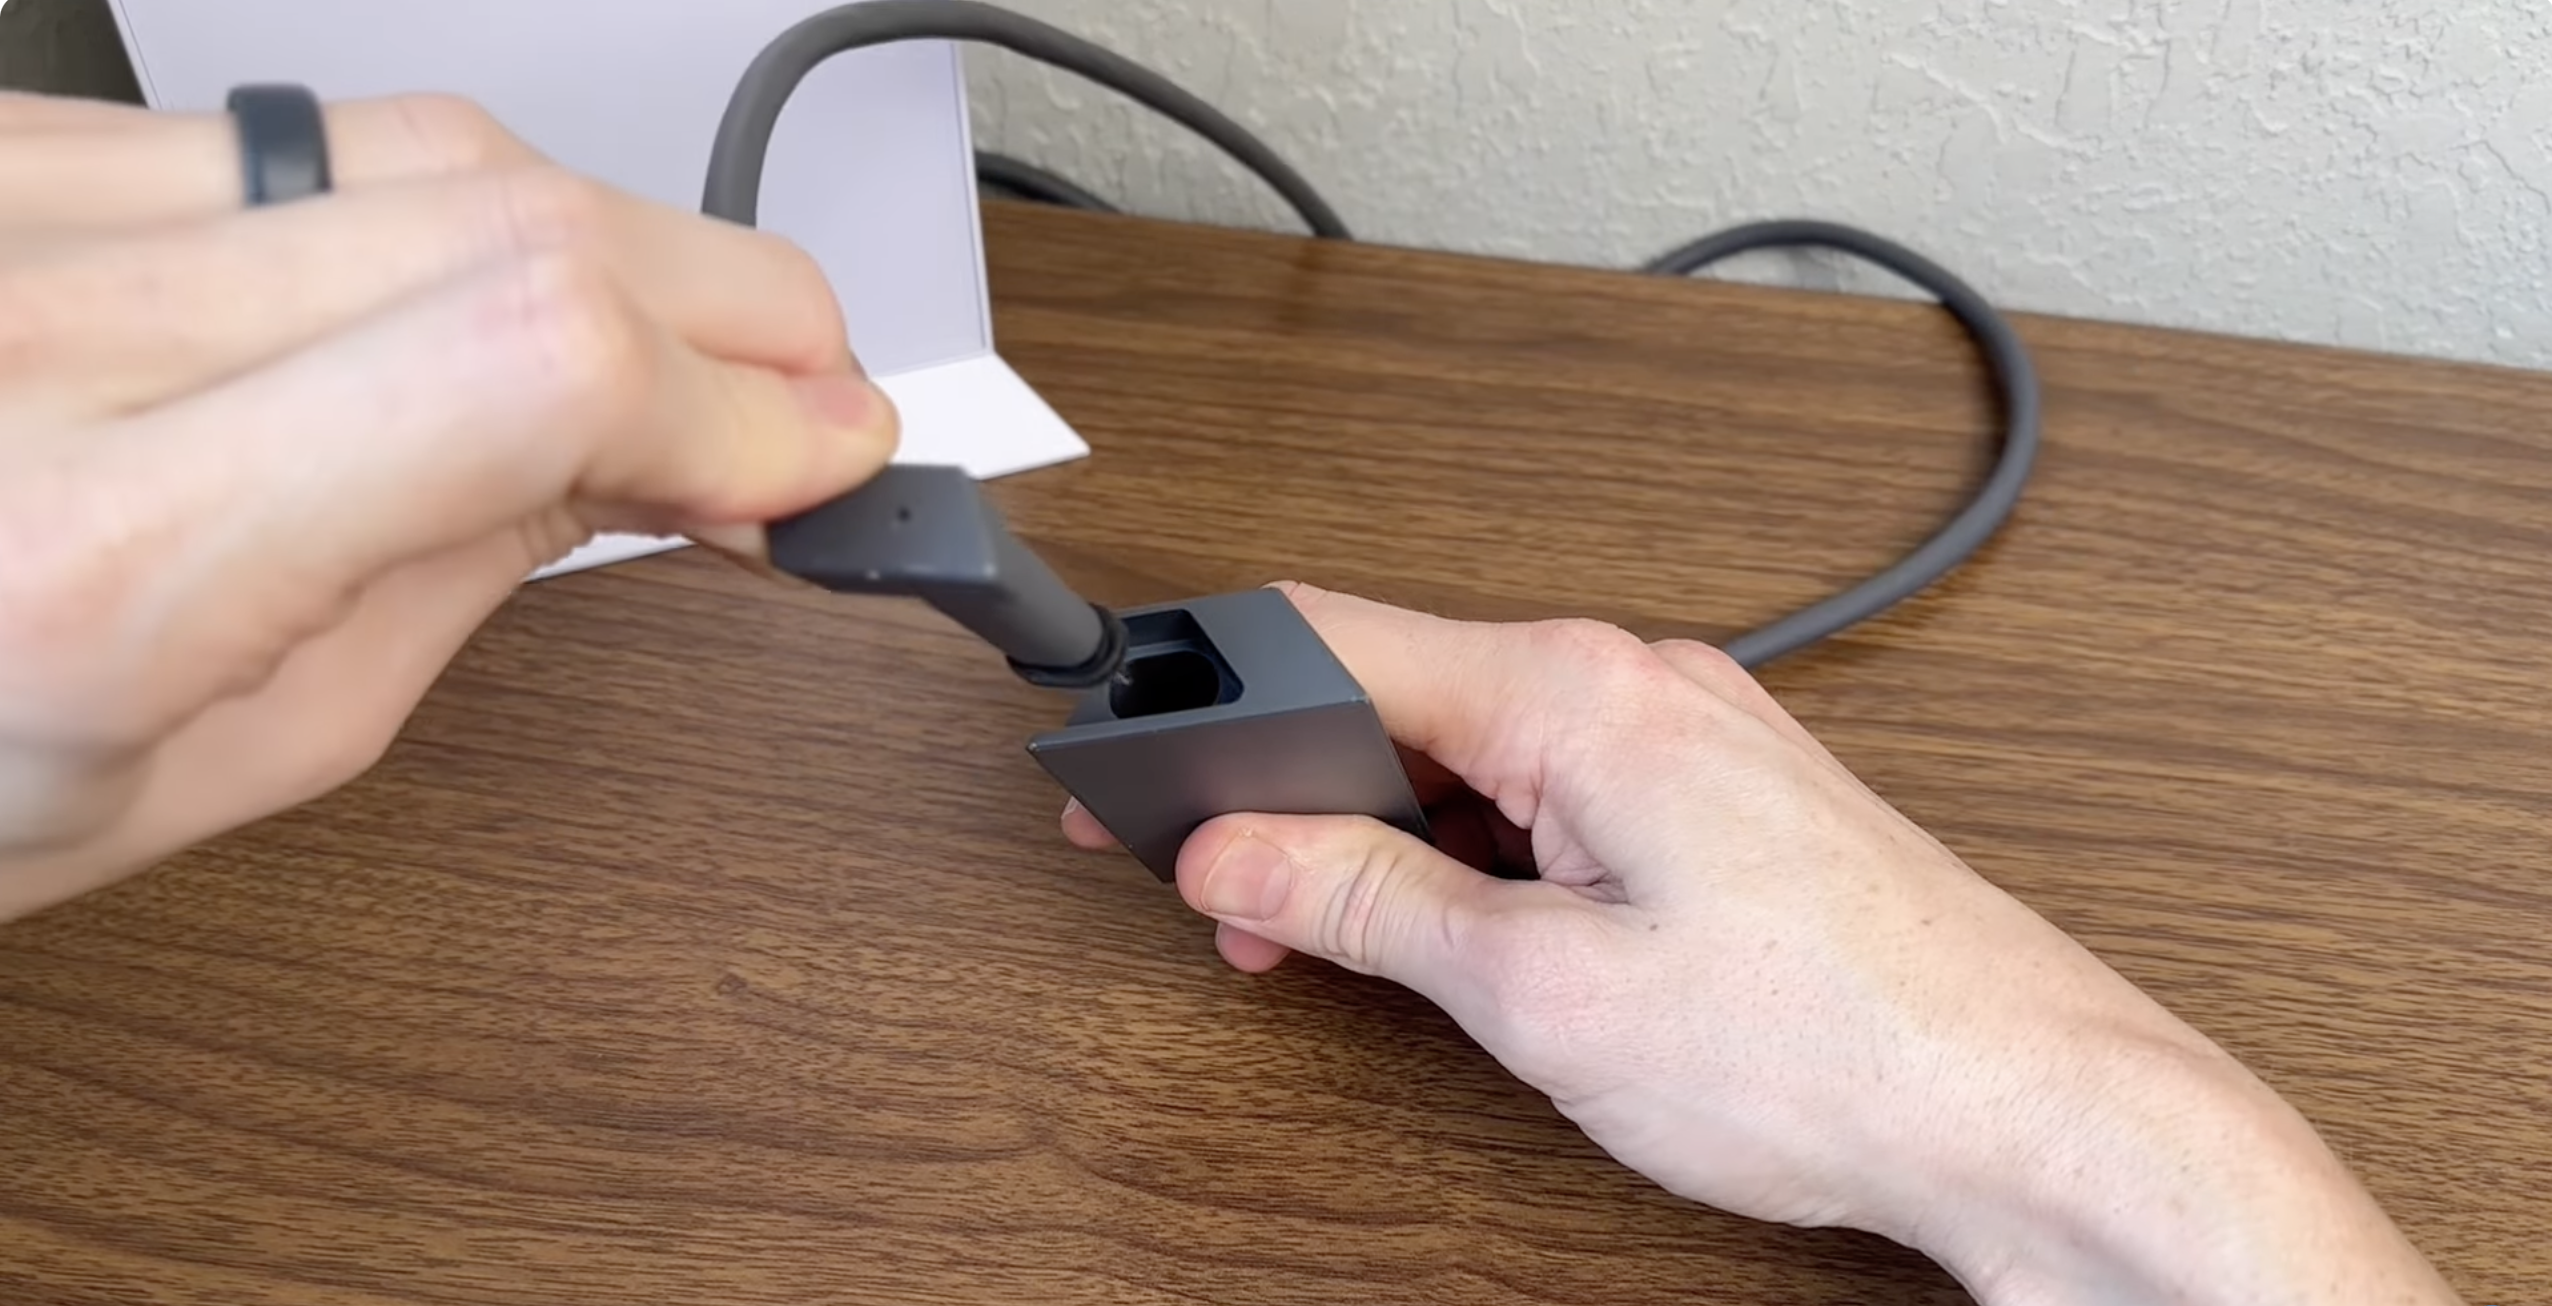
- Insert one end of the Ethernet cable into the Ethernet port on the Starlink Ethernet Adapter.
- Plug the other end into the Ethernet port on your device (e.g., laptop, gaming console, or smart TV).
- Ensure that the connection is secure by gently tugging on both ends of the cable.
This wired connection ensures a more stable and faster internet connection, ideal for bandwidth-intensive activities like online gaming, streaming, or downloading large files.
Step 4: Configuring Network Settings (If Necessary)
Some devices may require additional configuration to prioritize the Ethernet connection over Wi-Fi. Here’s how to do it:
- Go to the network settings on your device (e.g., via Control Panel on Windows or System Preferences on macOS).
- Locate the network interface settings and choose the Ethernet connection.
- Ensure that your device is set to prioritize the Ethernet connection over other networks.
- Save the changes.
This configuration is particularly useful for ensuring that your device uses the Ethernet connection for faster and more stable internet access.
Step 5: Troubleshooting Common Issues
If you're having trouble with your Starlink Ethernet setup, try these troubleshooting tips:
- No connection: Ensure that the Ethernet cable is properly connected and the Ethernet port on your device is functioning.
- Weak or unstable connection: Try using a different Ethernet cable or port on the router.
- No internet access: Reboot the router and the Ethernet adapter to refresh the connection.
- Device compatibility: Ensure that the Starlink Ethernet Adapter is compatible with your device. If in doubt, refer to the manufacturer’s support page for guidance.
For detailed troubleshooting steps, refer to Starlink’s official support page for further assistance.
Conclusion
The Starlink Ethernet Adapter is an excellent solution for improving your internet connection. By following the simple steps outlined in this guide, you can set up a wired connection between your device and the Starlink network for faster speeds, lower latency, and a more reliable internet experience.
Once your Starlink Ethernet Adapter is set up, you can enjoy seamless internet browsing, gaming, streaming, or large file transfers without interruptions. If you run into any issues, troubleshooting tips or Starlink support are available to assist you.

Discussion (0)
Be the first to comment.