



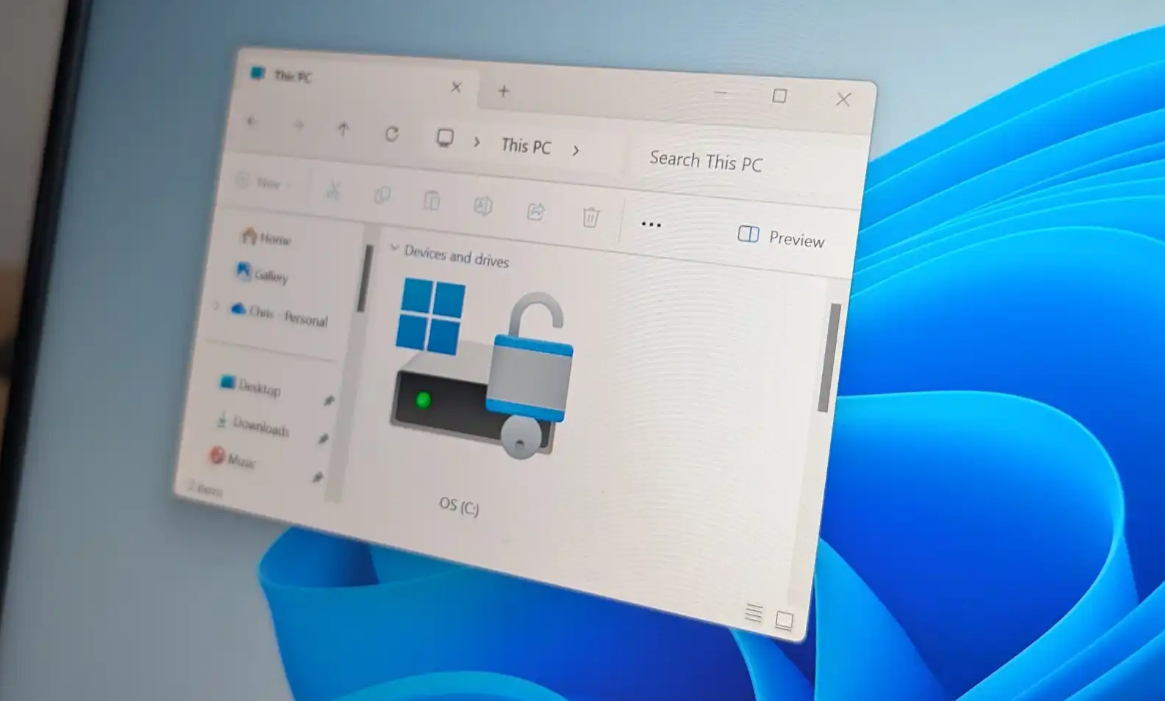
Device encryption in Windows 11 is one of those features that quietly works in the background. If it’s enabled, your data is protected. If it’s not, most users don’t even realize it.
The confusion gets worse on Windows 11 Home with a local account, where encryption behaves differently compared to Microsoft account setups.
This guide focuses on one thing: how to actually check whether your device is encrypted, and what that status really means.
What Device Encryption Actually Is
Device encryption is a simplified version of full disk encryption.
When enabled:
- Your data is encrypted automatically
- Unauthorized access is prevented if the device is stolen
- Decryption happens seamlessly when you sign in
It works silently, without requiring manual interaction.
The Key Limitation on Local Accounts
On Windows 11 Home:
- Device encryption is typically tied to a Microsoft account
- With a local account, it may not enable automatically
So before checking status, understand this:
Just because your system supports encryption does not mean it is currently active.
Method 1: Check Device Encryption via Settings
This is the most direct method.
Steps
- Open Settings
- Go to Privacy & Security
- Look for Device encryption
What You’ll See
- On → Your device is encrypted
- Off → Encryption is not active
- Option missing → Your device may not support it, or requirements are not met
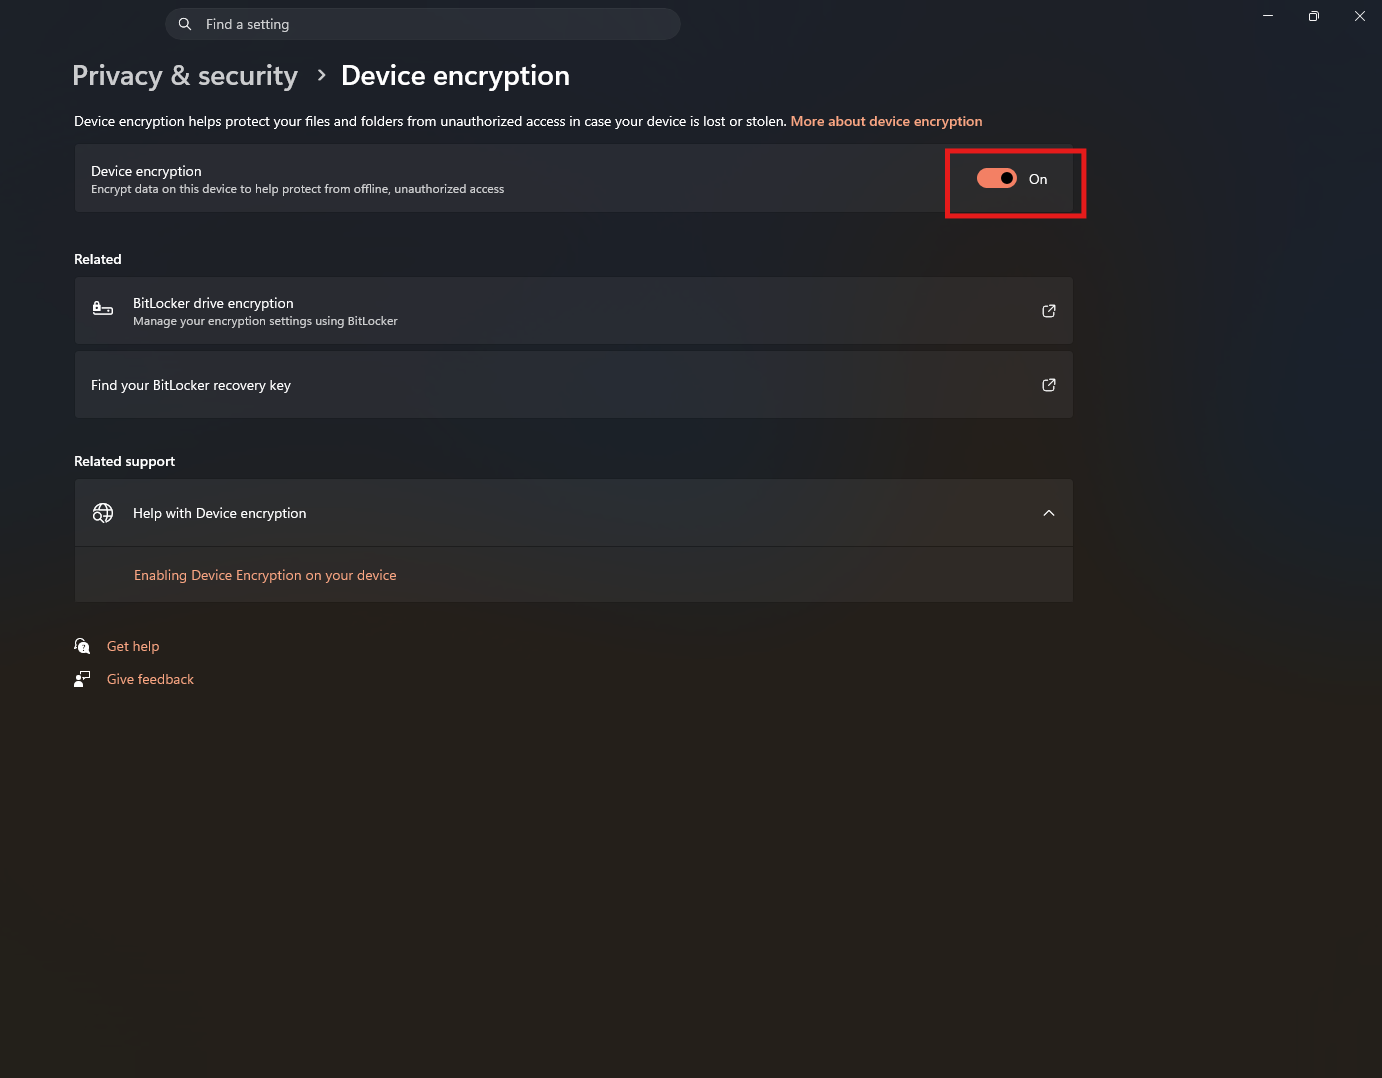
This is the quickest way to confirm status.
Method 2: Check Using System Information
If the option is unclear or missing, this method gives more detail.
Steps
- Press Windows + R
- Type
msinfo32and press Enter - Look for:
- Device Encryption Support
Possible Results
- “Meets prerequisites” → Your device supports encryption
- Other messages → Something is preventing it
This tells you capability, not just status.
Method 3: Check via Command Line
For a more precise check:
Steps
- Open Command Prompt as administrator
- Run:
manage-bde -status
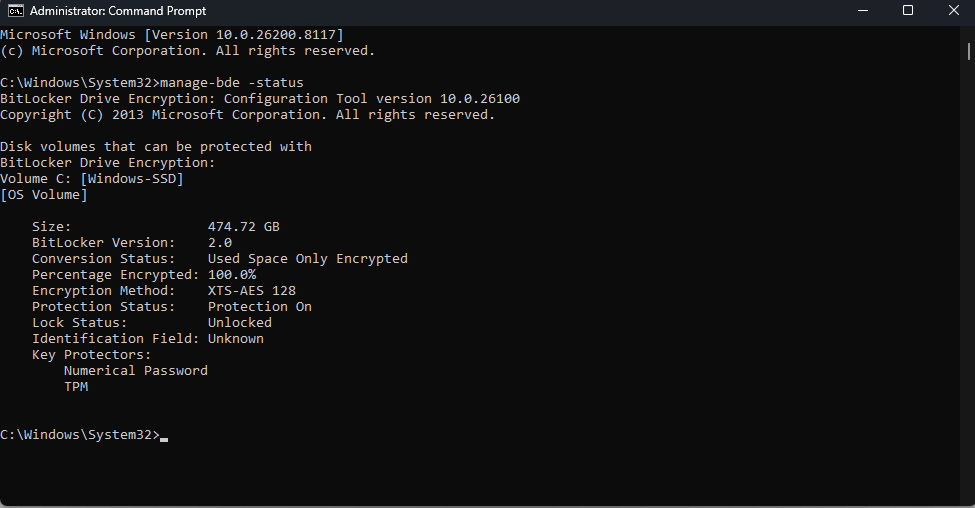
What to Look For
- Percentage Encrypted
- Protection Status
If it shows encryption active, your drive is protected.
Why Encryption May Be Off
On Windows 11 Home with a local account, this is common.
Typical reasons include:
- No Microsoft account linked
- Hardware requirements not met (TPM, Secure Boot)
- Encryption not enabled during setup
This is not an error. It’s expected behavior in many cases.
Real-World Insight
Many users assume their device is encrypted because:
- It’s a modern system
- It runs Windows 11
- Security is “on by default”
In reality, encryption depends on:
- Setup choices
- Account type
- Hardware compatibility
That’s why checking status matters.
Should You Enable Device Encryption
If your device supports it, enabling encryption is generally a good idea.
It makes sense if:
- You store personal or sensitive data
- You travel with your device
- You want basic protection without extra tools
It may not be necessary if:
- The device is rarely used outside a secure environment
- You rely on other encryption methods
Limitations to Be Aware Of
- Device encryption on Home is less configurable than BitLocker
- Recovery keys are important and should be backed up
- Local account setups may limit automation
For advanced control, Windows Pro offers more options.
Final Thoughts
Checking device encryption status in Windows 11 is simple, but understanding what you’re seeing is what actually matters. On a local account, encryption is not guaranteed. It depends on how your system was set up.
Take a minute to check it. If it’s enabled, your data is protected quietly in the background. If not, you at least know where you stand.
FAQs
Can I use encryption with a local account
Yes, but it may not enable automatically.
How do I know if my device supports encryption
Check System Information for device encryption support.
Is device encryption the same as BitLocker
It’s a simplified version available in Home editions.


Discussion (0)
Be the first to comment.