




Learning how to build a custom PC case gives you total control over how your system looks, cools, and upgrades. A DIY PC case can match your exact hardware, desk space, and style in a way that off-the-shelf cases rarely do.
This guide walks you through every stage of building a custom computer case from planning and materials to mounting the motherboard and tuning airflow. You will see how to design around standard ATX parts, keep PC case airflow healthy, and avoid mistakes that can damage components.
Take your time, measure carefully, and treat the project as both a workshop build and a PC upgrade. By the end, you will know exactly how to build a custom PC case that fits your hardware and your desk perfectly.
What You Need Before You Build A Custom PC Case
Before you cut panels or buy materials, you need a clear plan and a compatible parts list. A custom gaming PC case still depends on standard components that follow ATX or similar specs.
Make sure you have these basics decided first.
- Choose Your Hardware Platform - Decide whether to use ATX, Micro ATX, or Mini ITX. Your motherboard form factor defines tray size, mounting points, and internal clearances.
- Define Your Use Case - Plan around gaming, content creation, or quiet office work. A high-end GPU or heavy overclocking needs more airflow and radiator space than a simple office PC.
- Set Size Limits - Measure the space on or under your desk. Decide on maximum case height, depth, and width so your custom PC case actually fits where you want it.
- Pick A Cooling Strategy - Decide early if you want air cooling only, a 240 mm or 360 mm AIO, or a full custom loop. Radiator size alters panel layout and fan cutouts.
- Know Your Tool Comfort Level - A scratch-built PC case involves cutting metal or acrylic, drilling, and basic wiring. If that feels too advanced, you can still mod an existing case instead of starting from raw materials.
Plan Your Custom PC Case Layout
Good planning separates a clean custom PC case from a frustrating mess. You want enough space for your ATX motherboard tray, PSU, cable channels, and proper PC case airflow from intake to exhaust.
- Sketch The Internal Layout - Draw a top-down and side view showing the casing, the motherboard, the GPU, the power supply, the drives, the fans, and the radiators. Include rough measurements for each part.
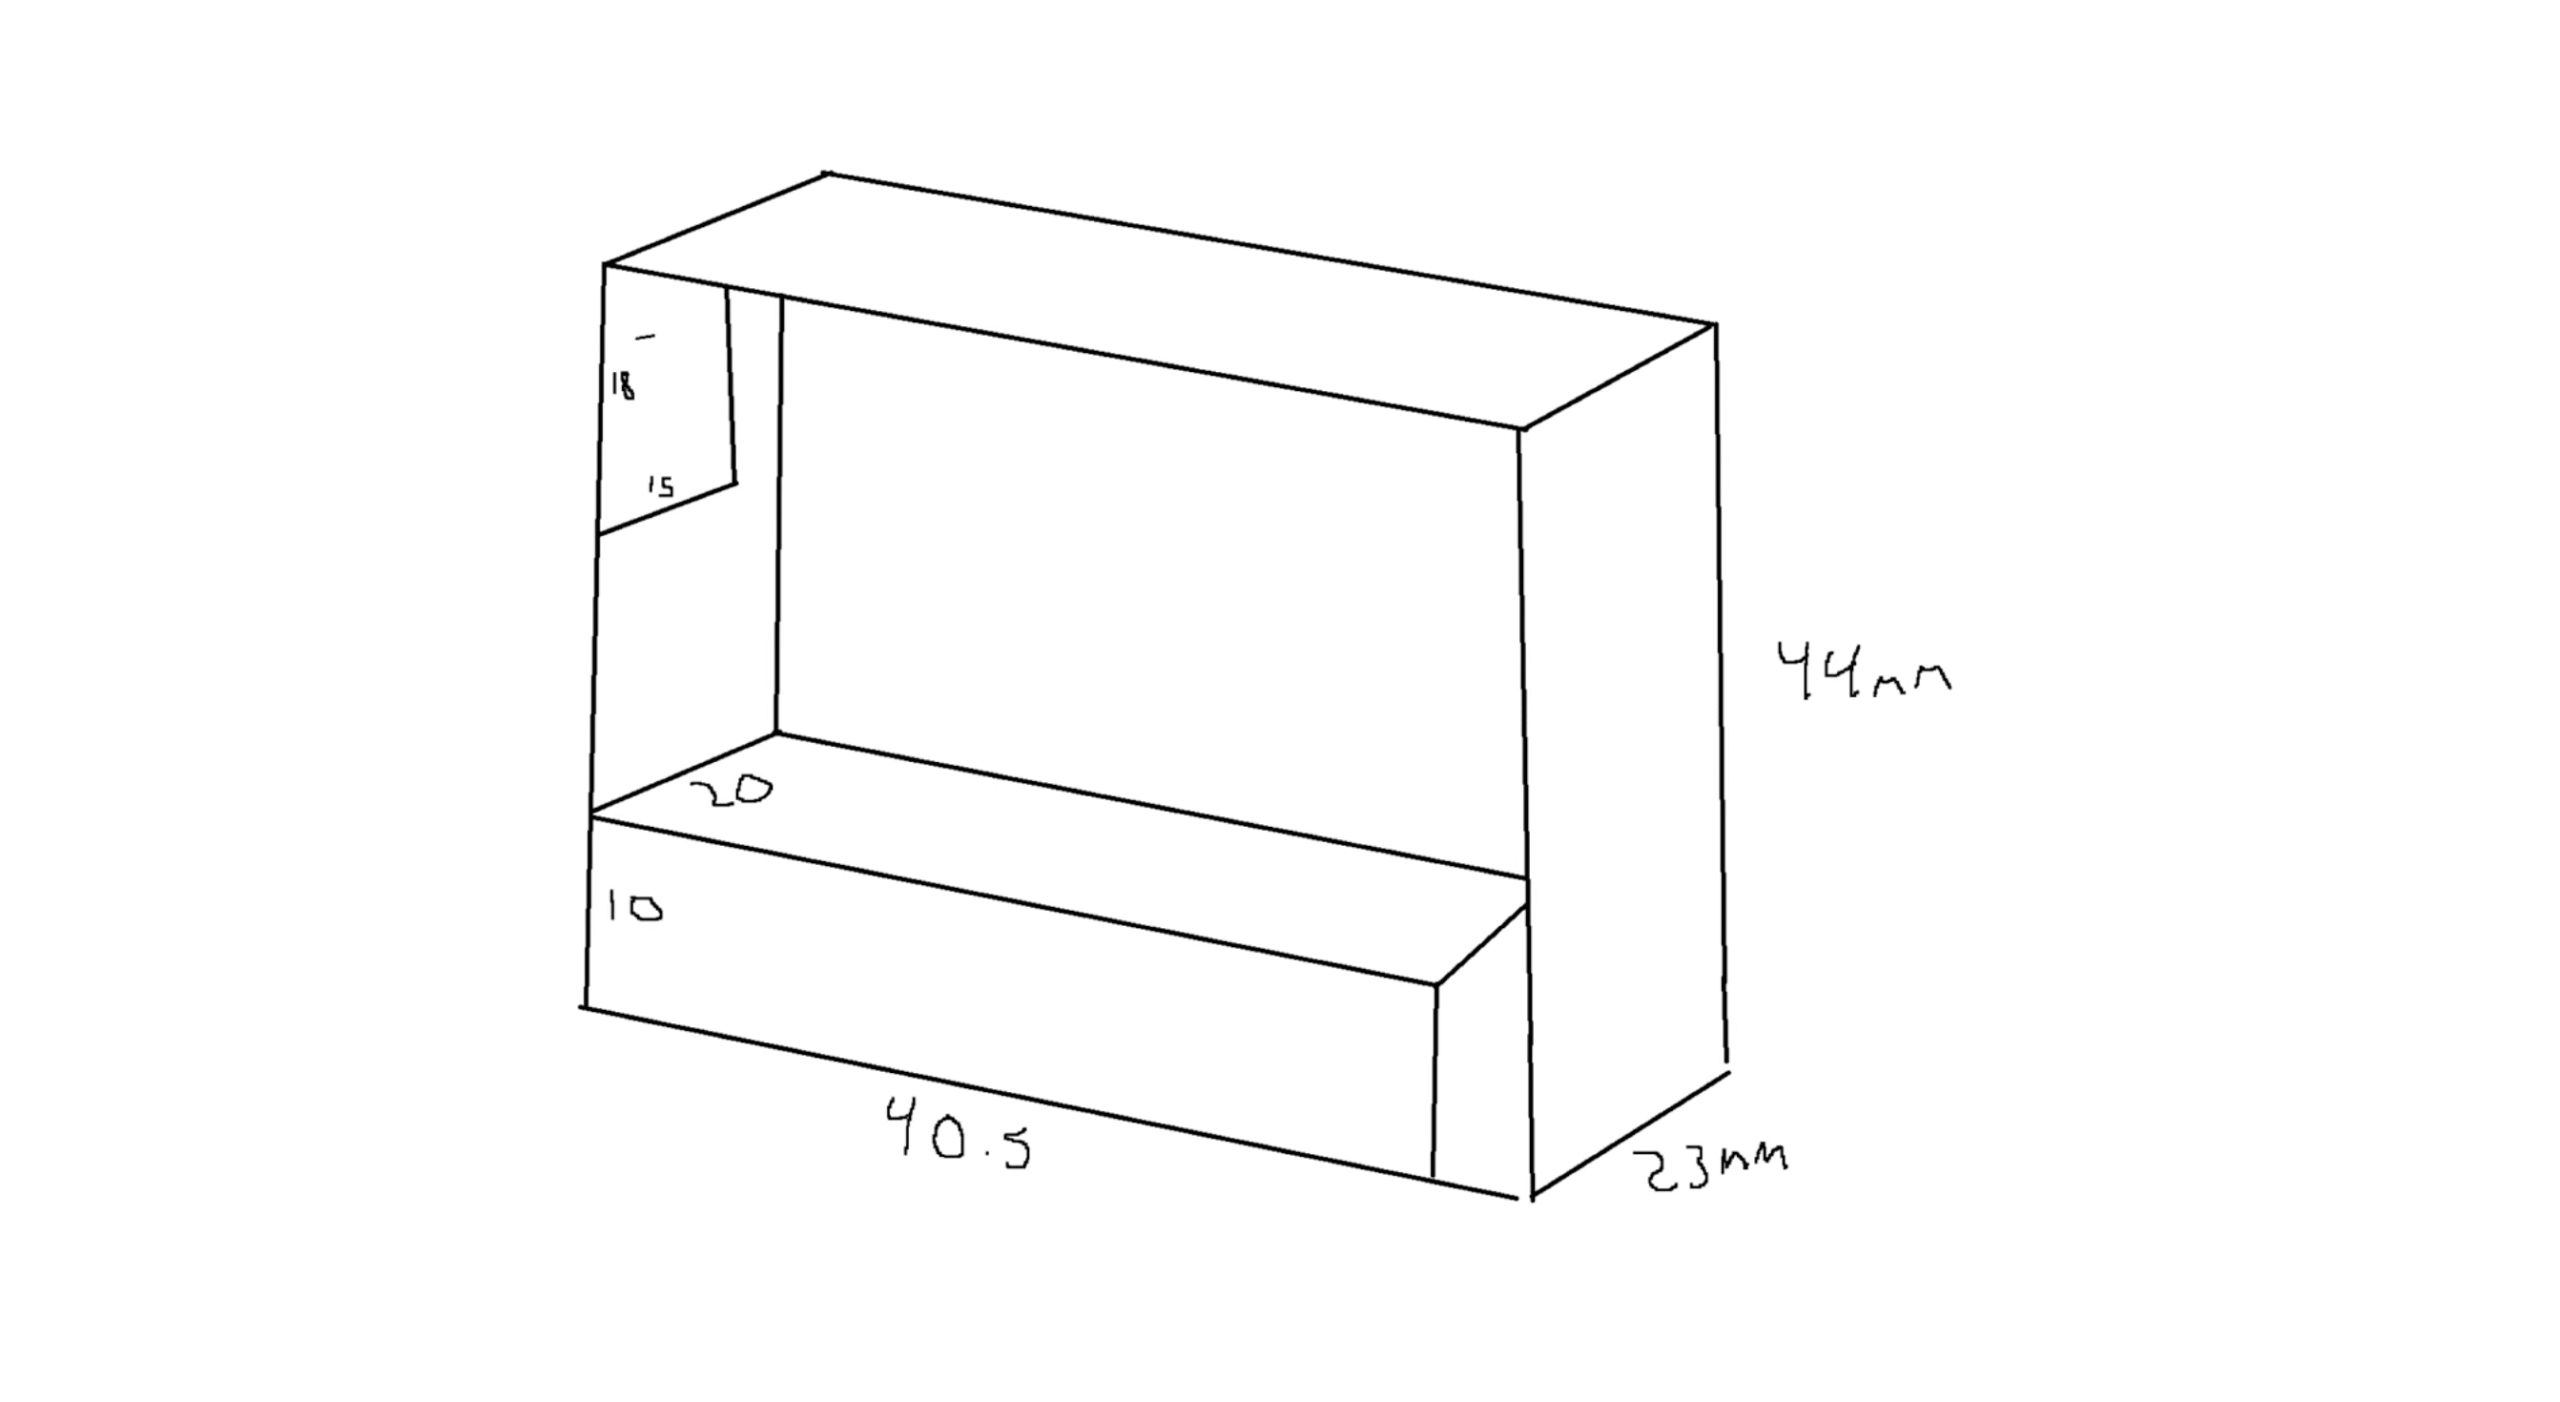
- Reserve Clearance Around The GPU - Leave extra room in front of the graphics card for power cables, and below it for airflow. Oversized modern GPUs often need more space than the spec sheet suggests.
- Plan Front To Back Airflow - Aim for cool intake at the front or bottom and exhaust at the rear and top. Avoid trapping hot air behind solid panels without vents.
- Map Cable Paths - Decide where 24-pin, EPS, PCIe, and SATA cables will run. A separate cable channel or rear cavity makes your DIY PC case much easier to work in later.
- Mark Panel Cutouts - Include cutouts for the I/O shield, PCIe slots, front panel ports, power button, and any USB or audio jacks you want on the front or top.
Finalize the layout on paper or in simple CAD before you commit to cutting panels. It is much easier to erase a sketch than to fix a misaligned motherboard tray.
Tools And Materials For A DIY PC Case
Your material choice defines how your custom computer case feels and how hard it is to build. Aluminum and steel are durable, acrylic and tempered glass look premium, and wood can give a unique furniture style.
- Common Case Materials
- Aluminum sheet for a lightweight but strong custom PC case
- Steel sheet for a more rigid but heavier chassis
- Acrylic or polycarbonate panels for clear windows and accents
- Plywood or hardwood if you want a desk-like or furniture-style case
- Essential Hand Tools
- Measuring tape, steel ruler, and square for accurate layout
- Fine tip marker or scribe for marking cut lines and holes
- Metal file and sandpaper for smoothing sharp edges
- Set of screwdrivers for PC screws and case assembly
- Cutting And Drilling Tools
- Jigsaw, circular saw, or metal shear appropriate for your material
- Power drill with metal and step bits for standoff and fan holes
- Hole saws or fan templates for 120 mm or 140 mm fan cutouts
- Assembly Hardware
- Motherboard standoffs and matching screws
- Assorted PC screws for drives, fans, and brackets
- Corner brackets or angle aluminum for the frame
- Rivets or machine screws with nuts for structural joints
- Cable Management And Finishing
- Cable ties, Velcro straps, and stick-on cable anchors
- Rubber grommets for cable pass-throughs and fan cutouts
- Paint, powder coating, or vinyl wrap for the outer panels
- Safety Gear
- Safety glasses when cutting or drilling
- Work gloves for handling sheet metal
- Dust mask if you cut wood, MDF, or create fine metal dust
Never work on a powered system. Build the custom PC case as an empty shell first, then install components after all cutting, drilling, and painting is complete.
Measure And Cut Panels For Your Custom PC Case
This stage turns your design into real parts. Careful measuring and cutting make the difference between a solid scratch-built PC case and a rattling box that never quite lines up.
- Transfer Your Layout To Material
- Mark the outer dimensions for the front, back, sides, top, and bottom panels.
- Mark interior openings for fans, radiators, and the rear I/O and PCIe slots.
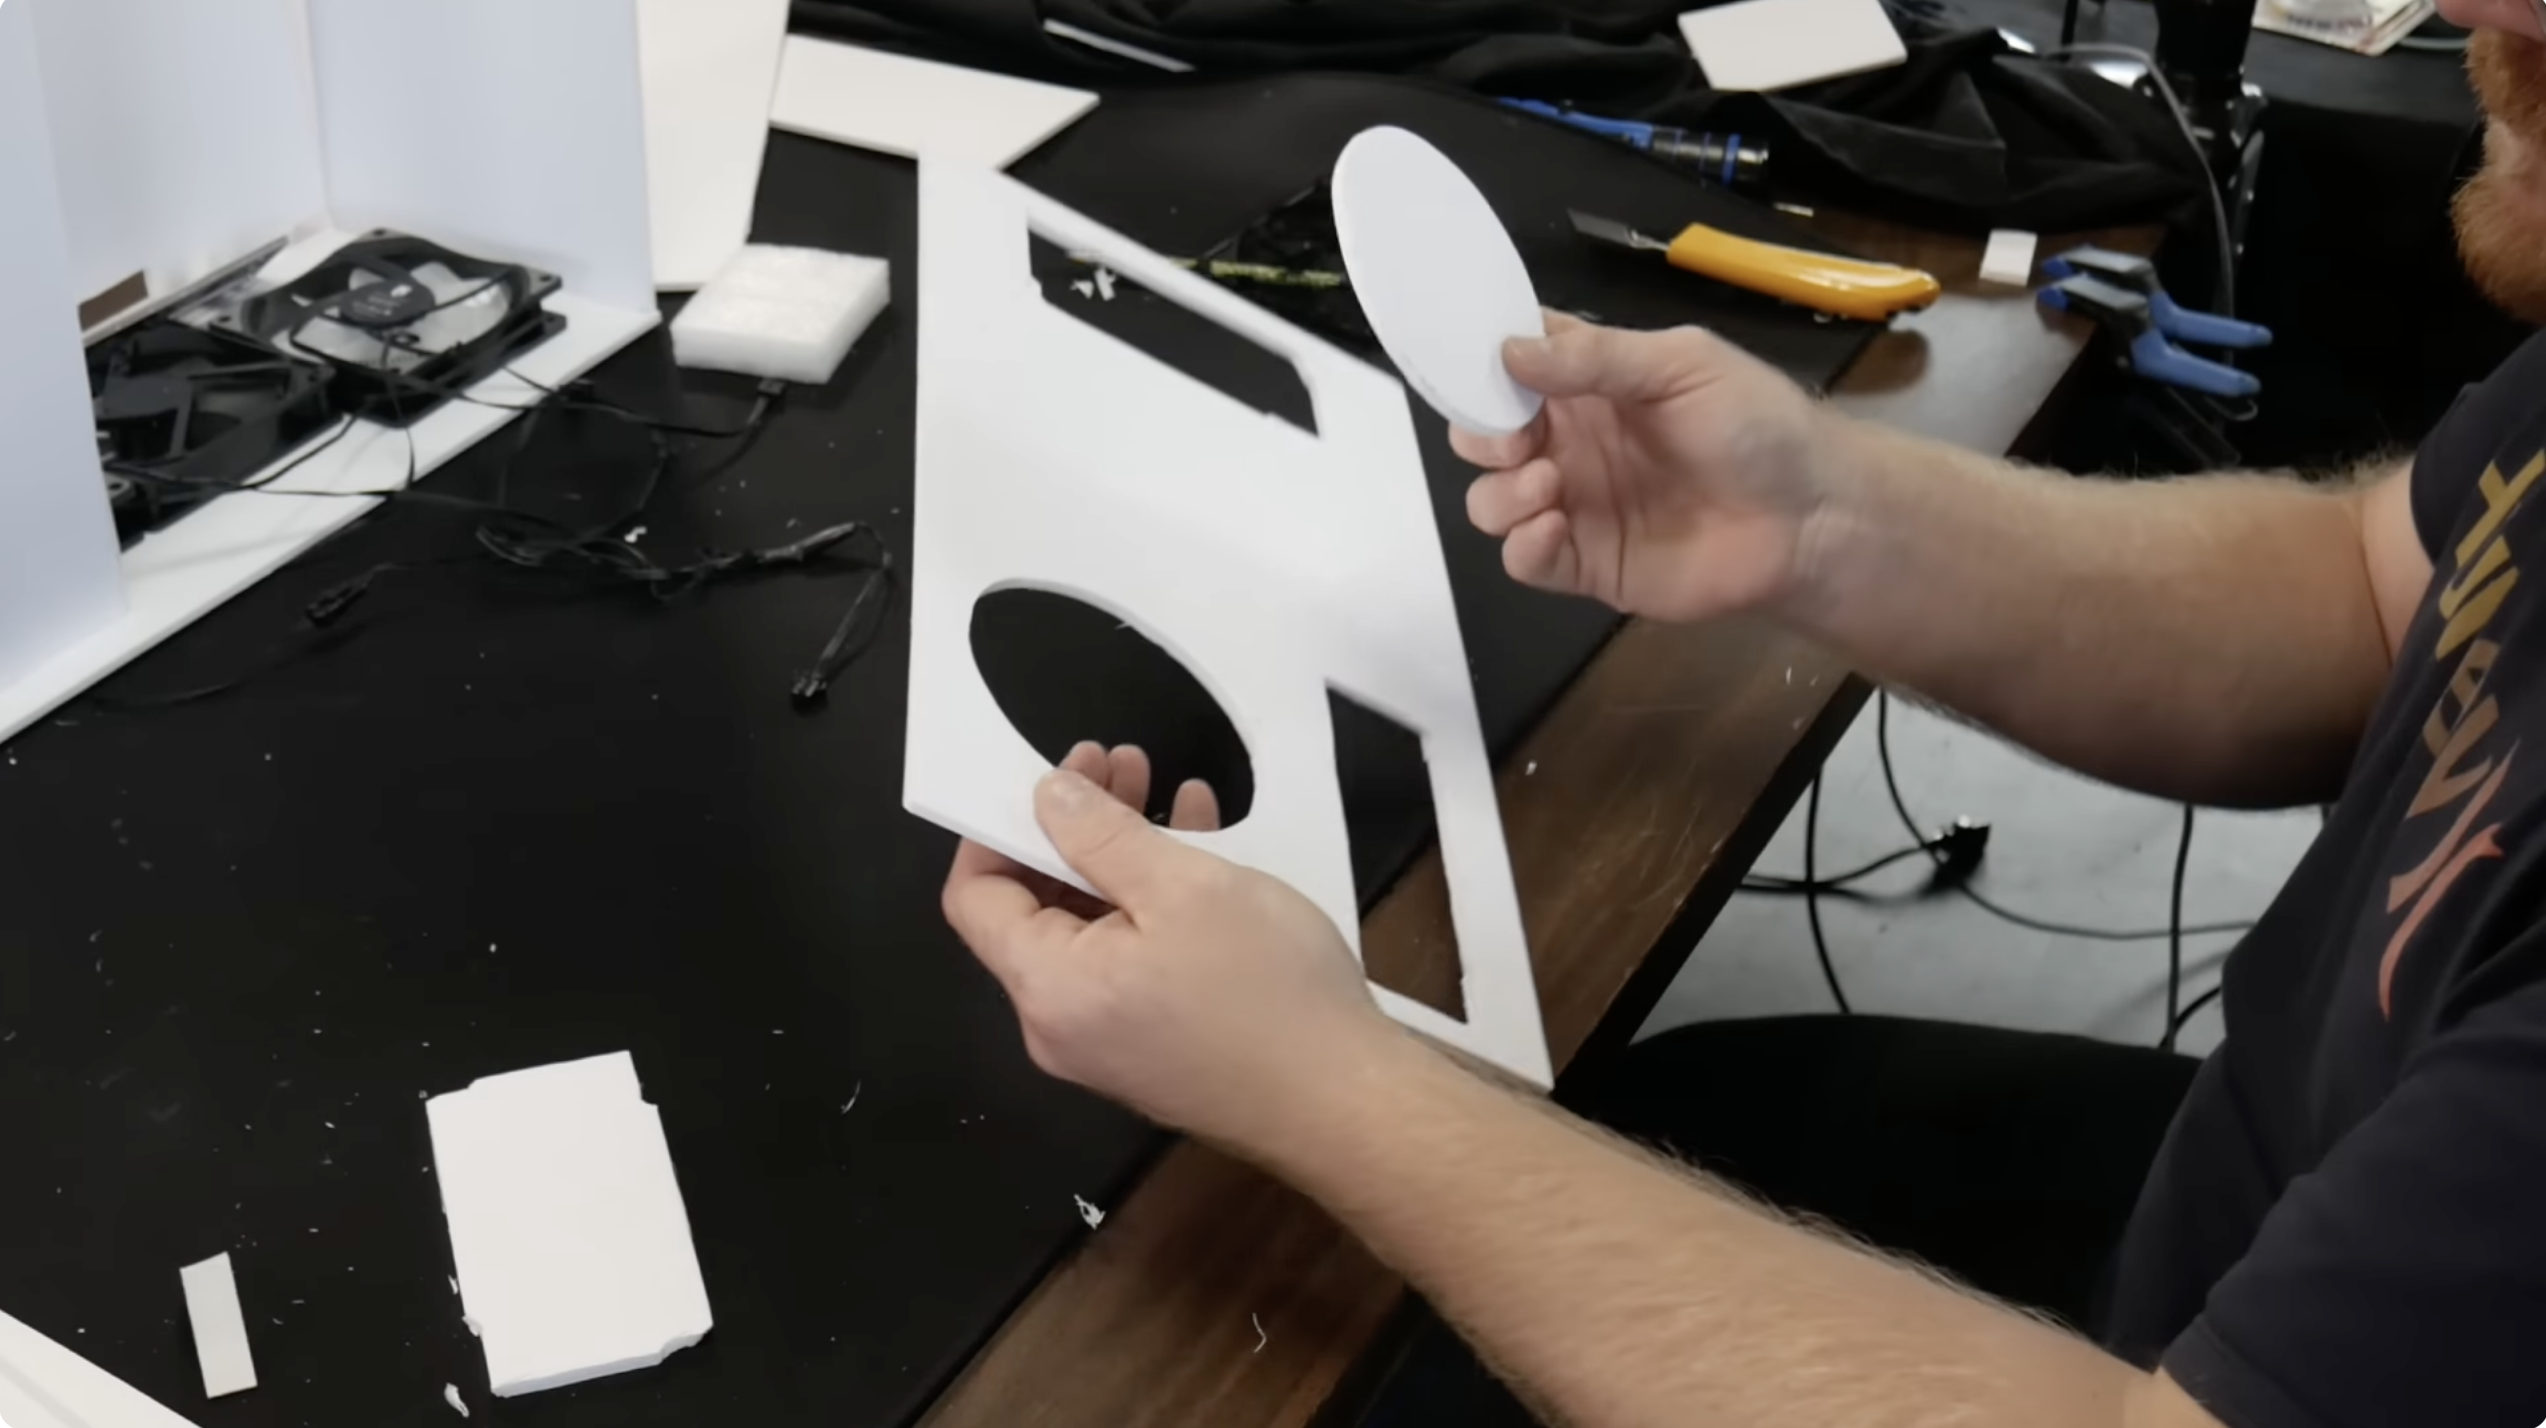
- Use a square to keep lines straight and corners at 90 degrees.
- Cut Panels To Size
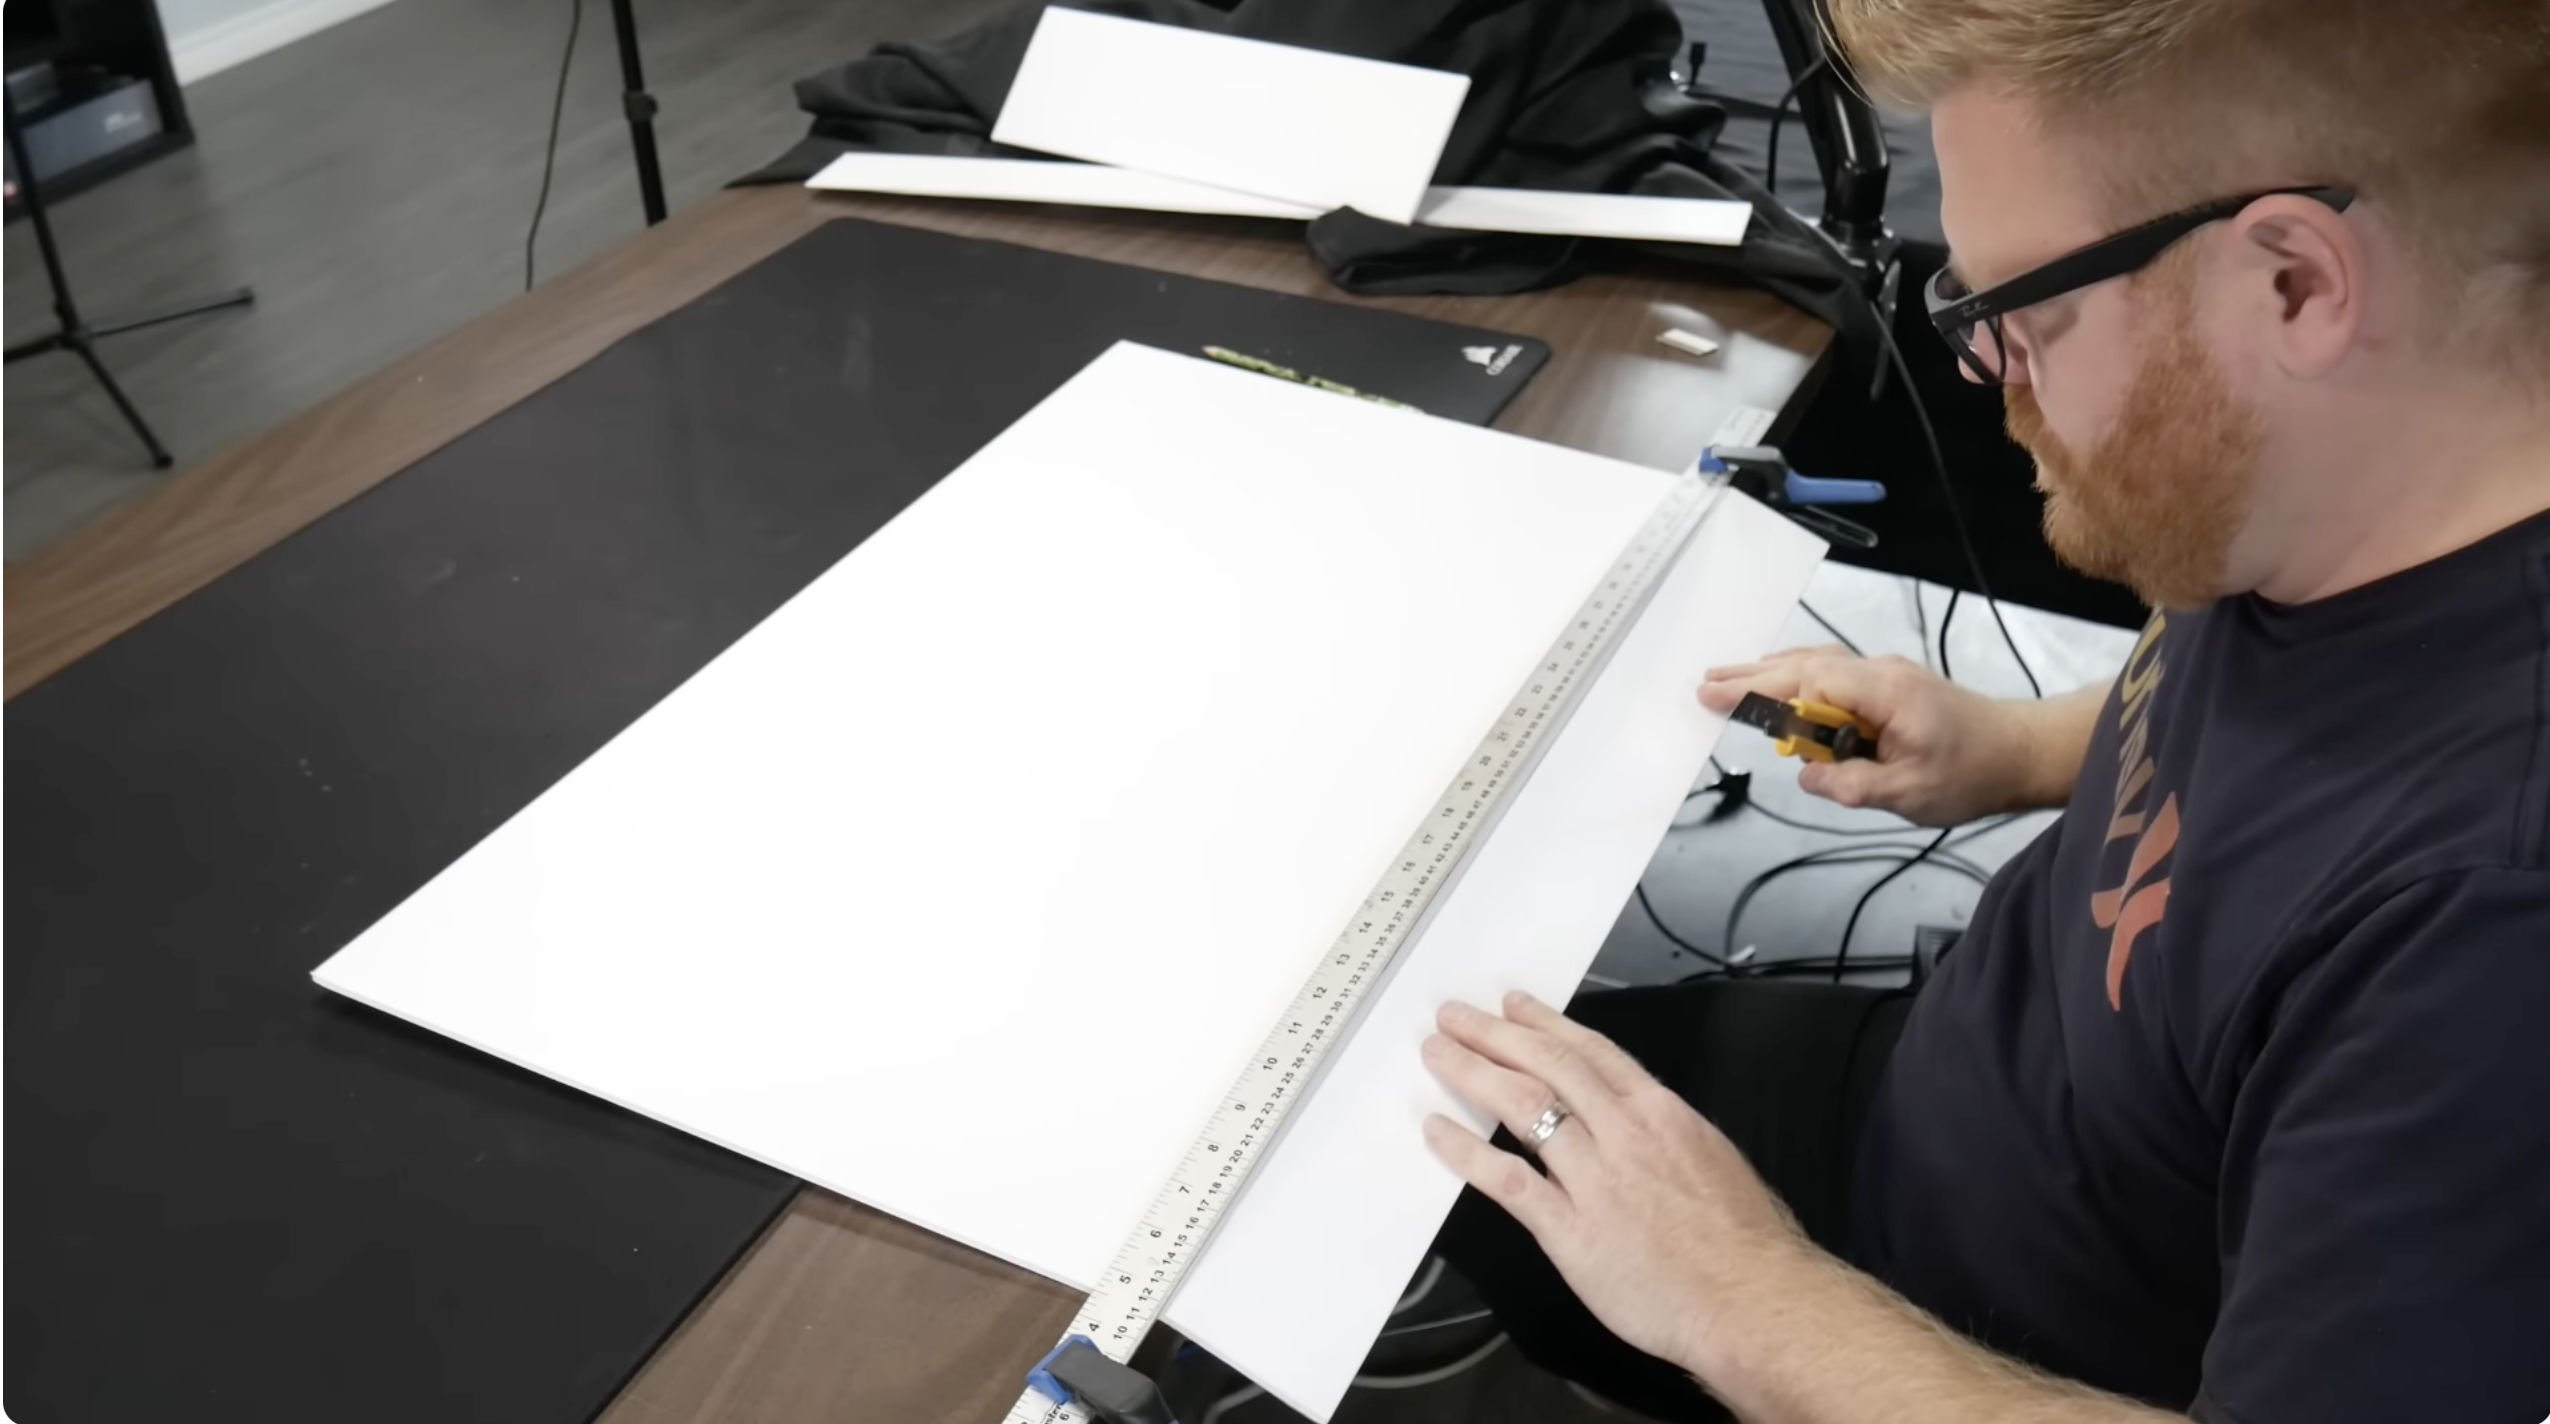
- Support the sheet firmly on a workbench before cutting.
- Follow your cut lines slowly with a jigsaw or appropriate saw.
- Cut just outside the line, then file down to a clean final edge.
- Test Fit Panels As You Go
- Dry fit the bottom, sides, and back together to check alignment.
- Adjust any panel that rocks or leaves large gaps.
- Label each panel so you can reassemble them in the same orientation later.
- Deburr All Edges
- Use a file or deburring tool on every cut edge and hole.
- Remove sharp corners that could cut cables or your hands.
Drill Mounting Points For The Motherboard And Hardware
Next, you prepare the case to hold standard components. A reliable custom PC case still uses standard ATX or Micro ATX mounting points so any replacement board will fit later.
- Lay Out The Motherboard Tray
- Place your motherboard on the tray panel or inside the frame with the rear I/O where it will sit.
- Mark each standoff location through the board's mounting holes.
- Check clearance for the CPU socket, RAM, and top edge connectors.
- Drill Standoff Holes
- Drill pilot holes at each mark using a bit sized for your standoff threads.
- Install a few test standoffs and set the motherboard on them to verify alignment.
- Create Rear I/O And PCIe Openings
- Mark and cut the rectangular opening for the I/O shield on the back panel.
- Lay out vertical slots or a single large cutout for PCIe brackets behind the GPU area.
- Drill small screw holes to secure expansion card brackets.
- Mark PSU And Drive Mounts
- Decide if the power supply sits at the bottom or top of the custom computer case.
- Trace the PSU fan opening and screw pattern, then cut and drill as needed.
- Mark and drill mounting points for 2.5 inch and 3.5 inch drives or drive cages.
- Add Fan And Radiator Mounts
- Use templates or existing fan grills to mark 120 mm or 140 mm fan hole patterns.
- Drill or hole saw the main fan openings and the four mounting screw holes for each fan.
- Allow extra space for radiator thickness and fittings if you plan liquid cooling.
Assemble The Custom PC Case Frame
Once panels and mounting holes are ready, you can assemble the frame. This turns flat pieces into a true DIY PC case that can hold real weight.
- Build The Main Box
- Start with the bottom panel, then attach the back and side panels using brackets, rivets, or screws.
- Square up each corner before tightening fasteners fully.
- Add the front panel last so you can still work inside easily.
- Reinforce Stress Points
- Add extra angle brackets behind the motherboard area and PSU mount.
- Use cross braces if your panels feel flexible or if you plan to move the case often.
- Test Fit The Top Panel
- Decide if the top will be fixed or removable.
- Use screws or a simple bracket system so you can remove the top for upgrades and cleaning.
- Check Panel Gaps And Stability
- Gently rock the frame to make sure it does not flex excessively.
- Fill small gaps with trim, edge guards, or sealant if you want a polished finish.
Install Motherboard Tray And Power Supply
Now you turn the empty chassis into a real custom PC case by mounting the core hardware. Work slowly and avoid scratching traces or shorting the board on bare metal.
- Mount The Motherboard Tray
- Secure the prepared tray to the frame using screws or rivets so it cannot flex.
- Install standoffs in all required positions for your ATX, Micro ATX, or Mini ITX board.
- Install The Motherboard
- Press the I/O shield into the rear cutout until it clicks into place.
- Set the motherboard onto the standoffs and align it with the I/O shield and PCIe slots.
- Screw the board down gently so it sits flat without bending.
- Mount The Power Supply
- Position the PSU so its fan can pull cool air, usually from the case bottom or side vent.
- Secure it with four screws through the rear panel or PSU bracket.
- Route the main 24-pin and CPU power cables roughly along your planned cable paths.
- Add Drives And GPU
- Install SSDs and HDDs in their brackets or directly to the panel using vibration-isolating screws.
- Install the graphics card into the PCIe slot and secure the bracket to the rear panel.
Add Cooling And Airflow To Your Custom PC Case
Smart airflow keeps your DIY PC case cool and quiet. Good fan placement matters more than simply adding as many fans as possible.
- Place Intake And Exhaust Fans
- Use front or bottom fans as intake to pull cool air into the case.
- Use rear and top fans as exhaust to remove hot air from the CPU and GPU area.
- Aim for slightly more intake than exhaust if you want positive pressure with filtered intakes.
- Mount CPU Cooler Or Radiator
- Install an air cooler so it pushes air toward a rear or top exhaust fan.
- For AIO liquid coolers, mount the radiator where it can receive fresh intake air.
- Use Dust Filters
- Add removable filters to intake fans on the front, side, or bottom.
- Make sure you can reach filters easily for cleaning without disassembling the case.
- Keep Air Paths Clear
- Avoid blocking intake fans with solid drive cages or bundles of cables.
- Leave space below and in front of the GPU so cool air can reach its fans.
Wire The System And Manage Cables
Clean cable management makes your custom PC case easier to service and improves airflow. Plan cable routes before you plug everything in.
- Route Power Cables First
- Connect the 24-pin, CPU power, and PCIe GPU cables before the smaller leads.
- Run them along case edges or behind the motherboard tray whenever possible.
- Connect Drives And Front Panel
- Attach SATA power and data cables to SSDs and HDDs with gentle bends.
- Connect front panel power, reset, USB, and audio leads carefully according to the motherboard manual.
- Bundle And Secure Cables
- Use cable ties or Velcro straps to group cables into neat bundles.
- Anchor bundles to the frame with stick-on cable mounts or built-in tie points.
- Check For Clearance
- Ensure no cables can touch fan blades or get trapped between panels.
- Close the side panel gently to confirm nothing pinches or bends sharply.
Power On And Test Your Scratch Built PC Case
With everything installed, you can finally power on and verify that your custom PC case works as well as it looks. Stay ready to shut the system down quickly if you see or smell anything unusual.
- First Power On Checks
- Power the system on with the side panel off so you can watch fans and LEDs.
- Confirm that all fans spin freely and no cable touches moving parts.
- Enter the BIOS or UEFI and verify that CPU, RAM, and drives are detected.
- Monitor Temperatures
- Use basic monitoring tools to watch CPU and GPU temperatures at idle.
- Run a light stress test or game and confirm temperatures stay in a safe range.
- Listen For Noise And Vibrations
- Listen for rattling panels or fan vibrations against the case.
- Add rubber washers, extra screws, or foam pads to quiet noisy contact points.
- Final Fit And Finish
- Install any decorative panels, glass windows, or LED strips after testing.
- Clean fingerprints and dust, then take photos for future reference and upgrades.
Final Tips For How To Build A Custom PC Case
Learning how to build a custom PC case teaches you more about airflow, clearances, and hardware than a normal prebuilt chassis ever will. It also gives you a unique rig that matches your space, not the other way around.
- Start Simple - Your first DIY PC case does not need curved glass, hidden compartments, or motorized panels. Focus on solid structure and good cooling first.
- Respect Safety Limits - Unplug tools between cuts, clamp work securely, and never work inside a powered PC.
- Design For Upgrades - Leave extra room for a larger GPU, more drives, or a thicker radiator so the case can evolve with your hardware.
- Document Your Build - Keep notes and photos of measurements, hole locations, and wiring paths to make future repairs and mods easier.
- Accept That Iteration Is Normal - Even experienced builders tweak their custom computer cases after living with them for a while. Treat this as a long-term project that you can refine over time.
Once you finish your first custom PC case, you will understand airflow, layout, and hardware limits in a way that makes every future build easier. The skills carry over whether you create another scratch-built PC case, mod a commercial chassis, or help friends design their own custom rigs.


Discussion (0)
Be the first to comment.