For how long did you wish for a way to automatically download, install and update apps on your Windows PC? How happy would you be if we told you that there is a method for doing that, that also ensures that no adware and other forms of junk get installed? The solution is called Ninite. It is an online service that lets you install or update apps automatically on your Windows computer, while you do something else. The installations are unattended, meaning that you do not have to intervene in any way. If you want to learn how to automatically install and update apps on your Windows devices, without ever having to click or tap the Next button again, read this tutorial:
What is Ninite?
Ninite is an online service that lets you automatically download and install popular apps for Windows, all at once. On the Ninite website, you can choose the apps that you want to install or update on your Windows computer or device. Then, you download and run an executable file, and wait for those apps to install automatically. During this time, you can do whatever you want, including working on other things on your PC or leaving your computer unattended.
How to install apps and update them, with Ninite
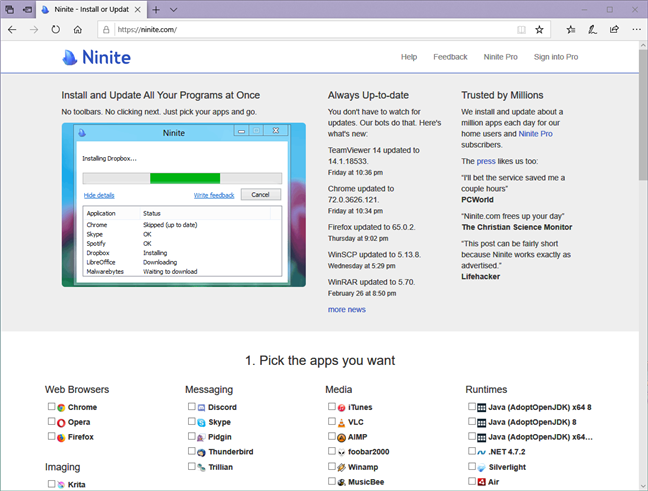
First of all, you have to open a web browser on your Windows PC and visit the Ninite website: ninite.com.
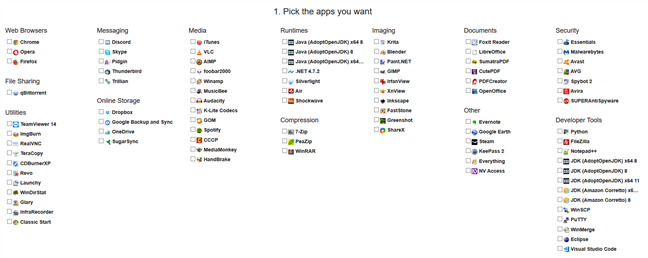
On the Ninite web page, select the apps that you want to install or update. As you can see in the image below, the list of supported apps is quite long. You can choose which apps you want to automatically install or update, by activating the checkboxes near their names.
After you finish making your selection, scroll the web page until you see the Get Your Ninite button. Then, click or tap on it.
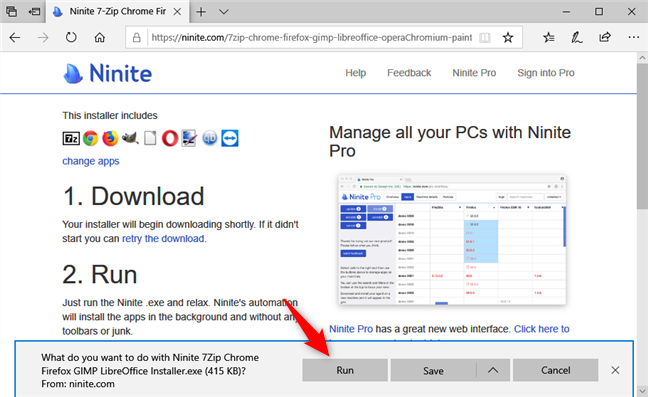
When you do that, Ninite creates an executable installer file that you must download and run on your PC. When your web browser asks, choose to Run or Save the installer.
NOTE: If you chose to save the installer, you can use it again in the future, should you want to update your apps again.
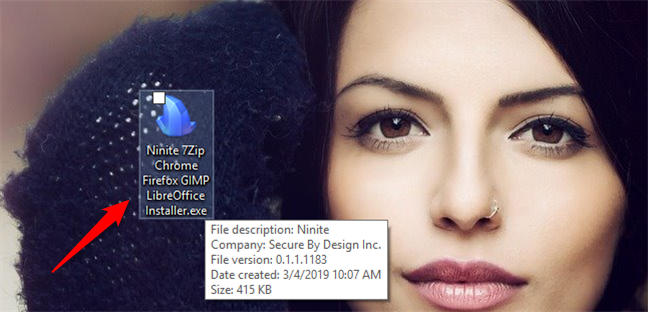
The Ninite installer bears the name Ninite followed by the names of some of the apps you chose to install or update on your Windows PC.
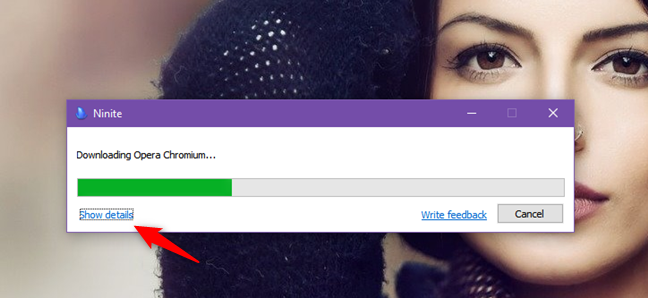
When the Ninite installer runs, it opens a small window in which it shows you what it is doing, as well as the progress of the installation. As you can see in the image below, the window is rather simple: if you want to see more information about the process, click or tap "Show details."
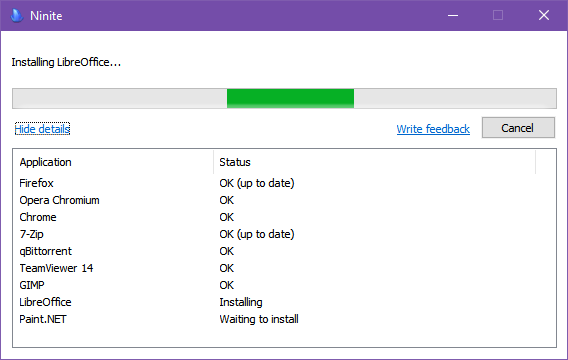
That makes Ninite enlarge its window and show you more details about the status of each of the apps you selected to install or update with it.
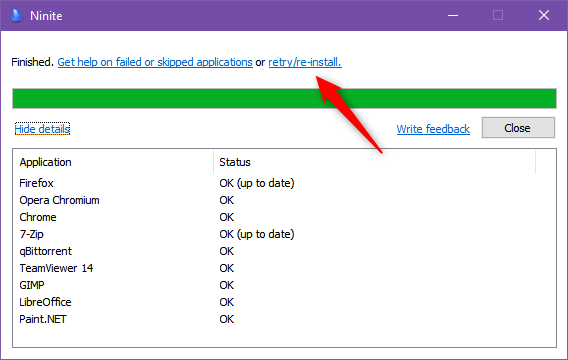
When the automatic installations are over, Ninite shows you whether they installed correctly. If some of the installs failed, you could retry by clicking or tapping on the link with the same name.
That's it: now all the apps you selected on the Ninite web page are installed or have been updated on your Windows PC, so you can start using them.
Which are the apps that you can install or update with Ninite?
This is a simple question that deserves a simple answer, so here is the list of apps that Ninite supports when we published this article:
- Web Browsers: Chrome, Opera, Firefox
- Messaging: Discord, Skype, Pidgin, Thunderbird, Trillian
- Media: iTunes, VLC, AIMP, foobar2000, Winamp, MusicBee, Audacity, K-Lite Codec Pack, GOM, Spotify, CCCP MediaMonkey, HandBrake
- Runtimes: Java (AdoptOpenJDK) x64 Version 8 and 11, Java (AdoptOpenJDK) 8, Dotnet framework 4.7.2, Silverlight, Adobe Air, Shockwave
- Imaging: Krita, Blender, Paint.NET, GIMP, IrfanView, XnView, Inkscape, FastStone, Greenshot, ShareX
- Documents: Foxit Reader, LibreOffice, SumatraPDF, CutePDF, PDFCreator, OpenOffice
- Security: MS Essentials, Malwarebytes, Avast, AVG, Spybot 2, Avira, SUPERAntiSpyware
- File Sharing: qBittorrent
- Online Storage: Dropbox, Google Sync and Backup, OneDrive, SugarSync,
- Other: Evernote, Google Earth, Steam, KeePass 2, Everything, NV Access
- Utilities: TeamViewer 14, ImgBurn, RealVNC, TeraCopy, CDBurnerXP, Revo, Launchy, WinDirStat, Glary, InfraRecorder, Classic Start
- Compression: 7-Zip, PeaZip, WinRAR
- Developer Tools: Python, FileZilla, Notepad++, JDK (AdoptOpenJDK) 8 x64, JDK (AdoptOpenJDK) 8, JDK (AdoptOpenJDK) x64 11, JDK (Amazon Corretto) x64 8, JDK (Amazon Corretto) 8, WinSCP, PuTTY, WinMerge, Eclipse, Visual Studio Code
How to create a scheduled task that runs Ninite periodically and keeps your software updated
If you want to keep all your apps updated, all the time, you can use the Task Scheduler from Windows to schedule the Ninite executable to run periodically. Then, each time it runs, it automatically updates the apps you selected. If you do not know how to create a scheduled task, you should read this guide: How to create basic tasks with Task Scheduler, in 5 steps.
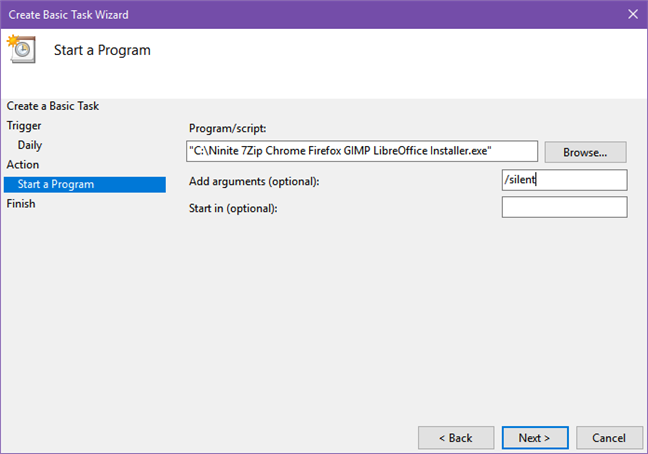
When you create the scheduled task, add the /silent argument when you specify Ninite as the program to run. If you do not add this argument, you see Ninite's window pop up each time the scheduled task runs on your Windows PC.
What does Ninite Pro offer additionally?
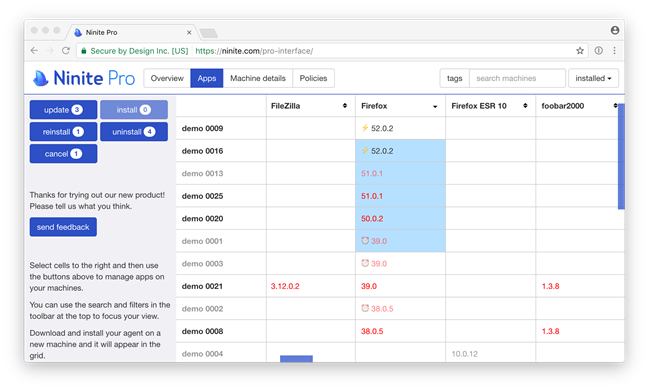
Yes, there is also a Ninite Pro version, which you can have if you buy a subscription. If you handle multiple Windows computers or devices, Ninite Pro can prove to be much more useful than the free version. Among other things, it offers:
- A live web interface that lets you manage the software on your computers in a centralized manner
- Support for roaming laptops and offline devices, meaning that they receive installation and update commands regardless of their location and, if they are offline, they execute the commands as soon as they connect to the internet
- Download caching and automatic update policies
- Sorting, grouping, and filtering features, as well as overview information with statistics and reports about your devices
You can find more information about the features and pricing, here: ninite.com/pro.
How do you like Ninite?
We are big fans of Ninite and love it for how easy it is to work with. It is the best way we have found for installing multiple apps with just one click and for keeping all of them permanently updated, all without adware involved. Do you like it too? How do you use it? If you want to say something, use the comments section below.


 06.03.2019