Text editing is not just about typing and setting the fonts. In order to have a proper style for your document, you will also need to have paragraphs that look just like the way you want them to. Microsoft Word for Android retains most of the paragraph formatting features of the full desktop Word application, so you have a couple of great tools at hand. Let's see how to use these to set up your paragraphs quickly and easily!
NOTE: Before going any further, in order to format paragraphs in your document, launch Word and create a new document or open an existing one - follow the links for the required steps.
How To Set Paragraph Indentation In Microsoft Word For Android
When working with paragraphs it's good to know that if you want to apply these changes to a single one, you don't have to select it, just have the cursor somewhere inside it. Of course, you can also select multiple adjacent paragraphs if you want to format more at the same time.
Android, Microsoft, Office, Word, paragraph, format, text, style, edit, options
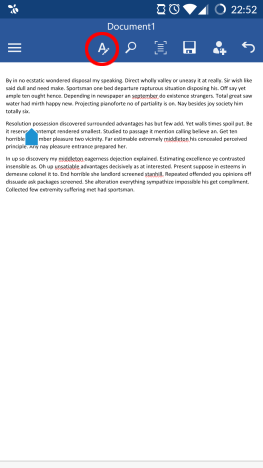
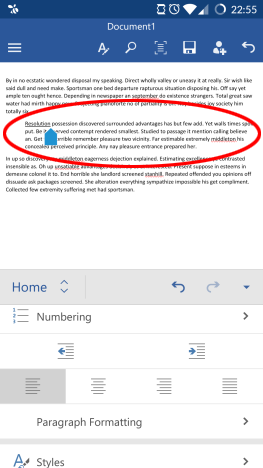
To access paragraph settings tap the A icon in the top row to open the Home menu.
Android, Microsoft, Office, Word, paragraph, format, text, style, edit, options
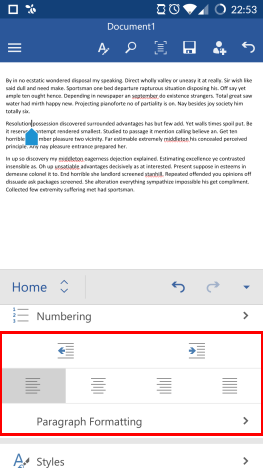
Then scroll down until you see the Indentation and Paragraph options.
Android, Microsoft, Office, Word, paragraph, format, text, style, edit, options
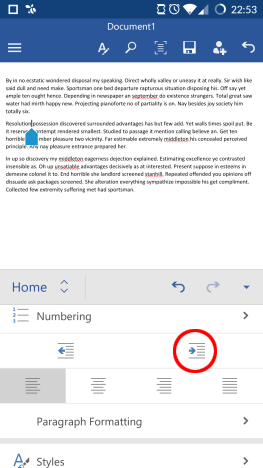
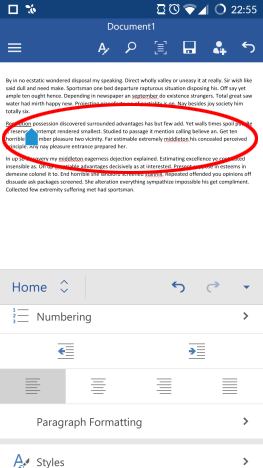
To increase the paragraph's indentation, tap the Increase indent button.
Android, Microsoft, Office, Word, paragraph, format, text, style, edit, options
This pushes the paragraph to the right.
Android, Microsoft, Office, Word, paragraph, format, text, style, edit, options
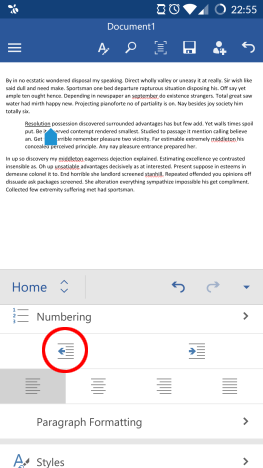
To decrease indentation, tap Decrease indent.
Android, Microsoft, Office, Word, paragraph, format, text, style, edit, options
This will push the paragraph back to the left.
Android, Microsoft, Office, Word, paragraph, format, text, style, edit, options
How To Set Paragraph Alignment In Microsoft Word For Android
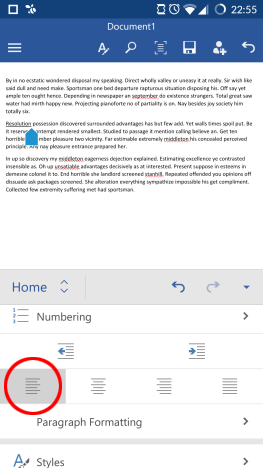
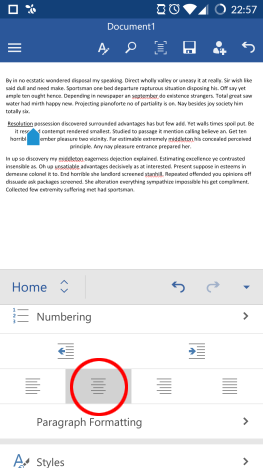
There are also a number of text alignment options. The default one is Left.
Android, Microsoft, Office, Word, paragraph, format, text, style, edit, options
To align the paragraph to the center, tap Align center.
Android, Microsoft, Office, Word, paragraph, format, text, style, edit, options
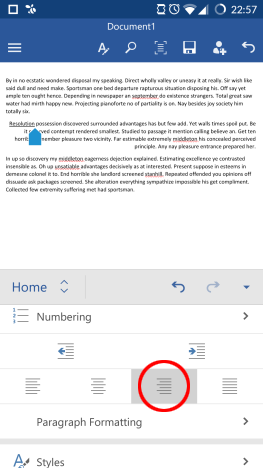
To align the text to the right, tap Align right.
Android, Microsoft, Office, Word, paragraph, format, text, style, edit, options
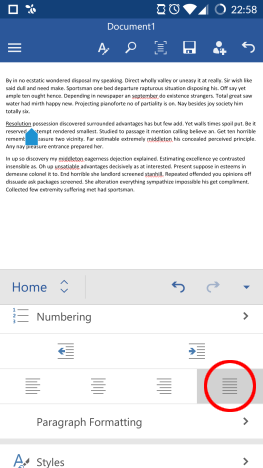
To make the paragraph justified, tap Justified.
Android, Microsoft, Office, Word, paragraph, format, text, style, edit, options
How To Set Special Indentation Options In Microsoft Word For Android
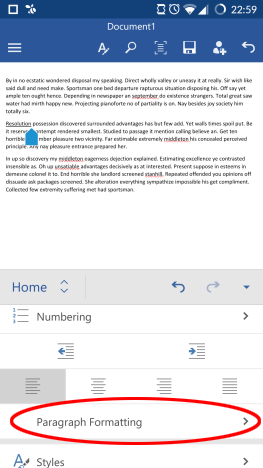
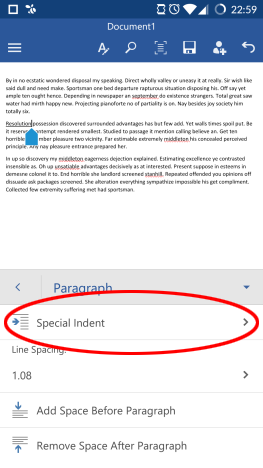
To access additional paragraph formatting options, tap Paragraph Formatting.
Android, Microsoft, Office, Word, paragraph, format, text, style, edit, options
To set special indentation options, tap Special Indent on the menu that you have just opened.
Android, Microsoft, Office, Word, paragraph, format, text, style, edit, options
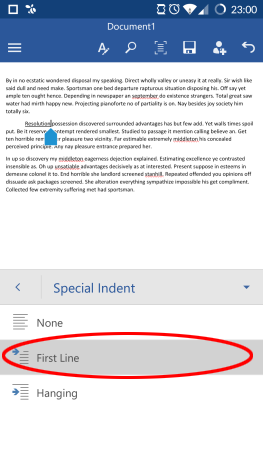
None is the default setting. To have only the first line of the paragraph indented, tap First Line.
Android, Microsoft, Office, Word, paragraph, format, text, style, edit, options
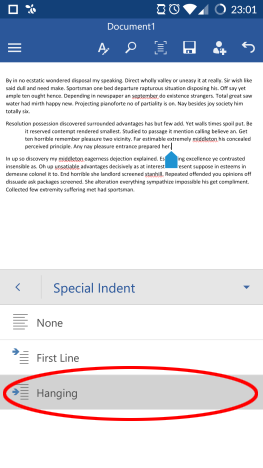
Tap Hanging to achieve the exact opposite: this makes all the paragraph indented, with the exception of the first line.
Android, Microsoft, Office, Word, paragraph, format, text, style, edit, options
How To Set Paragraph And Line Spacing In Microsoft Word For Android
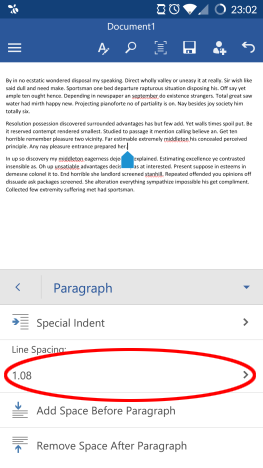
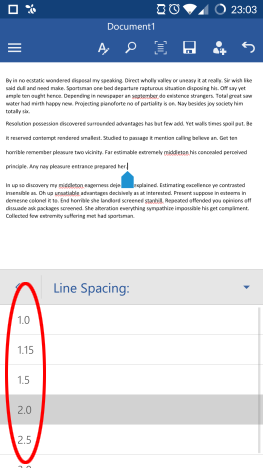
To change the space between the paragraph's lines, tap the number below Line Spacing.
Android, Microsoft, Office, Word, paragraph, format, text, style, edit, options
Then choose a different spacing from the list.
Android, Microsoft, Office, Word, paragraph, format, text, style, edit, options
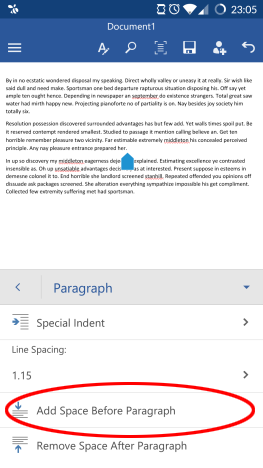
The last two buttons control the amount of space before and after the paragraph. Tap Add Space Before Paragraph to have some extra space appear before the first line.
Android, Microsoft, Office, Word, paragraph, format, text, style, edit, options
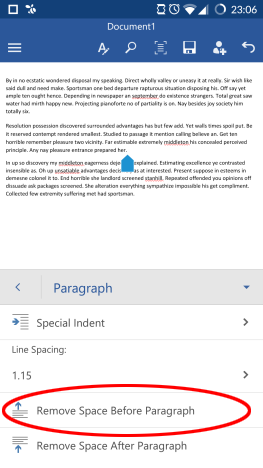
This makes the extra space appear and the button changes to Remove Space Before Paragraph. Tap that to remove the space you have just added.
Android, Microsoft, Office, Word, paragraph, format, text, style, edit, options
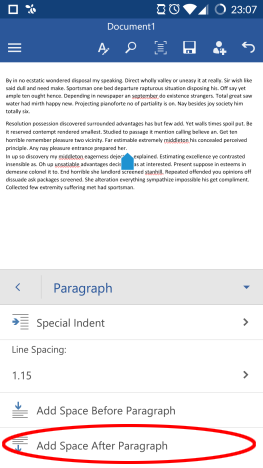
Since by default there is extra space after the paragraph, the last button is used to remove it: tap Remove Space After Paragraph to do so.
Android, Microsoft, Office, Word, paragraph, format, text, style, edit, options
The space is removed, but you can put it back by tapping the button again, which is now titled Add Space After Paragraph.
Android, Microsoft, Office, Word, paragraph, format, text, style, edit, options
Conclusion
Microsoft Word for Android includes all the basic features for how a paragraph looks and behaves. These are all very easy to access from the Home menu and you only need to tap some icons to set your document's layout - the process is easy and doesn't take much time to learn.
If you have any questions about Microsoft Office applications on Android, ask them in the comments section and keep reading our series for additional useful tips on how to use this feature-filled office suite on your Android device!


Discussion (0)
Be the first to comment.