The Start screen is an important concept in the Windows 8 operating systems. While it may have its share of issues, the principles behind it are good. Also, with each new version of Windows 8, the user experience has been improved. For example, in Windows 8.1 Update 1 Microsoft has further tweaked the way you customize the Start screen. Therefore we decided to share how to customize the Start screen in the latest version of Windows 8.1, on both classic PCs and devices with touch.
How to Group the Tiles on the Windows 8.1 Start Screen
The first step in customizing your Start screen is to add everything you want on it and remove everything you think is unnecessary. You can learn how to pin items to the Start screen in this article: The Complete Guide to Pinning Everything to the Windows 8.1 Start Screen.
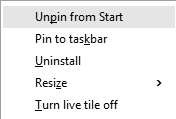
If you want to unpin a tile from the Start screen, right click or press and hold the tile, then click or tap "Unpin from Start". With Windows 8.1 Update 1, you will see a right-click menu on Desktop PCs and a contextual menu on the bottom of the Start screen, on tablets.
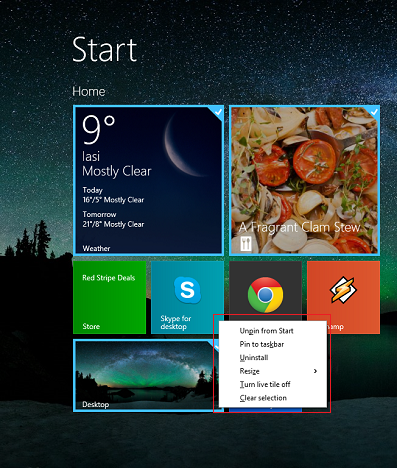
Here's how the right-click menu looks like on a Windows 8.1 PC.
Windows 8.1, Start screen, tiles, customize, group, name, live tiles
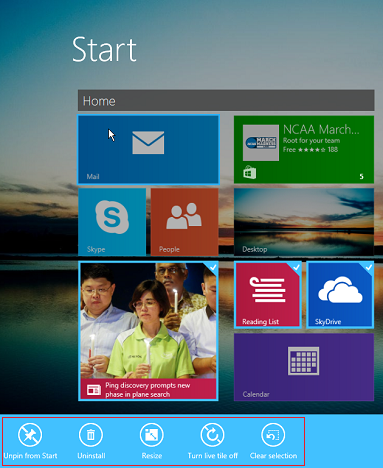
On a tablet, you will see this menu at the bottom of the Start screen.
Windows 8.1, Start screen, tiles, customize, group, name, live tiles
The next step in organizing your tiles on the Start screen is arranging and grouping them as you like.To do this, simply drag the tile and drop it where you want it to be on the Start screen. You can drag a tile to one group by releasing it in that group.
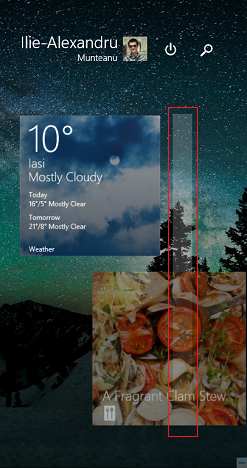
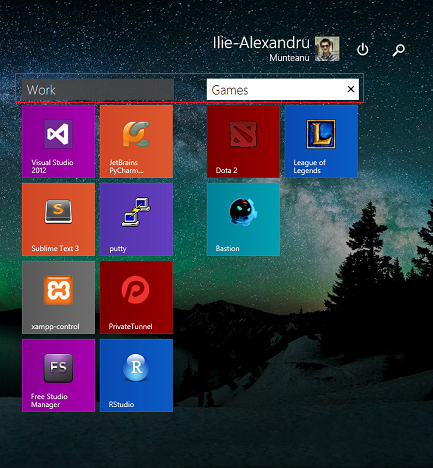
However, if you want to create a new group of tiles, drag it to the right side of the Start screen, as much as possible. You'll see a separator like the one shown in the picture below. Drop the tile on the right side of that separator and the new group is created. Now that the group is created, add as many tiles as you would like.
Windows 8.1, Start screen, tiles, customize, group, name, live tiles
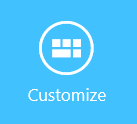
You can also give a name to the group or rename it. To do this on a touchscreen device, flick upwards from the bottom of the Start screen and tap the Customize button.
Windows 8.1, Start screen, tiles, customize, group, name, live tiles
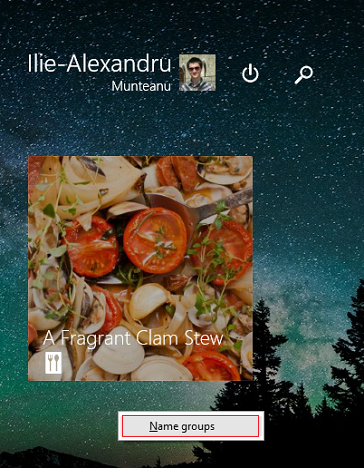
If you are using a PC, right-click anywhere on the Start screen except on a tile, and then click Name groups.
Windows 8.1, Start screen, tiles, customize, group, name, live tiles
Now you can edit the name of every group on the Start screen. Tap or click on the field with its existing name and type a new one.
Windows 8.1, Start screen, tiles, customize, group, name, live tiles
When you have finished editing the names of your groups click or tap somewhere in the empty area of the Start screen.
How to Resize the Tiles on the Start Screen
Another step in organizing your Start screen is customizing the size of your tiles tiles.
On a touchscreen device, press and hold the tile that you want to edit. A contextual menu is shown on the bottom of the Start screen.
Windows 8.1, Start screen, tiles, customize, group, name, live tiles
To make multiple selections on a touchscreen device, press every tile that you want to select.
When you use a PC, all you have to do is to right-click the tile you want to customize and you will see the appropriate contextual menu.
Windows 8.1, Start screen, tiles, customize, group, name, live tiles
To select more tiles on a PC, hold the CTRL button on your keyboard, then click the tiles that you want to customize.
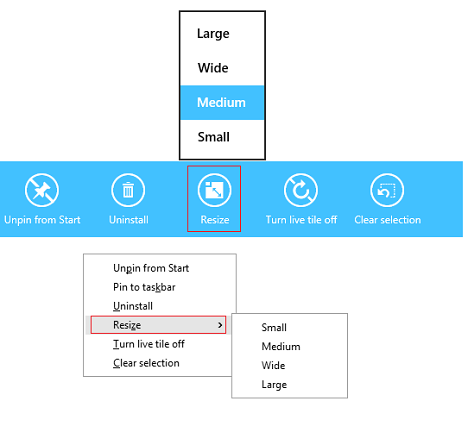
One of the things you will want to do is resize tiles. Click or tap Resize and then choose the size that you want to use for the selected tile(s).
Windows 8.1, Start screen, tiles, customize, group, name, live tiles
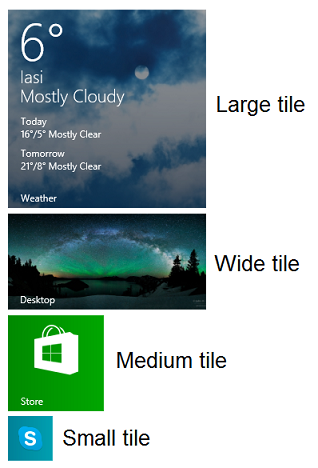
Below you can see a scaled comparison between all tile sizes.
Windows 8.1, Start screen, tiles, customize, group, name, live tiles
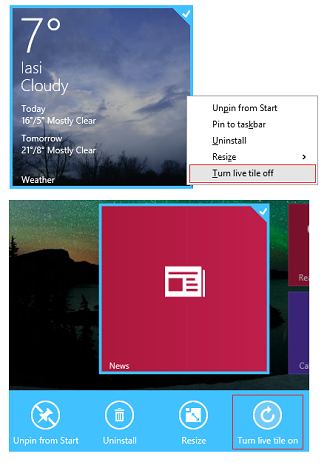
How to Stop Tiles from Displaying Live Data
All tiles in Windows 8.1 can be live tiles - meaning that they display live data from their apps, even if you have not opened those apps. In the contextual menu mentioned earlier, you will find an option for turning this feature On or Off.
Windows 8.1, Start screen, tiles, customize, group, name, live tiles
When live tiles are turned off, they act as a normal shortcut and they do not provide any live data.
Conclusion
Customizing your Start screen to fit your needs is very important and makes a huge difference in the way you interact with Windows 8.1. Don't hesitate to experiment with the customization options shared in this guide. They will surely make your experience better.


Discussion (0)
Be the first to comment.