24.09.2019
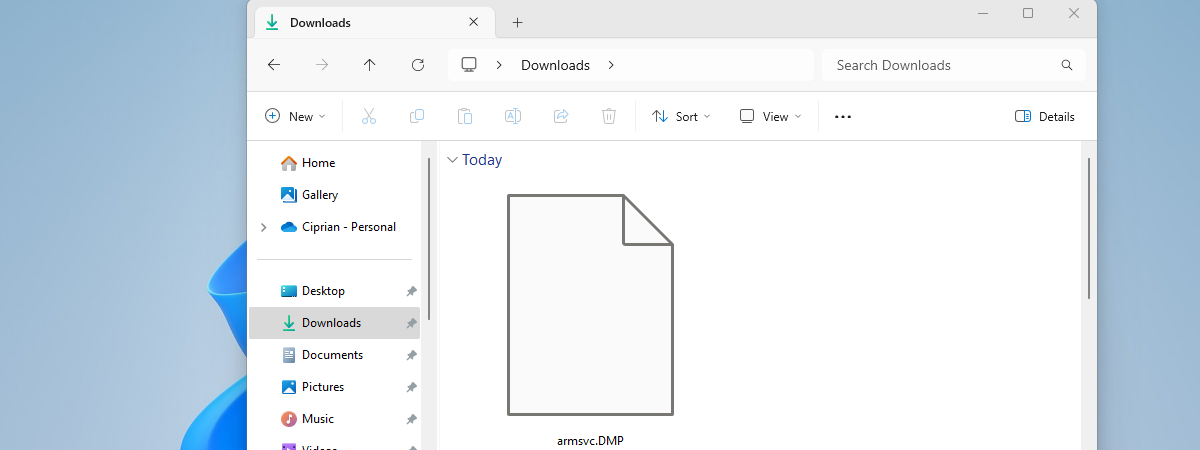
You may not know what a dump file is, but you may have noticed Windows 10 mentioning a dump file when it crashes into a Blue Screen of Death (BSOD). A dump file is a snapshot of an app or process, at the time when the file is created. The dump file shows what was executed and loaded in memory by the app or process for which the file is created, what crashed, which error(s) took place, and so on. The data from a dump file is always useful for troubleshooting problems with apps, drivers, and operating systems. Here is how to quickly create a dump file in Windows, for an app or process that you want to troubleshoot:
How to create a dump file for an app, background or Windows process
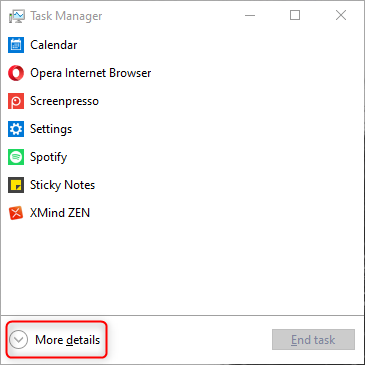
First, open Task Manager. A quick way to do that is to press the CTRL + SHIFT + Esc keys simultaneously on your keyboard. If you see the compact view, with just a few apps listed, click or tap More details.
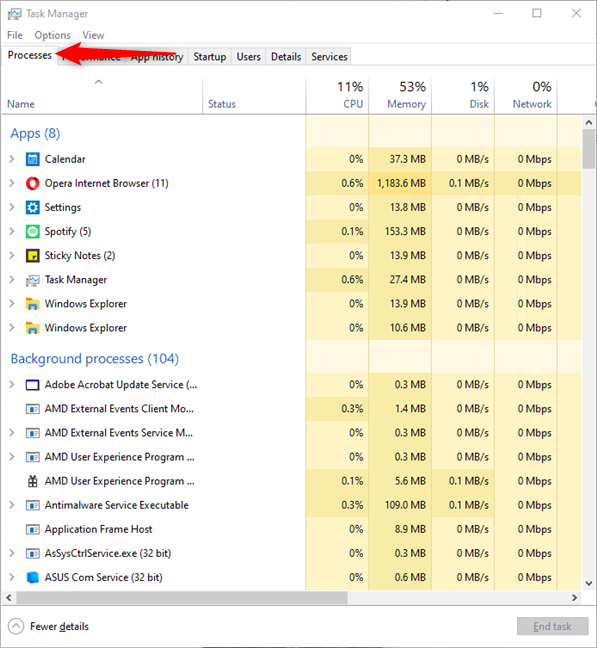
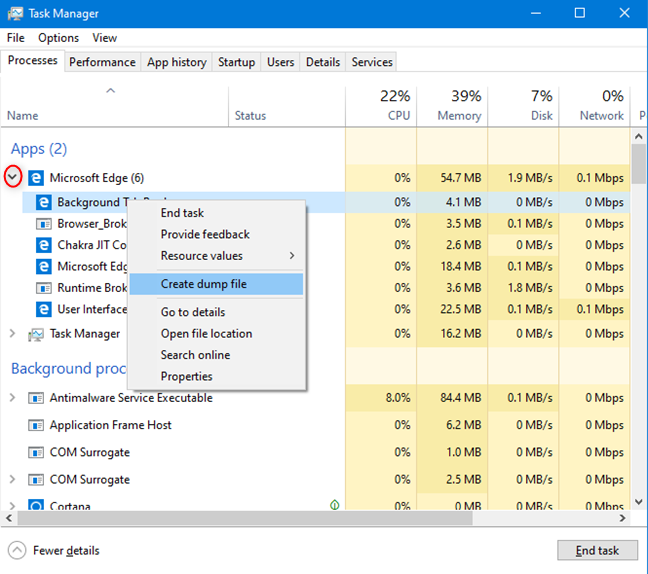
When the full version of the Task Manager opens, click or tap the Processes tab. Here you see a list with running apps, background processes, and Windows processes.
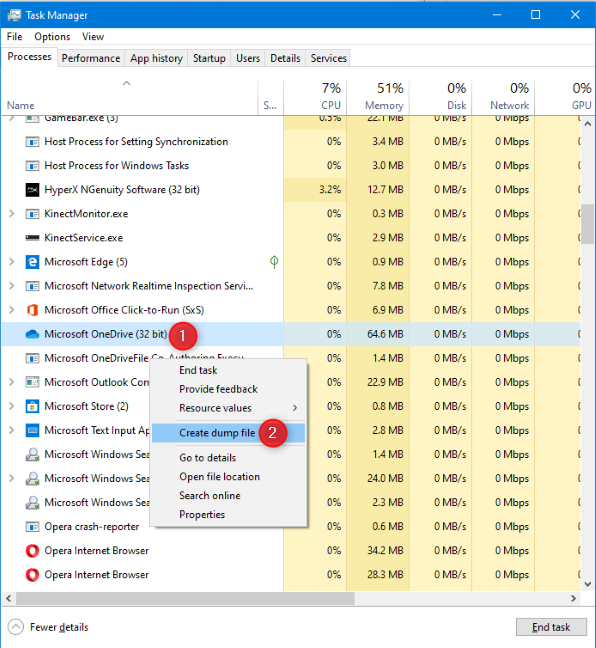
Find the app, or the process for which you want to create a dump file, and right-click (or press-and-hold) on it. In the menu that opens, click or tap Create dump file.
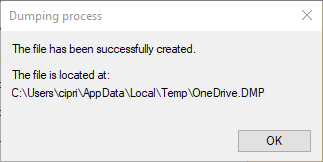
The Task Manager then creates a dump file for the selected app or process, and it informs you of the progress. When done, you are shown that "The file has been successfully created."
The path where you find the file is also shared. Remember the file name used for the dump file, and copy the path shown, or write it down, then press OK. You can paste the file location in File Explorer, to access it.
If you right-click or press-and-hold on an app or process, and the "Create dump file" option is grayed out and unavailable, it means that the selected item has several subprocesses. You need to expand it first, by clicking or tapping the arrow near its name, and then right-click or press-and-hold the specific subprocess for which you want to create the dump file.
NOTE: To find out more about working with the Processes tab of Task Manager, read: 11 ways to manage running processes with the Task Manager in Windows 10
Where to find the dump file that you just created
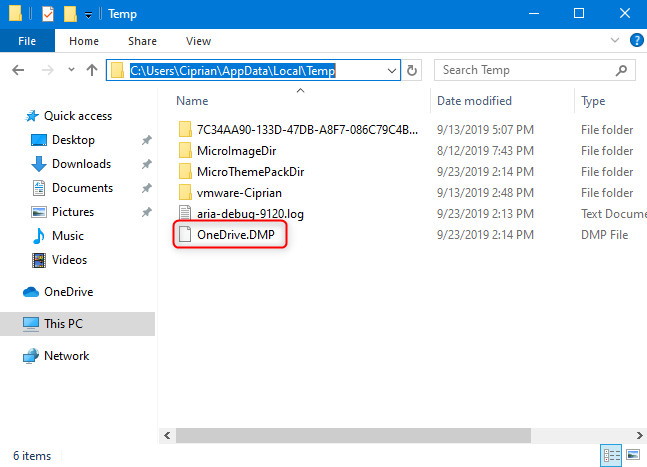
The direct path to the dump file created by the Task Manager is always shown. However, if you clicked OK without copying the address, open File Explorer, and go to this location: C:UsersYourUserNameAppDataLocalTemp. Replace YourUserName with the name of your user account. The dump file always has the DMP file extension, and its name varies depending on the name of the app or process that it was created for. In the screenshot below, we created a dump file for OneDrive, and the file was named OneDrive.DMP.
IMPORTANT: If you cannot find the AppData folder to open it, then you have to set File Explorer to display hidden files and folders.
For which app or process have you created the dump file?
Most people do not need to use dump files. However, if you encounter problems with apps that stop responding, or errors and crashes generated by specific processes, creating a dump file is useful for troubleshooting and fixing the problem. Before closing this guide, tell us for which Windows app or process did you create a dump file, and what problems, if any, you encountered. Comment below and let's discuss.