10.07.2020
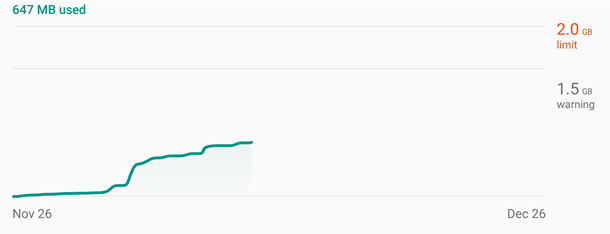
The Android Data Saver ensures that you make the most of your data plan. Most apps run in the background, consuming precious data in an effort to keep you up to date. With the built-in Data Saver on Android, you can decide which apps get unrestricted mobile data access and which are prevented from sending and receiving data in the background. Continue reading to find out more about the Android Data Saver and how to enable it on your smartphone:
NOTE: This guide applies to Android 10, and it was created on a Nokia 5.3 smartphone. If you do not know your Android version, read How to check the Android version on your smartphone or tablet. The procedures are similar on all Android-powered devices, although you might come across some small differences, depending on your device's manufacturer.
What is the Android Data Saver?
The Data Saver is a feature built into Android, that helps you control the mobile data consumption of apps in the background. The Data Saver mode is only active when you are not on Wi-Fi, and it ensures that inactive apps and services are not using cellular data in the background. If your plan has limited data, there are several ways to use Android's native apps and features to avoid additional charges.
First, it's a good idea to check and limit your mobile data usage. Then, you can restrict internet access for certain apps. However, you can't ignore how much easier it is to enable the Data Saver and then whitelist the apps you find essential. Restricted apps no longer consume cellular data in the background; they only use mobile data when you access them. Even when active, they are directed to consume less data. On the downside, this means you don't get any updates from restricted apps.
For instance, if restricted by the Android Data Saver, the Gmail app no longer lets you know when you receive new emails, as the app no longer syncs in the background. If you access the app, however, it starts using mobile data to sync and display new mails. This is true for all the apps that display notifications about online content.
If an app is on the Unrestricted data list (whitelisted), it behaves normally and ignores the Data Saver mode.
How to enable Data Saver on Android from Settings
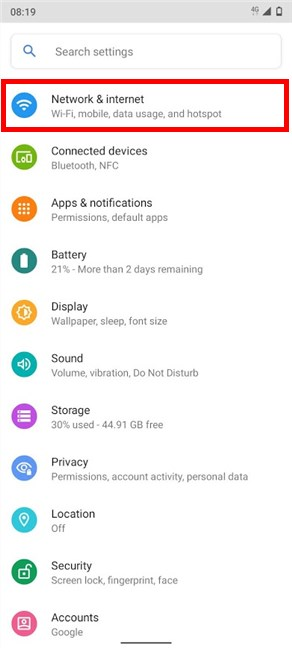
To turn on the Data Saver, go to Android Settings and open Network & internet. On some smartphones, like those from Huawei, tap Mobile network instead.
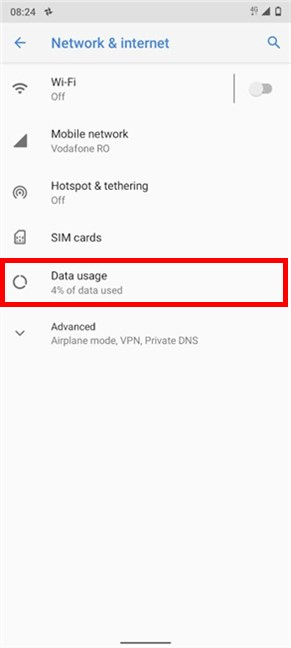
On the Network & internet screen, tap on Data usage.
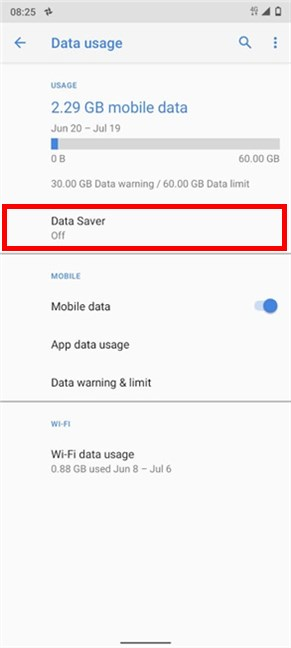
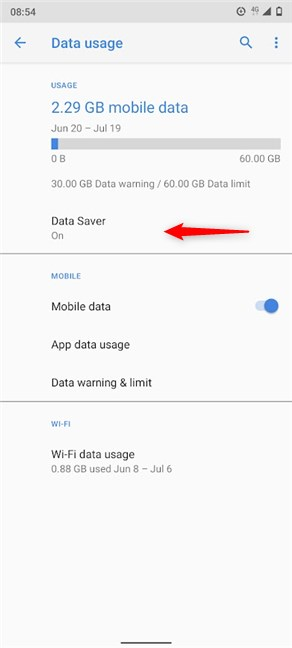
On the next screen, you can find the Data Saver setting with its current status shown underneath - in our case, Off. Tap on it.
You can see the switch at the top of the Data Saver screen is Off. Tap on the Use Data Saver option to enable Data Saver mode.
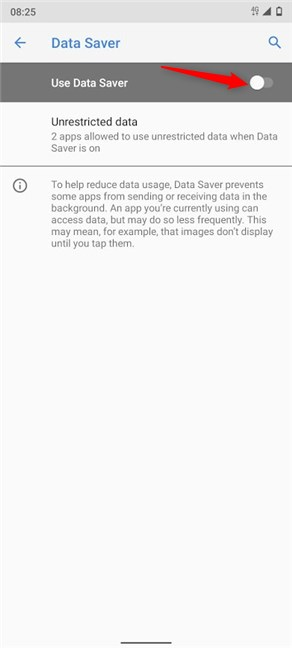
Tapping on the option enables Data Saver mode and turns the switch On.

Go back, and you can see that this change is also reflected on the Data usage screen: the Data Saver's status is now On.
How to enable the Android Data Saver from the Quick Settings
If you like to stay on top of your data usage, you might want a faster way to activate the Data Saver on your Android smartphone.
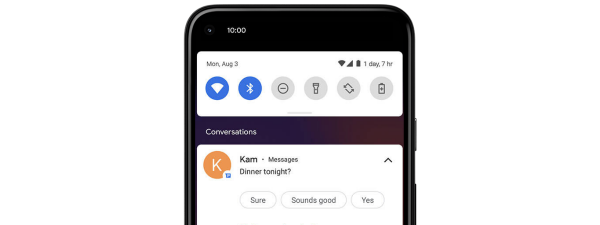
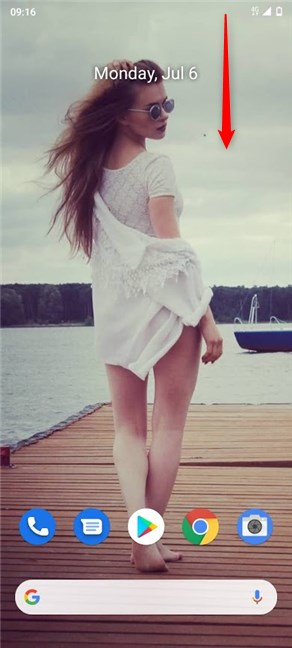
Luckily, on some devices, there is a Quick Settings button you can use for that. To access Quick Settings, swipe down from the top side of your screen.
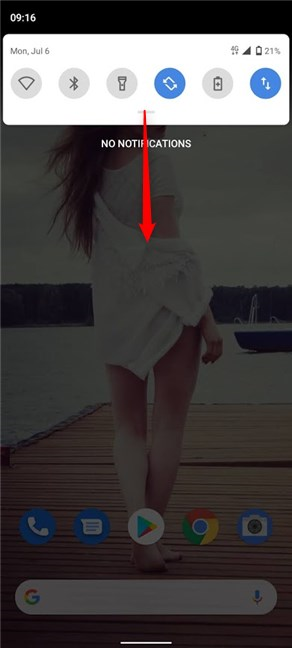
Swipe down again for the expanded Quick Settings menu, where you can change the quick settings available on your Android and add the Data Saver icon - if it's not already available.
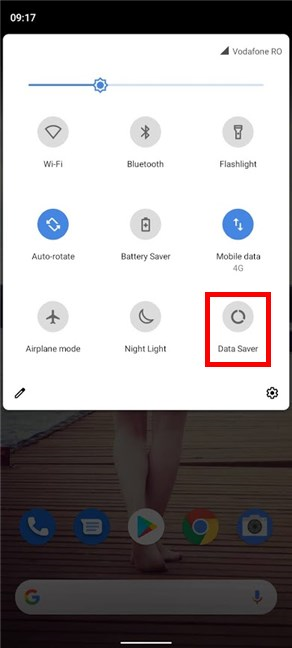
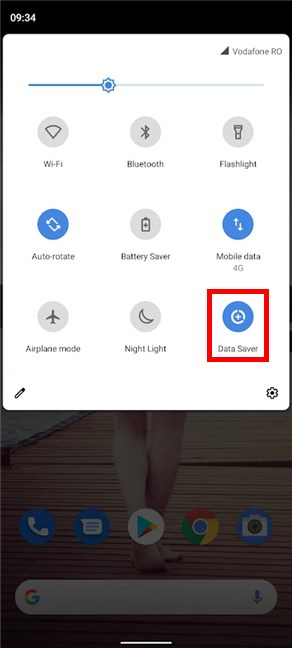
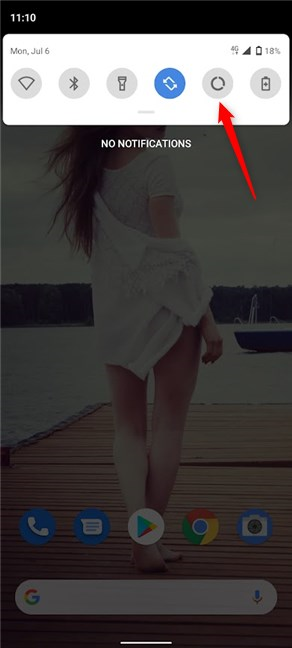
The Data Saver icon looks like an interrupted circle. In the Quick Settings, tap on Data Saver to enable the option.
The icon changes colors and displays a plus sign in the middle to show that Data Saver mode is enabled.
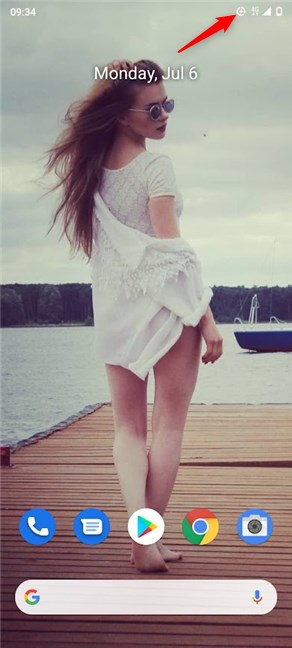
You can see a similar icon displayed at the top of your screen, making sure you remember that Data Saver is active and stopping background activities for most apps and services.
How to whitelist apps to use unrestricted data in Data Saver mode
The great thing about the Android Data Saver is that you can exempt any apps you consider a priority from having their background cellular data restricted. If you are expecting an important email or simply have to see who mentions you on your favorite social media channel, you can add the vital app to the Unrestricted data list. Whitelisting an app allows it to continue using mobile data in the background while Data Saver is on.
To whitelist apps and add them to the Unrestricted data list, access Network & internet settings, go to Data usage, and tap on Data Saver - as illustrated in the second section of this tutorial.
Alternatively, if you enabled the Data Saver quick setting, you can also touch-and-hold on it to get to the Data Saver screen. Once there, tap on Unrestricted data.

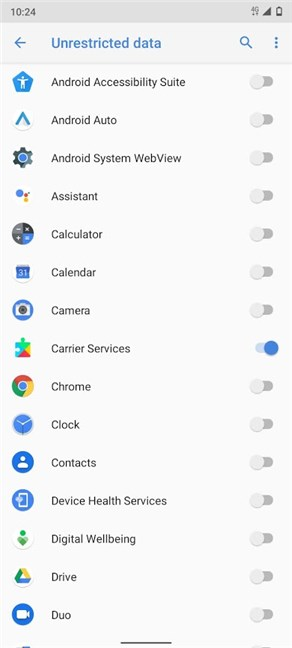
On our Android device, the Carrier Services and Google Play services are, by default, the only apps allowed to use unrestricted data when Data Saver is on. On the Unrestricted data screen, tap on any app to toggle on its switch and let it run in the background.
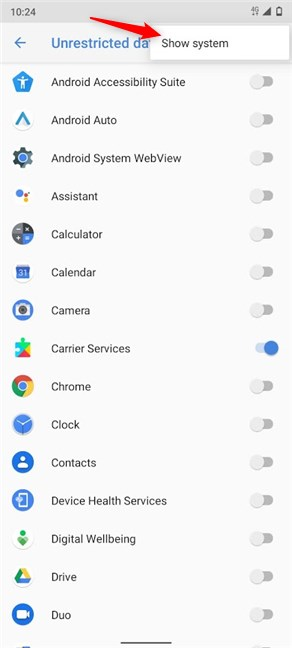
Use the three-dot icon in the upper-right corner to also Show system apps on the Unrestricted data list. You can select them for unrestricted background data use too.
Keep in mind that allowing too many apps and services to use mobile data in the background defeats the purpose of the Data Saver.
How to turn off Data Saver on Android
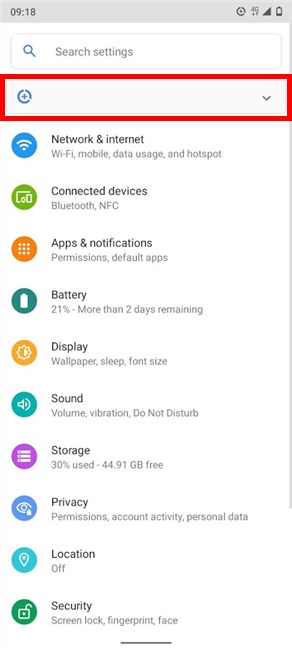
To turn off Data Saver, access Settings. On some devices, you might get an entry with the Data Saver icon on top. Tap on it.
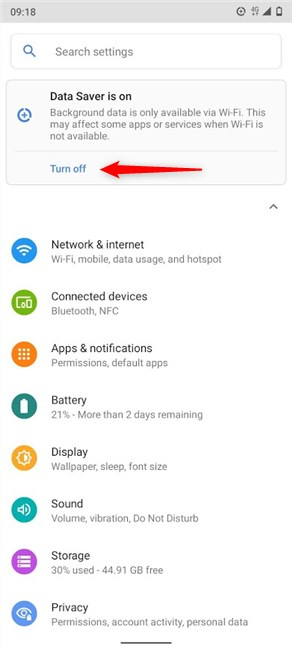
The entry expands, letting you know Data Saver is on, so background data is only available via Wi-Fi. Tap on Turn off to disable Data Saver, and the entry disappears.
If you don't get that entry, from Settings, you can access Network & internet, then Data usage, and tap on Data Saver - as shown in the second section of this tutorial. Tap on Use Data Saver to turn off the switch and disable the feature.

If you are able to add the Data Saver to Quick Settings, you can also swipe down and tap on its icon to disable it.
What apps did you whitelist in Data Saver mode?
Unless you have an unlimited data plan, the Android Data Saver is indispensable to optimizing your device's mobile data usage. To get better value for your money, use it and choose which apps are allowed to consume cellular data by syncing in the background. We added Gmail to the Unrestricted data list on our Android smartphone because our work emails are a priority. What about you? Which apps did you prioritize and why? Let us know in the comments below.