Have you ever had an appointment that you remembered about 15 minutes after it was past? Have you ever had an important email message that sat in your inbox far longer than it should have? If you've known these annoyances in the past, you don't have to repeat the experience. Windows 8 has a very handy system of notifications from important apps such as Mail and Calendar that let you know when you've got important things to do.
To get these notifications you'll need to do a bit of configuration to make sure your settings are in order. Read on to learn everything you'll need to know.
How to Access the App Notification Settings in Windows 8
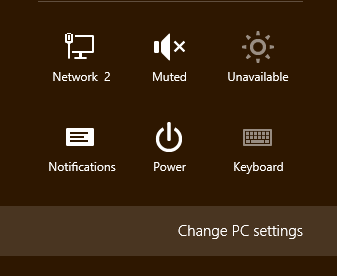
You'll have to access PC Settings. Open the Charms, click or tap "Settings" and then "Change PC Settings."
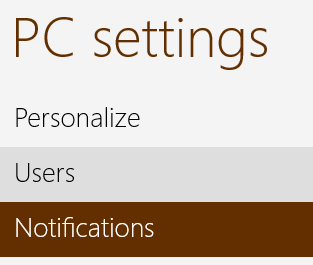
Select "Notifications" from the left pane of PC Settings.
How to Turn On (or Off) Global App Notifications
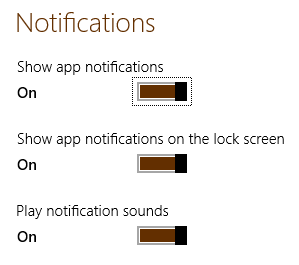
First, you should decide whether you want to turn on notifications in general, for all apps. Only then you can customize in detail, the notifications for each individual app.
Set the sliders to "On" for "Show app notifications," "Show app notifications on the lock screen" and "Play notifications sounds." This will ensure that notifications will be allowed and that you'll hear an audible bing when one shows up.
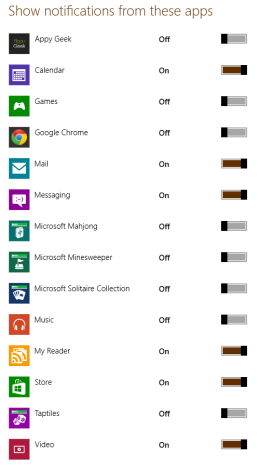
Now you'll need to select which apps you want to get notifications from. Read through the list of apps and adjust the sliders depending on your preference. We recommend allowing important apps such as Mail, Calendar, Messaging and People. However, other apps like Games or Music are not likely important enough to warrant the interruptions they'll cause.
Therefore take some time to decide carefully.
How to Configure Lock Screen Notifications in PC Settings
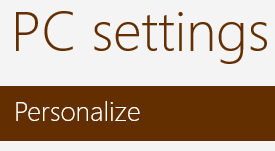
Now that notifications are allowed also on the lock screen, you'll need to define which applications actually use this feature. To do this, select the "Personalize" tab in PC Settings.
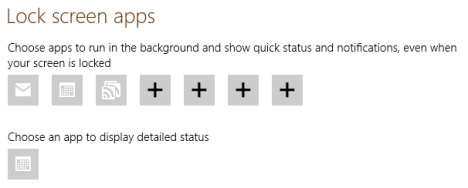
At the bottom of the Lock Screen tab, you'll see the apps configured to use lock screen notifications. The first row of apps displays a small notification such as a mailbox with a number on it for new emails. The app on the second row displays a row of text such as an upcoming task or calendar entry.
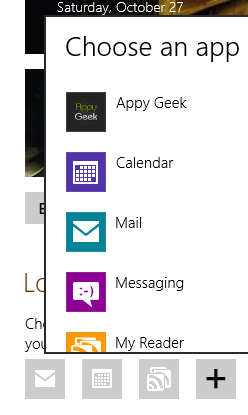
To add more apps to the lock screen notification area, click an empty "+" and select an app from the list.
To remove an app, click on its icon and either select another app, or click "Don't Show a Status Here" to leave the slot empty.
When you're done here, you can exit PC Settings. Your changes are automatically saved so you don't need to find an Apply or OK button.
If you aren't sure how to exit PC Settings, have a look at this article to learn how to work with Windows 8 Apps.
How to Configure Notifications in Windows 8 Mail
For most apps, selecting them in PC Settings to allow notifications is enough. For Mail though, you'll need to adjust settings for each of your configured accounts. You choose whether or not to receive notifications for each of your configured accounts.
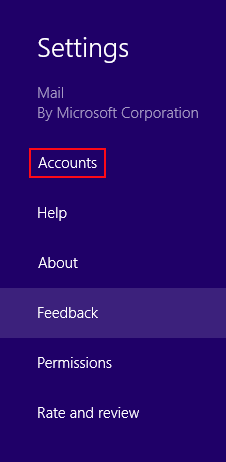
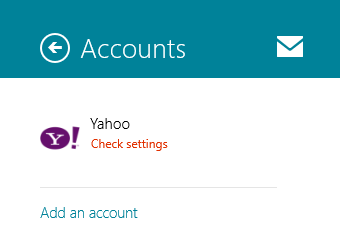
To do this you'll start by launching Mail. Next, open the Charms, click or tap "Settings" and then "Accounts."
Click or tap the first mail account to access its settings.
Scroll to the bottom of the account settings and verify that the slider for "Show email notifications for this account" is set to "On."
Repeat this process for each of your mail accounts.
Conclusion
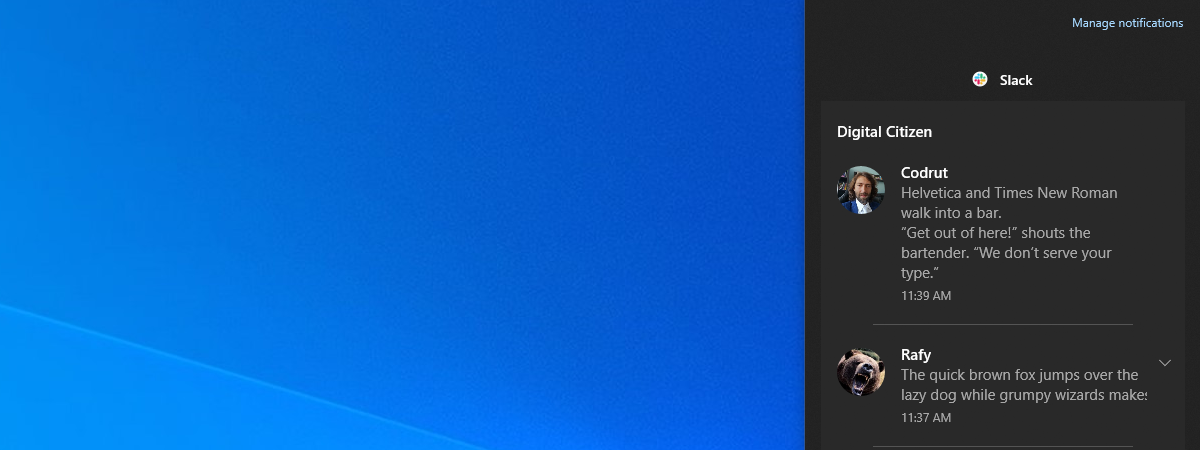
Now that all your settings are in order, your computer or mobile device will begin to alert you when the apps you specified have anything important to say. You'll receive notifications right at the top right corner of your screen as well as on your lock screen.
As we stated previously, most bundled apps won't require any additional tinkering, but that may not hold true for additional apps you download from the Store. We hope you enjoy this feature of Windows 8 and that you never miss an appointment again.
Now that you're receiving notifications on your computer or device, do you find them a help or an annoyance? Feel free to post opinions or questions below.


 31.10.2012