Life can be hectic. As your individual worlds of work, play and family come together you can be left with a jumbled schedule of overlapping appointments, parties and events that can be impossible to keep track of without help. Windows 8 offers you the help you'll need with the bundled app named Calendar. This new app gives you the ability to keep track of all of your various engagements and will even provide you with alerts and emails to remind you of what's to come. Take a few moments to acquaint yourself with this app, you'll find it's well worth your time.
How to Launch Windows 8's Calendar App
To launch Calendar, you'll need to get to the Start screen. There are a number of ways to do this, all of which are outlined in this article: Seven Ways to Access the Start Screen.
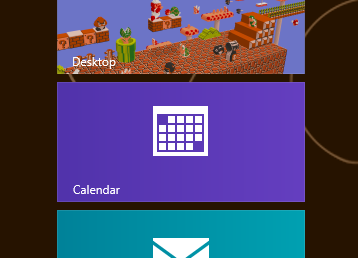
Once you've got that taken care of, look for the bright purple tile shown above. Clicking or tapping this tile will launch Calendar.
How to Use the Calendar's Live Tile
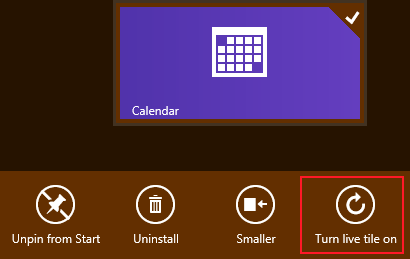
When you first begin using Windows 8, your Calendar tile will be static and boring, displaying nothing but the app's name and icon. To fix this, right-click or long-touch the tile and click or tap "Tun live tile on."
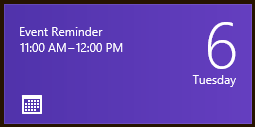
This enables a dynamic tile that displays the date as well as any upcoming events you need to remember.
To learn more about working with tiles in Windows 8, read this tutorial: Introducing Windows 8: What are the Tiles?
How to Navigate the Windows 8 Calendar App
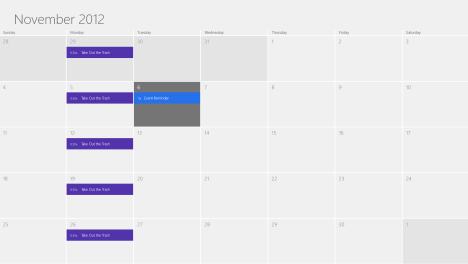
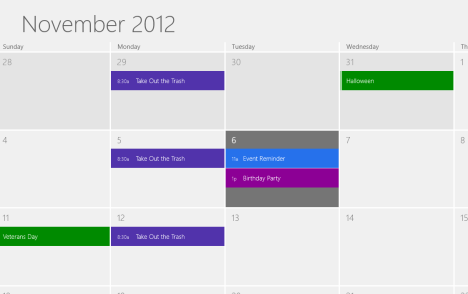
Once you've launched the calendar you'll find it to be about what you'd expect. The default view shows the current month with the current day highlighted.
To navigate through the Calendar you have a few options. You can scroll the mouse wheel, slide your finger across the screen or click/tap the arrows displayed at the top left and right corners of the screen.
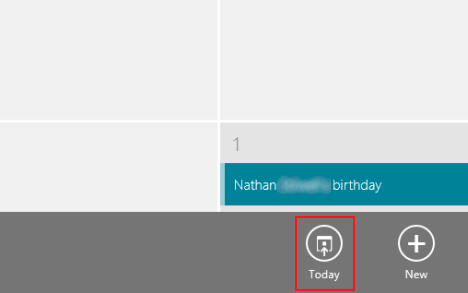
As you navigate around the future or past, you'll invariably wish to return to the present day. Rather than slowly scrolling back through time, simply right-click or swipe up from the bottom of the screen to open a menu and click or tap Today.
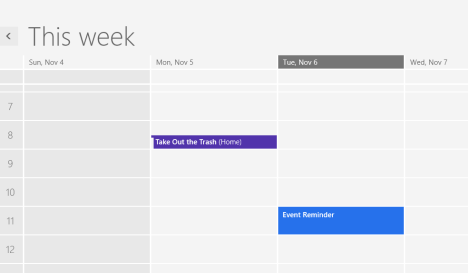
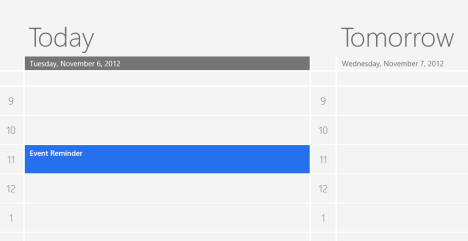
If you aren't pleased with the default month view of the Calendar app, you can open the menu as described in the previous step and select an alternate view from the bottom-left corner of the window.
The Week view displays a column for each day of the week and individual rows for each hour of the day.
The Day view displays columns marked today, tomorrow and so on with rows for each hour in the day. The columns are wider than in the week view as only three are displayed at a time.
How to Configure Events in the Calendar App
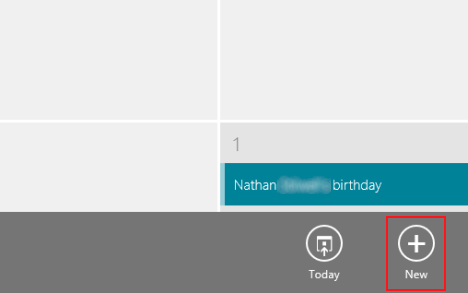
Now that you can get into the Calendar app and navigate around, you'll need to start scheduling appointments. That is, after all, the whole point of this application. To create an event, navigate to the day in question and click or tap on its square on the calendar. You can also right-click or swipe up from the bottom of the screen and click or tap the "New" button.
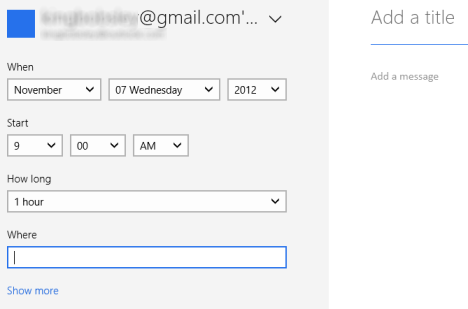
The new event window provides fields to input all of the important information about your event. Enter a date, a time, a duration and a location. Next, add a title for your event by clicking or tapping "Add a title." This will be what is displayed in the main Calendar window. Select "Add a message" to enter any additional information. If the event is a recurring appointment or if you want to schedule reminders, click or tap "Show more."
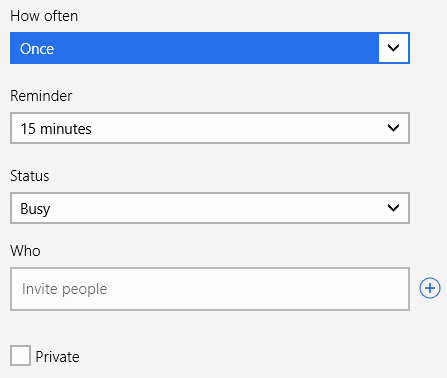
You can now use the drop-down menus provided to configure how often a recurring event will take place, when to send yourself a reminder, what status to display on your Calendar and you can even send invitations to other participants in the event. You can enter their email addresses in the space provided or click or tap the "+" to open the People app and select contacts from there.
Once your event is configured, you can click or tap the "Save" button on the top-right corner of the window. It has a floppy disk icon on it, which lily means little to the younger generation. If you wish to discard your event without posting it to your calendar you can click or tap the "X" to cancel.
If you've created an event and it's cancelled or postponed, you can navigate to it and click or tap its title. Either change the required information and click or tap "Save" or click or tap the Trash button to delete the event.
How to Sync Windows 8's Calendar App with Other Accounts
Starting up with a new Calendar application can be a bit of an annoyance. If you've already got your birthdays, holidays and pressing engagements scheduled in another account, such as Google, Outlook or Hotmail, you can just sync with that other account and automatically populate that information into Windows 8 Calendar.
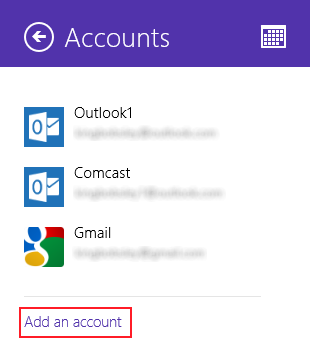
To do this, open the Charms, click or tap "Settings" and then "Accounts." You'll find that the accounts list is already populated with any accounts you've synced with the Mail app, the People app or the Messaging app. To learn about syncing Mail accounts, check out this article: Introducing Windows 8: The Complete Guide on How to Use the Mail App
To sync an account not listed, select "Add an account" from the bottom of the list.
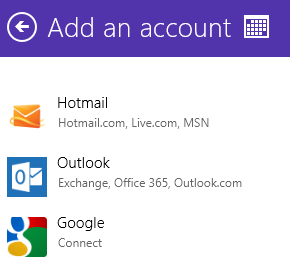
Select the provider for your account from the list provided.
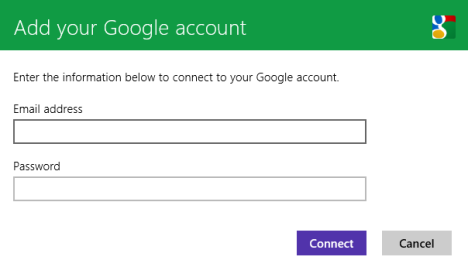
Enter your account information and click or tap "Connect." Calendar will configure the account and, after a few seconds, will sync your entries.
How to Customize your Calendar
Now that you potentially have multiple sources for your Calendar events, you can choose to color code them as you see below.
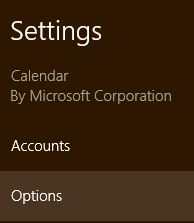
You can select a color for each attached account and can even choose colors for certain types of events. To do this, open the Charms and click or tap "Settings." From there, select "Options."
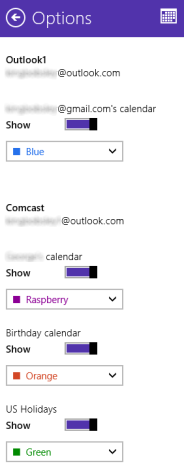
The Options menu displays each account you have connected in the Calendar app. If there are any accounts you don't wish to view events for, you can pull their sliders to the left to hide their entries. You can also click or tap the drop-down lists under each account or event type and select a color to display for them. Click or tap the Back arrow when you're finished to return to the Calendar view.
How to Customize Calendar Notifications
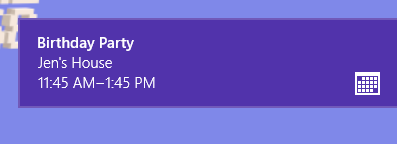
By now you know how to use Calendar to schedule events, but you'll need to be sure to configure notifications so that you know when they're coming up. Calendar is capable of throwing notifications on the top-right corner of your screen. As well as on the lock screen.
To learn how to verify your settings for these notifications, please take a look at this article: Introducing Windows 8: How to Configure App Notifications.
Conclusion
Now that you're knowledgeable in the use of Calendar, you can use this app to help maintain control of your busy schedule. It will sync your accounts and appointments across all of your Windows 8 devices ensuring that whether you're at home, or out on the go, you'll know what you have to do and when. After reading this tutorial you should be comfortable with the functions of this app.
For more interesting guides on other Windows 8 apps, check the tutorials recommended below.


 08.11.2012