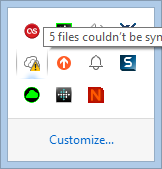
If you have problems with OneDrive and your files are not synchronizing correctly, you may want to consider trying the official OneDrive Troubleshooter that's offered by Microsoft. It is a small troubleshooting wizard that you can download and run in order to fix your problems. Here's where to find it and how it works:
Where to Find the OneDrive Troubleshooter
If you have issues with synchronizing your OneDrivefiles, the first step should be to check this troubleshooting guide from Microsoft. If doing what they recommend doesn't fix your problems, then your last chance is to try the official troubleshooter.
The download link is found at the end of the page recommended earlier. You can also try this download link but Microsoft might change it in time. You will download a file named onedrivets.diagcab. Store it in a folder that's easy to find and then run it.
Now let's see how it works.
How to Use the OneDrive Troubleshooter
The OneDrive Troubleshooter works like all the other troubleshooting wizards in Windows. You can learn more about them here: Troubleshoot Network & Internet Problems in Windows 7 & Windows 8.
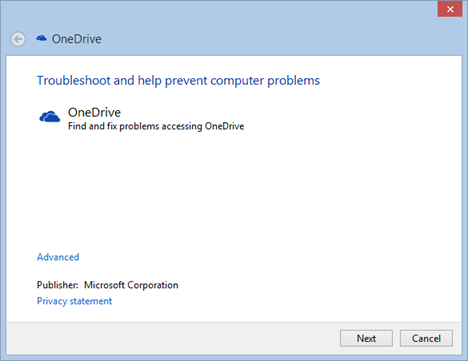
When you run it, the troubleshooter informs you that it can find and fix problems accessing OneDrive.
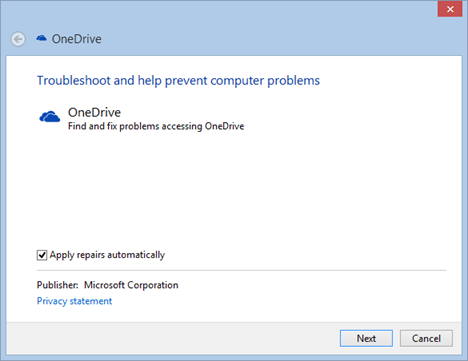
If you press the Advanced link on the bottom of the starting window, you will learn that there's only one advanced option available and that it is already enabled: "Apply repairs automatically".
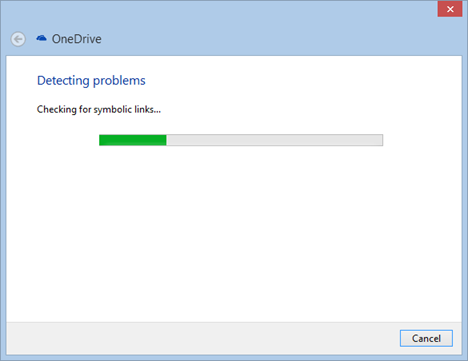
Press Next and the troubleshooter will start the process of detecting problems. It will perform many checks including checks for symbolic links that may negatively impact OneDrive's functioning.
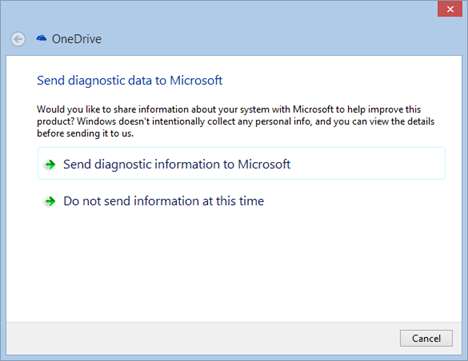
Once the detection process is over, the troubleshooting guide will first ask whether you want it to send its diagnostic information to Microsoft. If you want to send this information, please keep in mind that the process is going to take a while, even a couple of minutes, especially if you store lots of files in OneDrive.
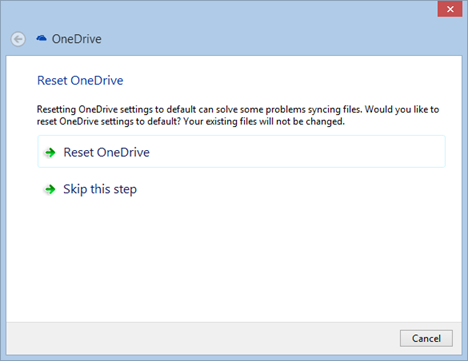
After you make your choice, OneDrive will start suggesting solutions. In most cases it will start by suggesting you to Reset OneDrive. If you want to try that, press the button with the same name. Otherwise, press Skip this step.
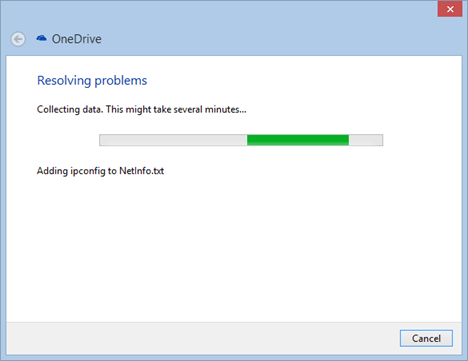
We pressed Skip this step to see what other things it does in order to fix problems. The next step it performed was to collect data. This step took quite a long time and it involved collecting logs for OneDrive, adding some information to some system files used by OneDrive and other things that took place in the background and were invisible to us.
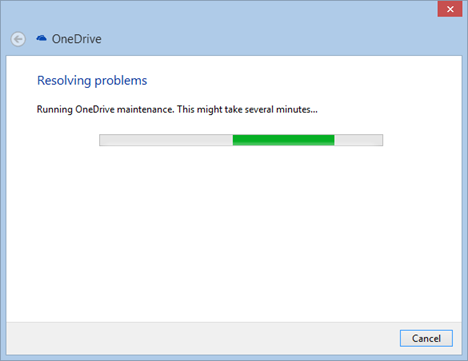
Once it collected all the data it needed, the troubleshooter moved to resolving the problem. In our case, it ran some OneDrive maintenance tasks and then it again collected several files.
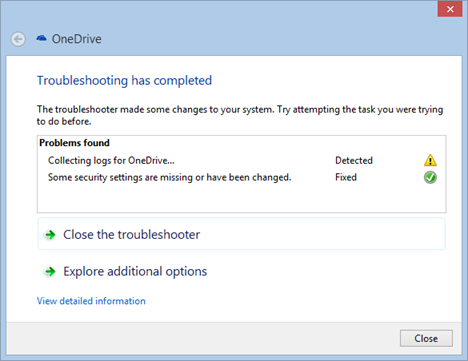
This took another few minutes. When the process was over, the OneDrive Troubleshooter has showed a summary of the problems it found and what it did to fix them.
Press Close to end the troubleshooter and check whether OneDrive now works as you expect it to.
Conclusion
As you can see from this guide, using the OneDrive Troubleshooter is relatively easy. It does take quite a bit of time for it to run, collect data and fix problems, so arm yourself with some patience. While we did our best to share most of the steps involved when using it, depending on your problems, the troubleshooter might recommend different actions than the ones described in this guide. Also, it might go through other steps in order to solve them. So please keep this in mind when running it on your Windows PC or device.


 14.08.2014