




Getting your Onn wireless mouse up and running should be quick and easy. This guide explains how to connect Onn wireless mouse, from unboxing to pairing to solving connection issues, so you can go wireless in minutes.
What You Need Before Setup
Before starting, make sure you have the following: your Onn wireless mouse, the USB nano receiver (if included), the correct batteries (AA or AAA), and a computer with an available USB port or Bluetooth support. This ensures the connection process goes smoothly.
Step 1: Insert Batteries and Power On the Mouse
Turn your Onn wireless mouse upside down and slide open the battery cover. Insert the batteries following the correct polarity markings, then switch the power toggle to the On position. The LED light should blink briefly, confirming power is active.

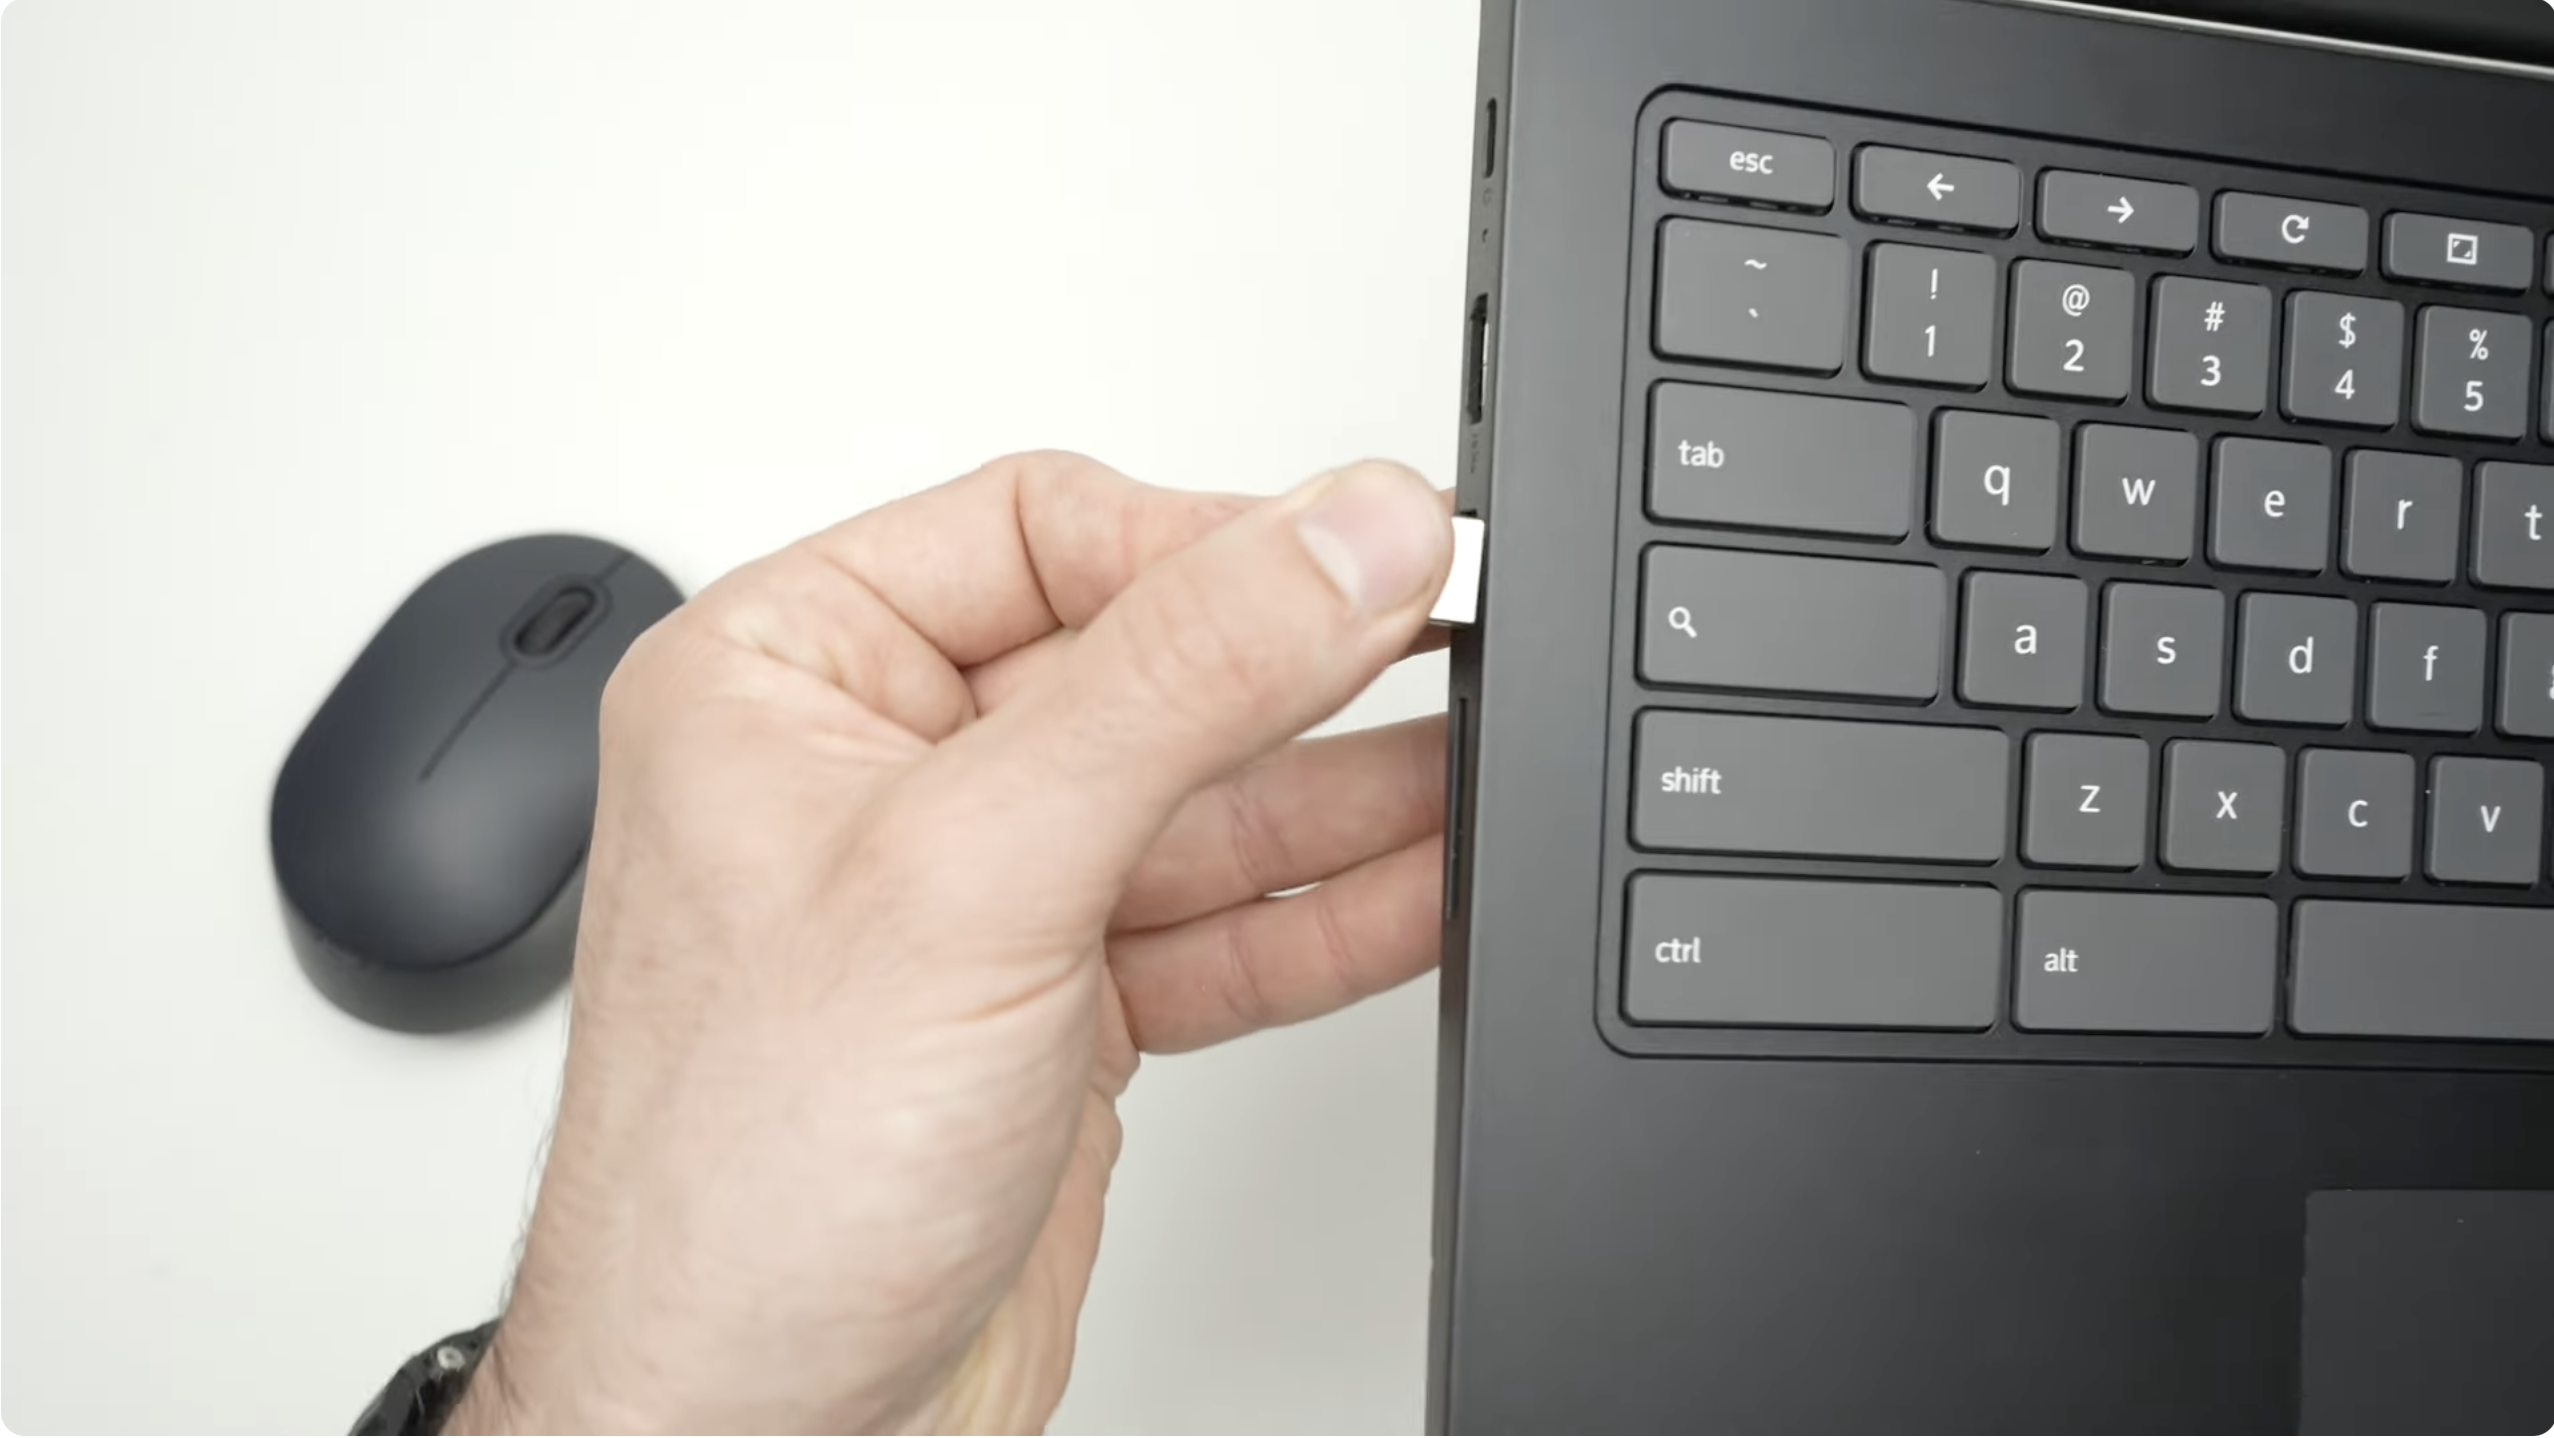
Step 2: Plug In the USB Receiver
Locate the small USB receiver that came with your mouse and plug it into an available USB port on your laptop or desktop. Windows or macOS should automatically detect and install the drivers. Wait for the confirmation message before proceeding.
Step 3: Put the Mouse in Pairing Mode
On the underside of your mouse, press and hold the Connect button until the LED light begins to flash. This indicates the device is in pairing mode. For Bluetooth models, enable Bluetooth on your computer and select Onn Mouse or BT5.1 Mouse from the list of available devices.

Step 4: Test the Connection
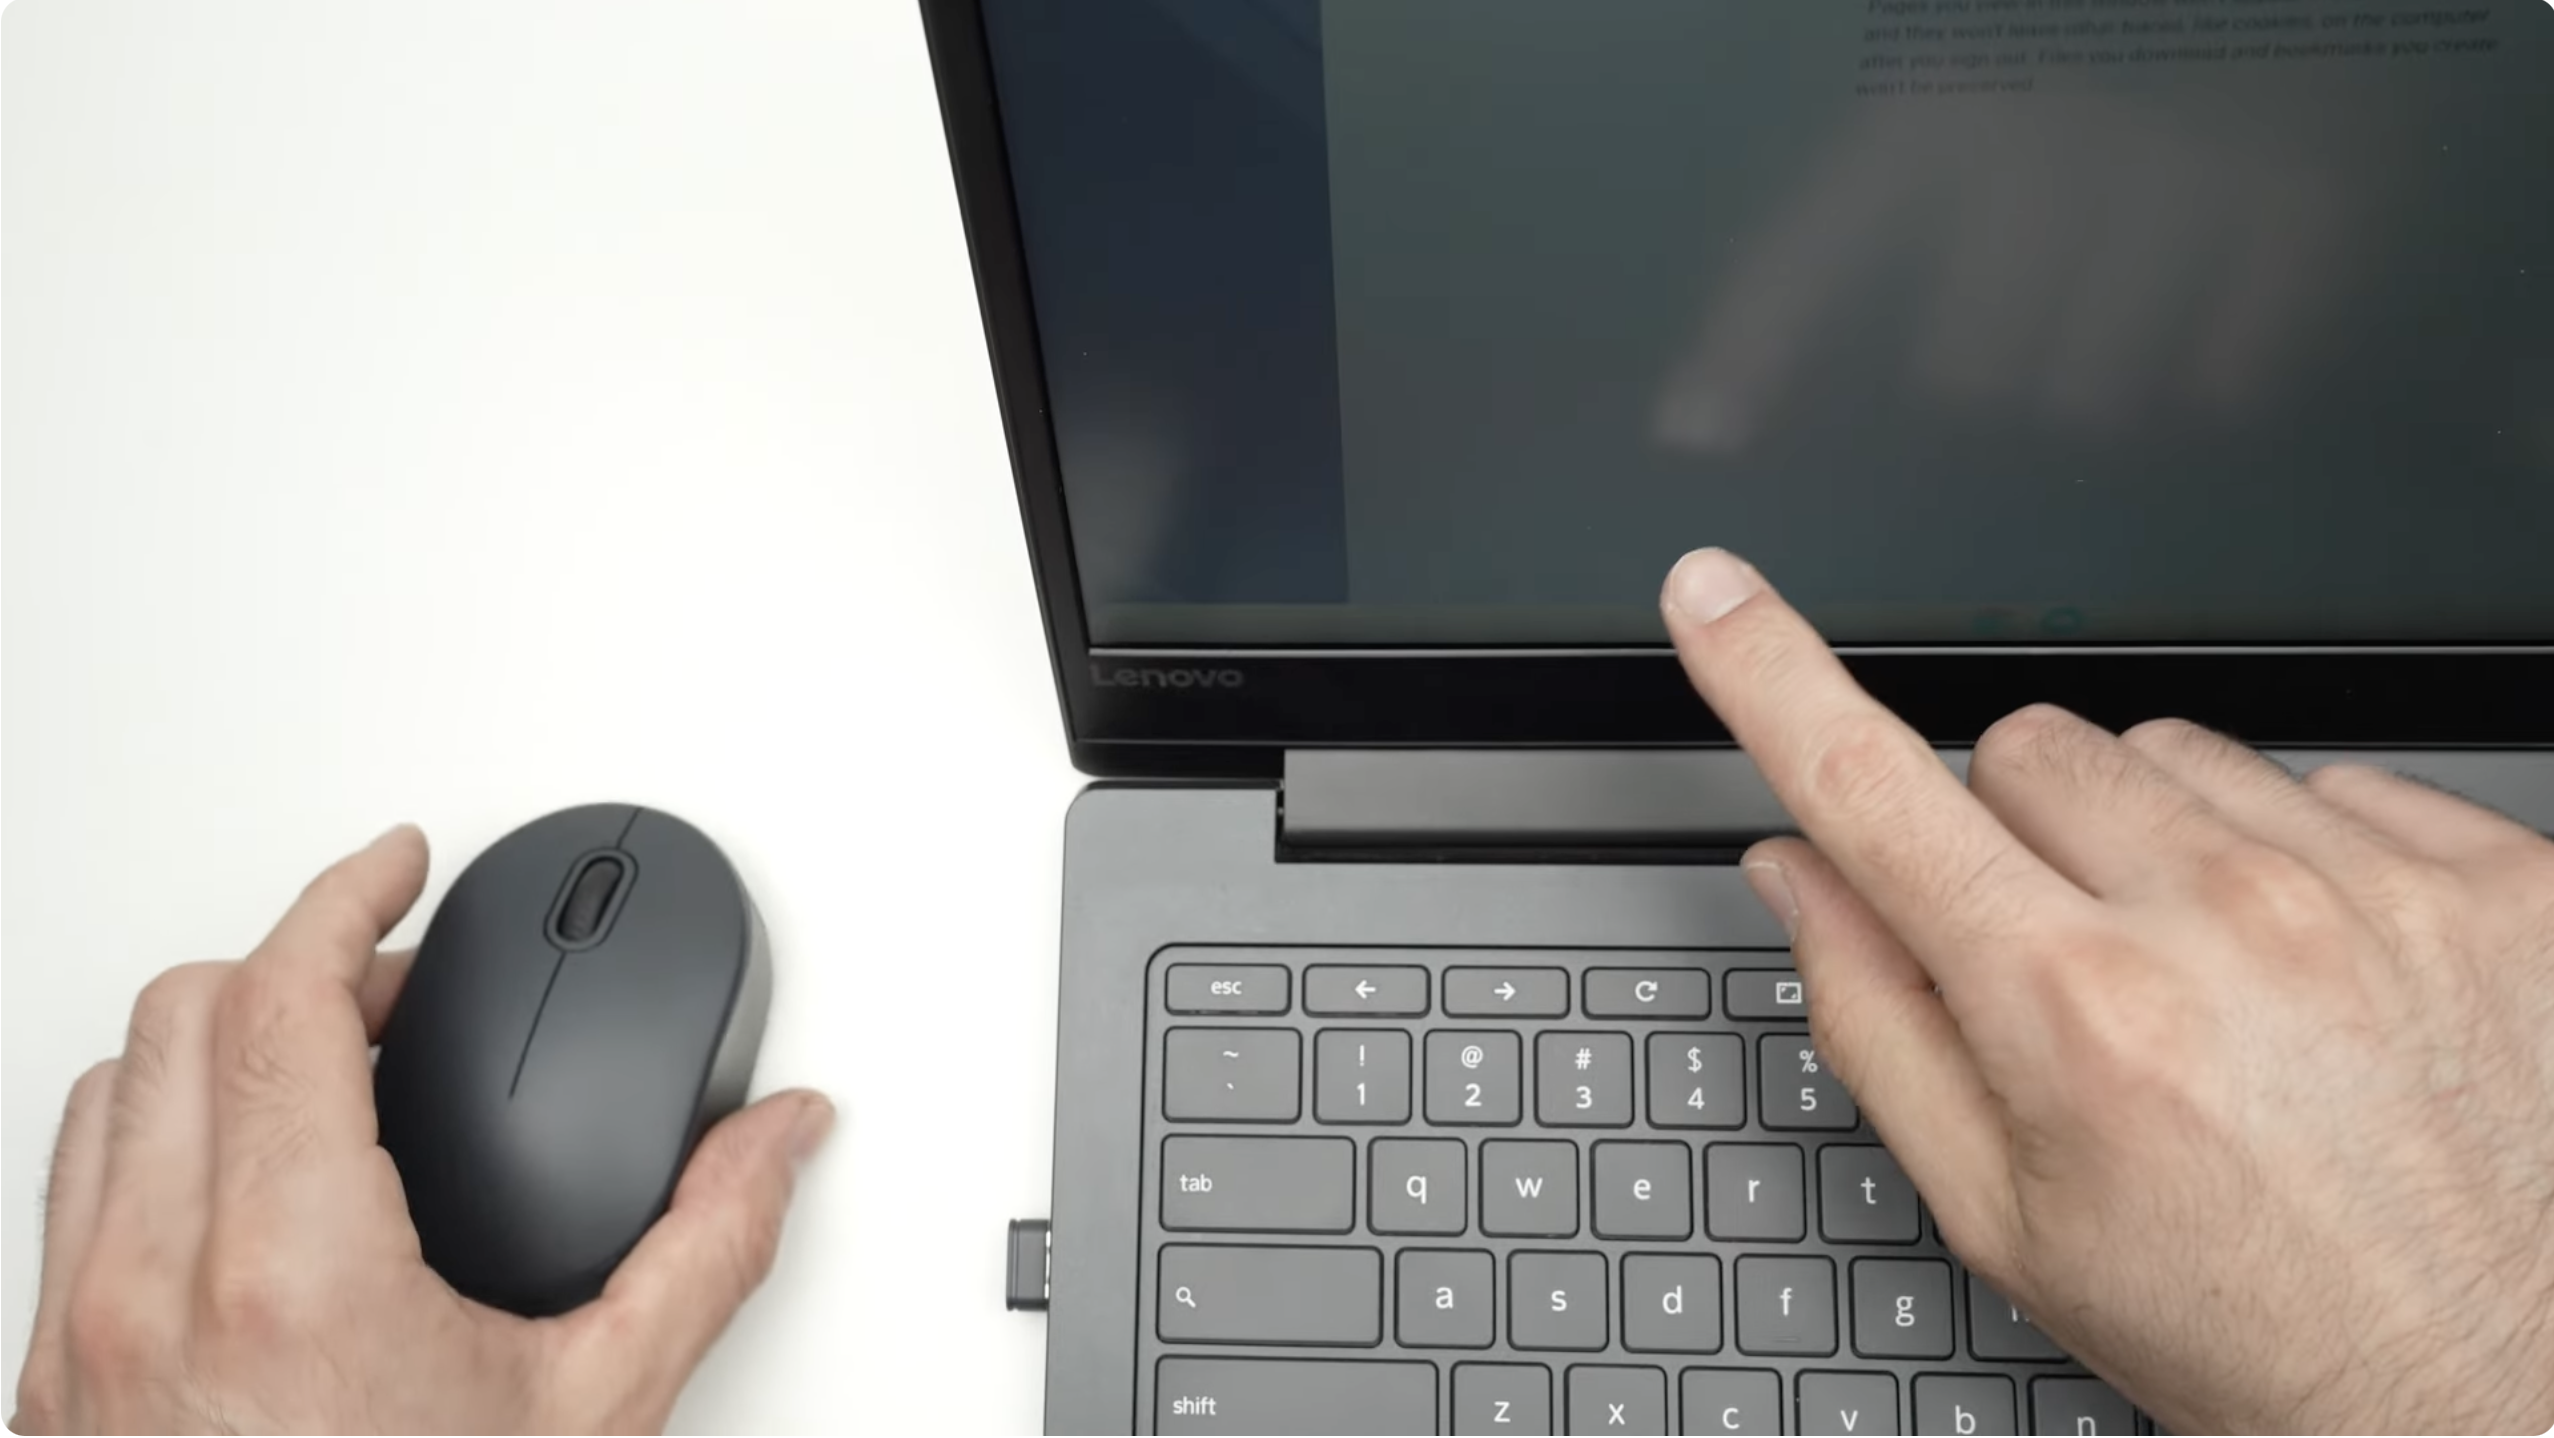
Move the mouse around to check if the cursor responds on your screen. Click both left and right buttons and scroll to confirm everything works properly. If it doesn’t, check the batteries or try a different USB port.
Step 5: Customize Mouse Settings
After completing the setup, open Settings > Bluetooth & Devices > Mouse on Windows (or System Settings > Mouse on macOS). You can adjust pointer speed, scroll sensitivity, and assign functions to extra buttons for better comfort and control.
Troubleshooting: Onn Wireless Mouse Not Connecting
If your Onn wireless mouse isn’t connecting or stops working, try these quick fixes:
- Unplug the USB receiver and plug it into a different USB port.
- Replace the batteries and make sure they’re inserted correctly.
- Move the mouse closer to the receiver to avoid signal interference.
- For Bluetooth models, delete the old pairing and reconnect the mouse.
- Restart your computer and check if the drivers install automatically.
If your Onn wireless mouse still won’t connect, test it on another computer to confirm whether the issue lies with the device or the port.
Tips for Bluetooth Models
Some Onn mice support both 2.4 GHz and Bluetooth modes. For Bluetooth setup, enable Bluetooth on your computer, press and hold the Connect button until the LED blinks, then select Onn Mouse from the pairing list. If it doesn’t appear, toggle Bluetooth off and on, then retry pairing.
FAQs
Q: Can I use one receiver for multiple Onn wireless mice?
A: No. Each Onn mouse comes pre-paired with its own receiver and cannot share it with another mouse.
Q: Why does my Onn mouse light up but not move the cursor?
A: This can happen if the connection wasn’t completed. Try re-pairing the mouse or reconnecting the USB dongle.
Q: Does the Onn wireless mouse work with Macs or Chromebooks?
A: Yes. Most Onn wireless mice are plug-and-play compatible with Windows, macOS, and ChromeOS. Some advanced buttons may require manual setup.
Summary
- Insert batteries and turn on the mouse.
- Plug in the USB receiver or enable Bluetooth pairing.
- Press the Connect button to sync the mouse.
- Test the mouse to confirm it’s working properly.
- Adjust your settings for speed and comfort.
By following these simple steps, you now know exactly how to connect Onn wireless mouse on Windows, Mac, or Chromebook. Enjoy smooth navigation and a clutter-free desk setup.
Discussion (0)
Be the first to comment.