




Smart lights, security cameras, sensors, and speakers feel much better when they work together instead of as separate apps. A Raspberry Pi smart home hub lets you tie everything into one place and control it from your phone, browser, or voice assistant.
In this guide, you learn how to build your own smart home hub with a Raspberry Pi using modern tools like Home Assistant OS, Zigbee, and Z-Wave dongles, and local automations. You set up the hardware, install the software, add devices, and secure your system so it stays fast and reliable over time.
Whether you want a simple light and thermostat setup or a full Raspberry Pi home automation hub, you follow the same core steps. You only need basic hardware, a bit of patience, and a willingness to tinker.
What is a smart home hub?
A smart home hub acts as the brain of your home automation system. It sits on your network, talks to your smart devices, and keeps everything in sync so lights, sensors, locks, and switches respond to triggers and scenes.
Instead of opening separate apps for every brand, you connect devices to the hub and control them from one dashboard. You can then build routines like a “Goodnight” scene that turns off lights, locks doors, and arms motion sensors with one tap.
With a hub running locally on a Raspberry Pi, you keep automations at home instead of in the cloud. That setup improves privacy, reduces lag, and keeps critical actions working even if your internet connection drops.
Why use a Raspberry Pi as your hub?
A Raspberry Pi works perfectly as the core of a DIY smart home hub because it stays small, quiet, and energy-efficient while offering enough power to run a full automation stack.
Modern Raspberry Pi 4 and 5 boards handle Home Assistant, databases, dashboards, and add-ons comfortably while using much less power than a full PC. They run 24/7 without drawing much energy, which matters when your smart home hub with Raspberry Pi 4 stays on all the time.
You also get huge flexibility. You can run a dedicated Home Assistant OS image, a Docker-based setup, or a more advanced Home Assistant Raspberry Pi container stack alongside other services. If your needs grow, you can expand storage, add USB dongles, or even move the same configuration to a bigger server.
What you need before you start
Before you build your Raspberry Pi smart home hub, gather some basic hardware. Choosing the right parts gives you better performance and fewer headaches later.
Required hardware
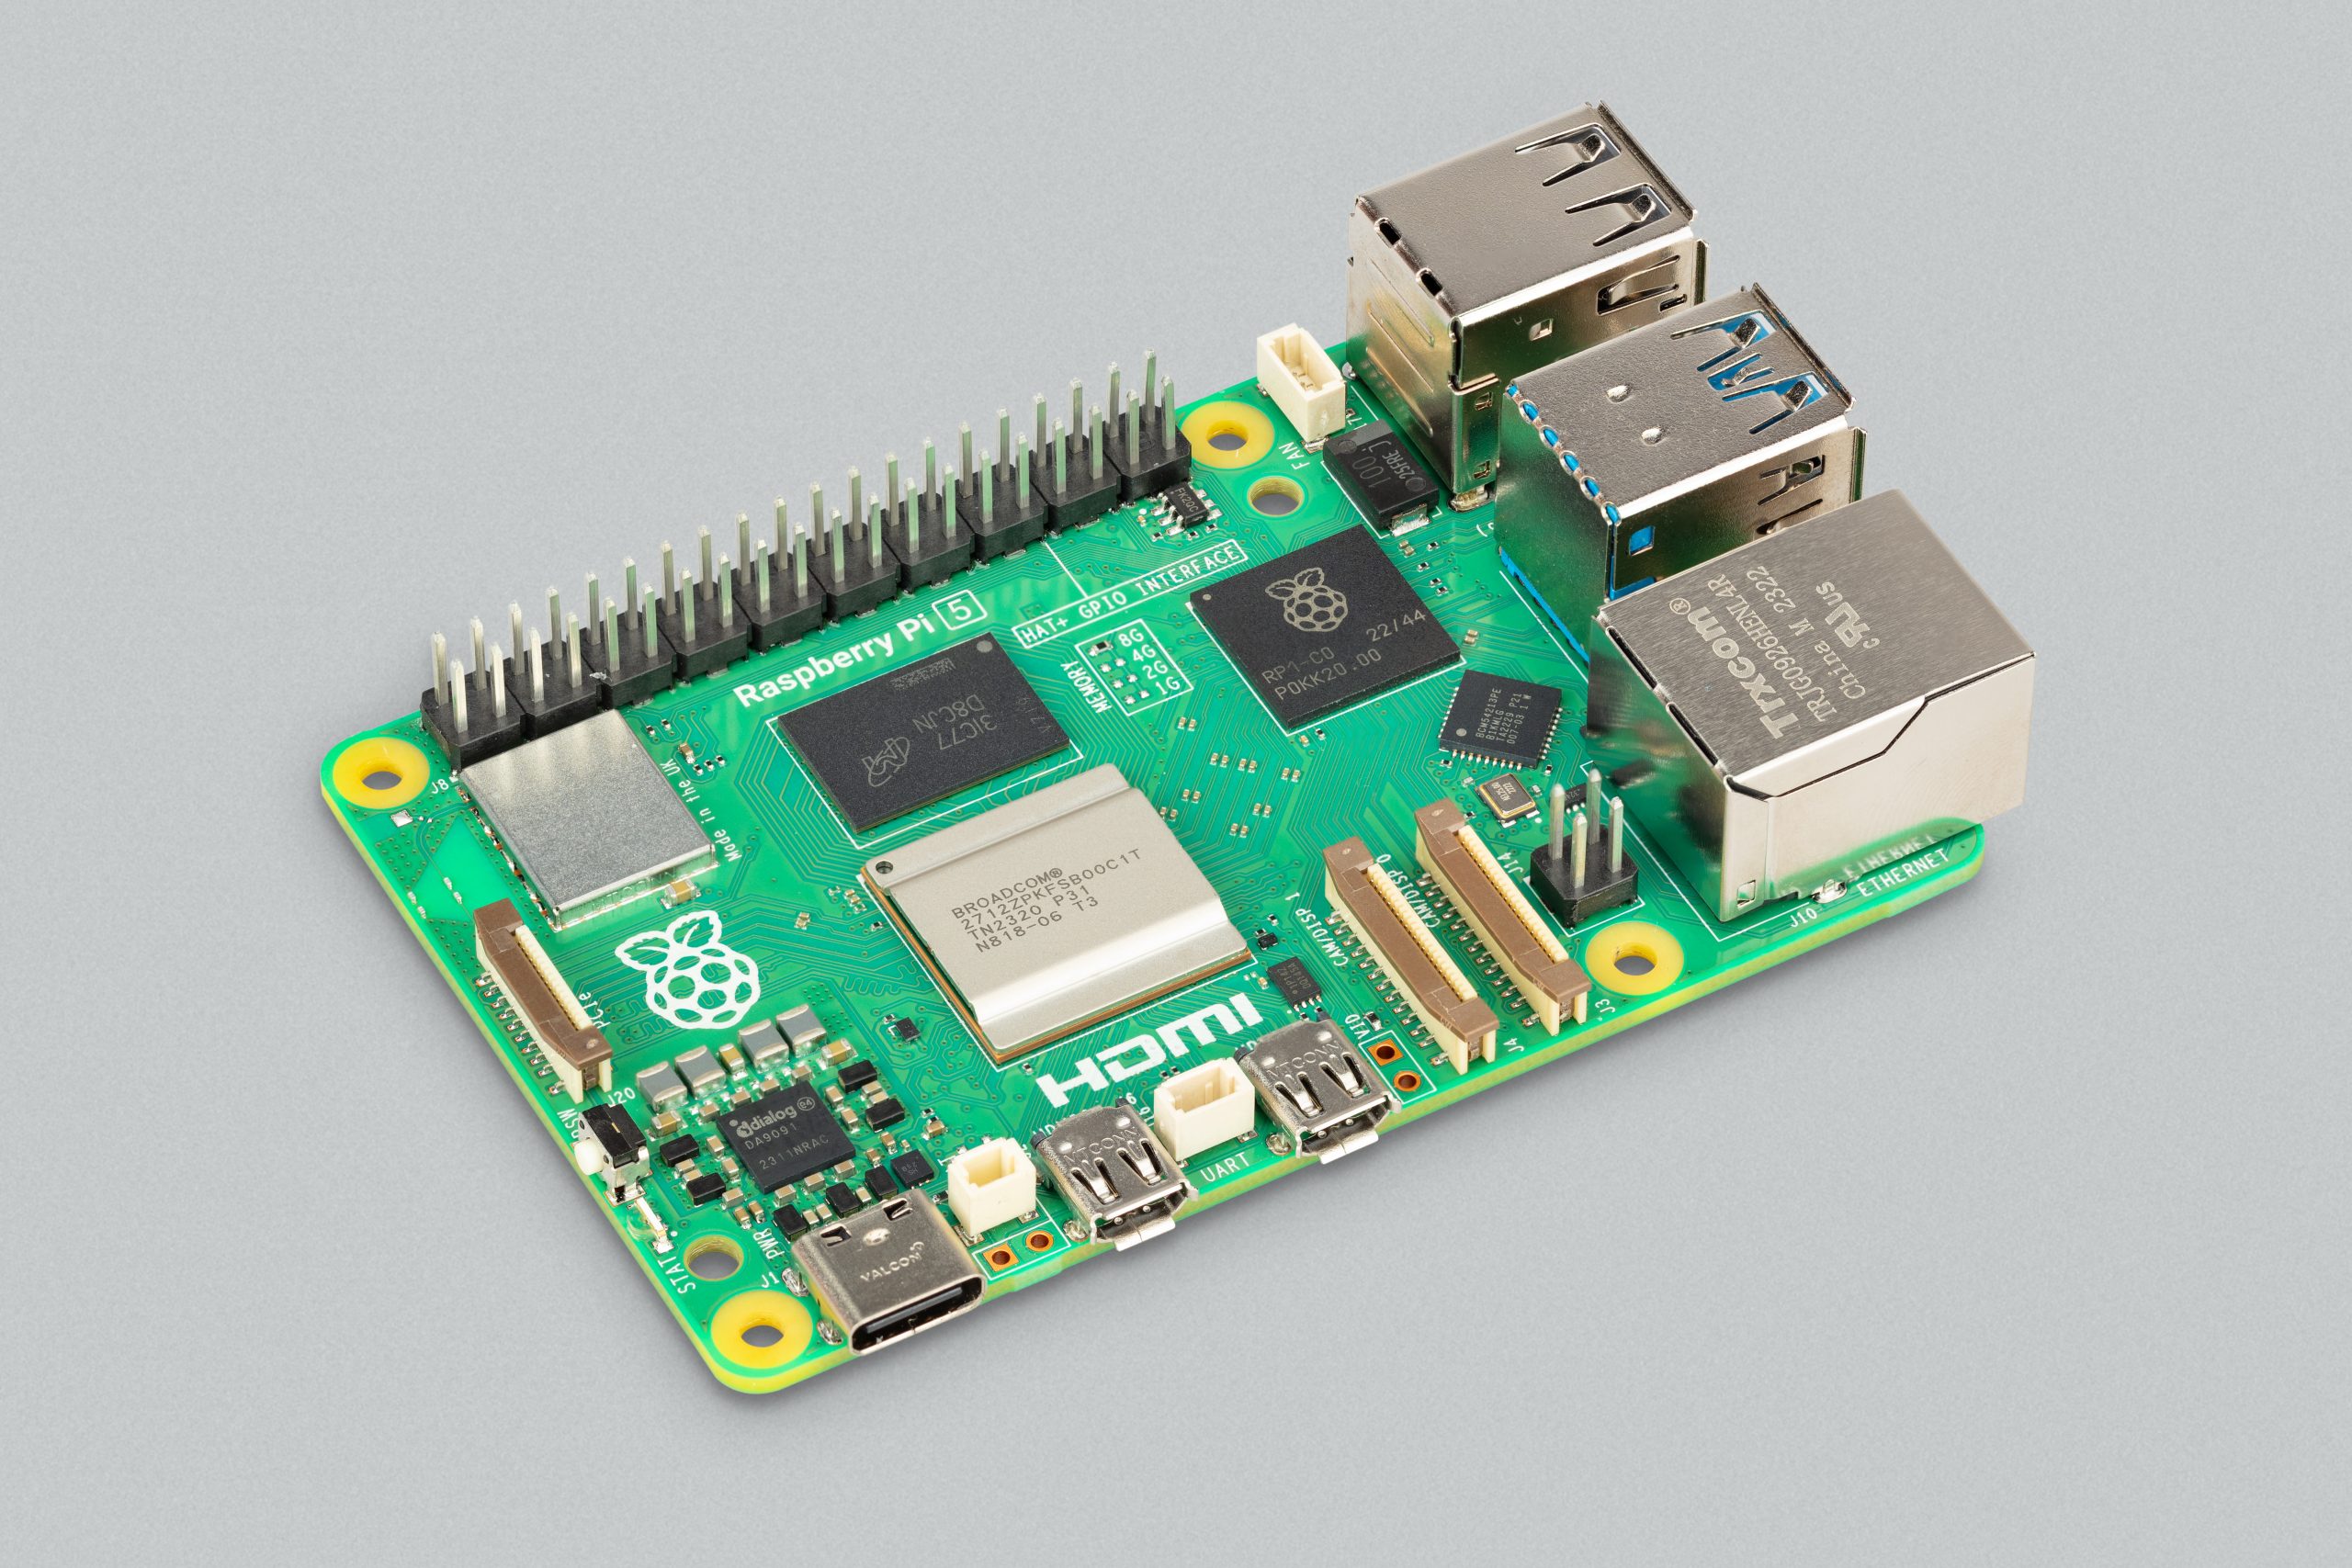
- Raspberry Pi 4 (2 GB or more) or Raspberry Pi 5
- MicroSD card with at least 32 GB of storage and good endurance

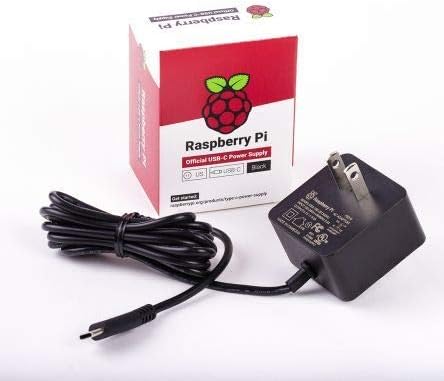
- Official power supply for your Raspberry Pi model
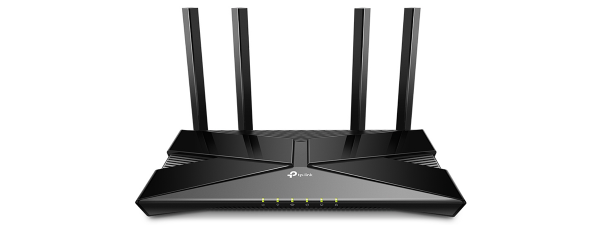
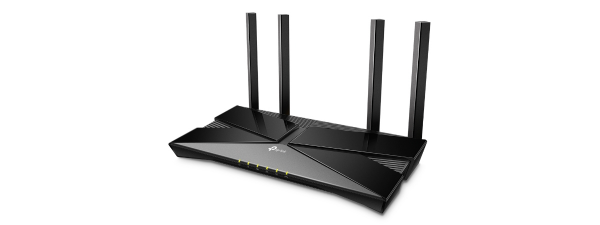
- Ethernet cable for the most stable connection, or Wi-Fi if cabling is difficult
- Computer with an SD card reader to flash the system image
Optional but highly recommended
- Zigbee USB dongle (for low-power sensors, bulbs, and switches)
- Z-Wave USB dongle (for many smart locks and older home automation gear)
- USB SSD if you want better performance and reliability than a microSD card
- Small case with proper cooling, especially for the Raspberry Pi 4 or 5
If you plan to keep everything local and private, a wired Ethernet connection helps your local smart home hub stay responsive and reliable, even during heavy traffic or Wi-Fi congestion.
Choosing the software for your hub
You have several options when you build a Raspberry Pi home automation hub, but most users should start with Home Assistant OS. It runs as a dedicated appliance on your Raspberry Pi and includes the core system, add-ons, and backups in one package.
Home Assistant OS (best for most users)
Home Assistant OS runs directly on your Raspberry Pi and manages the system for you. You get a powerful dashboard, thousands of integrations, add-ons like Zigbee2MQTT and backups, and frequent updates from a very active community.
If you want the fastest, easiest way to get going, Raspberry Pi Home Assistant OS gives you an “appliance-like” feel. You focus on devices and automations instead of Linux maintenance.
Home Assistant Container (for advanced setups)
Home Assistant Container runs Home Assistant Core inside Docker on Raspberry Pi OS or another Linux distribution. You install and manage Docker yourself, which gives you more control and lets you run other apps on the same Pi.
This setup works well if you already use Docker, need extra services like custom databases, or want a more general-purpose server. It requires more command-line work and manual updates, so it suits power users.
Other platforms to consider
Alternatives like openHAB, Node-RED, Homebridge, or older options such as Prota OS can also turn a Raspberry Pi into a hub. Many people combine Node-RED with Home Assistant for visual automation flows or use Homebridge to bring more devices into Apple Home.
At the time of writing, Home Assistant remains the most flexible and actively developed choice for a DIY smart home hub on Raspberry Pi, especially if you care about local control and privacy.
How to prepare your Raspberry Pi
Before you install Home Assistant OS, you set up the Raspberry Pi hardware and flash the operating system image. This part lays the foundation for the rest of your build.
Flash Home Assistant OS to your microSD card
- Download and install Raspberry Pi Imager on your computer.
- Insert the microSD card into your computer’s SD card reader.
- Choose the option to select an operating system, then pick Home Assistant OS from the “Home assistants and home automation” section.
- Select your Raspberry Pi model, choose the microSD card as the storage target, and start the flashing process.
- Wait until the imager finishes writing and verifying the image, then safely eject the card.
Assemble and connect the Raspberry Pi
- Place the Raspberry Pi into its case and attach any heatsinks or fans if provided.
- Insert the flashed microSD card into the Raspberry Pi’s microSD slot.
- Plug in your Zigbee and Z-Wave USB dongles if you plan to use them from day one.
- Connect an Ethernet cable from the Raspberry Pi to your router, or ensure your Wi-Fi network details are ready if you will configure Wi-Fi later.
- Connect the power supply to boot the Raspberry Pi and let Home Assistant OS start for the first time.
Give the system several minutes on the first boot. It expands the file system and downloads necessary components before you access the web interface.
Initial Home Assistant setup
Once the Raspberry Pi finishes booting, you connect to Home Assistant from a browser on the same network. This is where your Home Assistant Raspberry Pi installation starts to look like a real hub.
- On a computer or phone connected to the same network, open a browser and go to
https://homeassistant.local:8123(or use the Raspberry Pi’s IP address if that address does not resolve). - Create your Home Assistant account with a strong, unique password.
- Set your home name, location, and time zone so automations based on time and sunrise/sunset work correctly.
- Review any automatically discovered devices, such as smart TVs or speakers, and choose which ones to add right away.
- Finish the onboarding flow, then explore the main dashboard to get familiar with the interface.
At this point, you already have a basic build a smart home hub setup running. Next, you add protocols like Zigbee and Z-Wave so you can bring in more types of smart devices.
Adding Zigbee, Z-Wave, and Matter devices
Most people want their DIY smart home hub to support many brands and devices. Zigbee and Z-Wave dongles let your Raspberry Pi speak the same language as many bulbs, sensors, plugs, and locks.
Set up a Zigbee USB dongle
- Plug your Zigbee USB dongle into the Raspberry Pi and reboot the device if Home Assistant does not see it immediately.
- Open Settings > Devices & services in Home Assistant and look for a discovered Zigbee integration or add Zigbee2MQTT as an add-on if you prefer.
- Select the correct serial port for the dongle and complete the setup wizard.
- Put a Zigbee device into pairing mode and use the Zigbee integration to search for new devices.
- Rename the device and assign it to a room so it appears in the right place in your dashboards.
Set up a Z-Wave USB dongle
- Insert your Z-Wave dongle and open Settings > Devices & services again.
- Add the Z-Wave integration recommended for your hardware, then choose the appropriate serial device path.
- Use the integration’s controls to add a new node while your Z-Wave device sits in inclusion mode.
- Confirm that entities such as locks, switches, or sensors appear in Home Assistant.
- Organize them into rooms and areas to keep your dashboard tidy.
If you use newer Matter or Thread devices, you can add a compatible border router or dedicated hub that exposes them to Home Assistant. This gives your Raspberry Pi smart home hub multi-protocol support without relying on one brand.
Connecting and organizing your devices
After you connect your first devices, you should name and group them in a way that makes sense. A clean layout saves you time whenever you add scenes or automations later.
- Give each device a clear name, such as “Living room lamp” or “Front door lock.”
- Assign devices to rooms and floors so you can filter quickly in dashboards.
- Remove or disable entities you do not plan to use, such as duplicate power sensors.
- Use the default dashboard or create custom dashboards for specific tasks, like security or climate control.
- Test basic actions like turning lights on and off or changing thermostat settings from the Home Assistant interface.
As your system grows, your Raspberry Pi home automation hub becomes the place where you see everything at a glance and decide how devices should respond to each other.
Creating automations and scenes
Automations let your home react to time, motion, or other triggers without you opening an app. Scenes apply a set of states to many devices at once, such as dimming lights and closing blinds for movie night.
- Open Settings > Automations & scenes in Home Assistant and create a new automation.
- Choose a trigger like time, sunrise/sunset, motion detection, or a button press.
- Add conditions if you want the automation to run only in certain situations, such as at night or when nobody is home.
- Set actions, such as turning on lights, adjusting the thermostat, or sending a notification to your phone.
- Test the automation manually, then let it run on its own for a few days and tweak it as needed.
You can also create scenes that fit your routines. For example, a “Goodnight” scene can turn off most lights, set bedroom lamps to a warm dim level, and lock exterior doors.
Ways to control your smart home hub
Once your Raspberry Pi smart home hub runs smoothly, you have several ways to control it. You can pick the ones that fit your household best and use more than one method at the same time.
- Web dashboard: Use any browser on your home network to open the Home Assistant interface and manage devices, scenes, and automations.
- Mobile apps: Install the Home Assistant app on Android or iOS to control your home, receive notifications, and use phone sensors like location or battery as triggers.
- Voice assistants: Link supported assistants such as Alexa or Google Assistant so you can control devices and scenes with voice commands.
- Wall panels: Repurpose an old tablet as a fixed control panel that shows key dashboards in high-traffic areas of your home.
- Manual controls: Keep physical switches, remotes, and buttons available so your smart home still works for anyone who prefers not to use apps.
Security and maintenance best practices
Because your Raspberry Pi smart home hub connects to many devices and sometimes to remote access services, you should treat it like any other important networked system.
- Change all default passwords on Home Assistant, your router, and any exposed services.
- Enable two-factor authentication on your Home Assistant user account.
- Keep Home Assistant OS, integrations, and add-ons updated so you get security fixes and new features.
- Use strong Wi-Fi encryption and avoid exposing your hub directly to the internet; use a secure remote access solution instead of open ports whenever possible.
- Schedule regular backups of your Home Assistant configuration to external storage or a cloud service you trust.
Spending a bit of time on security early helps your local smart home hub stay safe, stable, and easier to recover if something goes wrong.
Troubleshooting common issues
Even a well-planned Raspberry Pi smart home hub setup can hit the occasional snag. When devices stop responding or performance drops, check a few basics before you dive into deeper debugging.
- Verify that the Raspberry Pi has power, a working network connection, and reasonable CPU temperatures.
- Reboot Home Assistant and, if necessary, the Raspberry Pi to clear temporary glitches.
- Confirm that your Zigbee and Z-Wave dongles still appear in Home Assistant and have not moved to a different serial path.
- Check battery levels in wireless sensors and buttons; low batteries cause strange behavior.
- Review Home Assistant’s logs for recent error messages and search the community forums if something looks unfamiliar.
As you gain experience, you will learn how your Raspberry Pi smart home hub behaves on good days and bad days, which makes spotting and fixing issues much easier.
Conclusion
You have now turned a simple Raspberry Pi into a powerful Raspberry Pi smart home hub that runs your lights, sensors, locks, and more from one place. You set up the hardware, installed Home Assistant, added devices, built automations, and hardened your system with sensible security practices.
Because your hub runs locally, you keep control, privacy, and reliability in your own hands instead of depending on cloud services. When you want to expand, you can add new devices, protocols, dashboards, and even move your setup to stronger hardware without starting from scratch.
Now that you understand how to build your own smart home hub with a raspberry pi, you can keep experimenting. Add more rooms, try new integrations, and refine automations until your home feels truly smart, not just connected.
Discussion (0)
Be the first to comment.