By default, every Xbox One console is named Xbox-SystemOS. If you ask us, it's a rather boring name, without any personality. If your Xbox One is connected to a network with many devices, you may want to identify it by giving it your own name. Something more exciting and unique! Here's how to rename any Xbox One console in just three steps:
Step 1. Go To Xbox One Settings
Start your Xbox One and sign in with your Microsoft account. Then, go to Settings.
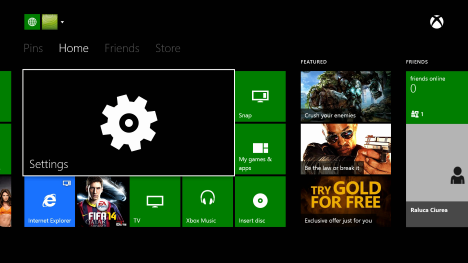
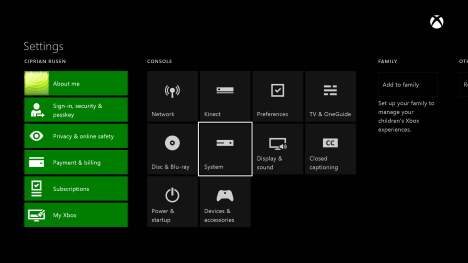
In the Settings screen, look for the System category and select it.
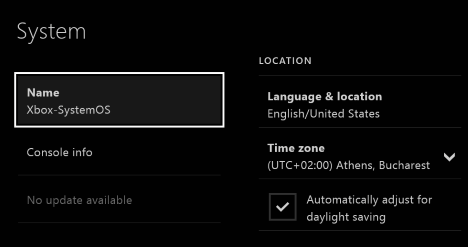
On the column on the left, look for the Name entry and select it. By default, it should have the name Xbox-SystemOS.
Step 2. Give Your Xbox One A New Name
You are asked to give your Xbox a name.
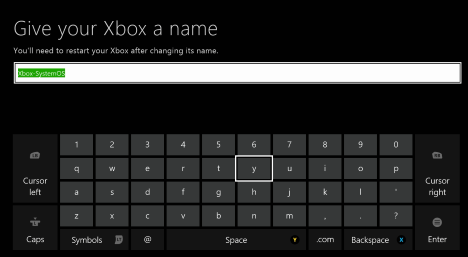
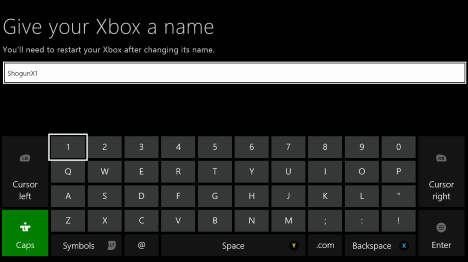
Use the keyboard to type the name that you want to use.
When done, press the Enter key on your controller.
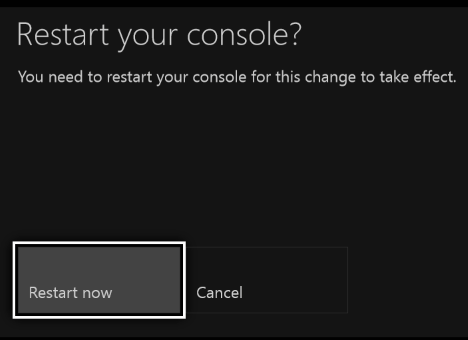
Step 3. Restart Your Xbox One Console
You are asked to restart your Xbox One, so that this change is applied. Select Restart now and wait for the console to reboot.
When you sign in again, it will use the new name you have given.
Conclusion
As you can see from this guide, it is relatively easy to rename your Xbox One Console. All it takes is just three steps and a reboot. If you have any questions on this topic, don't hesitate to use the comments form below.