Starting with Microsoft Office 2016, Microsoft has introduced a Dark Mode for all Office apps. In Office 2019 you get two Dark Modes to choose from. If you purchased an Office 365 subscription, you also get background patterns for your Office apps. Here is how to personalize the theme and the background used by your Office apps, and enable Dark Mode, if you want to:
NOTE: The background and theme settings you are going to change get applied to all the apps in the Office suite that you have. For example, the changes you make in Word get applied to Excel and PowerPoint, and the other way around. Our guide applies to Office 365, Office 2019, and Office 2016. If you do not know which version of Office you have, read this tutorial: 5 ways to find the exact version of Microsoft Office that you are using.
1. Change the theme and the background in Office, from your Account settings
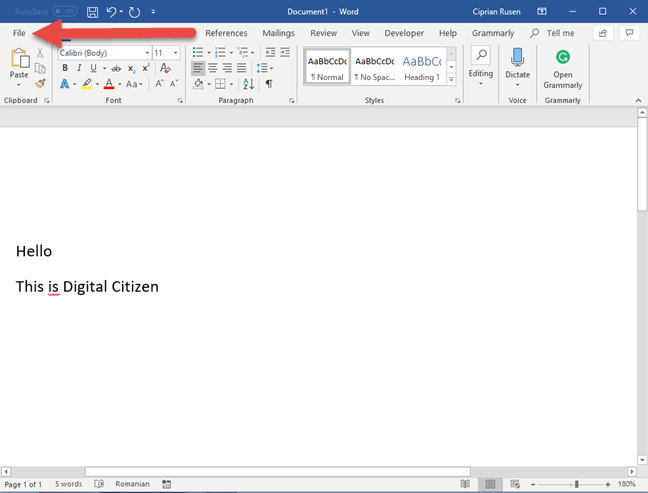
Open any Office app. We opened Word for this tutorial. Then, click or tap the File tab on the ribbon.
The File tab in Microsoft Word
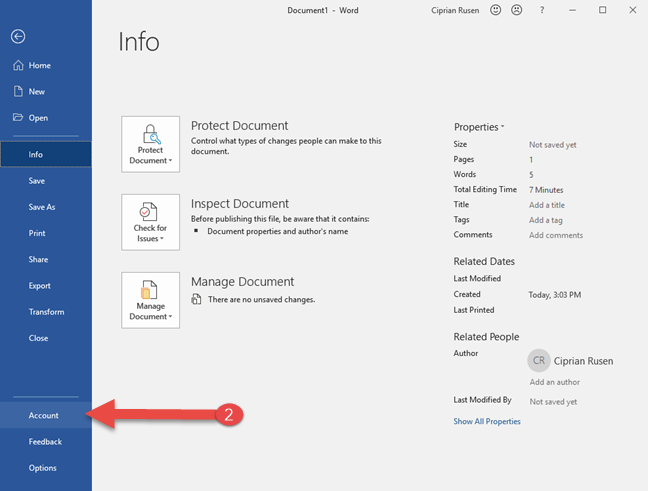
In the column on the left, choose Account.
Accessing Account settings in Word
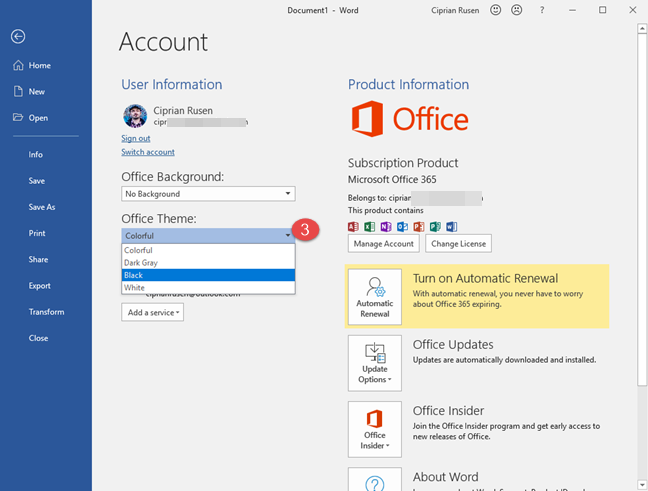
You are shown several account related settings. Click or tap the Office Theme drop-down list in the middle, and choose the theme you want: Black, Dark Gray, Colorful, or White.
Enabling the Black theme in Word
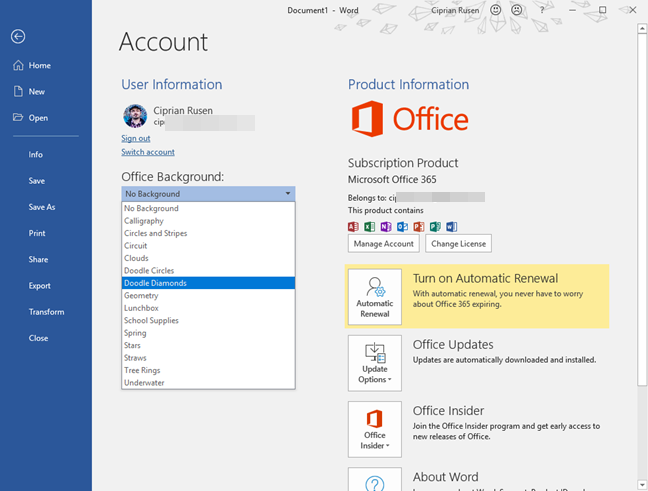
As soon as you select the theme you want, it gets applied to all Office apps. You can also change the background, and apply a new pattern. Click or tap the Office Background drop-down list, and choose a pattern you like. As soon, as you select it, it gets applied, so that you can see how it looks.
Changing the Office Background
As soon as you are done setting everything, click or tap the Back arrow on the top-left corner, and get back to your work.
2. Change the theme and the background in Office, from Office Options
Open any Office app. We chose Word for this tutorial, but Excel or PowerPoint work just as well. Click or tap the File tab on the ribbon.
The File tab in Microsoft Word
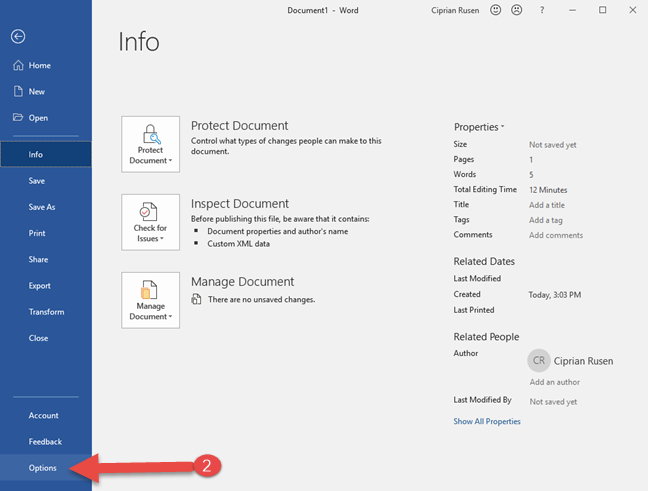
In the column on the left, go to Options.
Accessing the Options in Word
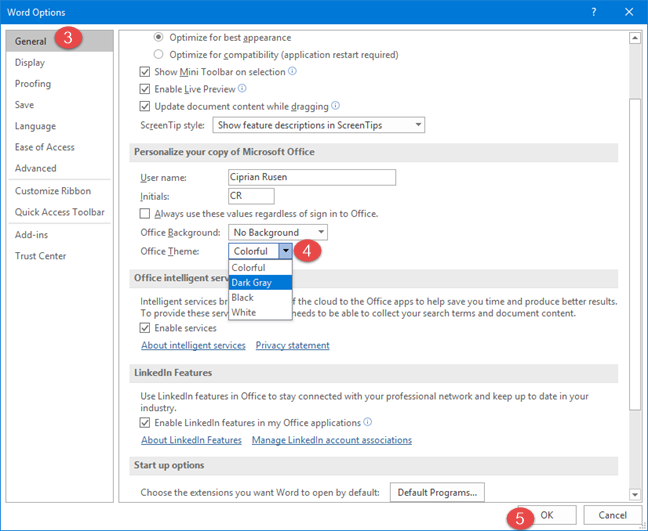
A new window is shown with options for the Office app that you are using. In our case, it is Word Options. Go to the General section on the left, and then look for the Office Theme drop-down list. Click on it and choose the theme that you want: Black, Dark Gray, Colorful, or White. Then, click or tap OK.
Choosing the Dark Grey theme in Word
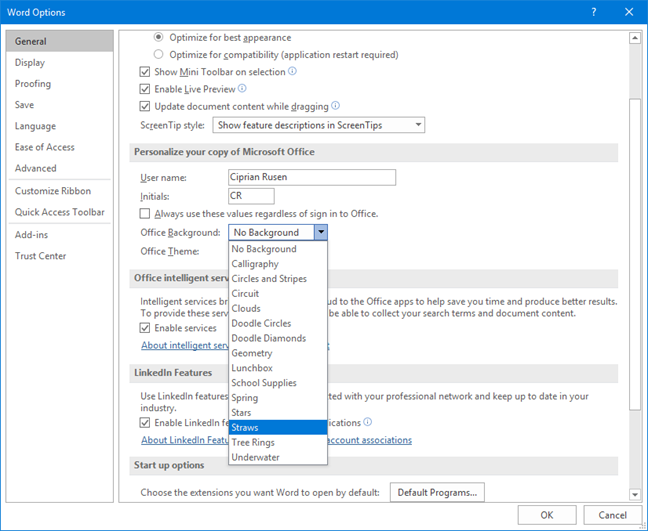
You can also change the background for your Office apps, and apply a new pattern. Click or tap the Office Background drop-down list, and choose a pattern you like. Then, click or tap OK.
Changing the Office Background
How do the different Office themes look?
If you want to know how the different themes for Office look, see the screenshots below. First, let's see how the Dark Gray theme looks in Word:
The Dark Gray theme for Office
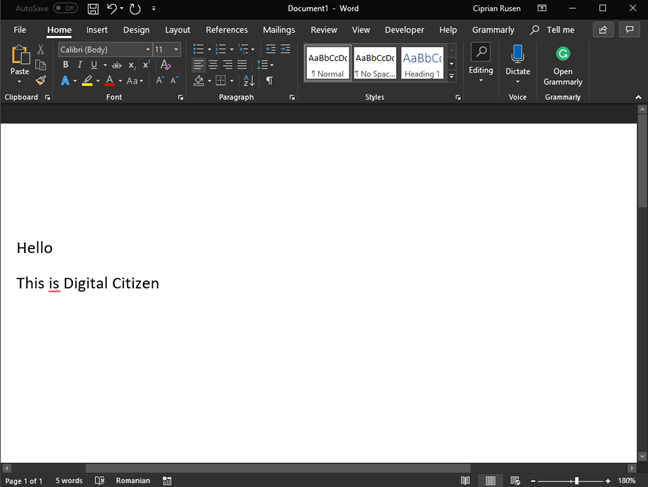
The Black theme is even darker:
The Black theme for Office
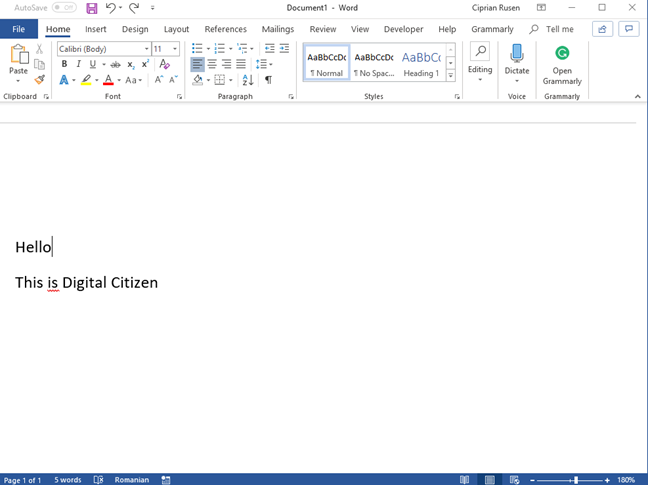
If you want more light, you can choose the White theme shown below:
The White theme for Office
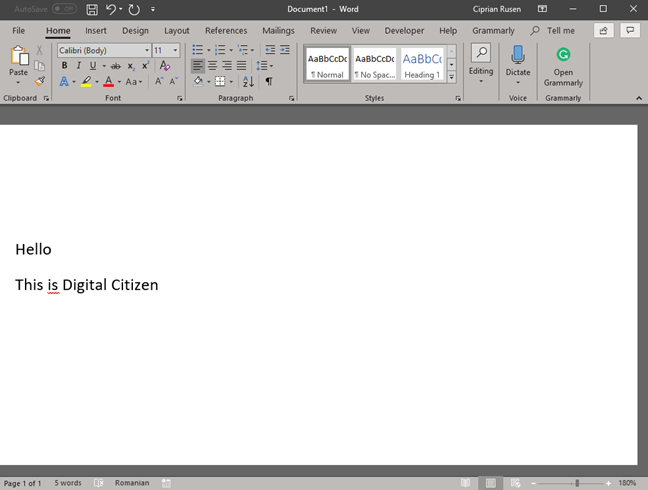
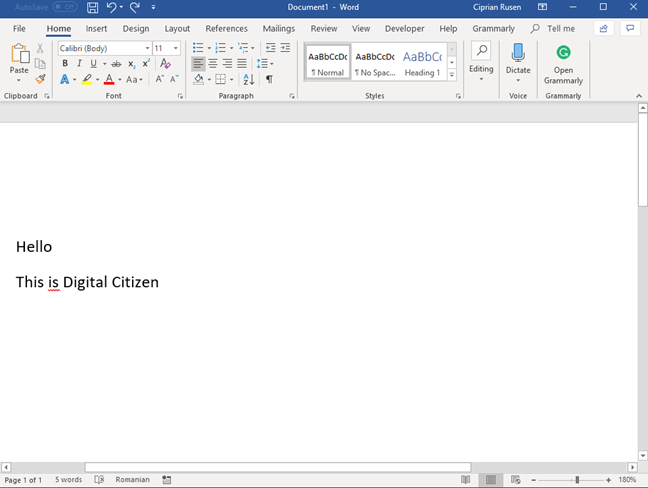
Colorful is the default theme used by your Office apps.
The Colorful theme for Office
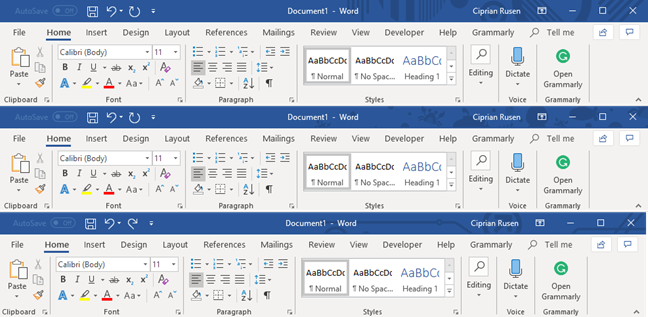
The available Office backgrounds are many. Here are a few in the screenshot below.
Office Backgrounds
At first, you might not notice any difference. Look on the title bar, on the top-right corner, to notice the different backgrounds that get applied. They add some visual appeal to how your Office apps look.
Different versions of Office get access to different themes and backgrounds
One important aspect to keep in mind is that you see all the customization options shown in this tutorial, ONLY if you have an Office 365 subscription. If you use Microsoft Office Professional, you do not get access to the Office backgrounds. Also, the Black theme is available only in Office 2019 and Office 365. In Office 2016, you get just the Dark Grey theme.


Discussion (5)
Thank you!
Thanks! No more glaring white screens!
The black is gone on mine. How do I get it back?
This black background was a terrible idea.
You can always change it.