07.11.2018
In Windows 10, starting with April 2018 Update (version 1803), Microsoft introduced a new app called the Diagnostic Data Viewer. It is a tool that you can download and install on your Windows 10 PC to see what diagnostic data you are sending to Microsoft. The information it displays is structured into categories and can be filtered as you wish. But even so, understanding it is not easy for a non-technical user. If you want to know what information about your computer Windows 10 is sending to Microsoft, here is how to get and use the Diagnostic Data Viewer:
How to enable diagnostic data viewing in Windows 10
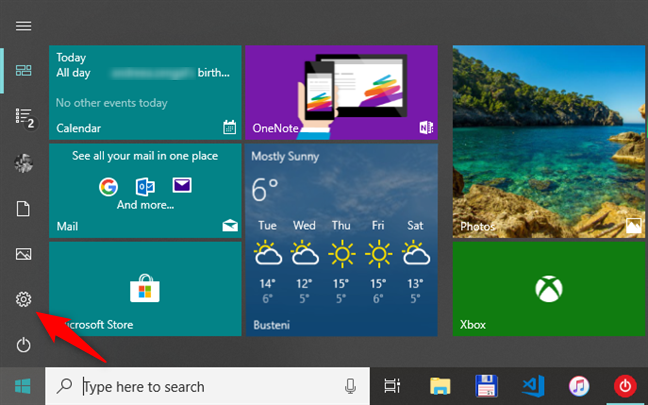
To be able to get the Diagnostic Data Viewer on your Windows 10 PC, you must first enable a setting called "View diagnostic data" from the Settings app. Open Settings with a click or tap on its button from the Start Menu.
In the Settings app, open the Privacy category and select Diagnostics & feedback on the left.
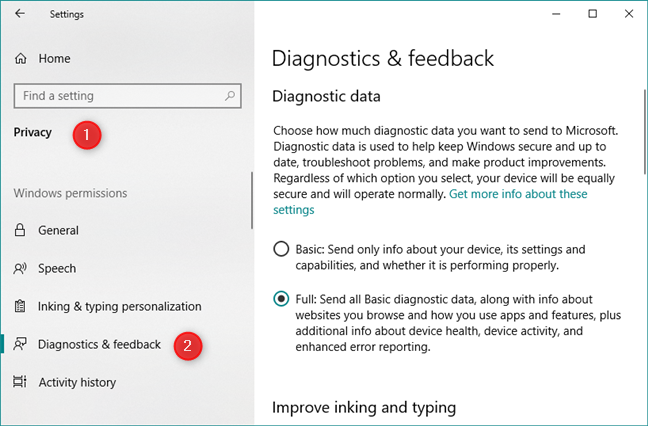
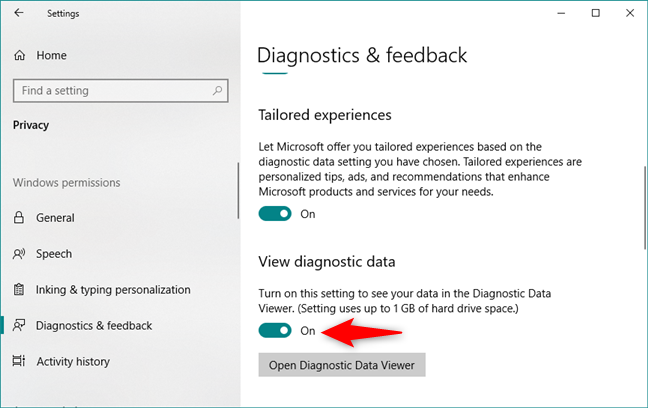
On the right side of the window, scroll until you get to the area called View diagnostic data. Here, Windows 10 tells you that you can "turn on this setting to see your data in the Diagnostic Data Viewer." It also notifies you that the data collected can use up to 1 GB of hard drive space on your computer. Make sure that this is not an issue for you and then turn On the switch.
How to get the Windows 10 Diagnostic Data Viewer
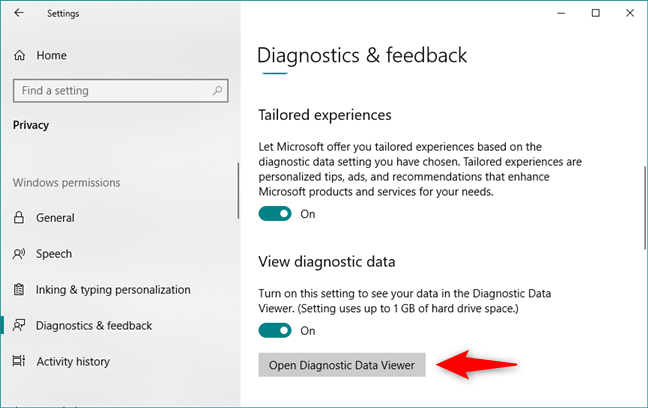
If the data viewing setting is enabled, you can now get the Diagnostic Data Viewer app. To do so, click or tap the "Open Diagnostic Data Viewer" button.
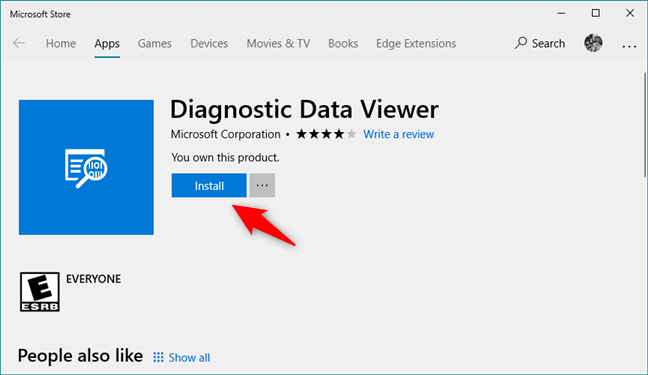
This action opens the Microsoft Store app and takes you to the Diagnostic Data Viewer app page. Click or tap the Install button and wait for the app to download and install on your Windows 10 PC.
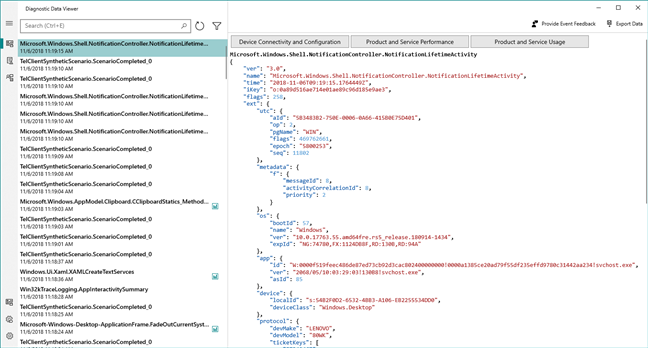
Once the Diagnostic Data Viewer is installed, you can open it from the Diagnostic & feedback area of the Settings app, or you can open it just like you do with any other app, using its shortcut from the Start Menu. Once you do, you should see a window filled with technical information, like the one below:
If you do not see any information in the Diagnostic Data Viewer, wait for a few minutes. As time passes, Windows 10 collects diagnostic data from your device, and the Diagnostic Data Viewer fills up.
How to use the Diagnostic Data Viewer in Windows 10
The Diagnostic Data Viewer lets you see the diagnostic information that your Windows 10 PC sends to Microsoft. Unfortunately, this information is too technical for most regular users to understand. However, there are a few things you can do to understand more.
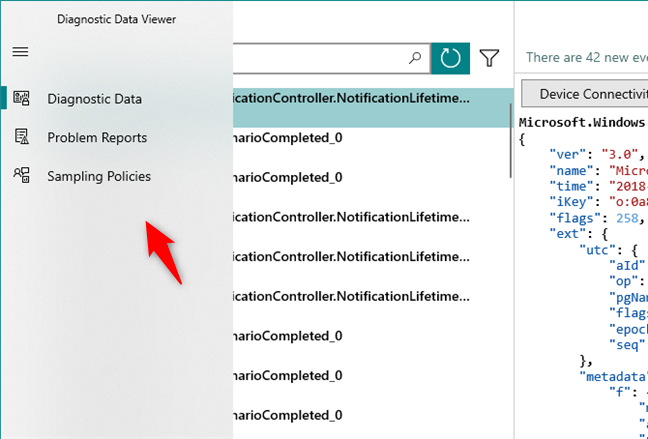
On the left sidebar, you can select what type of information you want to see: Diagnostic Data, Problem Reports or Sampling Policies.
How to see the diagnostic data sent to Microsoft by your Windows 10 PC
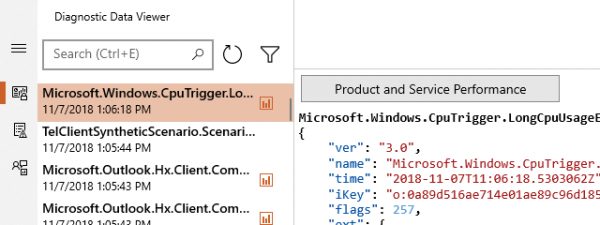
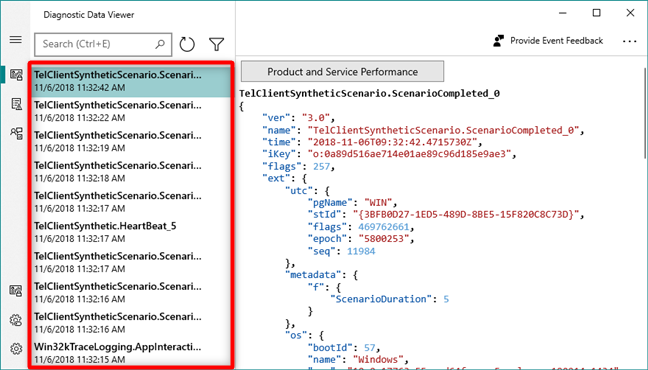
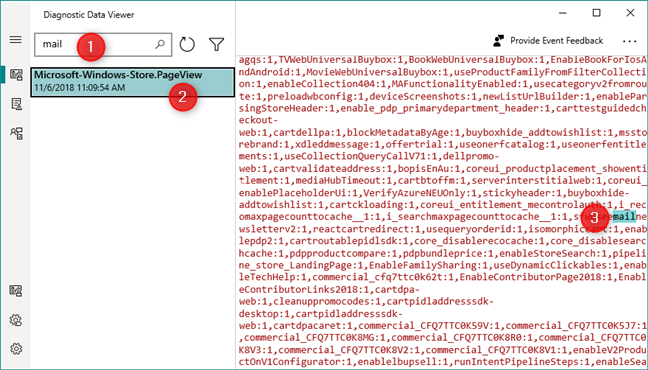
Select the Diagnostic Data, and you see diagnostic events, which are bits of information about activities done by your Windows 10 PC, which have been sent to Microsoft. You can see them in the list from the left area of the window:
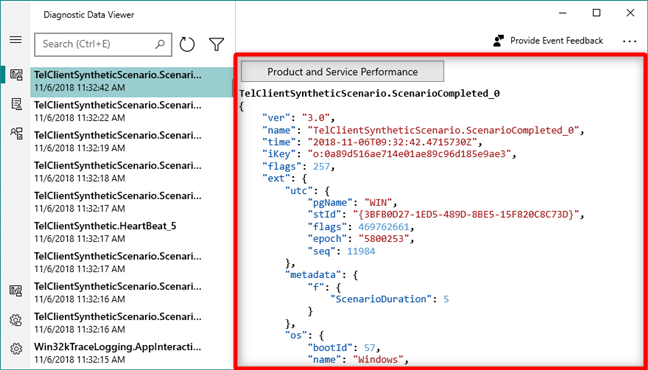
When you select an event, the right side of the window is filled with a JSON view which shows everything that was sent to Microsoft regarding that activity.
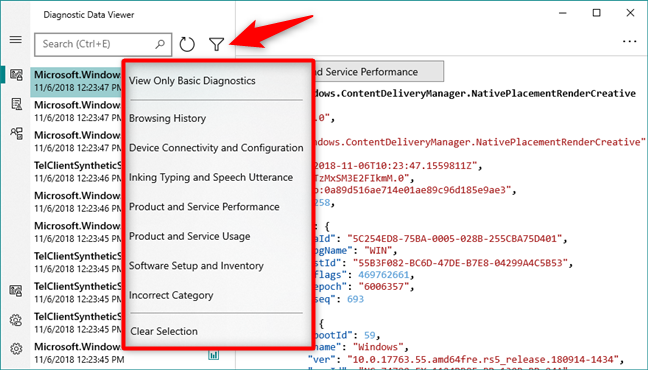
The Diagnostic Data Viewer also lets you search and filter the diagnostic events. To search for something particular, use the Search field at the top of the list. The search term is then highlighted wherever it appears in the details from the right side of the window (in the JSON view).
The Diagnostic Data Viewer also lets you filter results using several different categories. To do that, click or tap the Filter button next to the search field and choose the category of data that you want to view.
How to see the error reports sent to Microsoft by your Windows 10 PC
If you are using Windows 10 with October 2018 Update or newer, the Diagnostic Data Viewer also lets you check on the problem reports that your PC has submitted to Microsoft.
To see them, click or tap the Problem Reports button from the left sidebar of the window.
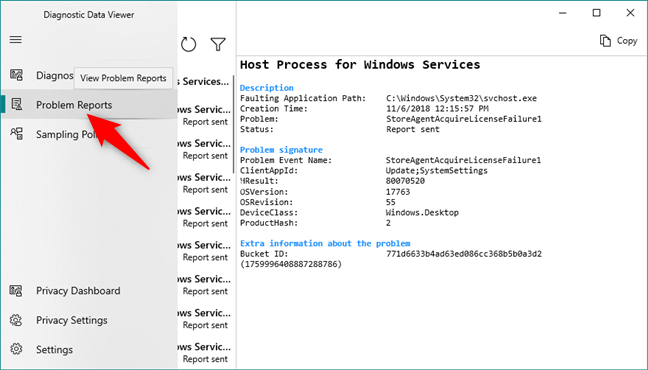
Then, you can see a list of the problems found and reported, split into categories. Select the one that you want to read more about, and all the details that were sent to Microsoft are loaded on the right side of the Diagnostic Data Viewer window.

How to use the Diagnostic Data Viewer to manage your privacy settings
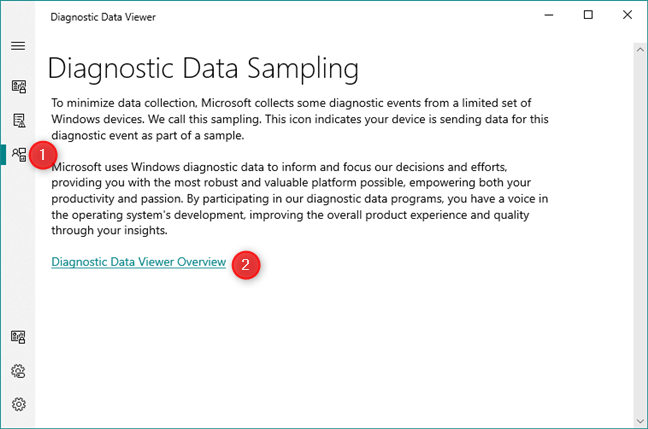
On the left sidebar of the Diagnostic Data Viewer app, there are a few other buttons that give you access to privacy settings. The third button from the top is called Sampling Policies and gives you some details about why Microsoft needs and what it does with the diagnostic data you send to them. You can also find a link that takes you to this Diagnostic Data Viewer Overview webpage, where you can find more details about this app.
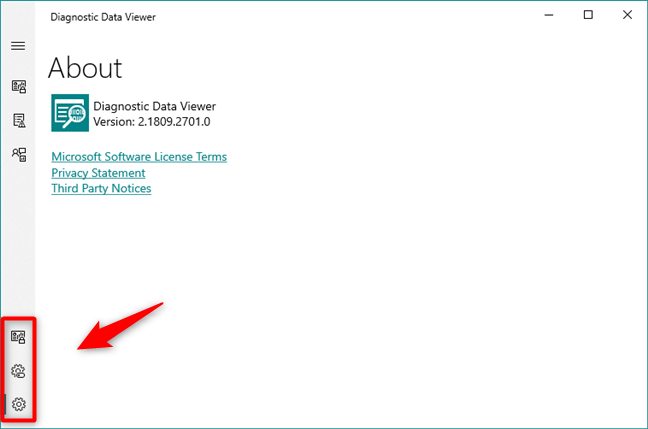
Towards the bottom of the sidebar, there are three more buttons:
- Privacy Dashboard opens your default web browser and takes you to a Microsoft portal where you can view and adjust all the privacy settings for your Microsoft account. You can read more about how to use these tools: How to learn what data Microsoft stores about you and how to delete it.
- Privacy Settings opens the Settings app and takes you to the Privacy settings.
- Settings shows you the version of the Diagnostic Data Viewer app and gives you links to Microsoft's license terms, privacy statement, and third-party notices.
Have you used the Windows 10 Diagnostic Data Viewer?
Do you like this new app that Microsoft developed to ease users' concerns about their privacy? We want to like it, and we believe that it can be useful to technical users. However, the information shared is sometimes very low level and difficult to understand by regular users, without a technical background. We think that this tool needs more polish, and a more user-friendly approach, so that more people understand what data is being sent by Windows 10 Microsoft, and why. Share your experience with Diagnostic Data Viewer below.