25.02.2019
 If you are a fan of desktop customization, you might want to make your folders and files look unique, by setting different icons instead of the defaults found in Windows. Although you can find a massive amount of free icons on the internet, you might prefer to create your icons by converting images to ICO files. If you want to find out just how easy it is to transform PNG, SVG, or JPEG files into ICO files, read on:
Method 1. Use an online file conversion service to convert images to ICO files
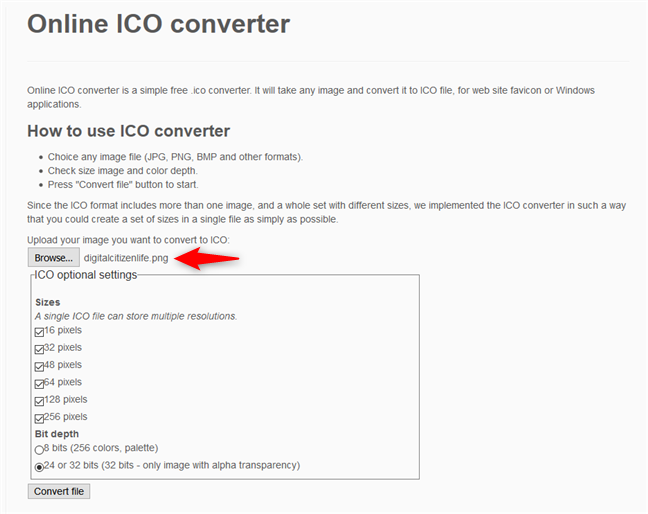
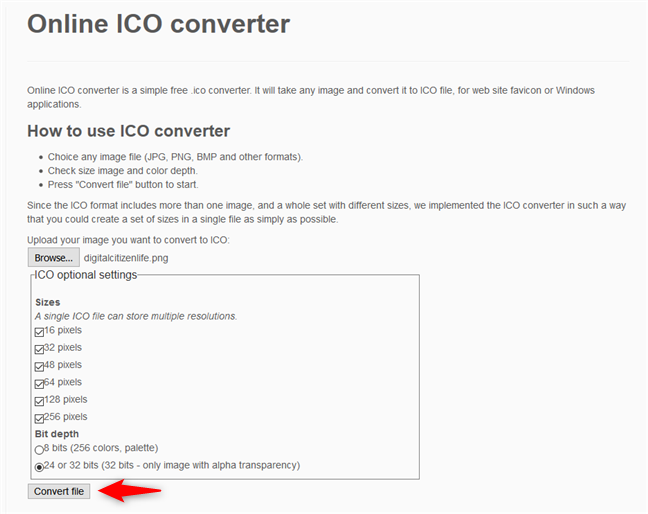
Many websites offer file conversion services, including conversions of image files such as PNG, SVG, or JPEG files to ICO files. One such website is online-converting.com. To convert an image to an icon, first, you have to upload the image from your Windows computer.
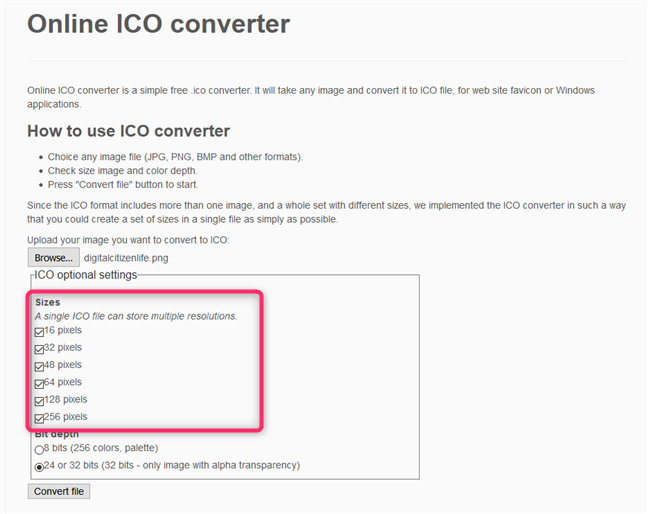
Next, you choose the resolutions that you want to use for the resulting icon. ICO files can store multiple icon resolutions, so that they look good regardless of how big or small you prefer your icons in Windows. If you intend to use the ICO file in Windows 10, you should make sure that you check the "256 pixels" option. Also, if the size of the resulting ICO file is not an issue, you could check all the resolutions available.
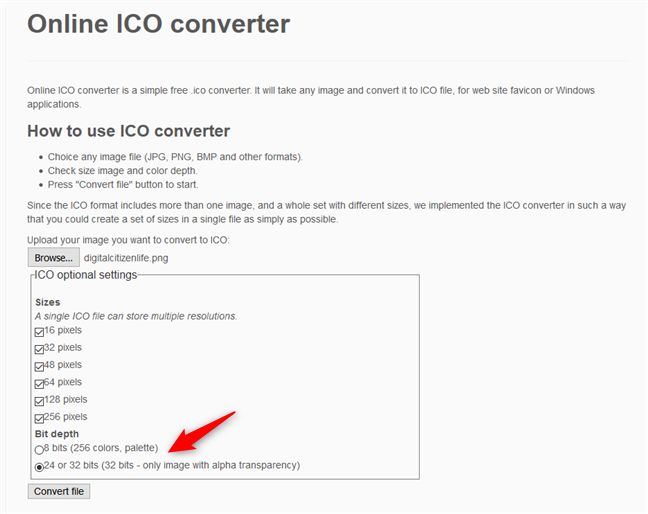
The third setting you can change is the "Bit depth," which can be of "8 bits (256 colors, palette)" or "24 or 32 bits (32 bits - only image with alpha transparency)". If you want to get a high-quality icon, choose the second option: "24 or 32 bits [...]". It supports 16 million colors which means that the icons you create are more detailed and likely more beautiful. Old operating systems used the 8 bits variant during the times when screens were not capable of displaying more colors.
When done, click Convert file and save your ICO file wherever you want on your computer.
NOTE: We also found other useful websites that can convert PNG, SVG, or JPG files to ICO files which you can use as icons in Windows. However, most of them are similar, so it does not make sense to talk about all of them in detail. Here are two such websites that we especially liked: icoconvert.com and convertico.com.
Method 2. Use an offline file conversion app to convert images to ICO files
Using an offline file conversion tool is another excellent method of transforming PNG, SVG, JPG or other types of image files to ICO (icon) files. Fortunately, there are many such apps and even plugins for much more complex image processors such as Adobe Photoshop. On the other hand, they usually cost money or are complicated to use.
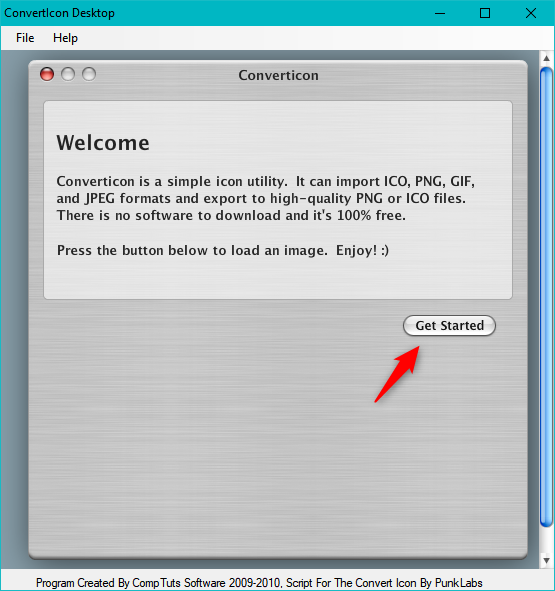
One of the best free apps that we found is called ConvertIcon Desktop. You can get it from Softpedia, by following this link: ConvertIcon Desktop. ConvertIcon Desktop is a portable app, which means that you do not have to install it. You download the app and run it. After you launch it, click or tap "Get Started."
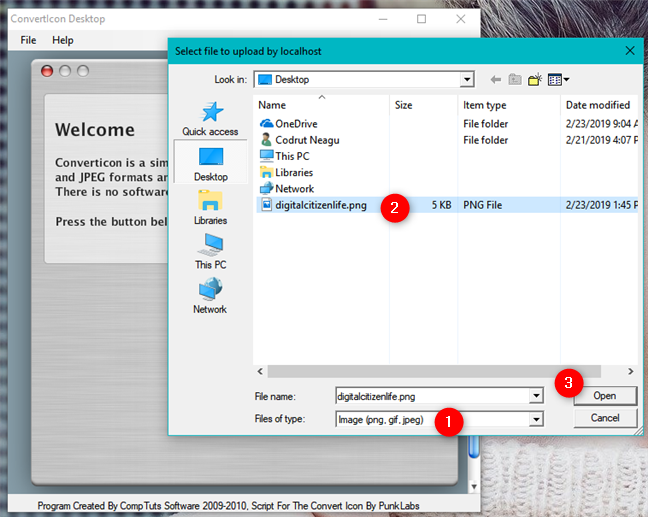
In the "Select file to upload by localhost" dialog window, select "Image (png, gif, jpg)" in the "Files of type" list. Then, browse your PC and open the image file that you want to convert to the ICO file format.
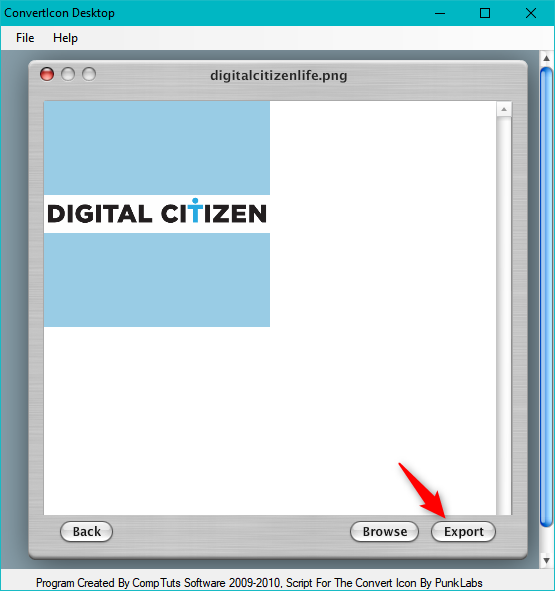
ConvertIcon Desktop shows you the image you selected. Click or tap Export.
In the Export Options window, select the resolutions that you want to include in the resulting ICO file. Do not forget to include the 512 x 512 resolution, especially if you are using Windows 10. The Original Size resolution is not necessary although it is selected by default - uncheck it if you want the ICO file to have a much smaller size.
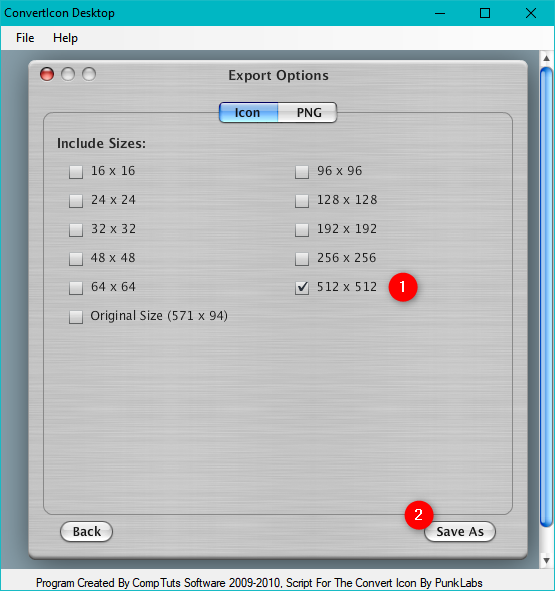
When done, click Save As and select where to save the ICO file on your Windows PC.
How to use the newly created icons
You can use the icons that you create in many ways. Here are a few tutorials to get you started:
- How to change the icon of any folder in Windows
- How to change the icon of any shortcut in Windows
- How to customize the Desktop: Change or restore shortcut icons
Which method do you prefer for converting image files to icons?
Now you know two easy ways to convert image files to icons. Which one do you like best? The easiest and fastest way of using the internet, or the "app way"? Do you know other ways of converting images to ICO files? Share them in the comments section below, and let's discuss.