28.02.2019
Some Windows users personalize the views in File Explorer or Windows Explorer to make the app more useful for the way they navigate files. We can get carried away and make so many changes that we want to get rid of them and return the File Explorer to its original state. Windows offers a fast and efficient way of reversing all changes by resetting the folders that belong to the same viewing template. The procedure is accurate and straightforward, and it can save you a lot of time by reversing all the changes at once. Let's see how to reset the way folders are viewed, in Windows:
NOTE: This guide covers the File Explorer in Windows 10 and Windows 8.1, and Windows Explorer in Windows 7. We refer in the guide to File Explorer, but you can apply the procedure to Windows Explorer as well. If you do not know the version of Windows that you have, read this tutorial: What version of Windows do I have installed?.
How to reset the changes you made to the folder views
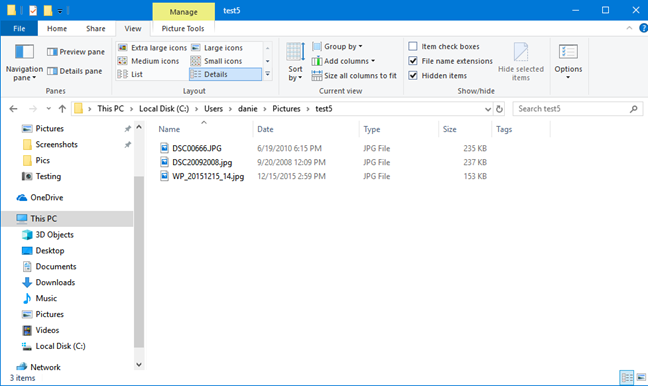
First, identify one folder that uses the viewing template that you want to reset. Open File Explorer, and navigate to this folder. Windows assigns the viewing template automatically based on the content of the folder, but you can also force a template that you want on the folder.
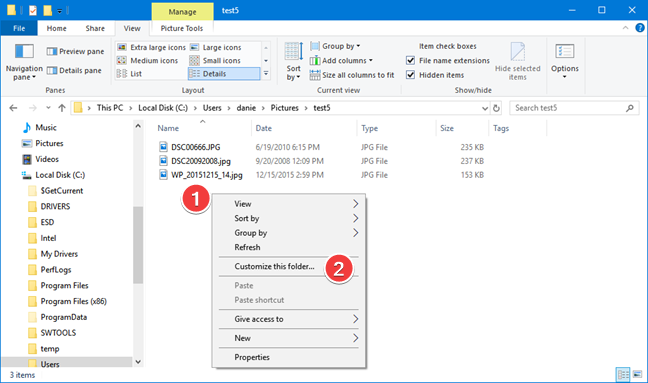
Because of these variations, it is necessary to verify the viewing template used, before making any changes. Access the folder properties by right-clicking inside the File Explorer window and in the context menu choose "Customize this folder."
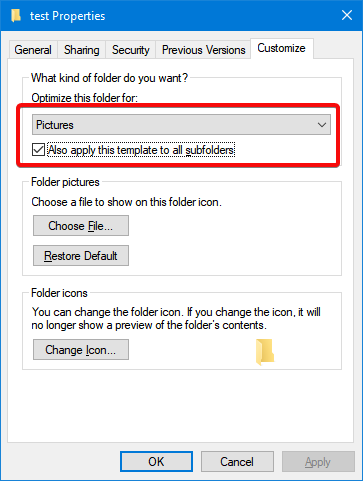
In the Properties window that pops up, the Customize tab is selected. Verify the template used for the folder, and, if needed, change it to the one you want to reset. In our example, we reset the Pictures template.
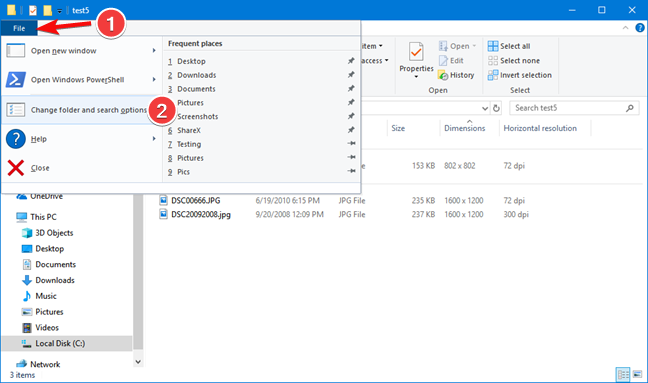
Once you have confirmed the viewing template that you want to reset, open the Folder Options.
In Windows 10 and Windows 8.1, click or tap File in the top-left corner of the File Explorer window. Choose "Change folder and search options" in the File menu. The same procedure can be applied in Windows 7 choosing "Folder and search options" in the Organize menu.
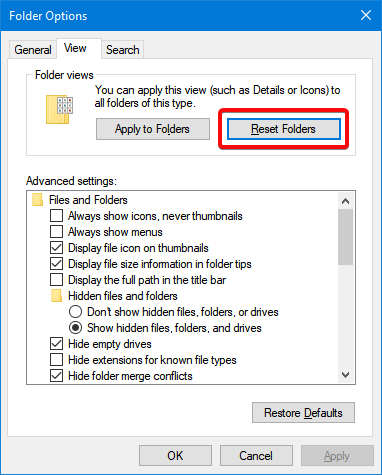
In the Folder Options window, go to the View tab, and click or tap the Reset Folders button.
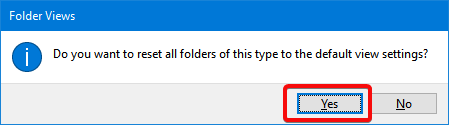
A Folder views window pops up asking for confirmation (you cannot reverse this action). Press Yes to apply the reset.
Press the OK button to close the Folder Options window. The changes are applied immediately and the next time you open a folder using the viewing template that you have reset, the default viewing template is displayed in its initial configuration like on a fresh Windows installation.
What viewing template did you want to reset?
Since there are five viewing templates in Windows, you can be selective when resetting the views. Before closing this tutorial, tell us: Which template would like to reset? Is it Pictures, Documents or another viewing template? Let us know in a comment below.