Windows computers and devices can interconnect and share files and folders between them using network shares. However, if you also use Ubuntu Linux on some of your computers, network sharing between them and Windows is not straightforward. To connect your Ubuntu Linux computers to Windows computers and share files and folders, you need to make a series of settings. The first one is to enable file sharing using the Samba protocol. You also have to change the workgroup used by your Ubuntu Linux PCs so that all your computers belong to the same workgroup. In this tutorial, we will demonstrate how to enable file sharing and then how to configure and change the workgroup on a Ubuntu PC:
NOTE: We created this article using Ubuntu 20.04 LTS.
How to enable file sharing (install Samba) in Ubuntu Linux
The sharing service or Samba is not installed by default in Ubuntu Linux. The installation process of Samba varies in complexity, depending on the method you prefer to use. Here’s the easiest and most straightforward way to install Samba:
First of all, open the Terminal by simultaneously pressing CTRL + ALT + T on your keyboard.
Terminal in Ubuntu Linux
In the Terminal window, run this command: sudo apt update. This command downloads package information from all the sources configured on your Ubuntu PC. In other words, it downloads data from the internet about updated versions of software packages or their dependencies. After you run this command, you might be asked to enter your user password.
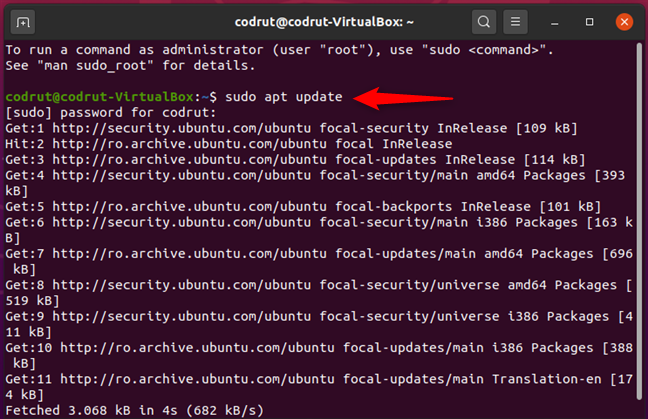
Running sudo apt update in Ubuntu Linux
Next, run the command sudo apt install samba. This command tells Ubuntu Linux to download and install all the software packages required for Samba - the sharing service - to run on your computer. Wait for the command to do its thing and, if you’re asked to confirm that you want to install a certain package, accept by entering Y (Yes) and pressing Enter on your keyboard.
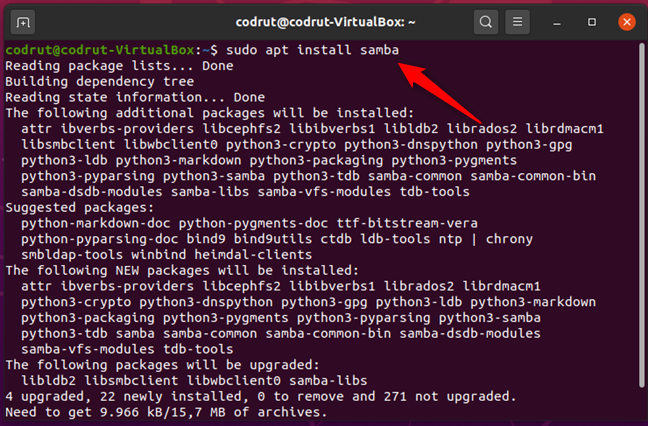
Running sudo apt install samba in Ubuntu Linux
Once the installation is done, Samba should be running on your Ubuntu Linux machine. However, just to make sure that everything is OK, you might want to restart your PC before moving on to the next part of this tutorial.
How to share folders on a Ubuntu Linux computer
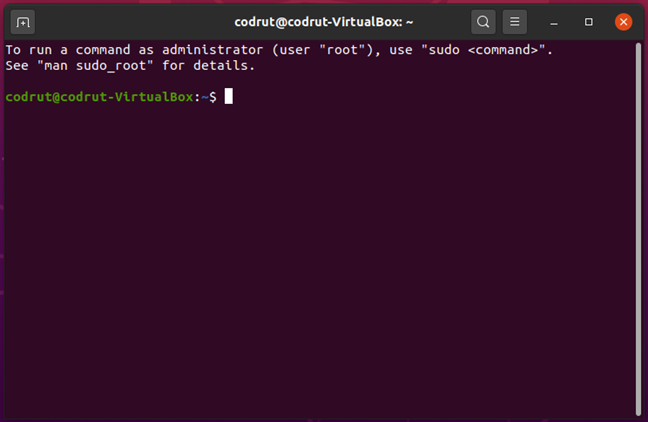
Once Samba is running, you can easily share folders. To do that, first open Files.
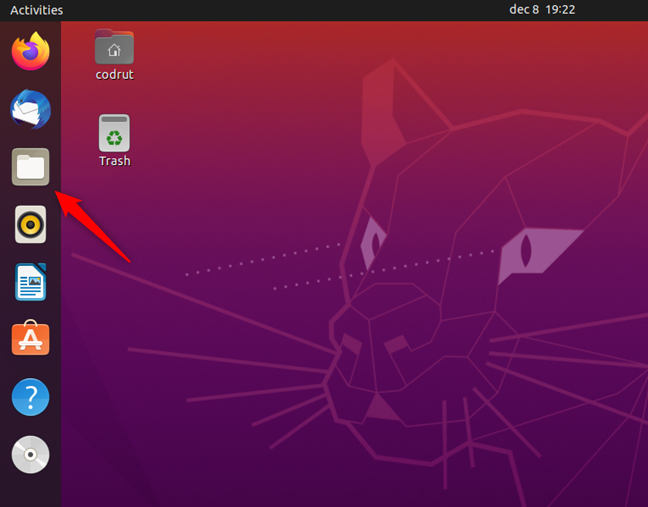
Opening Files in Ubuntu Linux
Next, go to the folder that you want to share on the network and right-click on it to open a contextual menu. On the menu, select Properties.
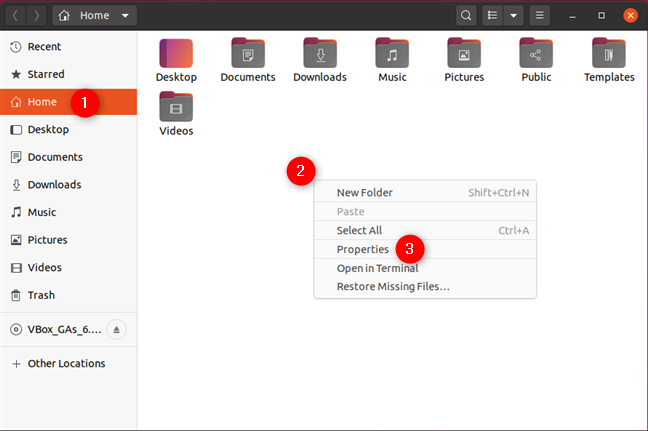
Opening Properties of a folder in Ubuntu Linux
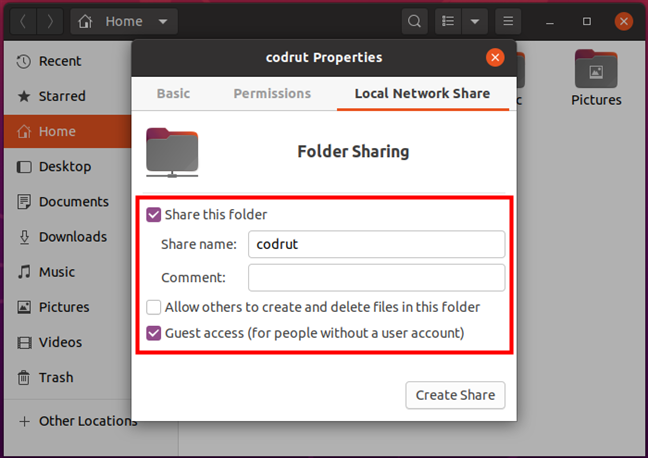
In the Properties window, select the Local Network Share and check the setting called “Share this folder.”

Share this folder in Local Network Share
Change the Share name and add a Comment if you want. Then, also select or deselect the “Allow others to create and delete files in this folder” and “Guest access (for people without a user account” settings according to how you want to give other network users access to your shared folder.
Configuring how the folder is shared in Ubuntu Linux
When done, click the Create Share button to start sharing that folder with your network, including all the Windows computers and devices connected to it.
How to set the Ubuntu workgroup
In most cases, you don’t have to change the workgroup name because, by default, Ubuntu, Windows, and Mac OS all have the same workgroup name, which is actually WORKGROUP. However, if you have to change it, follow the next steps.
Open a Terminal window (CTRL + ALT + T), and run the following command: sudo gedit /etc/samba/smb.conf. Then, press Enter. If you haven’t previously used the Terminal this session, Ubuntu should ask you to type in your user account password.
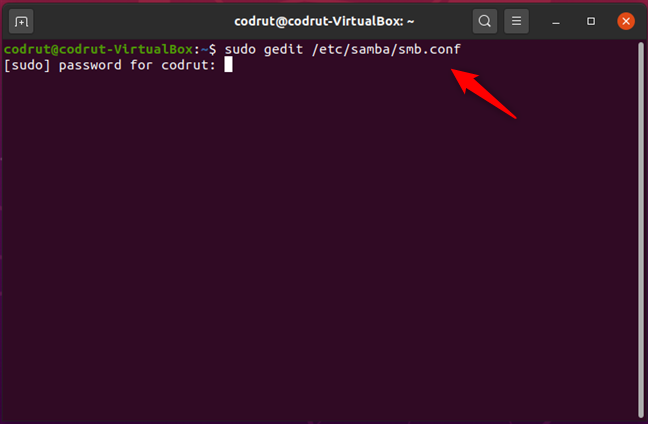
Running sudo gedit /etc/samba/smb.conf in Ubuntu Linux
Next, the Samba configuration file opens in a gedit window. Scroll down, if necessary, until you find the workgroup line in the Global Settings section.
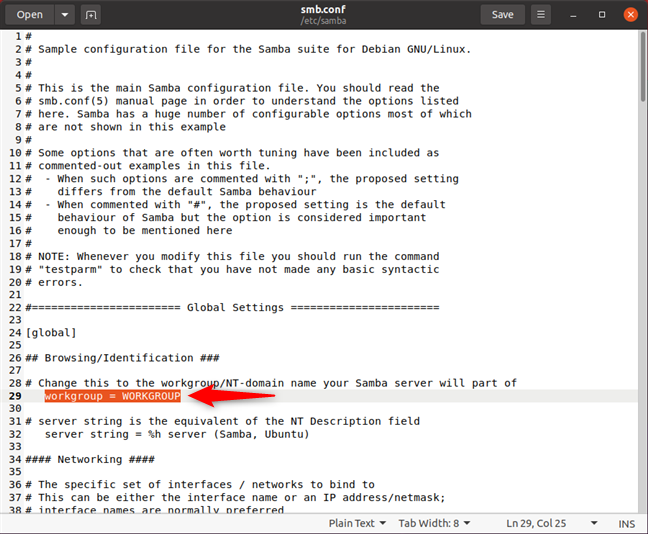
Ubuntu workgroup setting
Change the Ubuntu workgroup value to match the name of the workgroup you want to add your Ubuntu computer to. Then, click Save and restart Ubuntu to make sure that the new settings are applied.
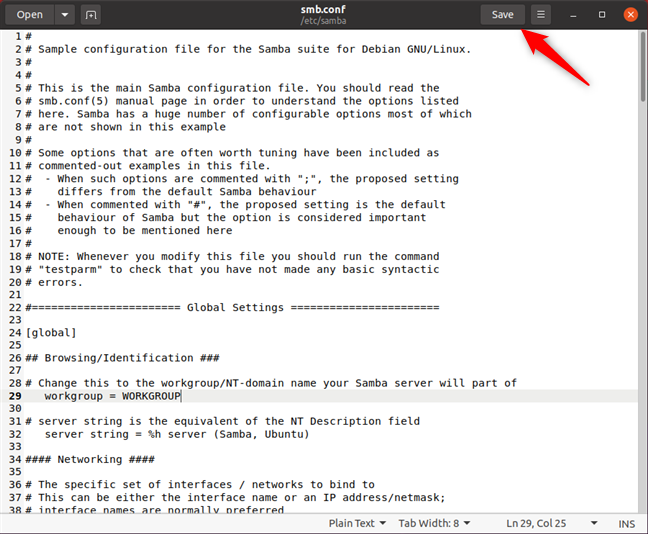
Save to apply the Ubuntu workgroup change
NOTE: If you have a network that includes Windows computers, you need to make sure the workgroup is set up the same as on your Ubuntu computers. Do that if you want your Ubuntu PCs to join your Windows workgroup. To learn how to do this, check out this tutorial: The Windows 10 workgroup and how to change it.
Are you sharing folders between Ubuntu and Windows?
You can enable sharing in Ubuntu (or any Linux PC) and configure it to join a Windows workgroup to be visible on the same network and share files, folders, and printers. If you want to know more about setting up other PCs on a local network or how to utilize the networking features between Linux and Windows, check out the articles listed below.