



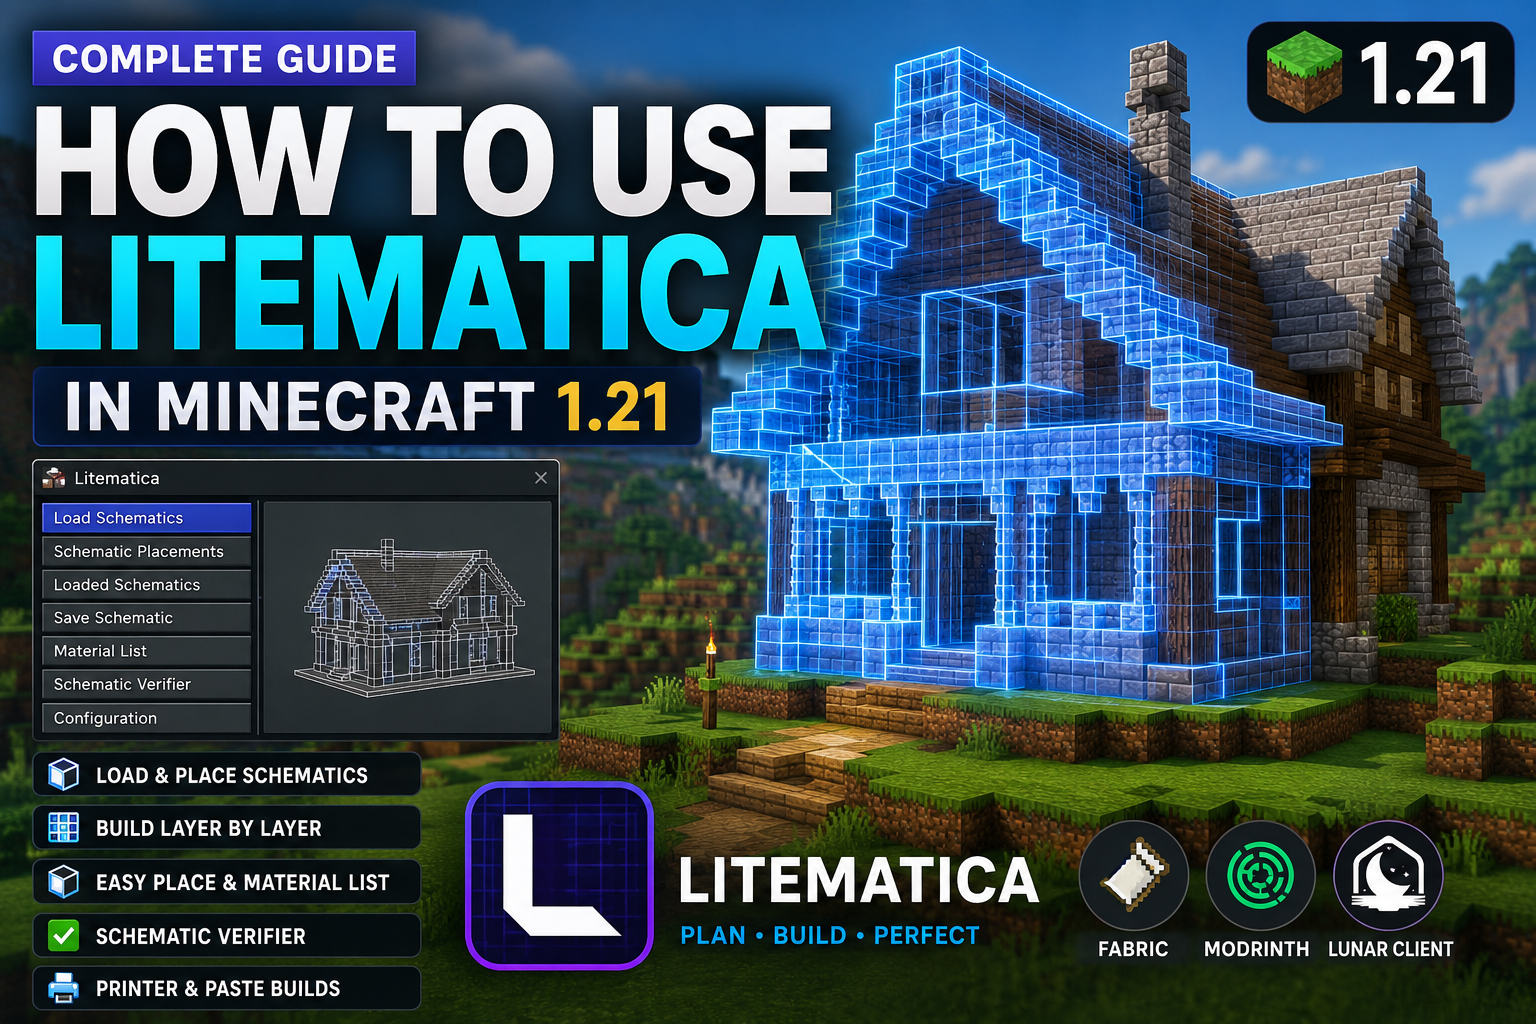
Litematica makes it much easier to reproduce houses, farms, redstone machines, and other Minecraft builds. Instead of constantly switching between screenshots and your world, you can display a transparent version of the build directly where you want to construct it.
To use Litematica, install the mod and its MaLiLib dependency through Fabric, place a .litematic file inside your profile’s schematics folder, press M, select Load Schematics, and load the file with Create a placement enabled. You can then reposition the transparent blueprint and build over it block by block.
Litematica is a client-side mod for Minecraft: Java Edition. Its normal schematic overlay can therefore be used without installing Litematica on the server, although individual servers may restrict features such as Easy Place or automated printing. (Modrinth)
Important security warning for Minecraft 1.21 players
Before following this guide, update Litematica to the newest version available for your exact Minecraft release.
In July 2026, Litematica’s maintainer disclosed a vulnerability affecting certain Litematica and Servux versions for Minecraft 1.21 and newer. A malicious server could potentially use the vulnerable file-transfer functionality to place files outside the intended schematic directory. The maintainer advised users to update immediately and avoid untrusted servers. (Reddit)
These are the minimum patched Litematica versions for the Minecraft 1.21 branch:
| Minecraft version | Minimum patched Litematica version |
|---|---|
| 1.21 to 1.21.1 | 0.19.61 |
| 1.21.2 to 1.21.3 | 0.20.9 |
| 1.21.4 | 0.21.7 |
| 1.21.5 | 0.22.5 |
| 1.21.6 to 1.21.8 | 0.23.7 |
| 1.21.9 to 1.21.10 | 0.24.8 |
| 1.21.11 | 0.26.11 |
Install the newest compatible release rather than treating these as recommended versions. Modrinth confirms, for example, that Litematica 0.19.61 is the patched Fabric release for Minecraft 1.21 to 1.21.1 and requires MaLiLib. (Modrinth)
What does Litematica do?
Litematica loads a saved structure and displays it as a hologram-like collection of ghost blocks in your world. It does not normally construct the building for you.
Its main features include:
- Displaying downloaded builds as transparent schematics
- Moving, rotating, and mirroring schematic placements
- Showing the materials required for a build
- Rendering one layer at a time
- Highlighting missing, incorrect, or extra blocks
- Saving structures from your own worlds
- Assisting manual construction through Easy Place
- Pasting an entire build while in Creative mode
The official mod deliberately does not include the old Schematica-style printer. Automatic printing is provided through separate extension mods. (Modrinth)
What you need to install Litematica
For the normal Fabric setup, you need:
| Requirement | Purpose |
|---|---|
| Minecraft: Java Edition | Litematica is not a Bedrock Edition add-on |
| Fabric Loader | Loads Litematica in modern Minecraft versions |
| Litematica | Provides the schematic tools |
| MaLiLib | Required library used by Litematica |
A .litematic file | The build you want to display |
Make sure that Minecraft, Litematica, and MaLiLib all target the same game version. A mod made for 1.21.1 may not work correctly on 1.21.4 or 1.21.11. Fabric’s documentation similarly advises players to verify the Minecraft edition, loader, and exact game version before installing a mod. (Fabric Documentation)
How to install Litematica on Modrinth
Using the Modrinth App is generally the simplest approach because each Minecraft configuration is kept in its own instance.
- Open the Modrinth App.
- Create a new Minecraft instance.
- Select your exact Minecraft 1.21.x version.
- Choose Fabric as the mod loader.
- Open the instance’s mods or content section.
- Search for and install Litematica.
- Search for and install MaLiLib.
- Confirm that both mods support the same Minecraft version.
- Launch the instance.
- Enter a world and press M.
You can change an existing Modrinth instance’s game version or loader from its Installation settings. However, changing versions can make previously installed mods incompatible, so recheck both Litematica and MaLiLib afterward. (Modrinth Help Center)
When adding schematic files later, right-click the Modrinth instance and select Open folder, or open the instance and press its folder button. Do not automatically place the schematic in the main .minecraft directory because Modrinth profiles use separate folders. (Modrinth Help Center)
How to install Litematica manually with Fabric
You can also use Litematica through the official Minecraft Launcher.
- Install and launch the desired unmodified Minecraft version at least once.
- Close Minecraft and its launcher.
- Run the official Fabric Installer.
- Select the correct Minecraft version.
- Leave Create Profile enabled and install Fabric.
- Download the matching Litematica
.jarfile. - Download the matching MaLiLib
.jarfile. - Open your Minecraft
modsfolder. - Place both
.jarfiles inside it. - Start the Minecraft Launcher and choose the Fabric profile.
- Launch the game and press M inside a world.
The Fabric Installer lets you choose the Minecraft and Fabric Loader versions, while the Fabric documentation recommends ensuring that every downloaded mod is for Fabric, Java Edition, and the exact Minecraft version you intend to run. (Fabric)
For the official launcher, the default game directory is usually:
| Operating system | Minecraft directory |
|---|---|
| Windows | %appdata%\.minecraft |
| macOS | ~/Library/Application Support/minecraft |
| Linux | ~/.minecraft |
Inside that directory, the mods belong in mods, while Litematica files belong in schematics. (Fabric Documentation)
How to use Litematica on Lunar Client
Lunar Client supports external Fabric mods on compatible modern Minecraft versions. You can add Litematica from Lunar’s built-in mod browser or manually through the launcher.
Install Litematica through Lunar’s mod browser
- Open Lunar Client.
- Open the version or profile selector.
- Choose the required Minecraft 1.21.x version.
- Create or select a profile that uses the Fabric add-on.
- Open Explore or the profile’s mod browser.
- Select Modrinth as the source.
- Search for Litematica and install it.
- Install MaLiLib when prompted, or search for it separately.
- Verify that both files target the same Minecraft version.
- Launch the profile and press M in a world.
Lunar’s current launcher can browse Modrinth and CurseForge projects, select a compatible profile, and prompt users to install required dependencies. (Lunar Client)
Install Litematica in Lunar Client manually
- Select your Minecraft version in Lunar Client.
- Open that version’s settings.
- Select the Mods tab.
- Open the mods directory using the folder button.
- Drag the Litematica and MaLiLib
.jarfiles into the window. - Confirm that both mods are enabled.
- Restart the profile.
Lunar documents this drag-and-drop process for external Fabric mods. It also warns that not every third-party mod is guaranteed to work correctly with Lunar Client. (Lunar Client)
To add a schematic, use Lunar’s folder button to open the profile’s directory and place the .litematic file inside its schematics folder. Using the profile folder is important because Lunar may not read files from the standard Minecraft directory.
How to use Litematica schematics
Once Litematica is running, the basic workflow consists of adding a file, loading it, creating a placement, positioning it, and following the ghost blocks.
1. Place the schematic in the correct folder
Move your downloaded .litematic file into:
.minecraft/schematics
For the official launcher, the complete Windows path is normally:
%appdata%\.minecraft\schematics
For Modrinth, Lunar Client, or another launcher with separate profiles, open the folder belonging to the exact profile you use and locate or create its schematics directory.
Litematica’s official documentation specifies .minecraft/schematics/ as the default location and loads files through M > Load Schematics. (GitHub)
2. Open the Litematica menu
Enter a world and press:
M
This opens the main Litematica menu. Pressing M + C opens the configuration screen directly.
Litematica does not use Minecraft’s normal keybind menu. Its controls are managed through MaLiLib, so most key assignments must be changed under M + C > Hotkeys. (GitHub)
3. Load the schematic
- Press M.
- Select Load Schematics.
- Find the
.litematicfile. - Select it.
- Leave Create a placement enabled.
- Click Load Schematic.
A schematic must have an active placement before its ghost blocks can appear in the world. Leaving Create a placement checked creates that placement automatically. (GitHub)
If you loaded the file without creating one:
- Press M.
- Open Loaded Schematics.
- Select the file.
- Click Create a placement.
4. Move or rotate the schematic
The first placement may appear at an inconvenient position or orientation.
To configure it:
- Press M.
- Open Schematic Placements.
- Select the correct placement.
- Click Configure.
- Change its coordinates, rotation, or mirror settings.
- Return to the world and check the result.
You can also select a placement and press Numpad Minus to open its configuration directly. While holding the tool item, which is a stick by default, use Alt + mouse wheel to nudge the selected placement in the direction you are facing. (GitHub)
5. Check the material list
Press:
M + L
The Material List shows the blocks needed for the selected schematic and can help you prepare shulker boxes or storage before starting a large survival build.
If the shortcut does not work, open M + C > Hotkeys and assign a key to the Material List function. The official Litematica hotkey list assigns M + L to this screen by default. (GitHub)
6. Build over the ghost blocks
Once the placement is correctly positioned, place real blocks where the schematic displays them.
You can use Litematica in three main ways:
- Normal building: Manually select and place every block.
- Easy Place: Let Litematica select and target the required block while you hold the use button.
- Creative paste: Insert the entire schematic into the world using commands.
For a survival world or an ordinary multiplayer server, normal building is the safest and most widely accepted method.
7. Verify the completed build
Press:
M + V
This opens the Schematic Verifier, which can be used to find blocks that are missing, extra, or in an incorrect state. This is particularly useful for redstone builds where a misplaced repeater, observer, stair, or slab may stop the entire machine from working. (Modrinth)
How to build a Litematica schematic layer by layer
Large schematics can be difficult to read when every floor and wall is visible simultaneously. Render Layers lets you isolate a smaller section.
Use:
- Page Up or Page Down: Change the selected layer
- M + Page Up or Page Down: Change the layer-rendering mode
Depending on the selected mode, you can display one layer, everything below the selected layer, or another limited range. This is especially useful for farms, map art, pixel art, roofs, and complicated redstone layouts. (Modrinth)
A practical building process is:
- Start with the bottom layer.
- Complete all visible blocks.
- Move to the next layer.
- Repeat until the entire structure is finished.
- Run the Schematic Verifier when done.
How to use Easy Place in Litematica
Easy Place assists with manual building by selecting the correct block from the schematic and placing it at the targeted ghost-block position.
To enable it:
- Load and position the schematic.
- Press M + C.
- Open the Generic tab.
- Find
easyPlaceMode. - Set it to true.
- Alternatively, open the Hotkeys tab and assign a key to
easyPlaceToggle. - Aim at the schematic and hold your normal use or place-block button.
By default, Easy Place can continue placing while the use key is held. Its behavior, range, swap delay, and placement protocol can be adjusted in Litematica’s settings. (GitHub)
Does Easy Place work on multiplayer servers?
It depends on the server.
On a compatible Fabric server, Carpet Extra or Litemoretica can provide accurate placement support for directional blocks. On unmodified, Bukkit, Spigot, or similar servers, stairs, observers, pistons, slabs, and other blocks with orientation properties may not be placed correctly. The recommended protocol setting for an ordinary server is generally Auto, Slabs Only, or None, rather than forcing a protocol the server does not support. (GitHub)
More importantly, the official Litematica page warns that Easy Place can trigger anti-cheat systems. Placements may be rejected, appear temporarily as client-side ghost blocks, or lead to an automatic ban. Check the server’s rules before enabling it. (Modrinth)
How to paste an entire schematic with Litematica
Pasting is different from Easy Place. It attempts to insert the complete structure into the actual world and is available only in Creative mode.
Before pasting, create a backup of the world.
- Load and position the schematic.
- Switch to Creative mode.
- Press M.
- Change the tool mode to Paste schematic in world.
- Make sure the tool HUD is visible.
- Select the correct schematic placement.
- Open M + C > Hotkeys.
- Assign a key to
executeOperationif it is unbound. - Return to the world.
- Hold the configured tool item.
- Press the
executeOperationkey.
Litematica requires Creative mode, the correct selected placement, an enabled tool item, and a visible tool HUD before the paste operation can run. (GitHub)
In single-player Creative mode, Litematica can normally paste directly. On a multiplayer server, your account must have permission to use /setblock and /fill, or the supported WorldEdit commands configured by the mod. (GitHub)
Choose what the paste may replace
The pasteReplaceBehavior setting controls how existing blocks are handled:
- None: Only place blocks where the world currently contains air.
- With non-air: Place schematic blocks over existing blocks, but do not paste schematic air.
- All: Paste both blocks and air, potentially removing existing terrain.
You can change this under M + C > Generic, or cycle it with Ctrl + M while using Paste mode. Be particularly careful with All, as it can carve away terrain and other structures. (GitHub)
How to create and save your own Litematica schematic
Litematica can also capture a structure from one world so you can rebuild it elsewhere.
1. Select the structure
- Press M.
- Change the tool mode to Area Selection.
- Hold the configured tool item, normally a stick.
- Use the selection box to surround the complete structure.
In the default Corners mode:
- Left-click to set the first corner.
- Right-click to set the opposite corner.
In Expand mode:
- Right-click to collapse the selection to the targeted location.
- Left-click one or more blocks to expand the selection around the build.
You can switch between Corners and Expand using Ctrl + M while in Area Selection mode. (GitHub)
2. Review the selection
Press Numpad Multiply or open:
M > Area Editor
Check that the selection includes every part of the structure. Include any required empty space when saving builds that rely on air gaps, such as redstone machines or mob farms.
3. Save the schematic
From the Area Editor:
- Select Save Schematic.
- Enter a recognizable name.
- Confirm the save.
- Check the
schematicsfolder for the resulting.litematicfile.
Litematica’s official documentation describes schematic creation as making an area selection and saving that selection as a schematic. For very large builds, you may have to move around until all affected chunks have loaded. Litematica displays a Missing Chunks warning when data is still unavailable. (GitHub)
How to use Litematica Printer
The standard Litematica mod does not contain a printer. You must install a separate extension such as Litematica Printer. The currently maintained Modrinth listing provides Fabric, client-side builds for Minecraft 1.21.x. (Modrinth)
To use the Litematica Printer extension:
- Install Fabric.
- Install compatible versions of Litematica and MaLiLib.
- Install the Printer build matching your exact Minecraft version.
- Install Fabric API if required by the Printer release.
- Place all the
.jarfiles in the same profile’smodsfolder. - Launch Minecraft.
- Load and position a schematic normally.
- Press Caps Lock to toggle printing.
- Walk or fly near the ghost blocks while carrying the required materials.
- Press Caps Lock again to disable it.
The extension’s default controls use Caps Lock to toggle printing. Holding V prints temporarily, while printing range and speed are configured at the bottom of M + C > Generic. The toggle can be reassigned under Hotkeys. (GitHub)
Automated printing may be treated as cheating by multiplayer servers and can trigger anti-cheat systems. Use it in single-player, on your own server, or only where the rules explicitly permit automated building.
Most useful Litematica hotkeys
| Hotkey | Function |
|---|---|
M | Open the main Litematica menu |
M + C | Open Litematica configuration |
M + R | Enable or disable all Litematica rendering |
M + G | Enable or disable schematic ghost blocks |
M + T | Enable or disable the tool item |
M + P | Open Schematic Placements |
M + L | Open the Material List |
M + V | Open the Schematic Verifier |
Numpad Minus | Configure the selected placement |
Numpad Multiply | Open the Area Editor |
Page Up/Down | Change the selected render layer |
M + Page Up/Down | Change the render-layer mode |
Ctrl + mouse wheel | Cycle through tool modes |
Alt + mouse wheel | Nudge the selected placement or selection |
Ctrl + M | Change the current tool’s sub-mode |
These shortcuts are configured through Litematica and MaLiLib rather than Minecraft’s standard Controls screen. (Modrinth)
Litematica not working: Common problems and fixes
Pressing M does nothing
Litematica may not have loaded, or the key may be different on your keyboard layout.
First check that both Litematica and MaLiLib are enabled. On non-QWERTY layouts, the physical key assignment can differ. For example, the official documentation notes that M may correspond to another key on AZERTY keyboards. Litematica hotkeys also do not appear in Minecraft’s normal Controls menu. (GitHub)
Open the mod configuration through Mod Menu, or temporarily change your keyboard layout and use:
M + C > Hotkeys
Then assign a new key to the main menu.
The schematic is loaded but not visible
Try these checks in order:
- Press
M + Rto enable all Litematica rendering. - Press
M + Gto enable schematic rendering. - Open
M > Schematic Placements. - Confirm that the schematic has an active placement.
- Confirm that the placement is enabled.
- Check its coordinates in Configure.
- Disable shaders.
Litematica’s official project page says schematic rendering does not currently work properly with shaders on Minecraft 1.21.3 and newer, including some Iris configurations. Disabling shaders is the recommended workaround while using the schematic overlay. (Modrinth)
The schematic file does not appear in the menu
The file is probably in the wrong profile directory.
This is common with Lunar Client and Modrinth because their profiles can have independent game folders. Open the exact instance directory from the launcher and place the file in:
schematics
Also verify that the file still has its .litematic extension and has not been left inside a ZIP archive.
Minecraft crashes after installing Litematica
A crash during startup usually points to incompatible versions.
Check that:
- Litematica supports your exact Minecraft release.
- MaLiLib supports the same Minecraft release.
- Both files are for Fabric.
- An older copy is not still present in the mods folder.
- You are using a patched Litematica version.
- Other conflicting schematic or rendering mods are temporarily disabled.
Do not assume that every 1.21 mod works across all 1.21.x releases. Fabric’s documentation specifically warns that a mod working on one point release may no longer work on another. (Fabric Documentation)
Easy Place places blocks and then removes them
This normally means that the client displayed the placement but the server rejected it.
Set easyPlaceProtocolVersion to Auto, Slabs Only, or None on an unmodified server. If the server uses anti-cheat, stop using Easy Place until an administrator confirms that it is allowed. (GitHub)
Directional blocks are facing the wrong way
Easy Place needs compatible accurate-placement support to reliably orient stairs, observers, pistons, repeaters, and similar blocks in multiplayer.
A Fabric server can use Carpet Extra with accurateBlockPlacement, or Litemoretica on both the client and server. Ordinary servers may only support limited behavior such as top-slab placement. (GitHub)
The Printer settings are missing
Printer functionality is not part of standard Litematica.
Confirm that:
- The separate Litematica Printer
.jaris installed. - Its version supports your Minecraft release.
- Litematica, MaLiLib, and Fabric API are present as required.
- You are checking the bottom of M + C > Generic.
- The profile has been restarted since installing the extension.
The printer’s toggle should also appear in Litematica’s Hotkeys section when the extension loads successfully. (GitHub)
Frequently asked questions
Does Litematica work on Minecraft 1.21?
Yes. Official Fabric builds are available for the Minecraft 1.21.x branch. You must choose a Litematica and MaLiLib build made for your exact point release and use a patched version listed in the security section above. (Modrinth)
Can Litematica be used in Survival mode?
Yes. You can display schematics, view materials, use layers, verify blocks, and manually construct a schematic in Survival mode. Pasting the entire structure is restricted to Creative mode. (GitHub)
Does a Minecraft server need Litematica installed?
Not for the basic blueprint overlay, because Litematica is a client-side mod. Server-side support may still be needed for advanced accurate-placement features, and pasting requires sufficient command permissions. (Modrinth)
Does Litematica work on Lunar Client?
Yes, Litematica can be added to a compatible Lunar Fabric profile. Lunar also notes that some external mods may experience compatibility problems, so a normal Fabric or Modrinth profile remains the fallback when the Lunar version crashes or renders incorrectly. (Lunar Client)
Is Fabric API required for Litematica?
The official Litematica listing identifies MaLiLib as its required dependency. A separate extension may introduce additional requirements. For example, the Litematica Printer project instructs users to install Fabric API alongside the printer. (Modrinth)
Can Litematica be used with Forge?
The official Litematica project provides Forge support only for Minecraft 1.12.2. Modern Forge versions rely on separate third-party ports, such as Forgematica, rather than the official Litematica build. (Modrinth)
Does Litematica work on Minecraft Bedrock Edition?
No. The official project is for Minecraft: Java Edition. Bedrock players need a different structure or add-on workflow. (Modrinth)
Is Litematica allowed on multiplayer servers?
The basic schematic overlay is often accepted, but each server sets its own rules. Easy Place and Printer automate or alter block placement behavior and may be prohibited or detected by anti-cheat. Always read the server rules before enabling them. (Modrinth)
Final thoughts
For most players, the easiest Litematica workflow is to install a patched Fabric version through Modrinth, add the matching MaLiLib release, load a .litematic file with Create a placement enabled, and build it one layer at a time.
Start with normal manual placement until you understand the menu, placement controls, material list, and verifier. Easy Place can speed up survival construction, while Creative Paste and Printer are more specialized tools that should be used carefully, particularly on multiplayer servers.



Discussion (0)
Be the first to comment.