


A Beelink Mini PC gives you desktop power in a tiny box, whether you want a home office machine, a streaming hub, or a light gaming system. Learning how to set up a Beelink Mini PC the right way helps you avoid display problems, Wi-Fi issues, and performance slowdowns on day one.
Most current Beelink Mini PCs ship with Windows 11 already installed, so you only need to connect your monitor or TV, plug in peripherals, and walk through the Windows out-of-box setup. If you follow a simple Beelink Mini PC setup checklist, you can go from unboxing to working in just a few minutes.
This guide walks you through how to set up a Beelink Mini PC step by step, including display connections, network options, first boot in Windows, and basic performance tweaks for a small form factor PC.
What You Need Before You Set Up Your Beelink Mini PC
Before you power on the mini desktop, gather the essentials so the Beelink Mini PC setup runs smoothly and you do not have to stop halfway.
- A Beelink Mini PC with power adapter and HDMI cable from the box

- A monitor or TV with at least one free HDMI input
- USB keyboard and mouse, or a wireless set with a USB dongle
- A stable internet connection, either Wi-Fi or Ethernet
- Optional: External SSD or HDD if you plan to expand storage right away
How To Set Up Beelink Mini PC For The First Time
You can use the same process on most Beelink models, including popular Beelink Mini PCs like the EQ, SER, and GTR series. The exact port layout may vary, but the core steps stay the same.
Follow these steps to complete your initial Beelink Mini PC setup with Windows 11:
- Place the Beelink Mini PC on a flat, ventilated surface so the vents stay clear.
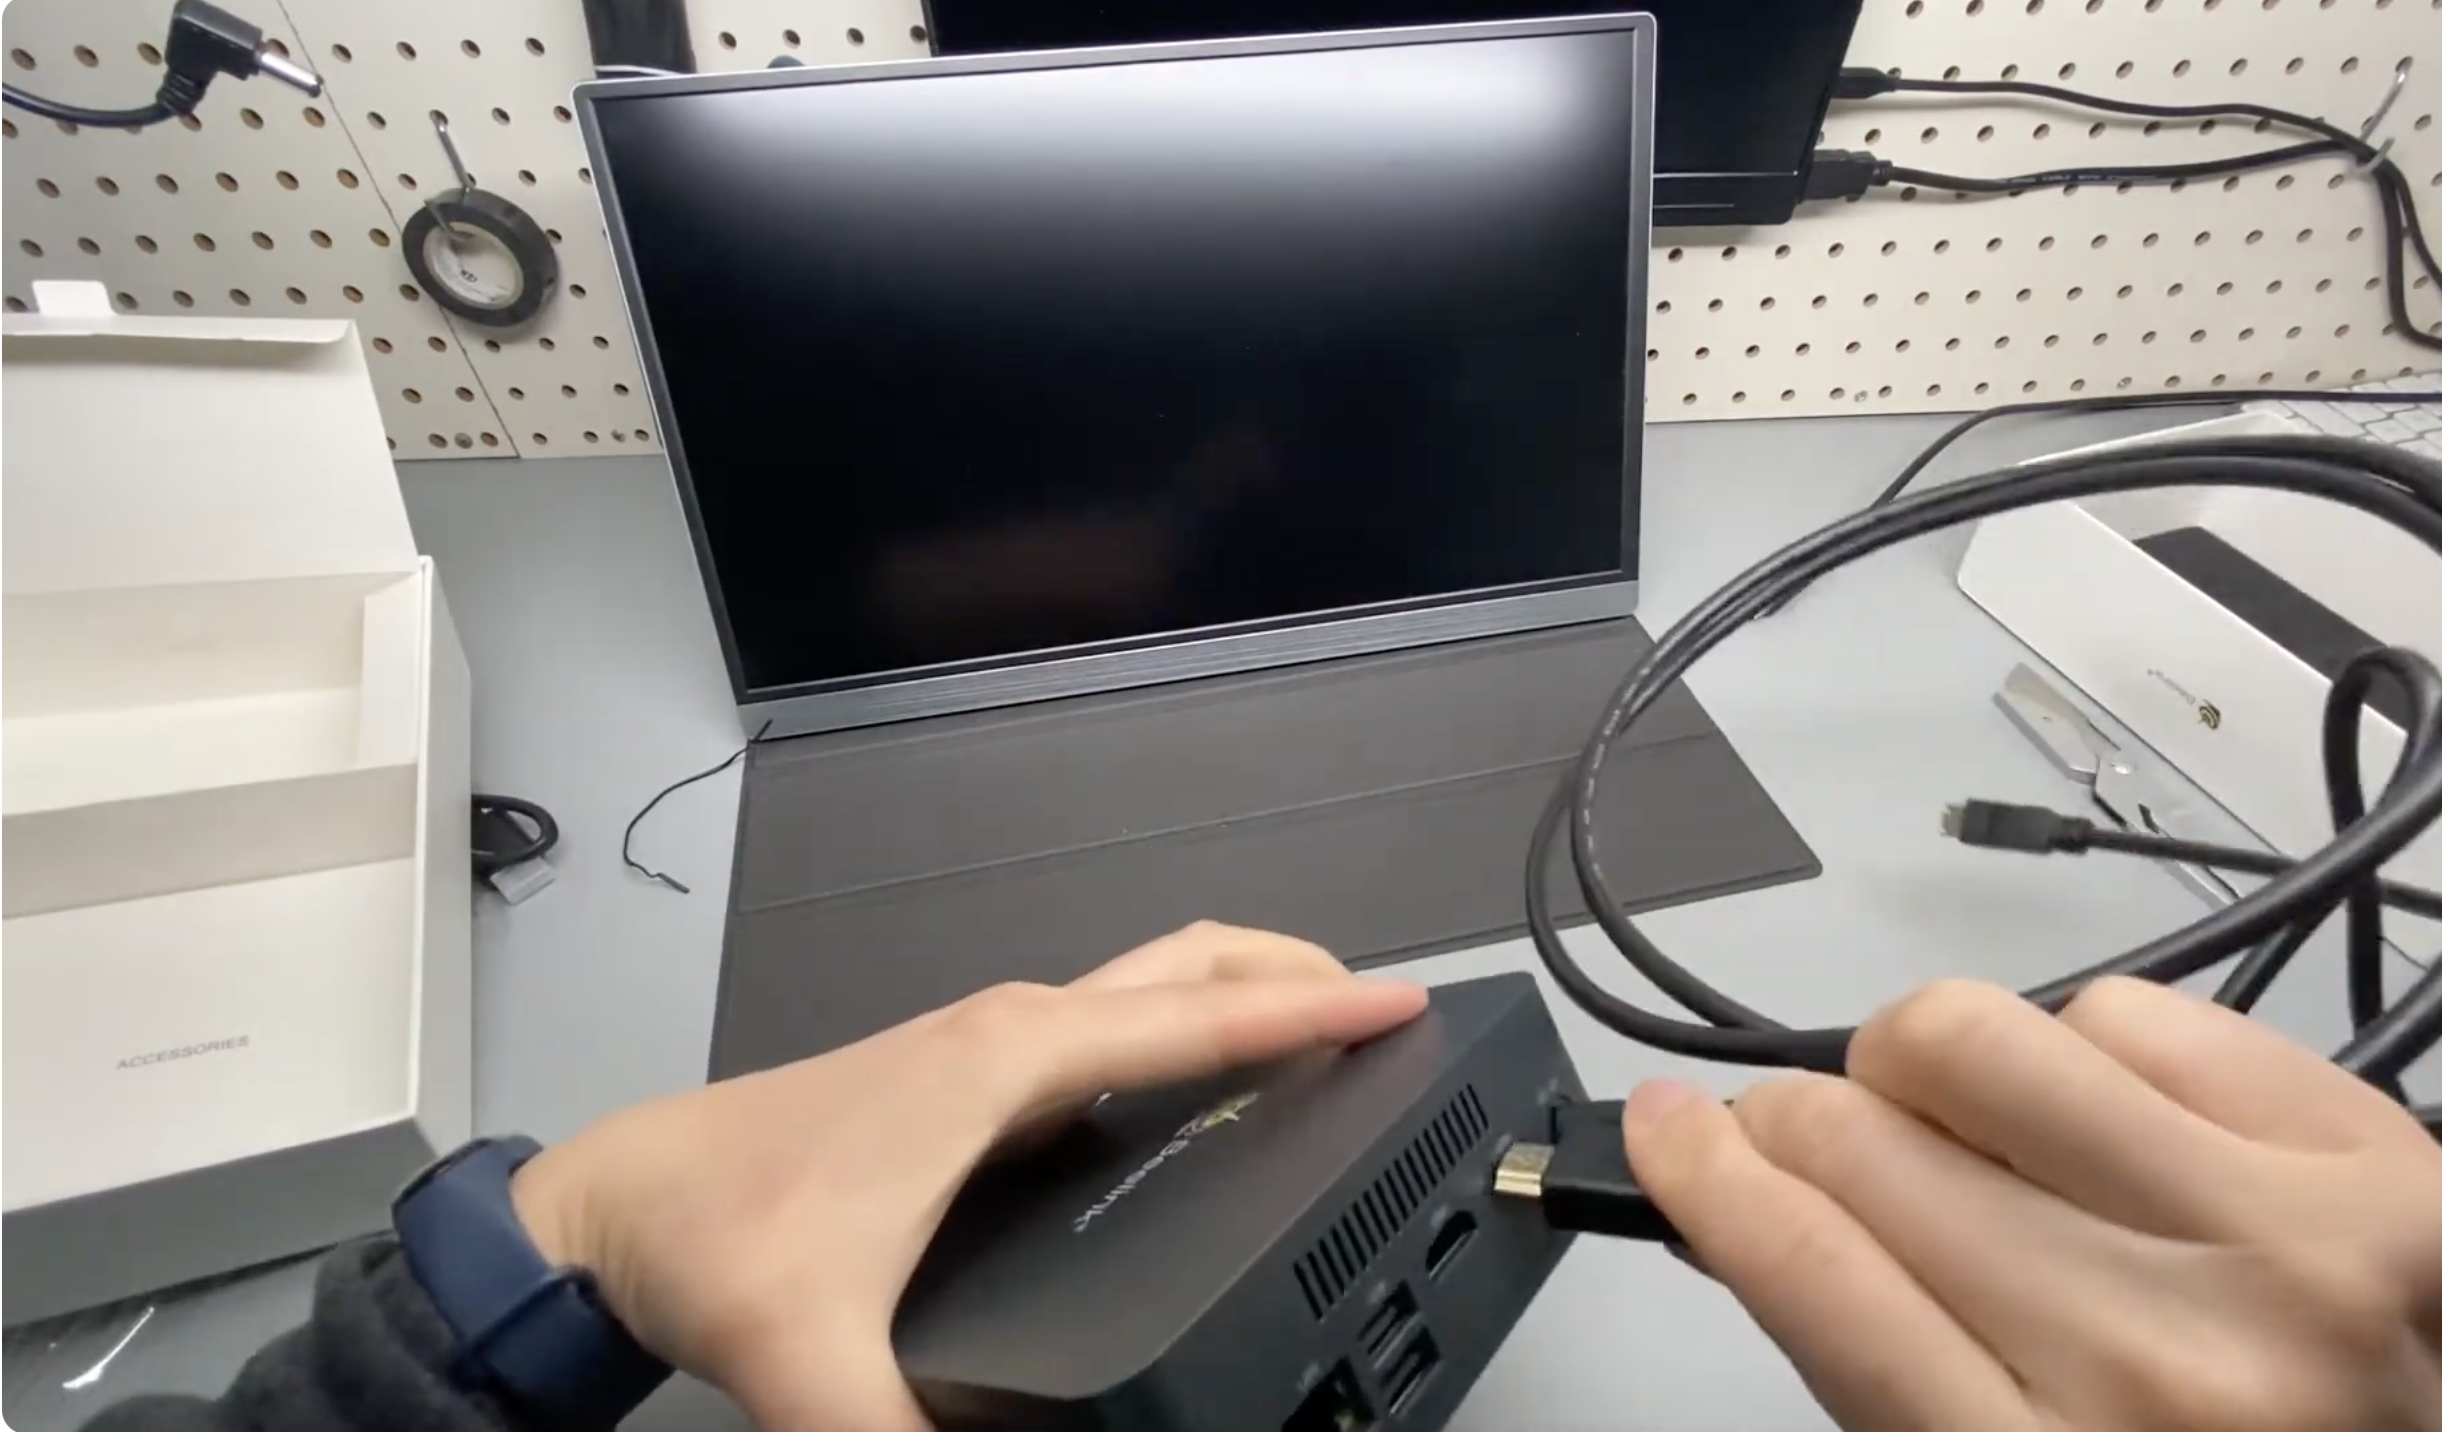
- Connect the HDMI cable from the HDMI port on the Beelink to your monitor or TV input.
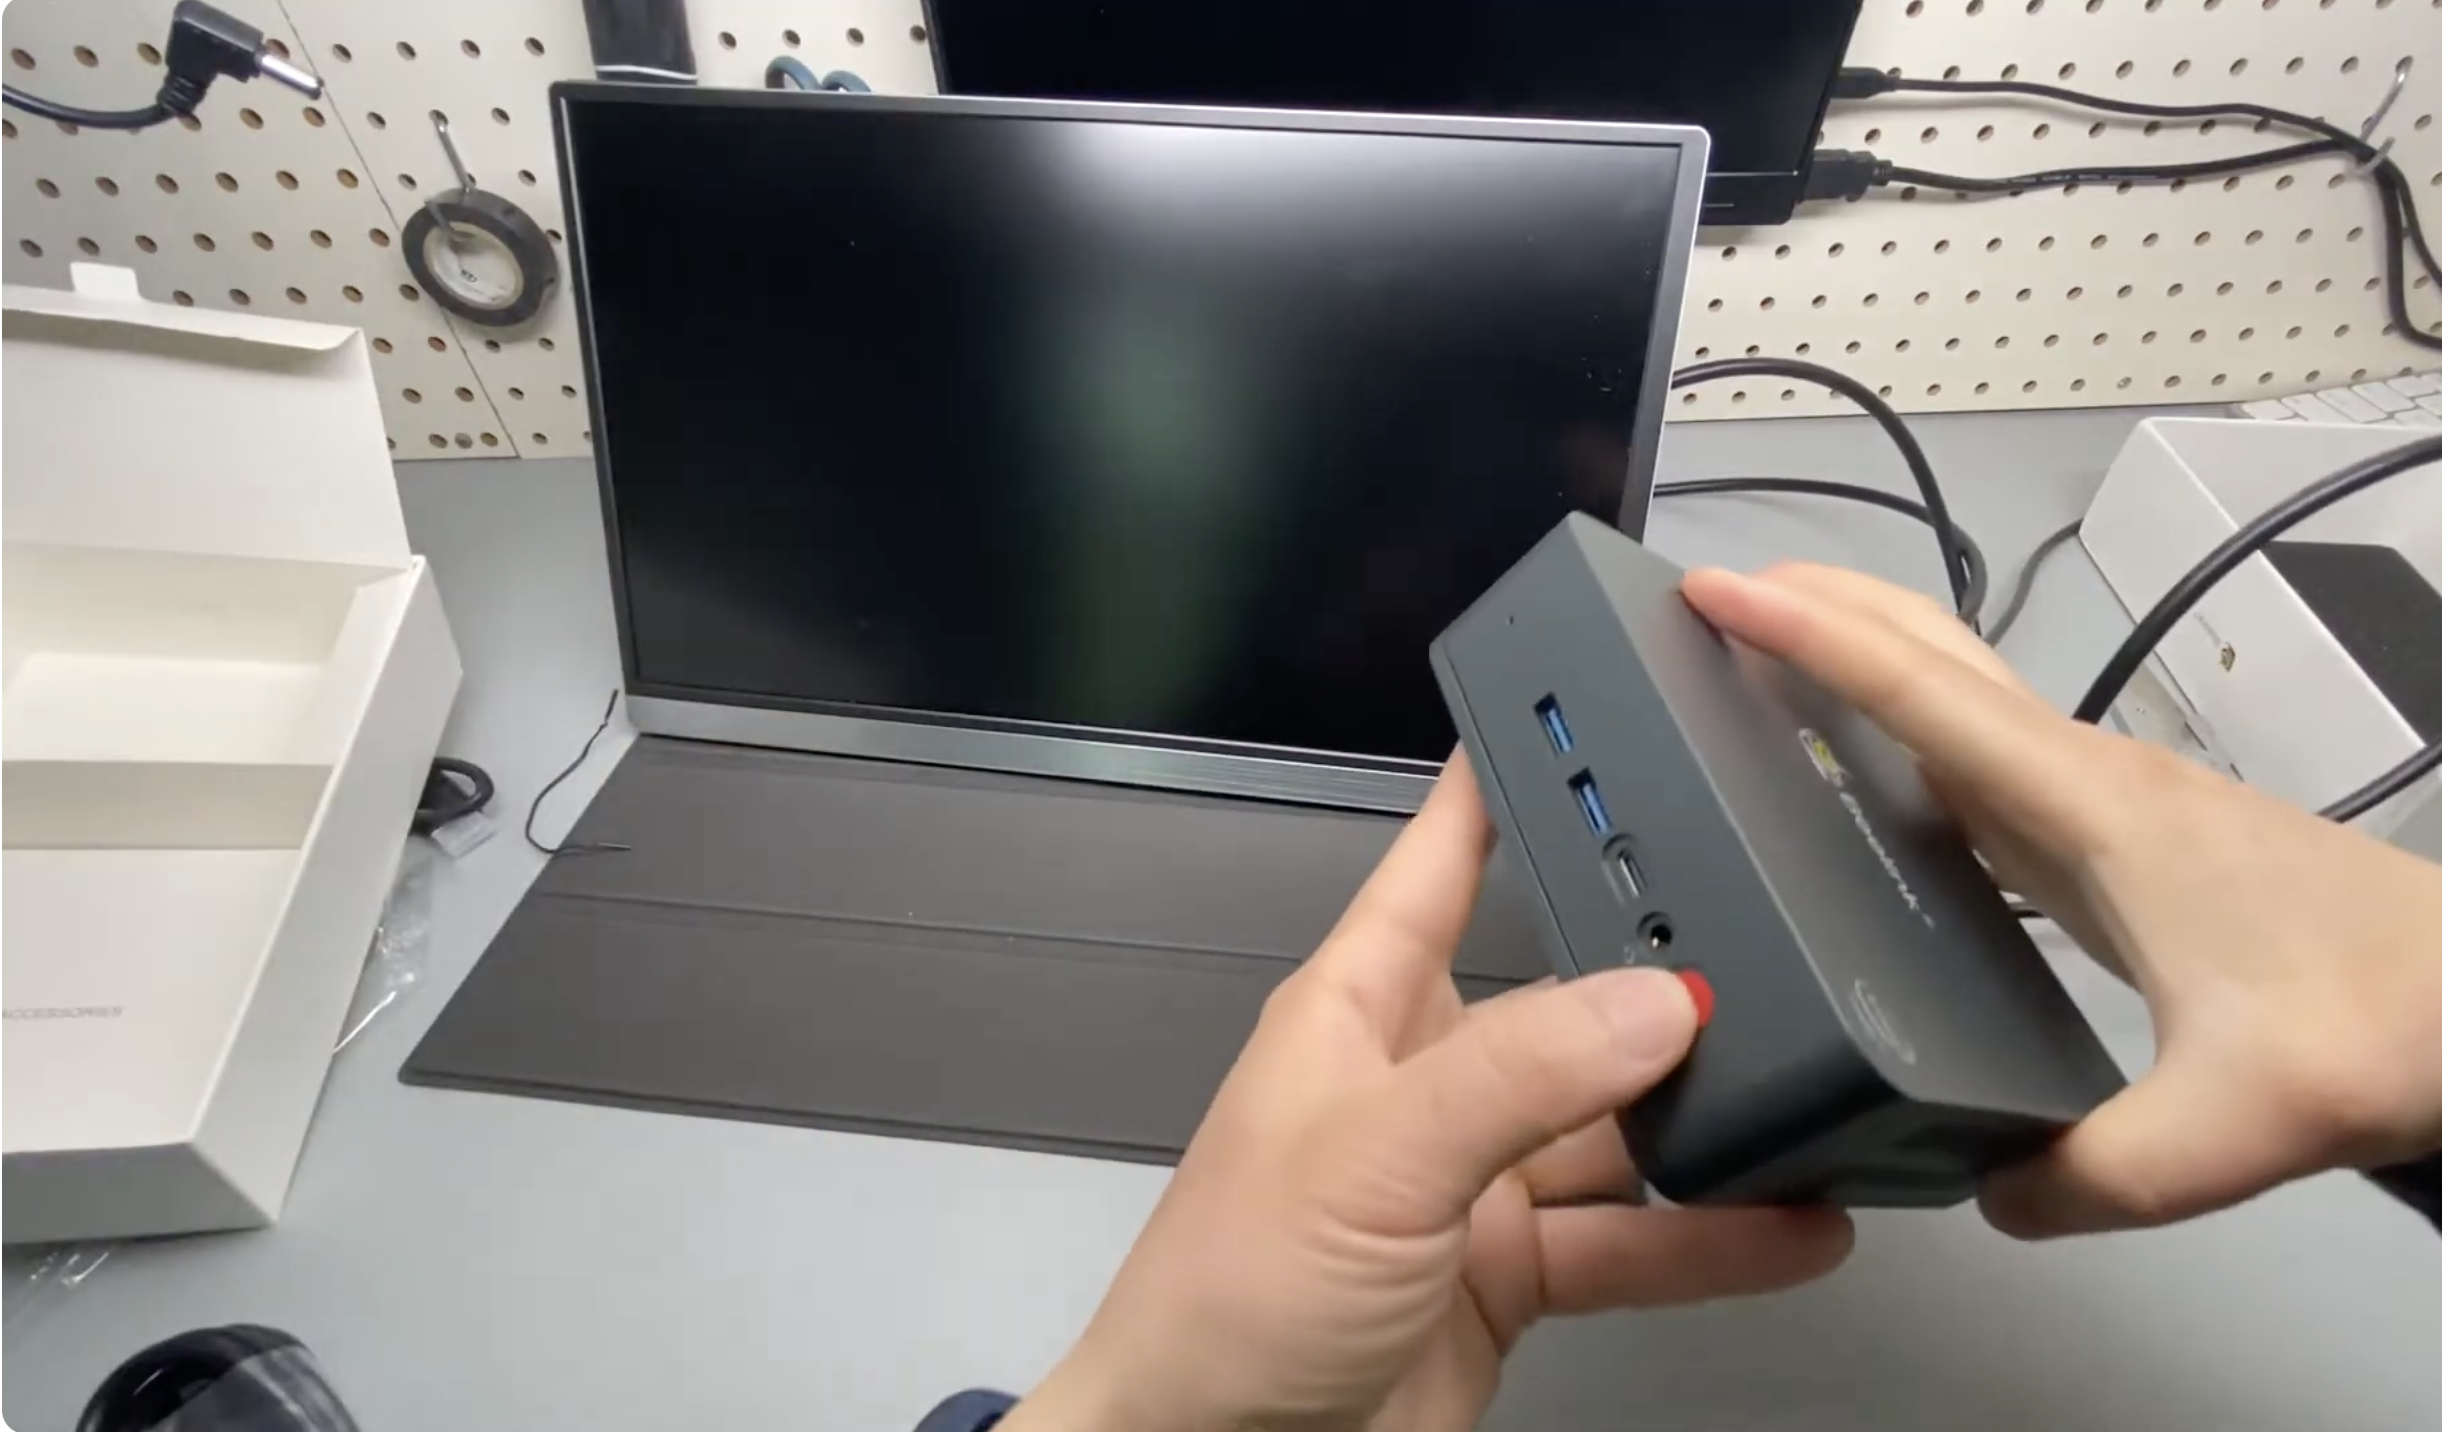
- Plug your USB keyboard and mouse into the USB ports on the front or back of the mini PC.
- Optional: Connect an Ethernet cable from your router to the LAN port if you prefer a wired network.
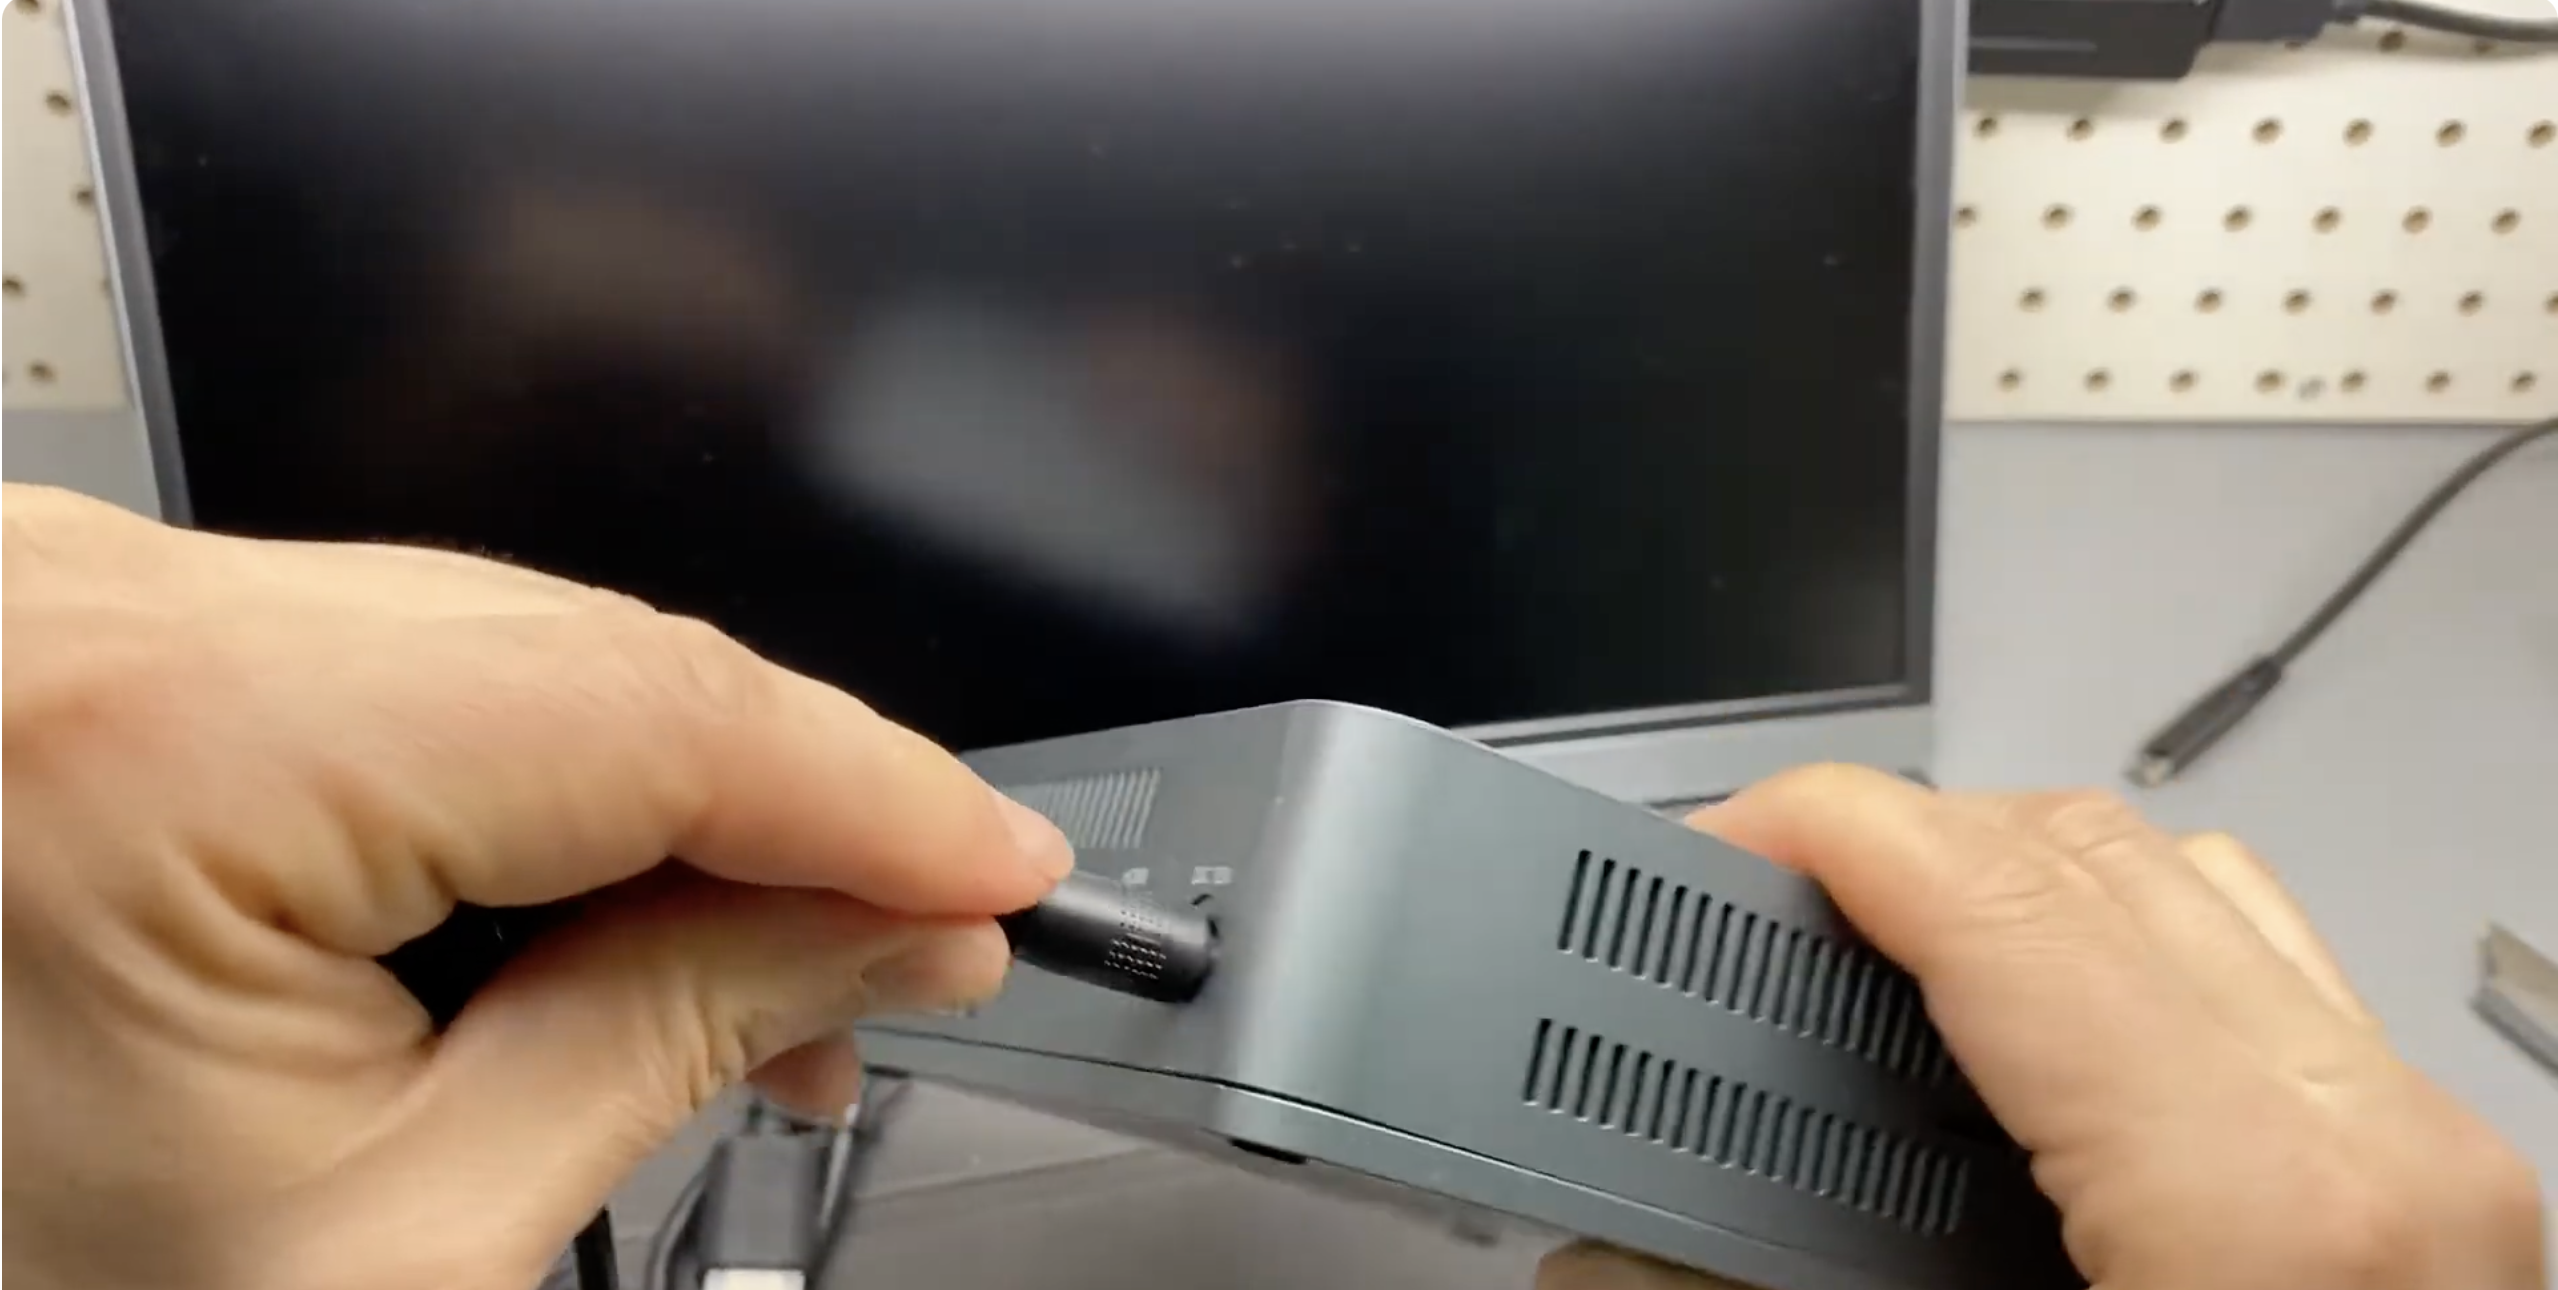
- Connect the power adapter to the DC power jack on the Beelink Mini PC and plug it into a wall outlet or surge protector.
- Press the power button on the Beelink and switch your monitor or TV input to the correct HDMI source.
- When the Windows 11 welcome screen appears, choose your language, region, and keyboard layout.
- Connect to Wi-Fi or confirm your Ethernet connection when Windows prompts you for network settings.
- Sign in with a Microsoft account or create an offline user account, depending on how you want to use the mini desktop PC.
- Choose your privacy, diagnostics, and device customization options as Windows 11 asks for permissions.
- Wait while Windows finishes the initial setup and prepares your Beelink Mini PC desktop.
If your Beelink Mini PC shipped without an operating system, you first need to install Windows or a preferred Linux distribution from a bootable USB drive. Most home users will choose Windows 11 for broader software and driver support.
How To Optimize Beelink Mini PC After Setup
Once you complete the basic Beelink Mini PC setup, spend a few minutes on simple tweaks that improve stability and performance on a compact Windows 11 mini PC.
- Open Settings > Windows Update and install all available updates, then restart when prompted.
- Check the Beelink support page for your exact model to see if there are updated chipset, graphics, or Wi-Fi drivers.
- Right-click the desktop, choose Display Settings, and set the correct resolution and scaling for your monitor or TV.
- In Settings > System > Power, choose a balanced or performance plan if you use the mini PC for heavier tasks.
- Uninstall trialware or preinstalled apps you do not need to free storage on the internal SSD.
- Install your browser, office suite, and any required apps while your Beelink Mini PC is still clean and organized.
How To Connect Beelink Mini PC To A TV Or Dual Monitors
Many Beelink Mini PCs support dual HDMI outputs, which lets you run two displays for better multitasking or a home theater setup. The process is similar to a standard single-monitor install.
- Connect the first HDMI cable from the Beelink Mini PC to your main monitor.
- Connect the second HDMI cable from the other HDMI port to a TV or second monitor.
- Turn on both displays and select the correct HDMI input on each screen.
- In Windows, open Display Settings and detect both monitors if they do not appear automatically.
- Choose whether you want to extend your desktop, duplicate the screens, or use only one display.
- Arrange the screens in the layout window so the mouse moves logically between them.
Troubleshooting Common Problems
If something goes wrong during your Beelink Mini PC setup, most issues come from cables, display settings, or Windows configuration. Work through these quick checks first.
- No Signal On Monitor Or TV
Make sure the HDMI cable clicks into place on both ends and the screen input matches the port you used. Try a different HDMI cable or a different HDMI port on the display if you still do not see the Windows 11 logo. - Beelink Mini PC Powers On But Stays On A Black Screen
Check that the power light stays solid instead of flashing. Disconnect all USB devices except keyboard and mouse, then restart. If your monitor supports multiple resolutions, try a different display or a lower-resolution screen. - No Internet Connection
For Ethernet, reseat the LAN cable until the port LEDs blink. For Wi-Fi, open the network icon on the taskbar, verify you select the correct network, and re-enter the password. Restart the router if other devices also struggle to connect. - Mini PC Feels Slow Or Stutters
Close unused browser tabs and background apps, then restart the Beelink Mini PC. Run Windows Update and reboot again. Check Task Manager for apps that constantly spike CPU or disk usage and uninstall or disable them. - USB Keyboard Or Mouse Not Detected
Move the dongle or USB plug to a different USB port, preferably on the back of the Beelink unit. Replace batteries for wireless devices and confirm any pairing buttons are pressed as required.
Tips
- Mount the Beelink Mini PC behind your monitor with a VESA bracket if your model supports it to save desk space.
- Use a surge protector or UPS with the power adapter to protect your mini desktop PC from power spikes.
- Keep the case vents clear and avoid stacking items on top of the Beelink to reduce heat buildup.
- Add an external SSD for large game libraries or media instead of filling the internal drive on day one.
- Create a restore point in Windows after you finish the Beelink Mini PC setup and app installs, so you can roll back easily if something breaks later.
FAQ
Do I Need A Separate Operating System To Set Up A Beelink Mini PC?
Most Beelink Mini PCs ship with Windows 11 preinstalled, so you only need to complete the first boot setup. If your model is a barebones unit, you must install Windows or Linux from a bootable USB drive before you can use the mini PC.
Can I Use A Beelink Mini PC As A Home Theater PC?
Yes, you can connect the Beelink Mini PC to a TV with HDMI and use it for streaming, local media playback, and light gaming. Make sure you set the correct resolution and audio output in Windows so sound and picture look right on your TV.
How Do I Reset My Beelink Mini PC If I Mess Up The Setup?
You can use the Windows Reset This PC option under Settings > System > Recovery to reinstall Windows while keeping or removing your personal files. This restores your Beelink Mini PC to a clean state if something goes wrong with apps or settings.
Can I Upgrade RAM Or Storage In A Beelink Mini PC?
Many Beelink Mini PC models allow RAM and M.2 SSD upgrades, but the limits vary by model. Check your specific unit’s documentation before you open the case so you use supported modules and avoid damaging the hardware.
Is A Beelink Mini PC Good Enough For Light Gaming?
Beelink Mini PCs with modern processors and integrated graphics handle light gaming and less demanding titles at 1080p or lower resolutions. For heavy AAA games, you usually need a dedicated gaming rig or cloud gaming service instead of a compact mini desktop PC.
Summary
- Gather your monitor or TV, keyboard, mouse, and network connection before you start your Beelink Mini PC setup.
- Connect HDMI, peripherals, and power, then complete the Windows 11 first boot wizard.
- Install updates, adjust display and power settings, and remove unneeded apps to keep the mini PC fast.
- Use dual HDMI outputs for a two-monitor workspace or a TV plus monitor configuration.
- Rely on simple cable, network, and settings checks to fix most early Beelink Mini PC issues.
Conclusion
Setting up a Beelink Mini PC is straightforward when you follow a clear order: connect the hardware, walk through Windows 11, and then optimize the system. Once you finish the initial Beelink Mini PC setup, you have a compact Windows desktop ready for work, streaming, and everyday tasks.
With the right cables, a few Windows tweaks, and basic maintenance, your Beelink Mini PC stays responsive and reliable for a long time, even though it takes up only a tiny spot on your desk or under your TV.
Discussion (0)
Be the first to comment.