


If you love the Halo series, learning how to draw a Halo Spartan is a fun way to bring your favorite supersoldier to life on paper. This step-by-step Halo Spartan drawing tutorial breaks the process into simple shapes, clean armor lines, and easy shading so beginners and intermediate artists can follow along.
We will start with a basic Halo character sketch, build up the armor, then finish with details that make the design feel close to Master Chief’s Mjolnir armor. You can use the same process for any Halo armor drawing, whether you want a classic Spartan, a custom multiplayer skin, or a different Spartan armor core.
Grab a pencil, eraser, paper, and optional markers or colored pencils. By the end, you will understand Spartan proportions and armor panels well enough to pose and redraw them from different angles.
Step-By-Step Guide To Drawing A Halo Spartan
Start with loose guidelines and gestures, then slowly tighten your Halo Spartan drawing. Do not worry about details early on. Focus on the big shapes first, then add armor plates, then refine edges and shading.
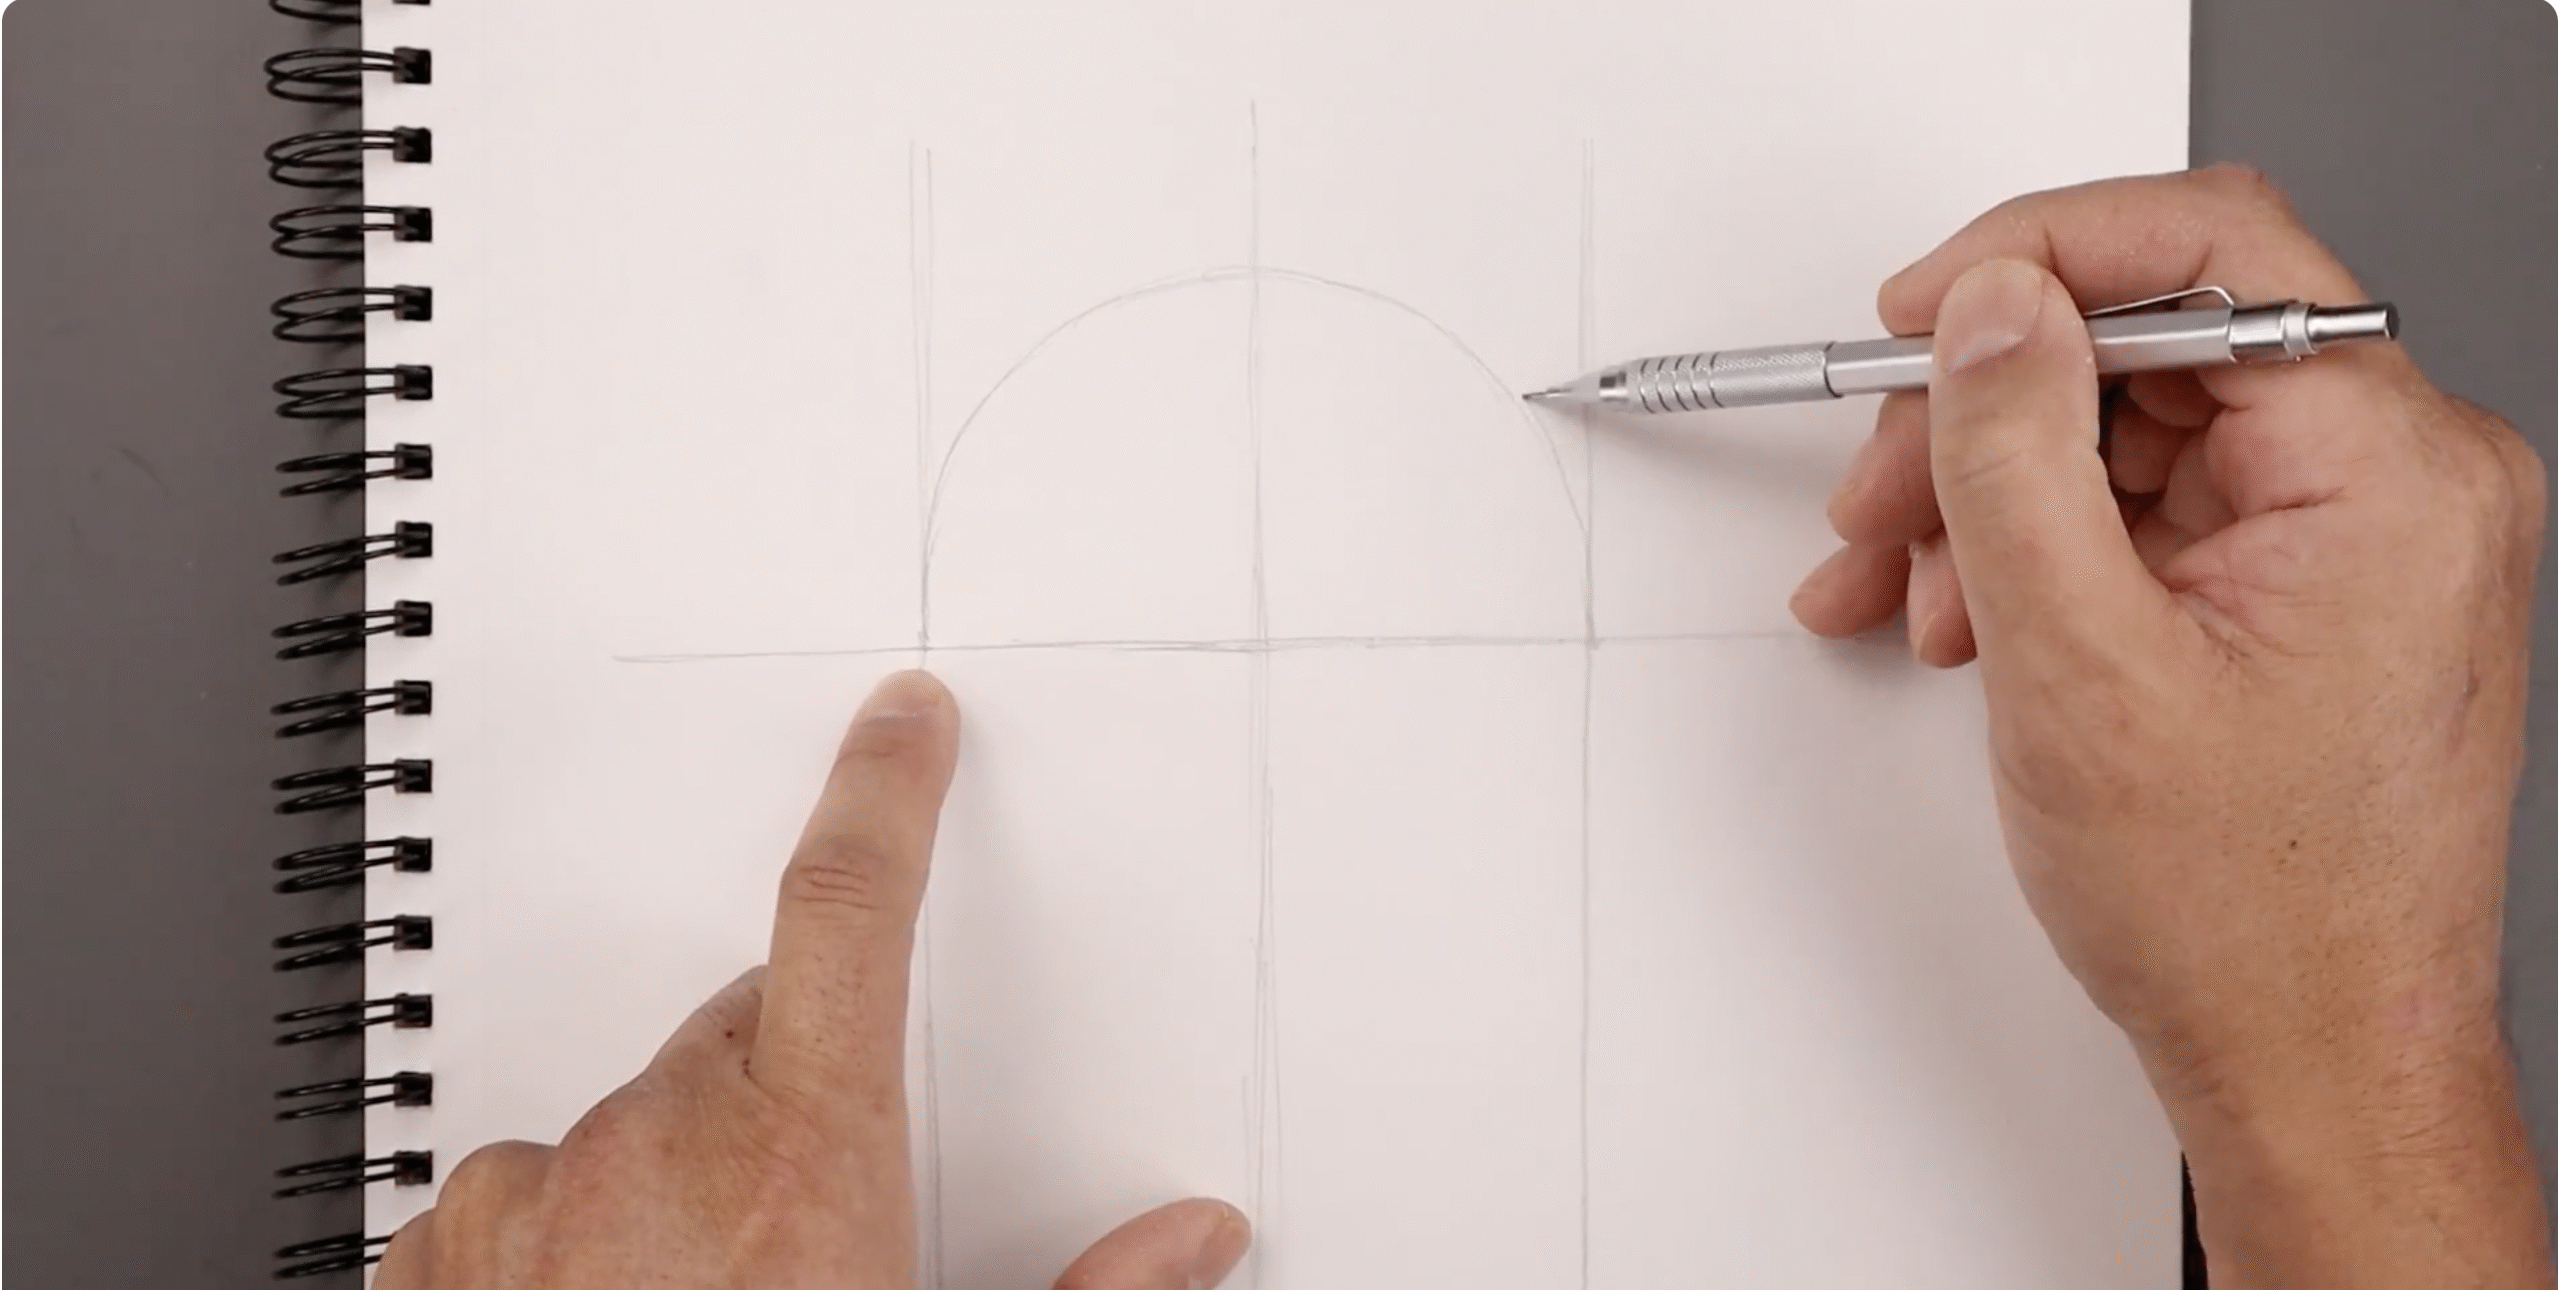
Set Up Your Pose And Basic Proportions
- Lightly sketch a vertical line for the spine, then add a small oval for the head and a simple ribcage and pelvis shape to set the pose.
- Use straight lines for arms and legs, keeping them slightly bent so your Spartan does not look stiff or robotic.
- Block in simple box shapes for the chest and hips to suggest bulky Spartan armor and the powered undersuit.
Build The Spartan Body With Simple 3D Forms
- Wrap cylinders around the arm and leg lines to create solid limbs, keeping the forearms and shins slightly thicker for armored boots and gauntlets.
- Add a broad, barrel-like chest with a narrower waist to match typical Halo Spartan proportions and heroic silhouettes.
- Draw in the neck as a short cylinder so the helmet sits firmly on the body instead of floating above the shoulders.
Draw The Halo Spartan Helmet
- Start with a rounded box for the helmet, slightly wider than the neck cylinder, and angle the front a bit forward for a more aggressive look.
- Lightly draw a horizontal visor band across the front, then taper the bottom edge so it resembles the classic Halo Spartan or Master Chief visor shape.

- Add angular cheek plates, a small chin section, and top vents or ridges, using game reference to keep your Halo Spartan helmet drawing recognizable.

Block In The Chest, Shoulder, And Arm Armor
- Divide the chest barrel into armor panels by adding angular plates for the upper chest, lower chest, and central plate where the emblem or light details usually sit.
- Draw large shoulder pauldrons as rounded boxes or wedges sitting on top of the upper arm cylinders, extending slightly outward for that heavy Spartan silhouette.
- Add forearm armor by wrapping rectangular plates around each forearm, then sketching in wrist guards and glove shapes with simple segmented lines.
Add Leg, Waist, And Back Details
- Build the waist armor with a belt-like band and separate side plates that hang over the hips, then add small pouches or grenades if you want more tactical detail.
- Split each thigh into front and side plates, drawing angular armor panels that follow the cylinder’s curve without completely hiding the underlying form.
- Finish the legs with chunky shin armor and heavy boots, adding beveled edges and small vents so your Halo Spartan step-by-step sketch feels mechanical and functional.
Sketch The Weapon And Final Accessories
- Lightly draw a basic rifle or energy sword using long rectangles and simple wedges, then refine it into a recognizable Halo-style weapon.
- Use overlapping lines to connect the hands to the weapon so the grip looks natural, adjusting finger placement as needed.
- Add extra gear such as thigh holsters, small lights, or armor markings to reinforce the Halo Spartan design without overcrowding the drawing.
Clean Up Line Art And Add Shading
- Carefully erase the original gesture and construction lines while keeping the stronger armor contours and key structure lines visible.
- Go back over the main outlines with a darker pencil or pen, varying line weight to make foreground edges thicker and inner panel lines slightly thinner.
- Add shading by darkening areas under the chest plate, inside joints, under the helmet rim, and behind the weapon, following a single light source from one side.
Optional: Add Color And Halo Armor Highlights
- Choose a main armor color inspired by your favorite Spartan or Master Chief, then lay it down in flat tones before adding darker shadow layers.
- Use lighter strokes or a white pencil to add edge highlights on armor plates where light would catch, especially on helmet ridges and shoulder armor.
- Finish with small glowing details for the visor, suit lights, or energy sword, which instantly push your Halo Spartan drawing closer to the in-game look.
Troubleshooting Common Problems
If your first Halo character sketch does not look right, it usually comes down to pose, proportions, or armor clutter. Small fixes at the sketch stage can save a lot of frustration later.
- Spartan looks stiff: Tilt the shoulders and hips in opposite directions and bend the knees slightly so the pose feels more dynamic.
- Helmet feels off: Recheck the visor placement and width, making sure it sits centered on the head and wraps around slightly.
- Armor looks messy: Simplify overlapping plates and remove a few panel lines so the major shapes stay clear and readable.
- Proportions feel wrong: Compare the head size to the body; Spartans usually look about seven and a half heads tall with broad shoulders.
- Shading looks flat: Pick one light direction and darken only the opposite planes instead of shading every gap equally.
Tips
- Keep early lines light so you can adjust your Halo Spartan step-by-step sketch without chewing up the paper.
- Use reference images from Halo games or concept art to study how different armor cores break into large and small plates.
- Practice drawing the helmet on its own from several angles before combining it with full-body Halo armor drawing sessions.
- Work zoomed out or at arm’s length occasionally so you can check the overall silhouette and make sure it still reads clearly as a Spartan.
- Experiment with different weapons and shoulder pieces to design your own custom Halo Spartan while reusing the same base body structure.
FAQ
How long does it take to learn how to draw a Halo Spartan?
Most people can follow this Halo Spartan drawing tutorial in one or two sessions, but building confidence with armor and helmets usually takes several practice drawings.
Do I need to be good at anatomy before trying Halo armor drawing?
You only need basic knowledge of where the joints and muscles sit. Simple cylinders and boxes are enough for a solid base before you add Mjolnir armor details.
What should I practice first, the helmet or the full body?
Start with the helmet because it carries most of the Spartan’s personality, then move to chest and shoulder armor once you are comfortable with the visor and overall head shape.
Can I use this method to draw Master Chief?
Yes, follow the same steps, then adjust the helmet and armor panels to match Master Chief’s specific design and color scheme from the games.
What tools work best for a clean Halo Spartan sketch?
A mechanical pencil, kneaded eraser, and smooth sketchbook paper make it easier to refine armor lines, but any pencil and paper will work if you draw lightly and build up slowly.
Summary
- You start with a loose gesture and basic 3D forms before adding any Halo Spartan armor details.
- The helmet, chest, and shoulders define the recognizable Spartan silhouette, so spend extra time on those areas.
- Clean line art and consistent shading turn a rough Halo character sketch into a polished Spartan illustration.
- Reference from Halo games or concept art helps you place armor plates accurately and design your own variants.
- Regular practice with different poses and weapons makes future Halo Spartan drawings faster and more confident.
Conclusion
Learning how to draw a Halo Spartan comes down to breaking a complex design into manageable steps, from simple shapes to layered armor and clean shading. Once you understand the proportions and key armor panels, you can redraw Spartans in new poses, try different armor cores, or adapt the same process for other Halo characters.
Keep your early sketches loose, use strong reference, and push each drawing a little further than the last. With steady practice, your Halo Spartan drawings will start to look as battle-ready on the page as they do on-screen.

Discussion (0)
Be the first to comment.