



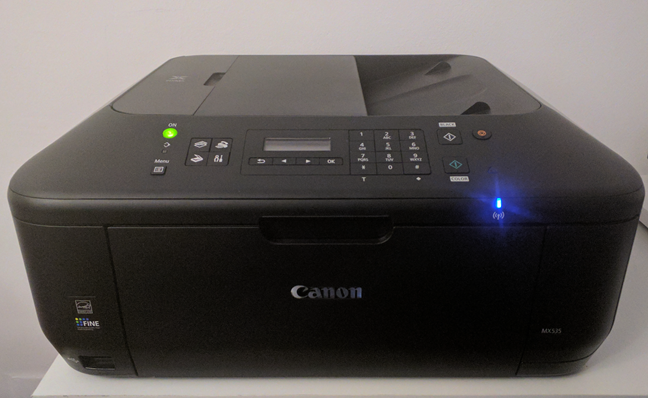
Adding a printer in Windows 10 is usually simple, whether it is a USB printer or a wireless network printer. Windows can automatically detect most modern printers, but sometimes you may need to add it manually.
This guide explains how to add a printer in Windows 10 step by step.
Before You Start
Make sure:
- The printer is powered on
- It is connected via USB or Wi-Fi
- Your PC and printer are on the same network (for wireless printers)
- Printer drivers are installed if required
Now follow the method that matches your setup.
Method 1: Add a Printer Automatically
This works for most USB and Wi-Fi printers.
- Press Windows + I to open Settings
- Click Devices
- Select Printers & scanners
- Click Add a printer or scanner
- Wait for Windows to detect your printer
- Click the printer name
- Select Add device
Windows will install drivers automatically.
Method 2: Add a Printer Manually
If your printer does not appear:
- Go to Settings > Devices > Printers & scanners
- Click Add a printer or scanner
- Select The printer that I want isn’t listed
- Choose one of the available options:
- Add a printer using a TCP/IP address
- Add a local printer
- Add a shared printer by name
Follow the on-screen instructions.
How to Add a Network Printer Using IP Address
- Select Add a printer using a TCP/IP address or hostname
- Click Next
- Choose TCP/IP Device
- Enter the printer’s IP address
- Click Next
- Install the correct driver
You can find the printer IP from its display panel or router settings.
Method 3: Install Printer Driver Manually
If Windows cannot find the correct driver:
- Visit the printer manufacturer’s website
- Download the latest driver for Windows 10
- Install the driver
- Restart your computer
- Try adding the printer again
This works for older printers.
How to Set the Printer as Default
After adding the printer:
- Go to Settings > Devices > Printers & scanners
- Click your printer
- Select Manage
- Click Set as default
This ensures all print jobs go to the correct device.
Troubleshooting Printer Not Detected
If Windows cannot find your printer:
- Restart printer and PC
- Check Wi-Fi connection
- Update printer drivers
- Run Windows Troubleshooter
- Disable firewall temporarily (for testing)
To run the troubleshooter:
- Open Settings
- Go to Update & Security
- Click Troubleshoot
- Select Printer
- Run the troubleshooter
Does This Work on Windows 11
Yes. On Windows 11:
- Open Settings
- Go to Bluetooth & devices
- Click Printers & scanners
- Follow similar steps
The layout is slightly different but the process is the same.
Final Thoughts
Adding a printer in Windows 10 is usually automatic, but manual options are available if needed. Whether you are connecting a USB printer or a wireless network printer, Windows provides built-in tools to detect and install it easily.
These steps also apply to Windows 11 with minor interface differences.
FAQs
Why is my printer not showing up
It may not be connected properly or drivers may be missing.
Can I add a printer using IP address
Yes, use the TCP/IP method in manual setup.
Do I need to install drivers manually
Usually no, but older printers may require manual drivers.
How do I make my printer default
Go to Printers & scanners and select Set as default.
Does Windows 10 support wireless printers
Yes, as long as both devices are on the same network.

Discussion (0)
Be the first to comment.