29.01.2014
In this third episode of our series about the Reading List app in Windows 8.1, I will guide you through the process of removing categories and content from this app. If you want to reorganize the way content is classified or you just want to clean up some less interesting content, this guide will be useful to you.
If you need to refresh your memory on how to add content to the Reading List, don't hesitate to read this article: How to Add & Categorize Content in Windows 8.1's Reading List App.
How to Clear the Category Assigned to an Item or a Group of Items
You may find yourself in the position of wanting to remove the category assigned to a specific item without removing the item itself and without deleting the category.
To do this, open the Reading List app and right click or press and hold while slightly dragging downwards, the item for which you want to remove the assigned category. The item will be selected and a checkmark is shown in its upper-right corner.

Also, on the bottom of the Reading List app window, you will see a contextual menu being displayed. Click or tap the Clear category button to remove the item's category.
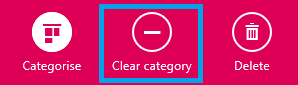
The category is not deleted, only cleared from the selected item. You can now assign a different category to the selected item or assign different items to the category you just cleared.
How to Rename an Existing Category
After you add more and more content to the Reading List, you may want to reorganize the content by changing the name of one or more categories, so that they better describe your content.
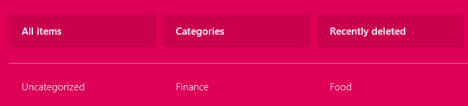
To rename an existing category, right click within the Reading List interface or swipe upwards from the upper or lower edge of your touchscreen device. A contextual menu is displayed. On the top you will see the current categories being listed.
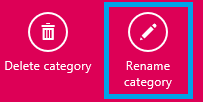
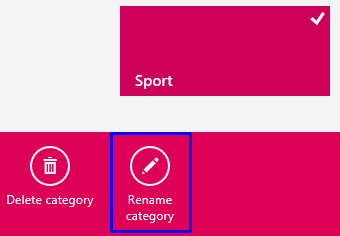
Select the category you want to rename by clicking or tapping on it. Then right click again within the Reading List interface or swipe up if you are using a touchscreen. Click or tap Rename category on the lower right corner of the screen.
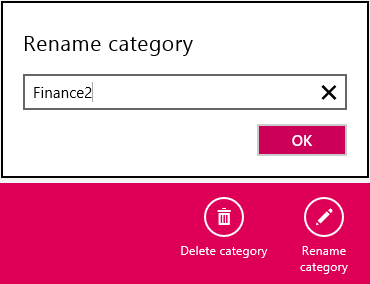
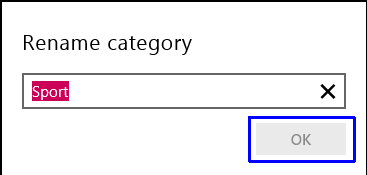
Enter the new name of the category and then click or tap OK.
Another way of renaming a category is to right click within the Reading List interface (or swipe upwards) and click or tap Categories. Then, right click or swipe down the category you want to rename. Click or tap Rename category.
Enter the new name of the category, then click or tap OK.
How to Remove an Existing Category and Its Items
After a while, some of the content you stored in Reading List might become outdated or you may not have a need for it anymore. For example, you may want to remove an entire category of content that you no longer need.
If you want to remove a category without removing its content, then you should first change the category for the content you want to keep and delete the category when it is empty or when it no longer has the content you want to keep.
To remove the category together with the content assigned to it, right-click within the Reading List interface or swipe upwards, to bring up the contextual menu. Then, click or tap Categories on the top.
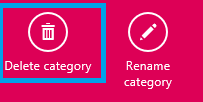
To select the category you want removed, right click or swipe down on it. Then, click or tap Delete category in the contextual menu on the bottom of the screen.
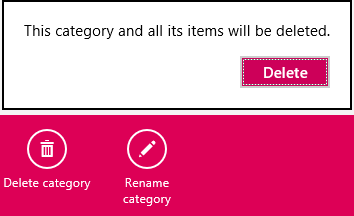
You are asked to confirm the removal process. If you are sure you want to go ahead, click or tap Delete.
That's it! The category is now removed together with all the content inside it.
How to Remove Content From the Reading List
If you have old content in the Reading List app which you no longer need, the app provides an easy way to remove it.
First, right click or swipe down the items that you want to remove from the Reading List so that they are selected. Then, click or tap Delete.
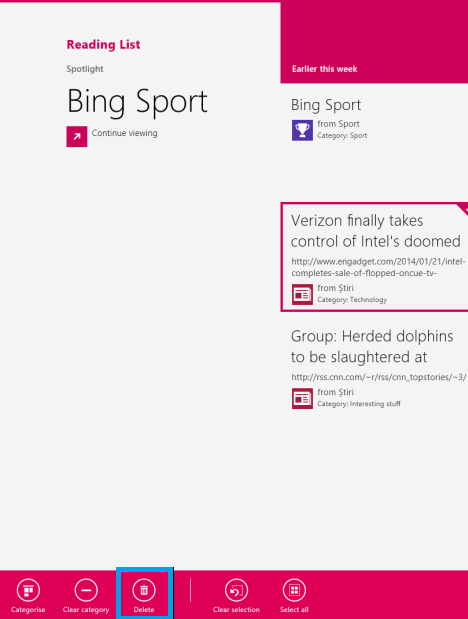
The content is removed without any confirmation being requested from you.
How to Restore Content after Deleting It from the Reading List
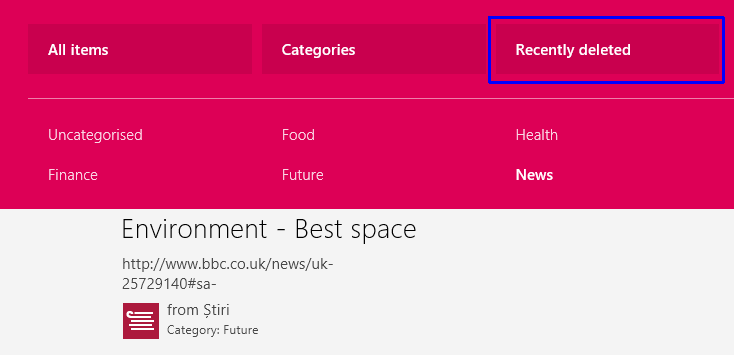
If you accidentally deleted content that you need, you don't have to panic because the Reading List memorizes the list of items you have deleted in the past 30 days. To restore an item that you have recently deleted, first right click within the Reading List interface or swipe upwards from the lower edge of your touchscreen device.
In the contextual menu displayed on the top, click or tap Recently deleted.
Right click or swipe down the items you want to add back to the Reading List.
Then, click or tap Add back.
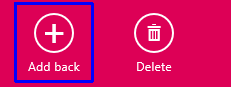
The selected content has been restored to its category.
How to Permanently Remove Content From the Reading List
To permanently remove content that you no longer need, right click within the Reading List interface or swipe upwards from the lower edge of your touchscreen device.
Then, in the contextual menu on the top, click or tap Recently deleted.
Next, right click or swipe down the items you want to permanently remove and click or tap Delete.
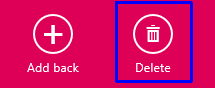
That's all. The content you have selected is now permanently deleted.
Conclusion
As you can see, Reading List has quite a few interesting options to put on the table when it comes to managing content. We have covered some other useful features in separate articles, so we encourage you to take a look at our recommendations below.
We can't end this episode without asking for your opinion on the features covered in this article. Have you had any difficulties removing or renaming categories? How about removing content?
Are you satisfied with the options offered by Reading List in this context or do you wish it had some more features?