Do you want to use Microsoft products and services like Windows 10, Xbox, Skype, Microsoft 365, Microsoft Office, or OneDrive? Well, to get access to all their features and benefits, you need a Microsoft account. Creating a Microsoft account is free and can easily be done from your web browser. You must use your current email or phone number, and choose whether to create an outlook.com or hotmail.com email address. This tutorial illustrates three ways to make a Microsoft account from your web browser:
NOTE: To start creating your account, first access Microsoft's Create account page in your browser, and then read the appropriate section of this guide, depending on what you want to create and what details you wish to provide during the signup process. To learn more about your Microsoft account and what you can use it for, read What is a Microsoft account?.
How to create a Microsoft account and an Outlook.com or Hotmail.com email address
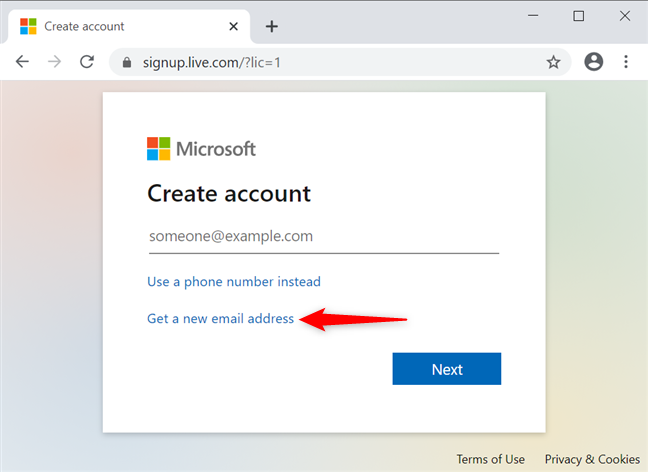
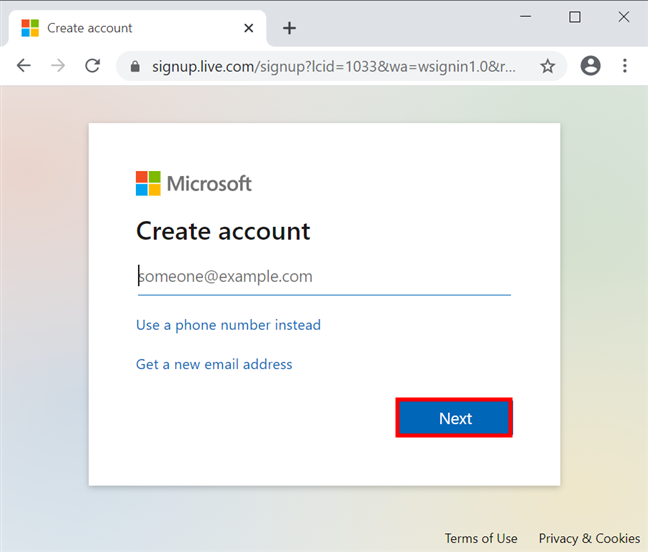
While signing up for a Microsoft account, you can create an email address with Outlook.com or Hotmail.com as well. Keep in mind that you must also provide a phone number to complete this process. To begin, on Microsoft's Create account page, click or tap on the "Get a new email address" link.
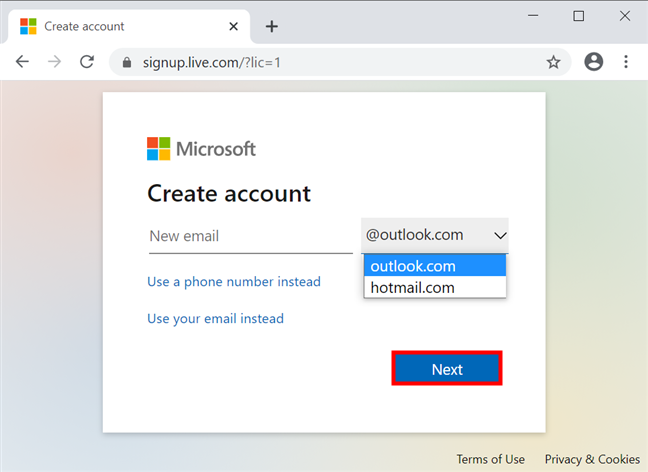
Insert the username that you want for your new email address and your Microsoft account, and then click or tap the field on the right. From the dropdown menu, select if you want a new email address with outlook.com or hotmail.com. When you are happy with your choices, click or tap the Next button.
NOTE: Microsoft quickly checks whether your desired email address is available. If it isn't, you have to change it or claim one of the available options suggested.
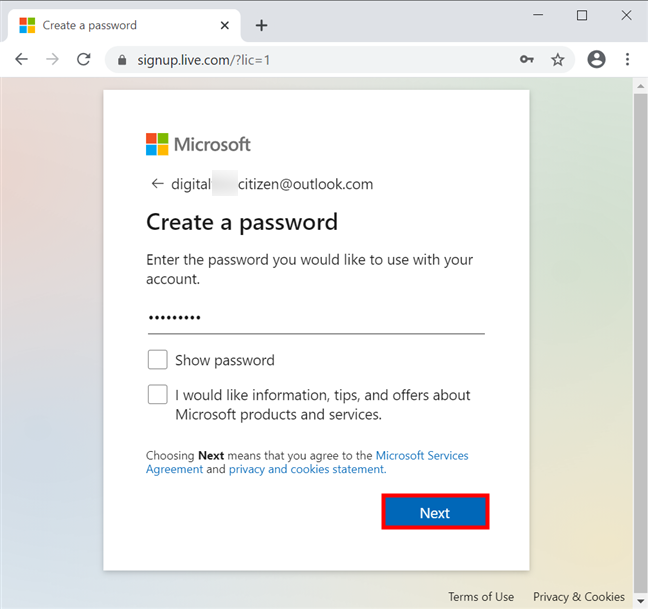
After inserting an available email address, type in the password that you want to use on the next page. Keep in mind that the password must have at least eight characters and include at least two of the following: uppercase letters, lowercase letters, numbers, and symbols. Click or tap on Next when you are done.
TIP: Use the Show password option to make sure you got your password right. Check the box at the bottom if you want to receive emails about Microsoft products and services.
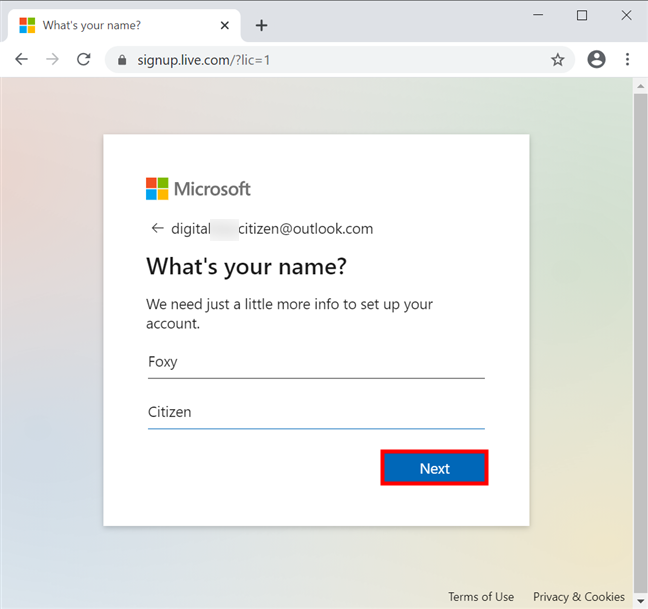
Fill in your first and last name, then press Next.
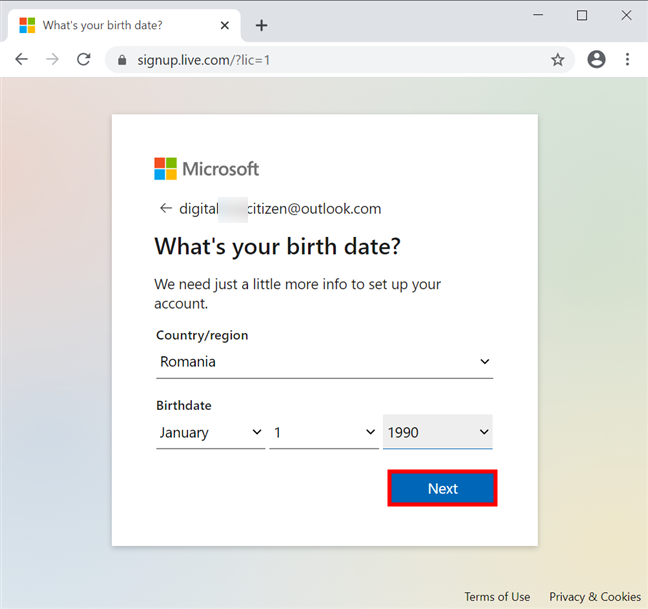
The next page asks for your location and birth date. Fill them in and click or tap Next.
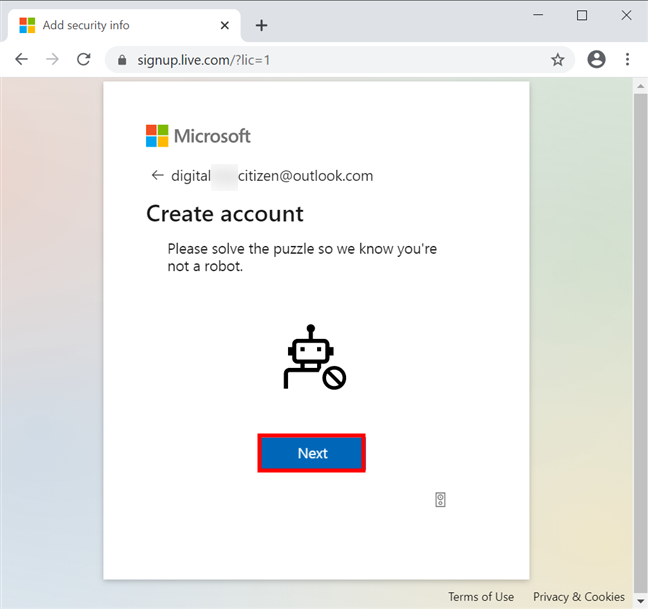
After a few moments, you are asked to prove you are human by solving a puzzle. Press Next to proceed to the puzzle.
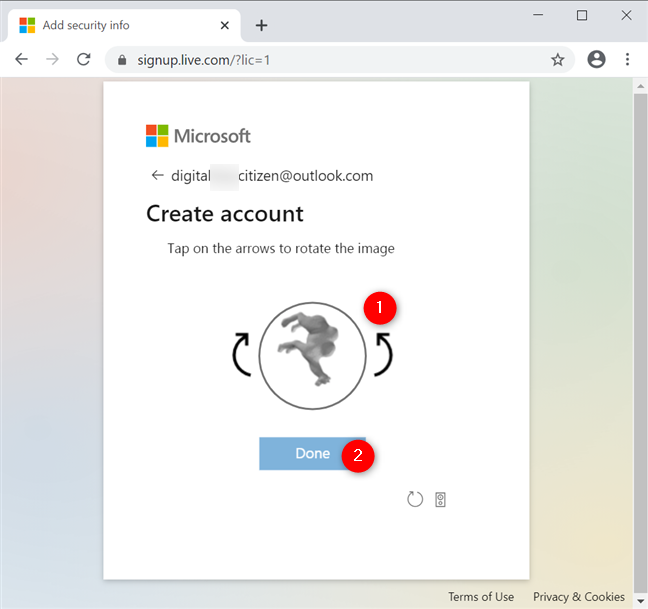
Press the arrows, as required, to rotate the image. When it's the right way up, click or tap on Done.
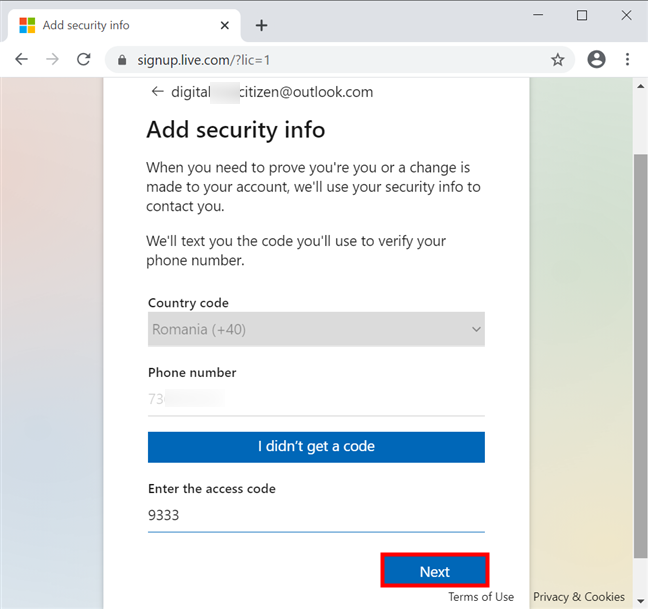
Next, you must provide a phone number. Choose the correct country code, enter your phone number, and press Send code. As soon as you do that, the "Enter the access code" field becomes available. Insert the code received on your phone number, and then click or tap on Next.
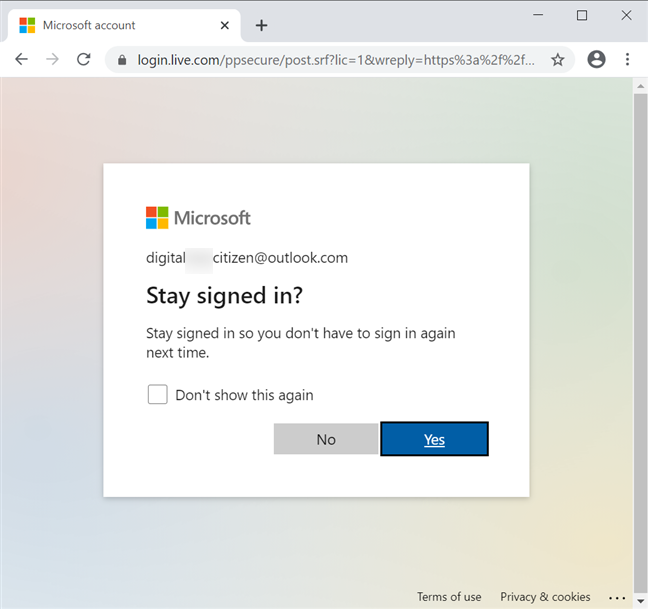
You are almost done. Decide if you want your browser to save your credentials or if you want to sign in every time.
That was it. Your Microsoft account and your new email address are now created.
How to create a Microsoft account using an existing email address
If you don't need a new email address, you can also create a new Microsoft account using an existing email account from a different provider like Gmail or Yahoo!. On the Create account page, type any email address you want to use, as long as it's NOT from Microsoft - we used a Gmail address for this tutorial. Then, click or tap on Next.
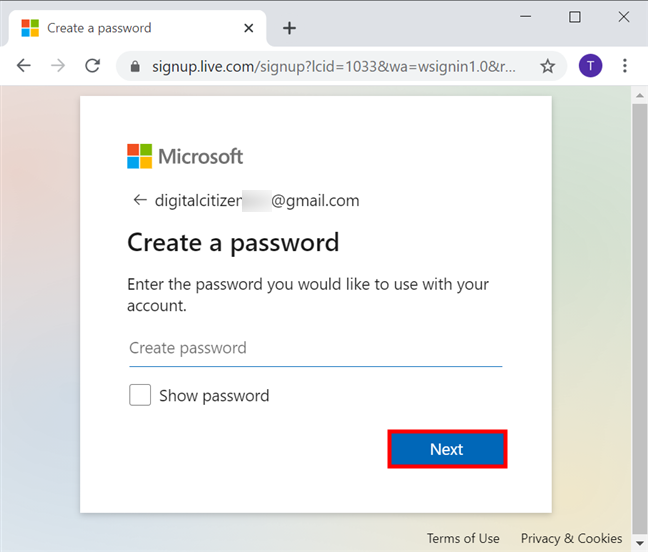
Enter the password you want to use for your Microsoft account. We advise you to type a different password than the one you use for the primary email address provided. The password must have at least eight characters and include at least two of the following: uppercase letters, lowercase letters, numbers, and symbols. Click or tap on Next when you are done.
TIP: Check the box next to Show password to make sure you write the password correctly.
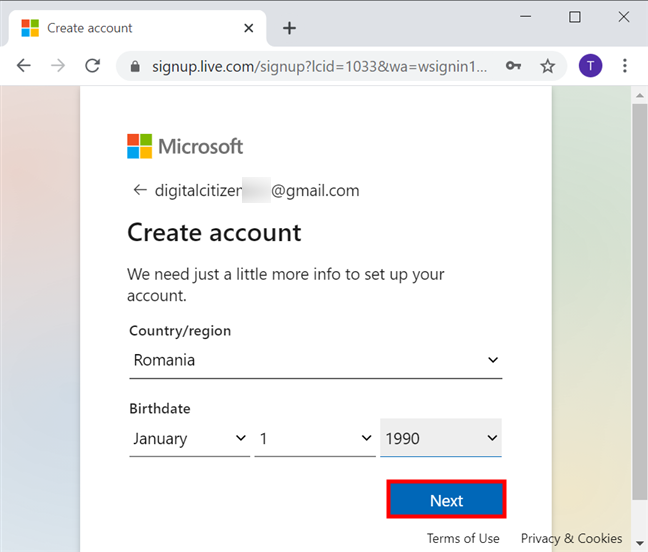
On the next page, provide your location and Birthdate. Then, press Next.
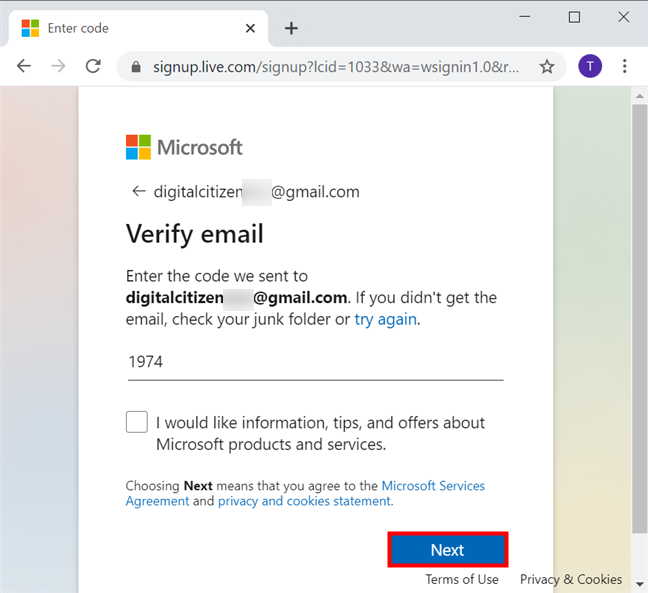
To verify it, Microsoft sends a code to the email addresses you provided. Check your email and Insert the code into the corresponding field. If you want to receive less spam from Microsoft, uncheck the "I would like information, tips, and offers about Microsoft products and services." box at the bottom. Then, click or tap Next.
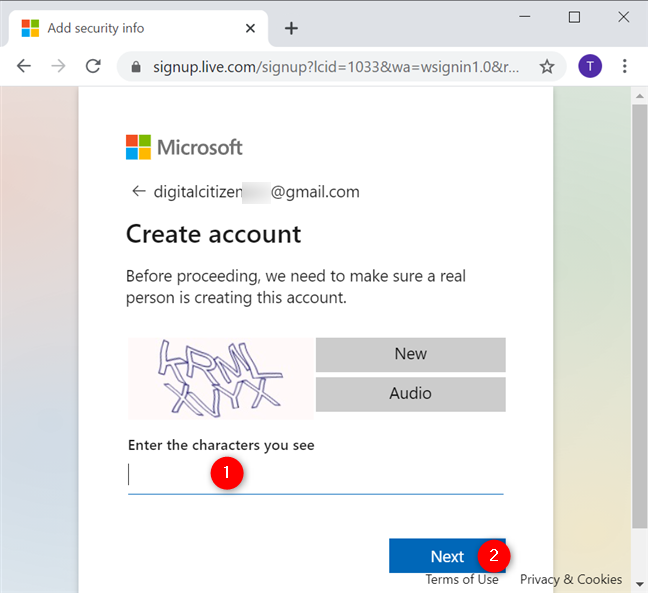
Solve the CAPTCHA on the next page to prove you're a real person and press Next.
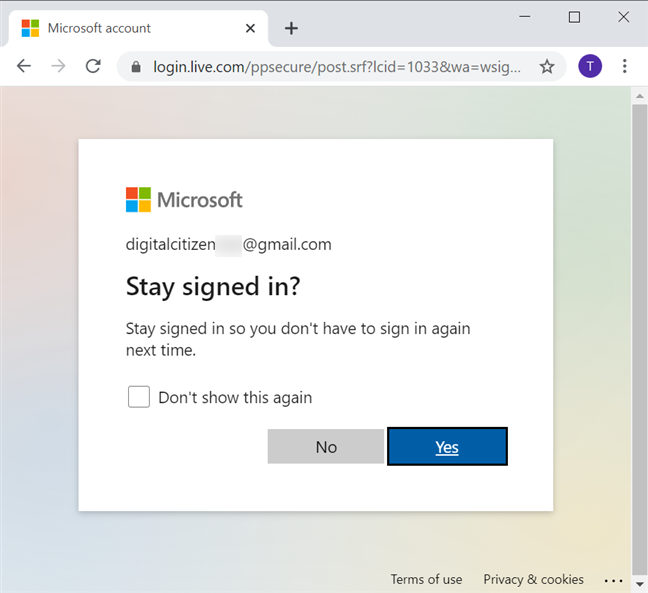
You are almost done. Press Yes for the browser to save your credentials or No to sign in every time.
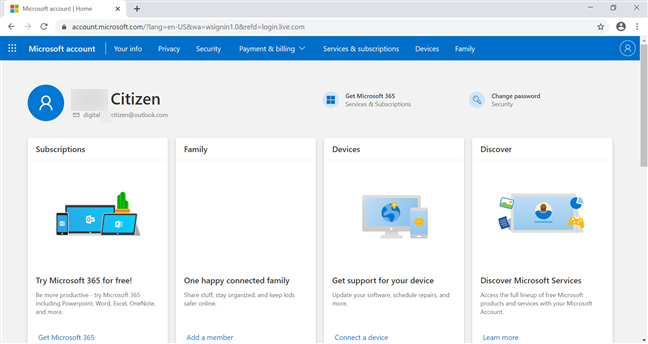
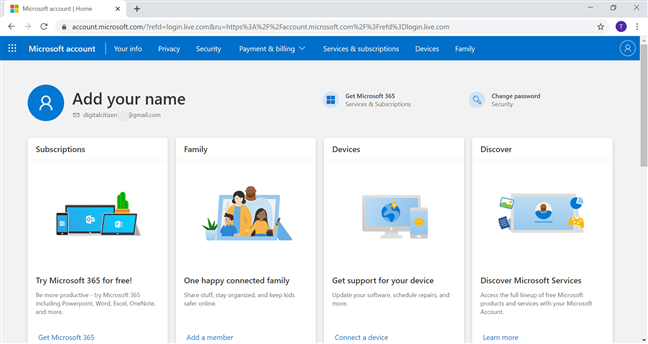
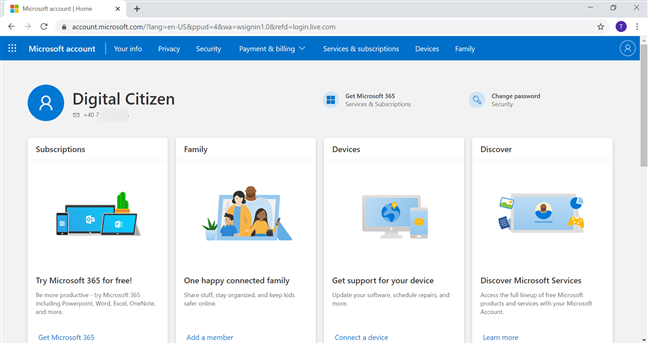
That was it. The Microsoft account is now created. As seen below, you can "Add your name" or customize other settings on your Microsoft's account home page.
How to create a Microsoft account using your phone number
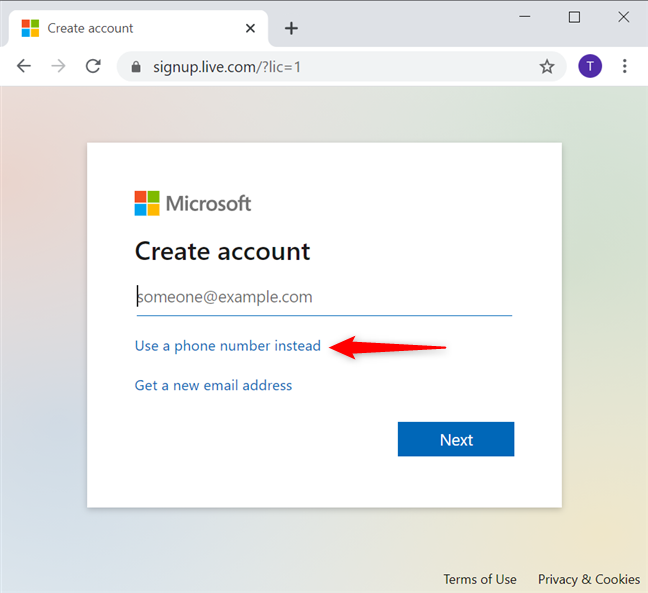
To create a Microsoft account without an email, you can opt to "Use a phone number instead" by pressing the corresponding option on the Create account page.
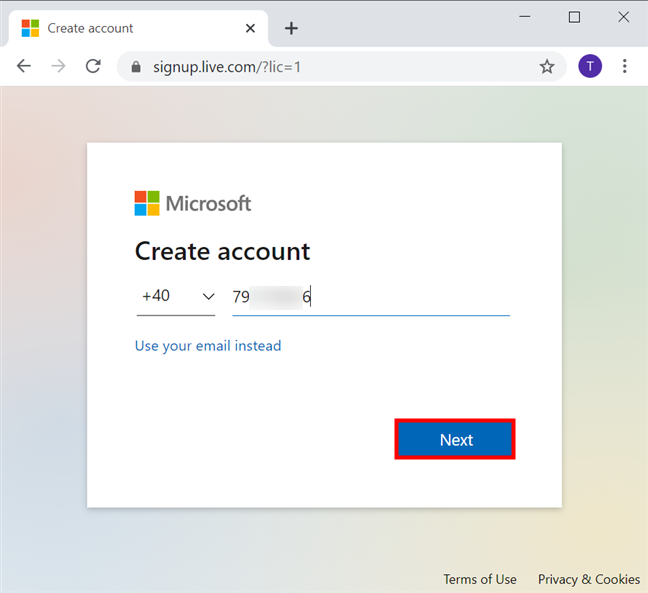
Insert your phone number, and then click or tap Next.
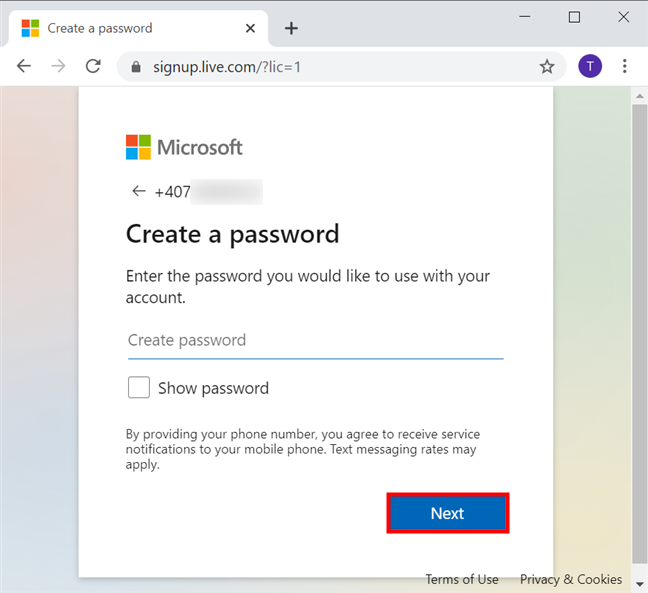
Type in the password that you want to use. Keep in mind that it must have at least eight characters and include at least two of the following: uppercase letters, lowercase letters, numbers, and symbols. When you are done, click or tap on Next.
TIP: The Show password option helps you ensure you insert the right password.
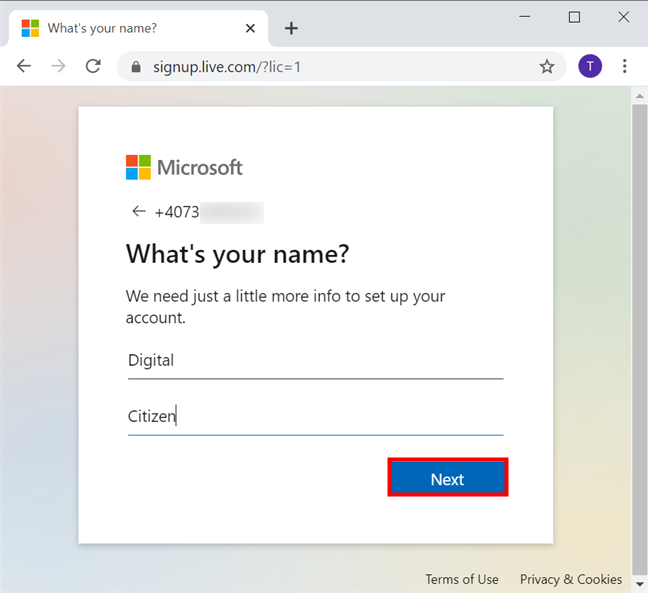
On the next page, insert your first and last name, and then press Next once more.
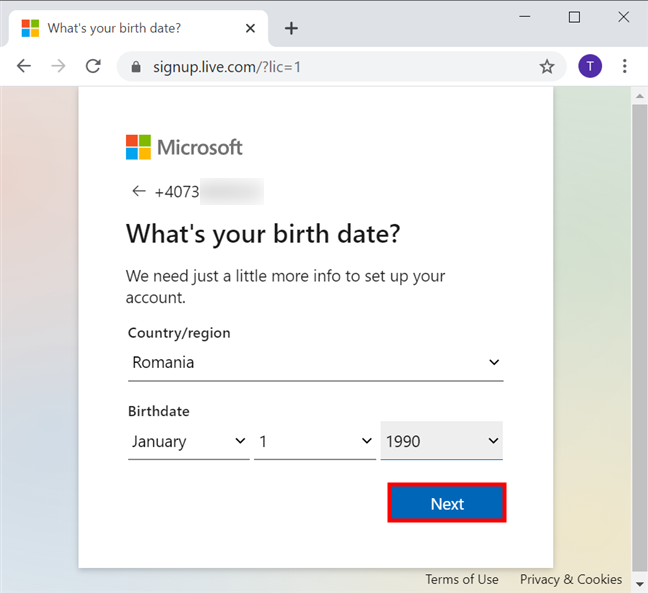
Add your Country/region and your Birthdate. Click or tap on the Next button.
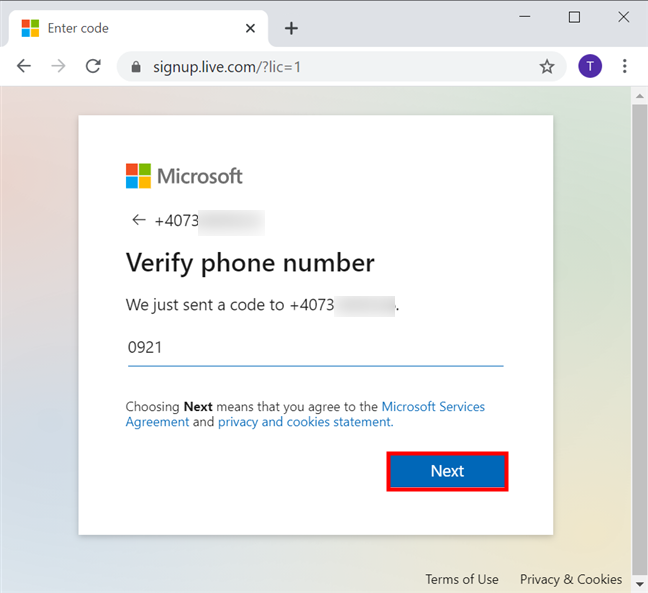
Microsoft now sends a code to the phone number you're using to sign up. Check your phone, write the code received, and press Next.
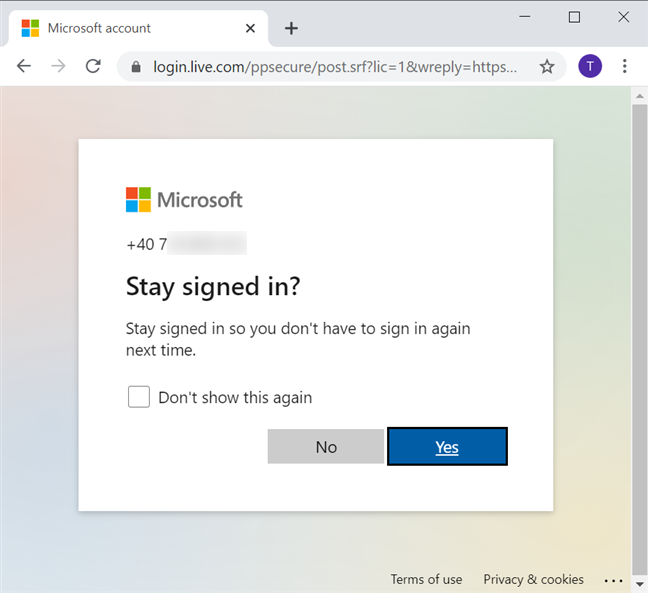
Lastly, you have to decide if you want to be signed in by default on your account, or you'd rather insert your credentials every time.
Your Microsoft account has been created, and you can now use Microsoft services with it. Check the Home page for more info.
Which method did you choose and why?
Creating a Microsoft account is quick and easy, regardless of how you choose to verify your identity. On top of that, you can also get a new email address in the process. Before you close this tutorial, let us know which method you used and why. Did you encounter any issues? Leave your answer in a comment.


