
 20.02.2024
If you want to make your Word documents more attractive, you can use pictures and shapes. They can make a document look more professional, describe the content, and illustrate ideas better. It all sounds simple, right? However, there are many tools available in Microsoft Word for working with pictures and shapes, which means there’s a lot of ground to cover. So, without further ado, let’s start and see how to add, edit, and arrange pictures and shapes in your Word documents.
How to add pictures and shapes in a Word document
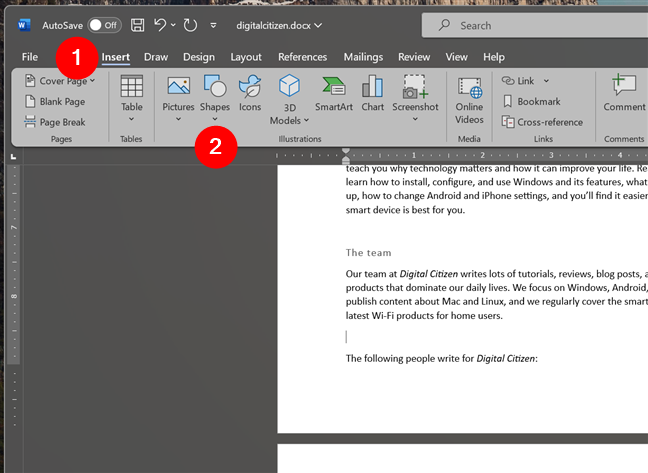
To insert a picture or a shape in Microsoft Word for Windows, follow the next steps:
How to insert a picture in Word
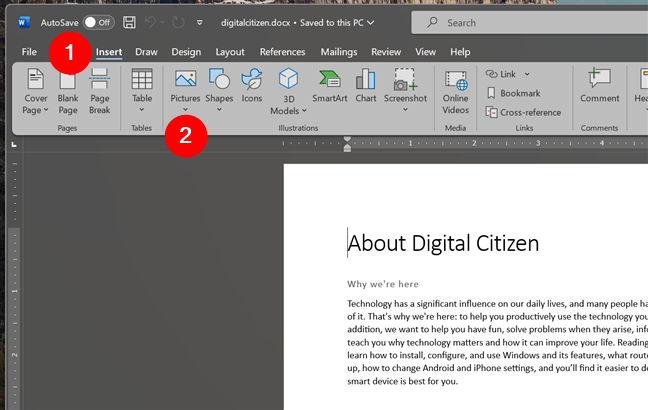
If you want to add a picture to a Word document, open the document and go to the exact spot where you want to add the image. Access the Insert tab at the top of the window, and click or tap Pictures.
How to insert pictures in Word
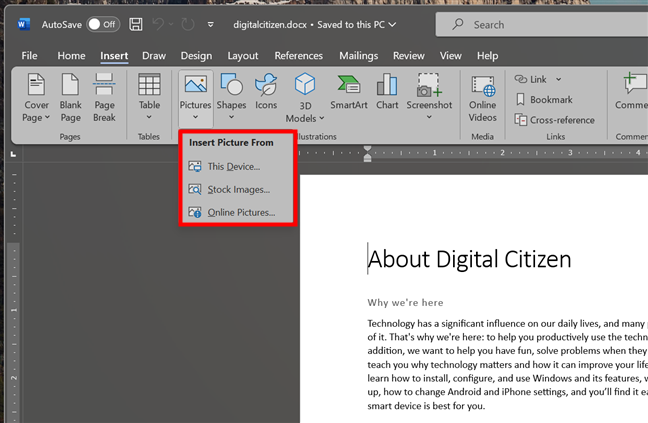
A menu called Insert Picture From shows up. In it, you can choose to add a picture from your computer, as well as from stock images and online sources.
Insert Picture From
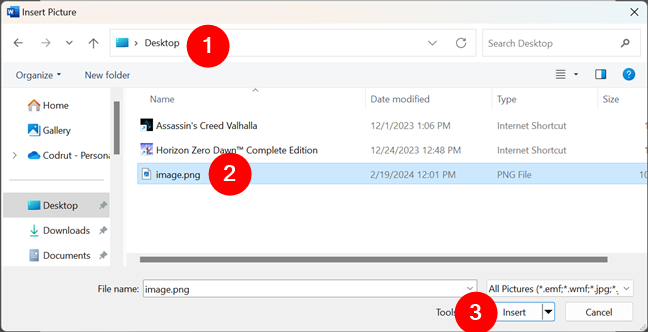
If you want to add a picture from your PC, click or tap on This Device. This will open a window called Insert Picture, which you can use to browse your computer to locate and Insert the picture you need.
Select and add a picture to Word from your computer
TIP: You can also copy an image and paste it into Word, from your computer, using the plain old Ctrl + C and Ctrl + V shortcuts.
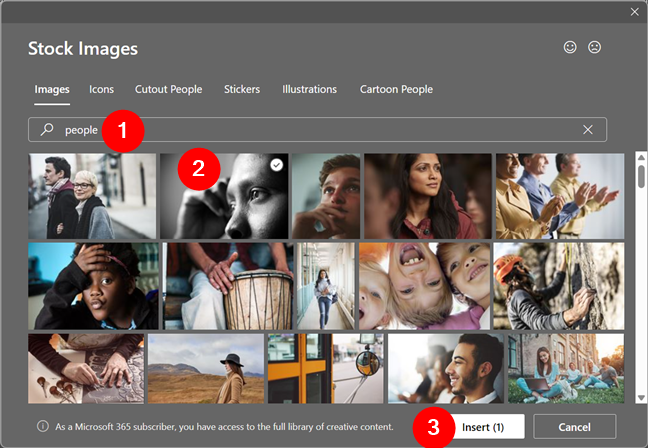
If you have a Microsoft 365 subscription, you also get access to a library of online stock images that you can freely use. To use such a picture, select Stock Images in the menu. This opens a window that bears the same name, where you can either search for images or browse the collections available until you find one that suits your needs. Once you do, click or tap to select the image and press Insert to add the picture to your Word document.
Select and add a stock image to Word
In a similar way, you can also use pictures from the web. For that, select the Online Pictures option from the Pictures menu. A new window will open when you do that, allowing you to either browse or search for images on the internet with Bing, Microsoft’s search engine.
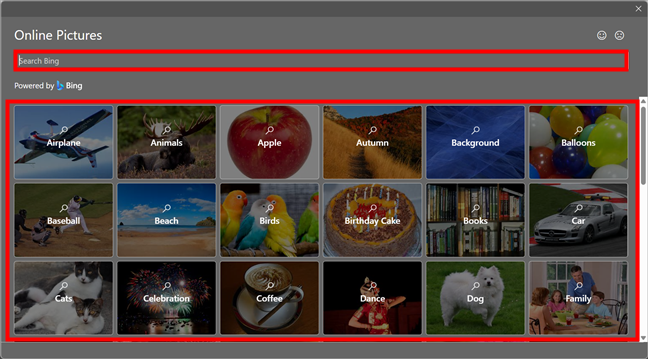
Select and add an online picture to Word
Regardless of what path you chose to add a picture to your Word document, once you’ve selected it and pressed the Insert button, it appears in your document. Like this:
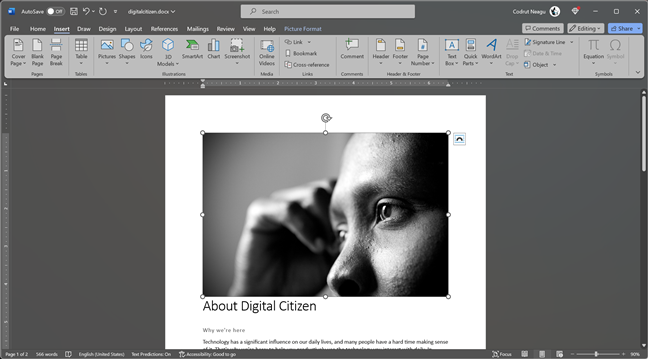
The picture was inserted into Word
What about inserting shapes in Word? Let’s see how to do this next, and then I’ll move on to showing you how to edit and arrange both pictures and shapes.
How to insert a shape in Word
To add a shape to your Word document, go to the Insert tab in the ribbon menu, and click or tap Shapes.
How to insert a shape in Word
A new menu with a long list of options opens. You can choose from a large variety of shapes, including lines, rectangles, arrows, stars, banners, callouts, and equation shapes.
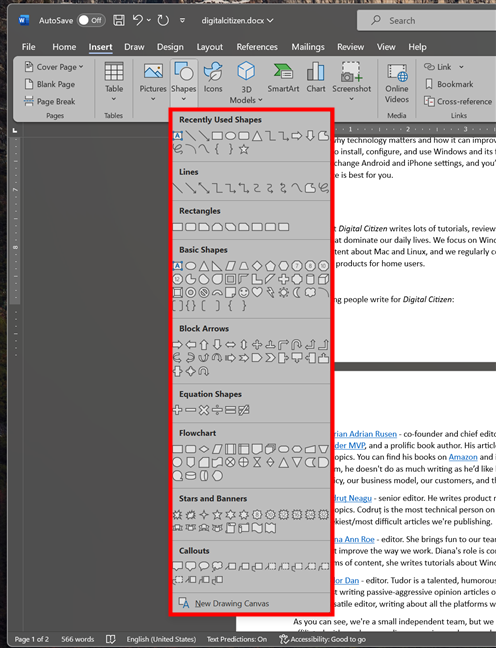
Word offers various shapes
Look through the options and select a shape. Then, you’ll need to use your mouse (or pen/finger, if you have a touch screen) to draw that shape on your document.
Drawing the selected shape
Once you’ve inserted the shape in your Word document, you’ll probably want to edit your shape. Thankfully, that’s quite easy, and for the most part, it’s the same process for pictures and shapes. Here’s how:
How to edit pictures and shapes in Word
To edit a picture or a shape, you must first select it. Click or tap on it, and you’ll see a new tab appearing on Word’s ribbon menu. Depending on whether you’re working with a picture or a shape, this new tab is called Picture Format or Shape Format. This tab gives you access to a variety of tools you can use to modify your picture or shape.
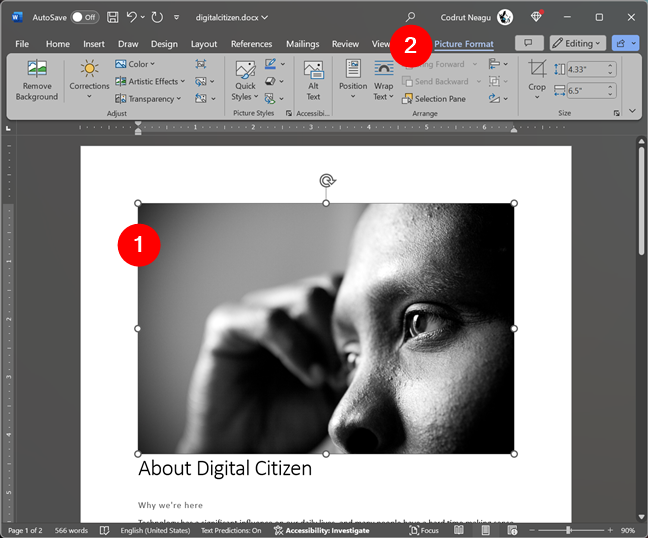
The Picture Format section in Word
How to adjust and style pictures in Word
In the case of a picture, the Picture Format tab includes tools for all kinds of editing options, such as brightness corrections, styles, cropping, resizing, rotating, flipping, aligning, and even removing the background.
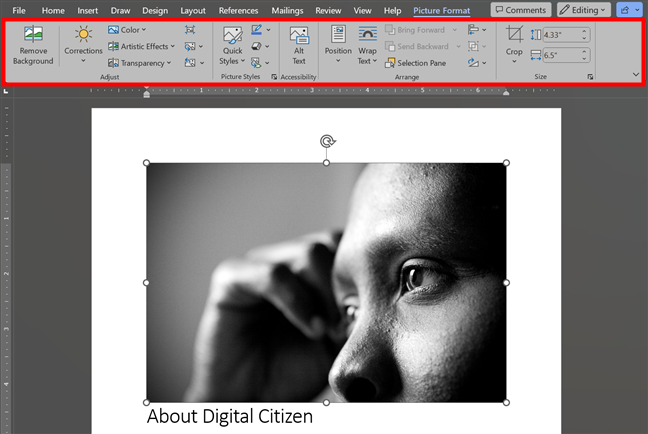
Tools available for editing images in Word
The Picture Format tab is split into different sections depending on the type of tools available. For instance, Remove Background, Corrections, Color, Artistic Effects, and Transparency are all tools that let you adjust the selected image. Thus, you’ll find all these tools in the Adjust section.
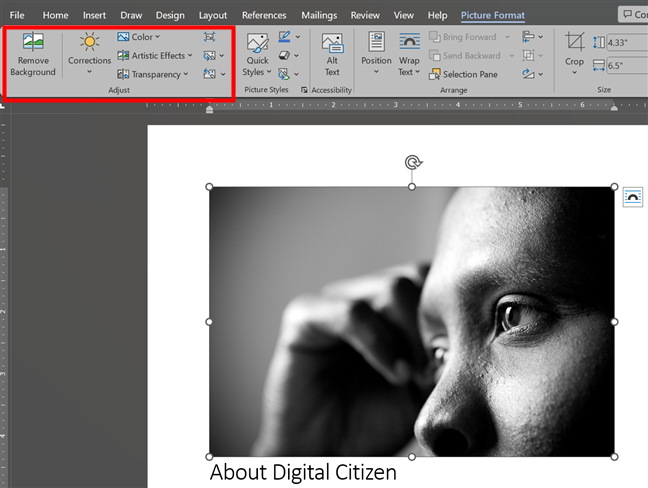
How to adjust a picture in Word
In the Picture Styles section, you’ll find options for applying different styles, borders, and effects to your pictures.
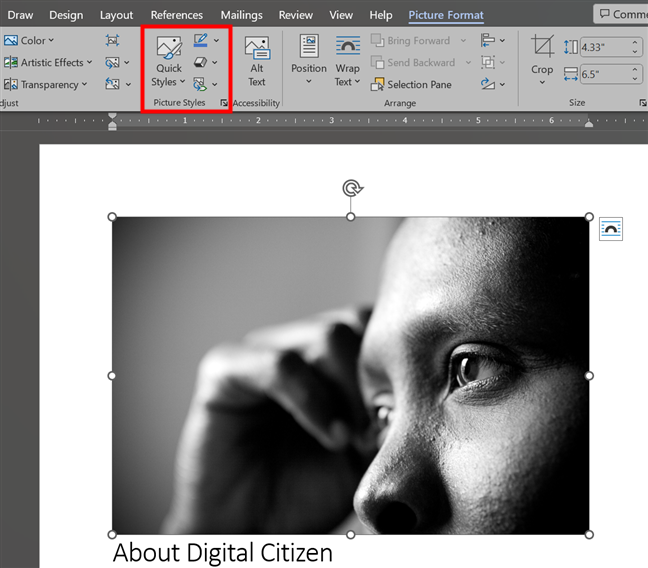
How to style a picture in Word
What about shapes? Here’s…
How to adjust and style shapes in Word
For shapes, you can change the filling colors, outlines, effects, etc. And just like for images, you can also resize, rotate, flip, align, group, or arrange your shapes.
Shape tools in Word
The Shape Format tab starts with a section called Insert Shapes. Although I find it a bit redundant to see it when you select a shape from your document, you can use it to add new shapes.
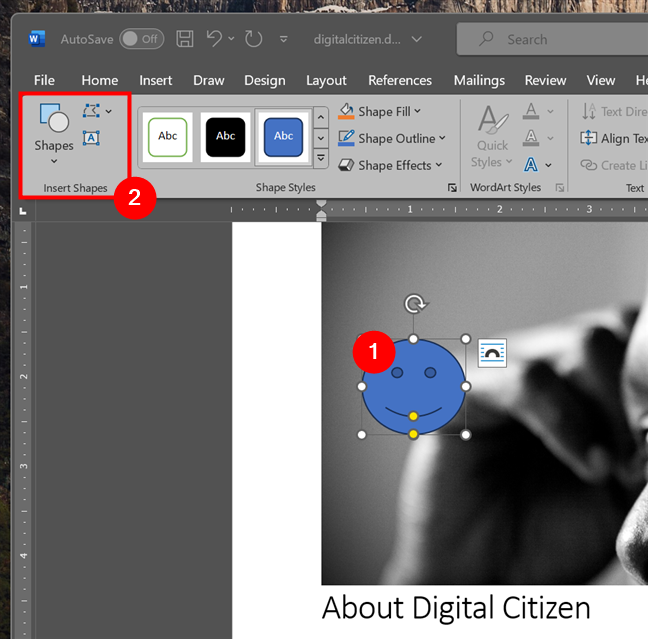
Insert Shapes
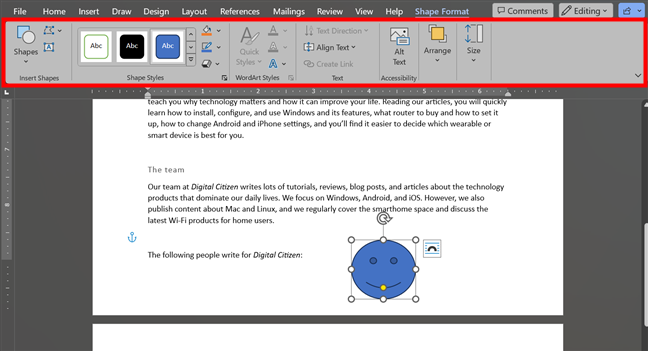
Then comes the Shape Styles section, which you can use to apply different predefined styles and formats to your selected shape, as well as choose how to fill it with colors, how to outline it, and how to apply visual effects to it.
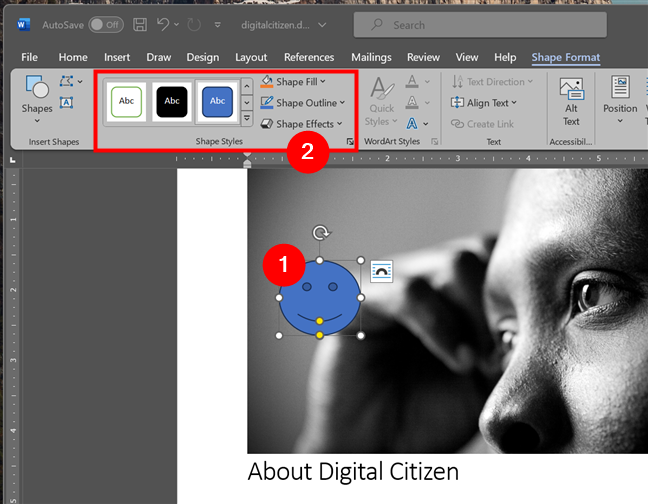
How to style a shape in Word
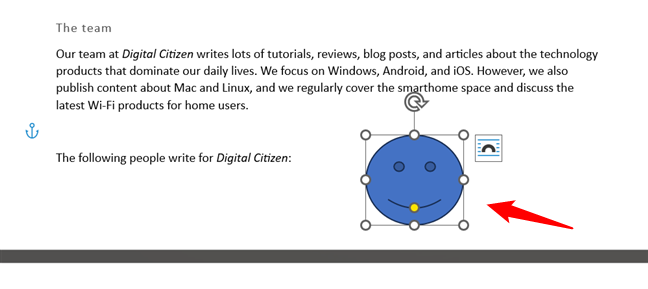
A section that you don’t get for pictures but you do for shapes is the WordArt Styles. While it’s always shown in the Shape Format tab of Word, its tools are available to use only for certain types of shapes. For example, a basic smiley shape like the one you’ve seen in my screenshots can’t be changed with WordArt Styles. However, you can stylize the contents of a text box with WordArt Styles.
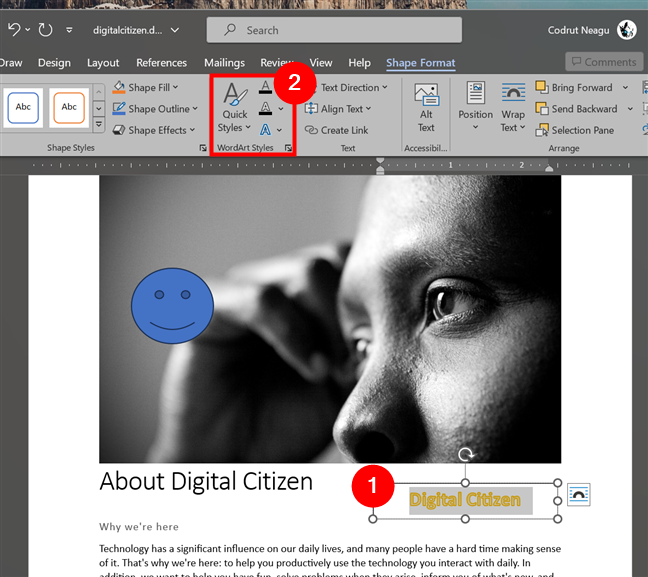
WordArt Styles for shapes in Word
Similarly, the next section in the Shape Format tab - Text - is always visible, but its tools can be used only for some types of shapes. If the shape you’re working with contains text, you can change its direction, align it, or insert links.
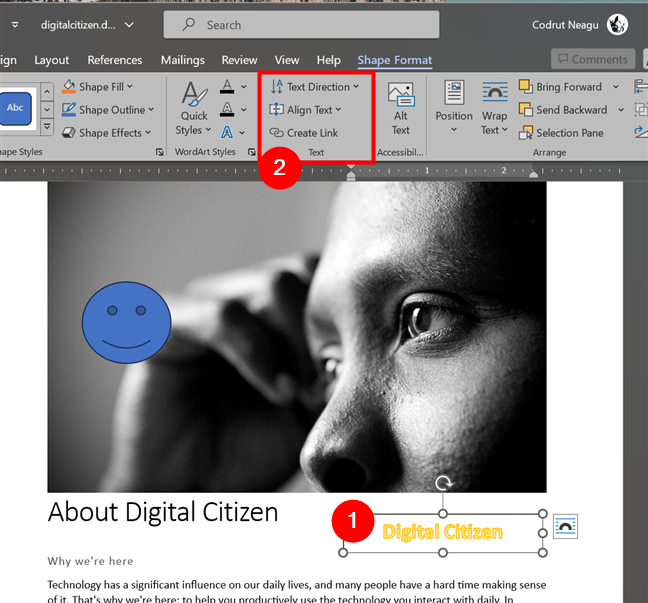
Text editing tools for shapes
NOTE: The next editing tools are the same for pictures and shapes, and they’re available in both the Picture Format and Shape Format tabs from Word.
How to add alternative text to pictures or shapes in Word
The Accessibility section in the Picture Format or Shape Format tab only has one option: Alt Text. It allows you to add some hidden text to a picture or shape to describe it. This information can be used by screen readers to narrate the content of the picture/shape to people with visual disabilities.
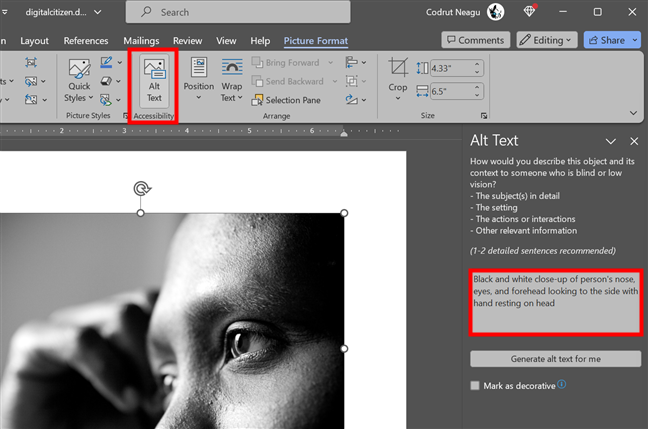
How to add alternative text to a picture or shape
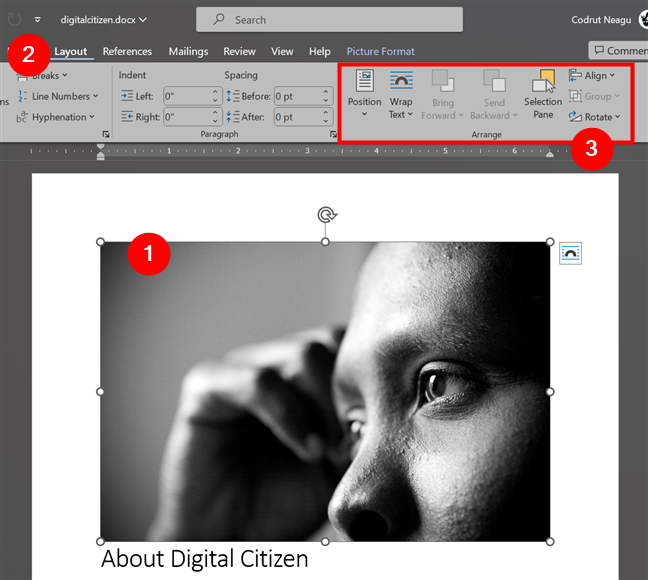
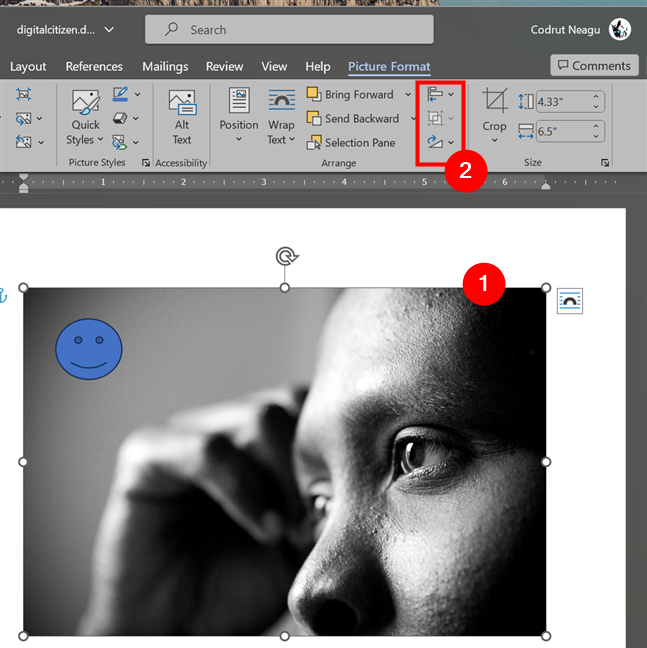
How to arrange pictures and shapes in Word
The Arrange section in the Picture Format and Shape Format tab allows you to arrange pictures and shapes found in your document.

How to arrange pictures or shapes in Word
TIP: You can access the same Arrange tools in the Layout tab from Microsoft Word.
The Arrange tools are also available in the Layout tab
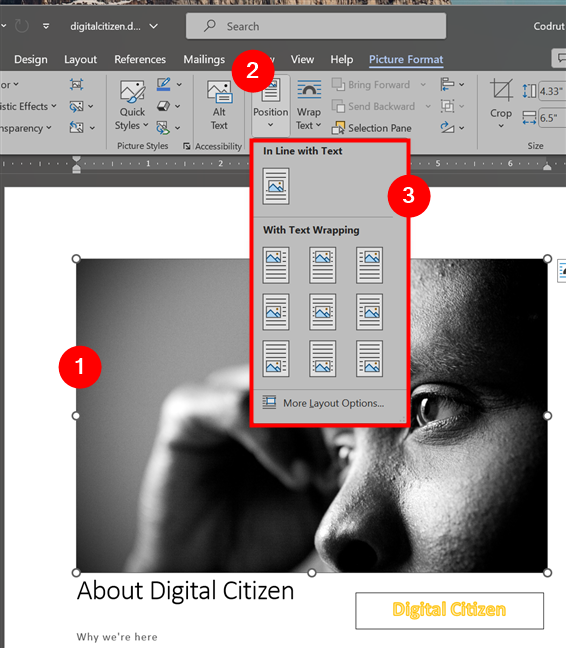
In the Arrange section, the first tool you get access to is Position. You can use it to change the position of your pictures and shapes relative to the text and to each other.
Change the position of a picture or shape
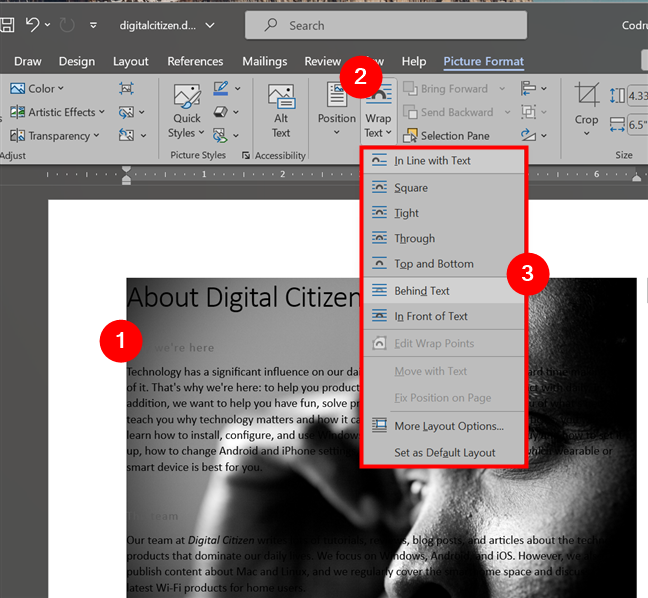
The Wrap Text tool lets you choose how the text flows around your picture or shape. You can select from various options, such as In Line with Text, Square, Tight, In Front of Text, or Behind Text.
The Wrap Text options
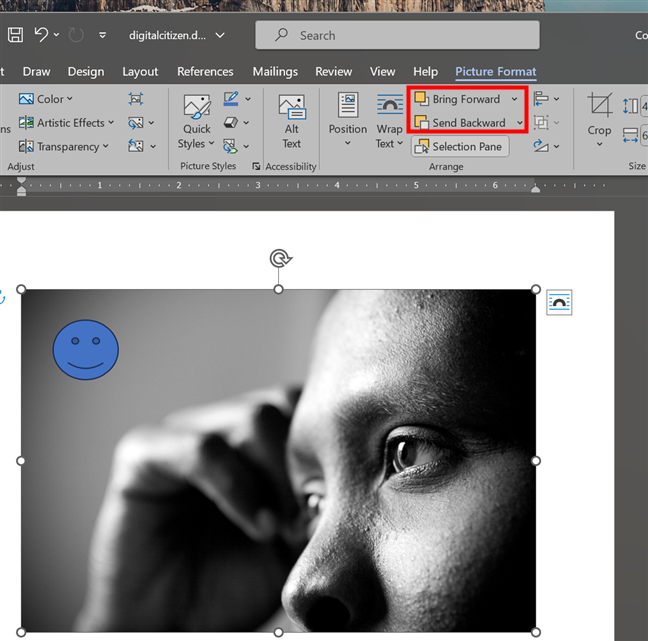
You can use the Bring Forward and Send Backward tools to change the order of your pictures and shapes. You can bring an object to the front or send it to the back of the stack. You can also bring an object forward or backward one level at a time.
Bring a picture or shape forward or send it backward
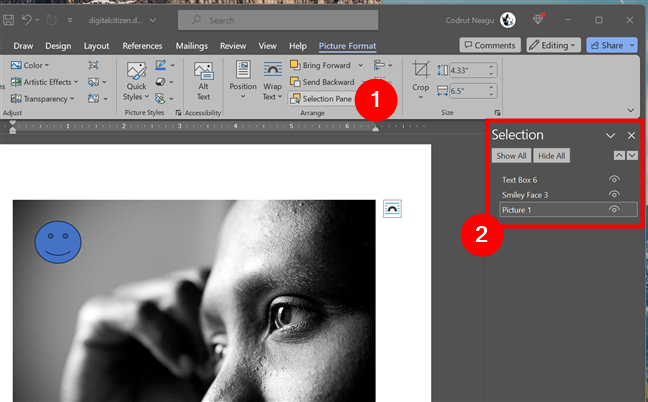
Clicking or tapping the Selection Pane button brings up the Selection panel on the right side of Word. You can use it to quickly select the images and/or shapes in your document.
The Selection panel
The rest of the buttons in the Arrange section include the Align Objects, Group Objects, and Rotate Objects tools. They do exactly what they mean:
- Align Objects helps you align your pictures and shapes relative to each other or the page margins;
- Group Objects lets you group multiple pictures and shapes together to act as one object;
- Rotate Objects allows you to rotate your pictures and shapes by 90 degrees clockwise or counterclockwise, as well as flip them both horizontally and vertically.
Align, group, or rotate pictures or shapes
And last but not least, here’s…
How to crop and resize images or shapes in Word
The last section in both the Picture Format and Shape Format tab is Size. It allows you to resize the image or shape selected, as well as crop images.
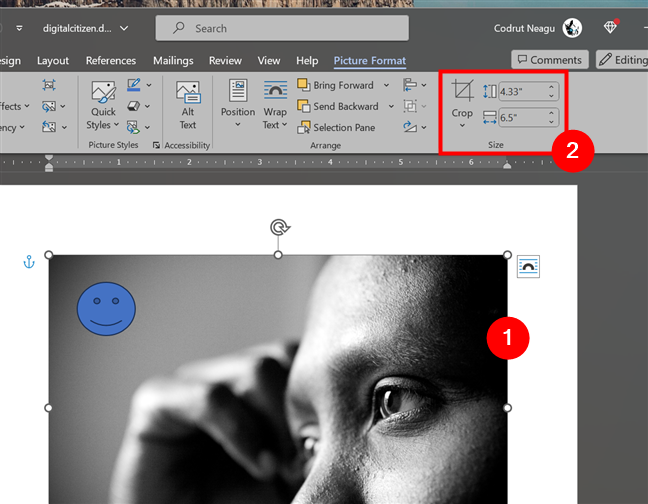
Crop and resize a picture or shape in Word
If you need to crop an image, it’s easy: select it, click/tap the Crop button, and adjust the size of the picture using your mouse (or pen/finger on a touchscreen device). When done, press the Crop button again.
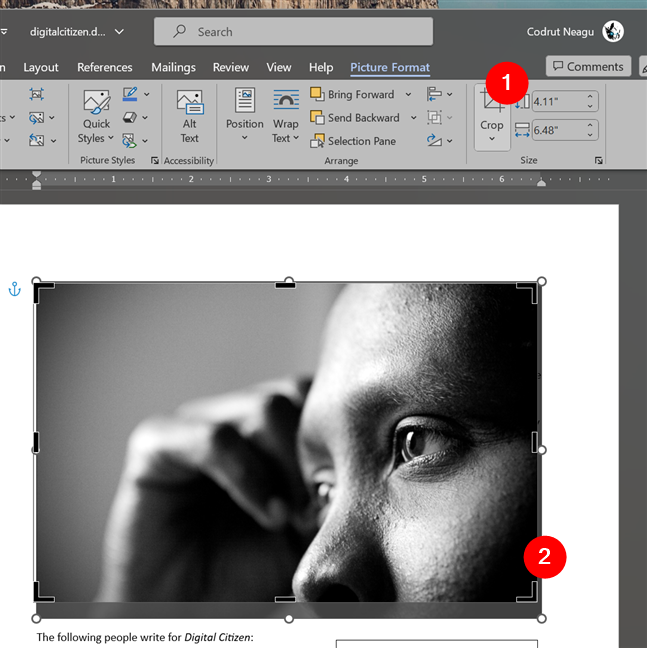
How to crop an image in Word
Finally, the last two options you get for both pictures and shapes are Shape Height and Shape Width. These are two text fields found on the right side of the Size section in the Picture Format and Shape Format sections. To adjust the size of your selected image or shape, simply enter the height and/or width you need.
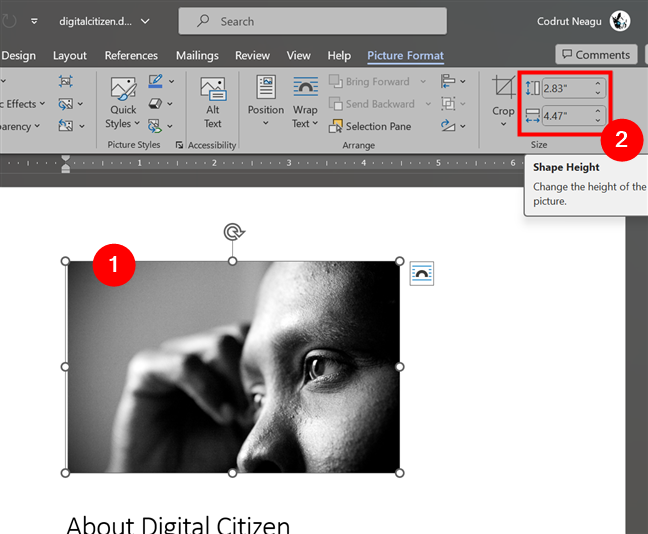
How to change the size of a picture or shape in Word
TIP: The crop and size options are essential when you need to make 2x2 pictures in Word for example. Many government institutions require such images when you ask them to issue you certain documents. To edit an image into a 2x2 picture, all you have to do is crop it as a square and set its width and height to 2 inches.
Is there something else you need help with regarding pictures or shapes in Word?
More often than not, you’ll probably need to insert pictures and shapes in your Word documents, as they can help convey your message a lot better than just plain text. As you’ve seen, this powerful text editor gives you a lot of options and tools to adjust, edit, and work with both images and shapes. While learning all of them will likely take a while, I hope this article gave you a good start. If you have any questions, don’t hesitate to let me know in the comments section below.
