09.12.2016
Did your Windows computer just crash because of a faulty driver or Windows Update? Did you install an app that causes you problems? If this is the kind of trouble you are dealing with, then restoring your computer or device to a previous working state, with System Restore , is the first step in fixing it. Here's how to use System Restore to go back in time and have your Windows computer or device working again:
NOTE: This guide works for Windows 10, Windows 7 and Windows 8.1. In order to complete it successfully, you need to use a user account that's set as administrator. Also, you need to have enabled System Restore previously, using the instructions found in this guide: How to Configure The Way System Restore Works.
Step 1: Start the System Restore wizard
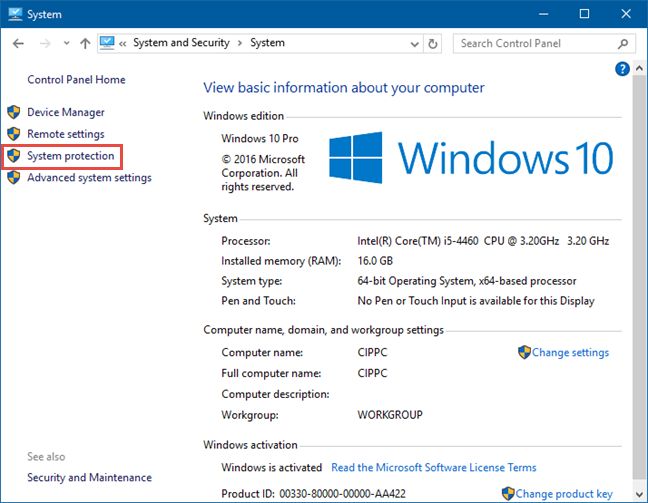
If you want to launch System Restore and restore your computer to a previous working state, you need to log in as an administrator and open the Control Panel.
There, go to System and Security and click or tap System. In the System window, click or tap the "System protection" link on the left. If your user account is not an administrator, at this point, Windows will ask you to enter the administrator password.
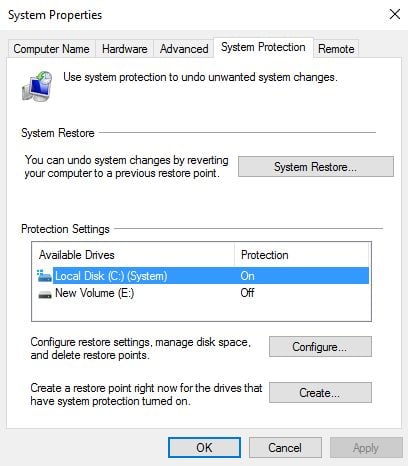
The System Properties window is opened, where you can see the drives on your computer and whether System Restore is turned on for each of them. If you want to configure the way it works, read and follow this guide: How to Configure The Way System Restore Works. To restore your computer to a previous state, click or tap the System Restore button.
The System Restore wizard is started.
Step 2: Select the system restore point that you want to use
Read the information displayed about how System Restore works and click or tap Next.
You will see a list of available restore points that have been created so far. For each restore point you are shown the date and time when it was created, its description and its type (system or manual). If many system restore points were created, you are shown only the most recent. If you want to see all the restore points that are available, check the box that says "Show more restore points" , if available. Select the restore point that you want to use and, if you want to know which programs will be affected when using it, click or tap "Scan for affected programs".

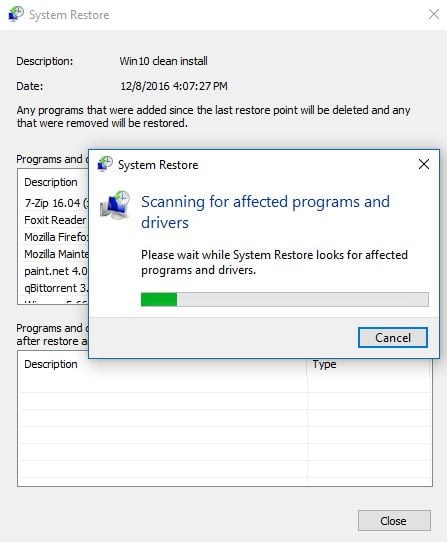
Windows takes some time to scan for programs and drivers that will be removed if you are using the selected restore point. This may take a minute or two.
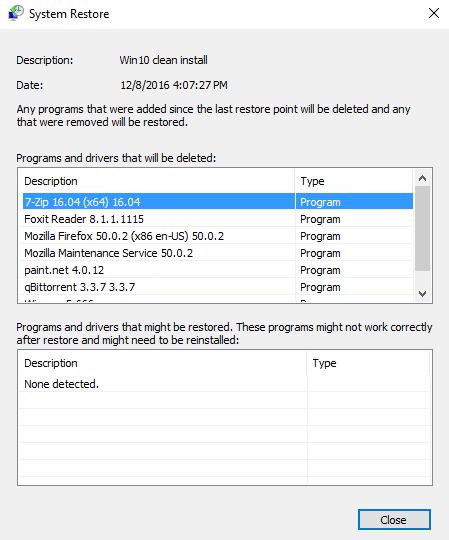
When the scan is done, you are shown what programs and drivers will be deleted. The list of affected programs and drivers, may be short or long, depending on the restore point you have selected and your activity since it was created. Press Close to get back to the previous window.
After you have found and selected the restore point that you want to use, click or tap Next.
Step 3: Perform the restoration to a previous working state
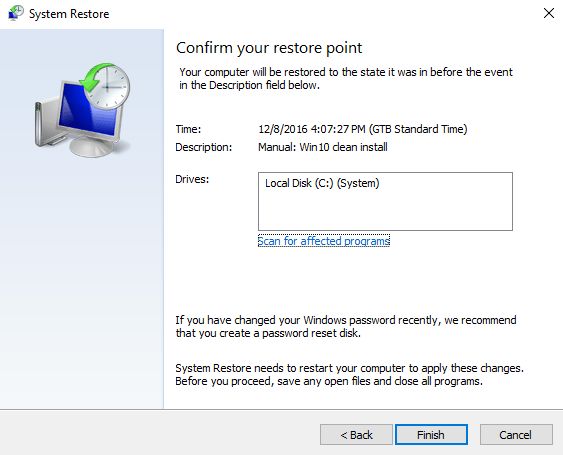
You are given one last chance to change your mind. If you're sure that you want to go ahead, click or tap Finish in the System Restore wizard. Before you do that, if you haven't checked for affected programs and drivers, click or tap the link that says "Scan for affected programs".
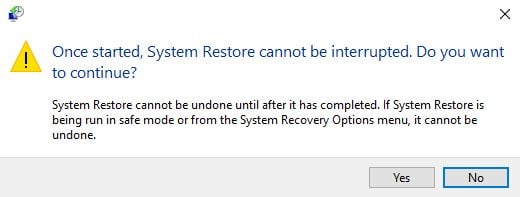
You are asked to confirm that you want to go ahead with the restoration. Also, you are informed that, once started, System Restore cannot be interrupted. Click or tap Yes.
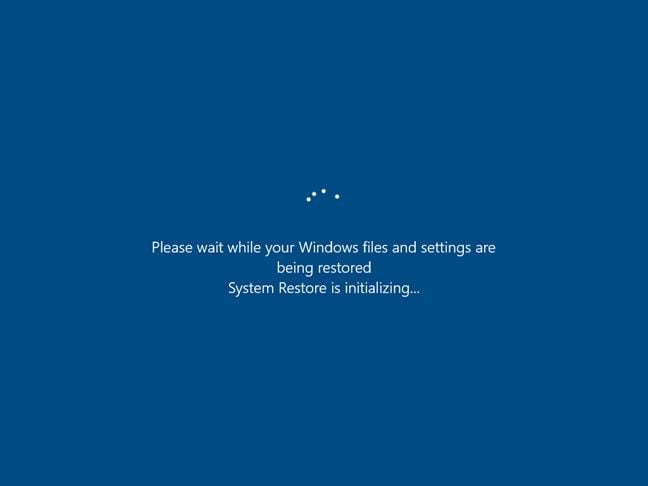
Your Windows computer or device is restarted and the restoration is performed. A system restore can take some time, so don't worry and don't do anything while the process is ongoing.
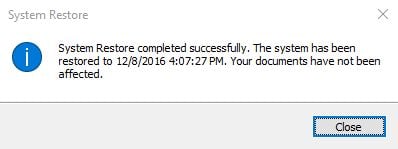
When the restoration is over, you can sign into Windows. After you do that, you are informed that System Restore has completed its work. Click or tap Close and you are done.
What's next?
We've asked you to check for affected programs and drivers during the System Restore wizard because they will be deleted after restoring your system. Some of those apps and drivers might not be the source of your issues and you might need them installed again. That's why, writing them down is a good idea, so that you know what you have to install after the restoration process is over. Therefore, the next step is to resume using your Windows computer or device and installing the apps and drivers that you need, while avoiding those that have caused you problems in the first place. If you've got other tips and good advice about restoring your system, please let us know in the comments below.