


A Ring Video Doorbell uses small security screws that require a specific screwdriver size. Using the wrong bit causes stripped screws and mounting delays. This guide shows you the correct screwdriver size for each model and walks you through installation with simple steps.
1) Quick answer: The exact screwdriver size you need
Most Ring Video Doorbells use a T15 security Torx screwdriver for the faceplate screw. Some earlier models use T6, and mounting plate screws typically use a standard Phillips driver.
This section gives you the fastest way to pick the right tool so you can mount your doorbell without damaging the screws.
2) Screwdriver sizes by Ring model
Different Ring models use different Torx bits. Matching your model to the right bit prevents stripped screws and makes mounting easier.
Ring Video Doorbell (1st & 2nd gen)
These units normally use a T6 or T15 security Torx for the faceplate. The mounting bracket screws usually accept a Phillips #1.
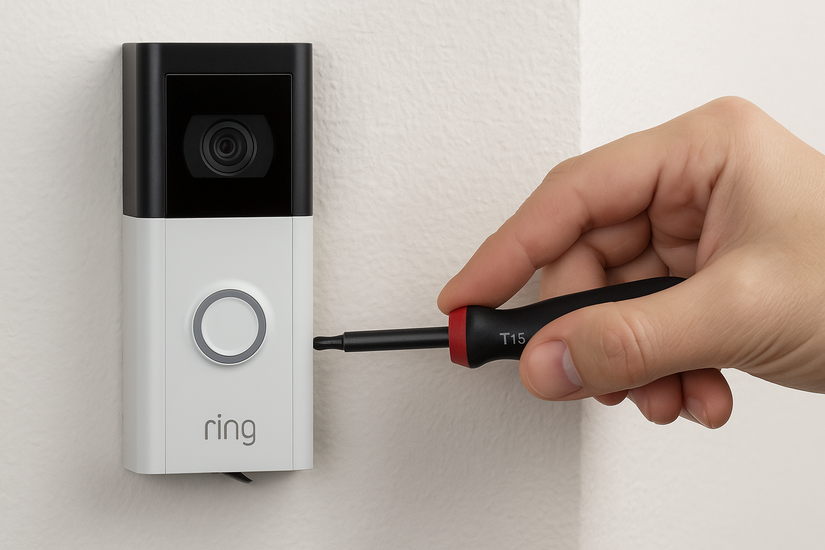
Ring Video Doorbell 2, 3, 3 Plus, and 4
These models almost always use a T15 security Torx for the faceplate. The bracket screws require a Phillips screwdriver.
Ring Video Doorbell Pro, Pro 2, and Elite
Premium models use T15 security Torx screws for the faceplate. Bracket screws vary slightly but generally accept a Phillips #1 bit.
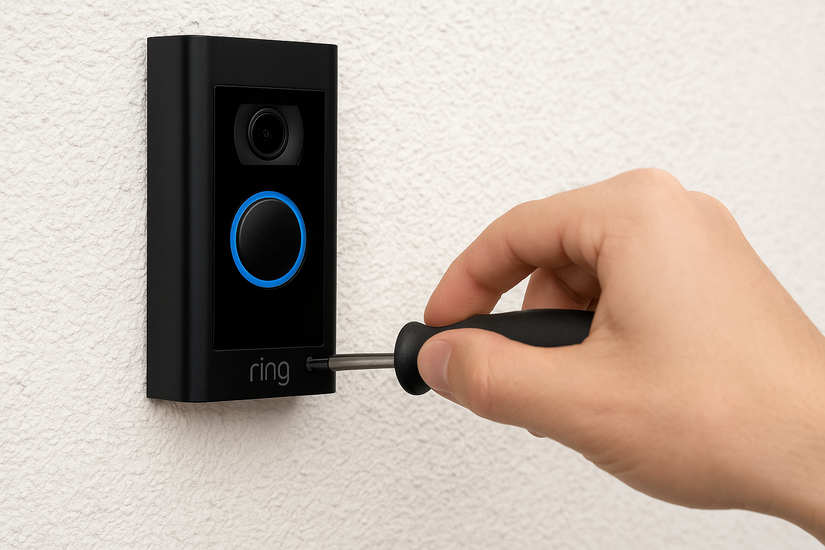
Ring Video Doorbell Wired
This model includes a T15 screwdriver in the box. The mounting screws use a standard Phillips bit.
Ring Peephole Cam
The Peephole Cam does not use the same Torx security screw design. Most installations rely on a Phillips screwdriver.
3) How to identify your screw type if you’re unsure
A T6 screw has a smaller star head, while a T15 screw looks noticeably larger. A security Torx screw has a pin in the center. If your bit will not seat properly, you likely have the wrong size.
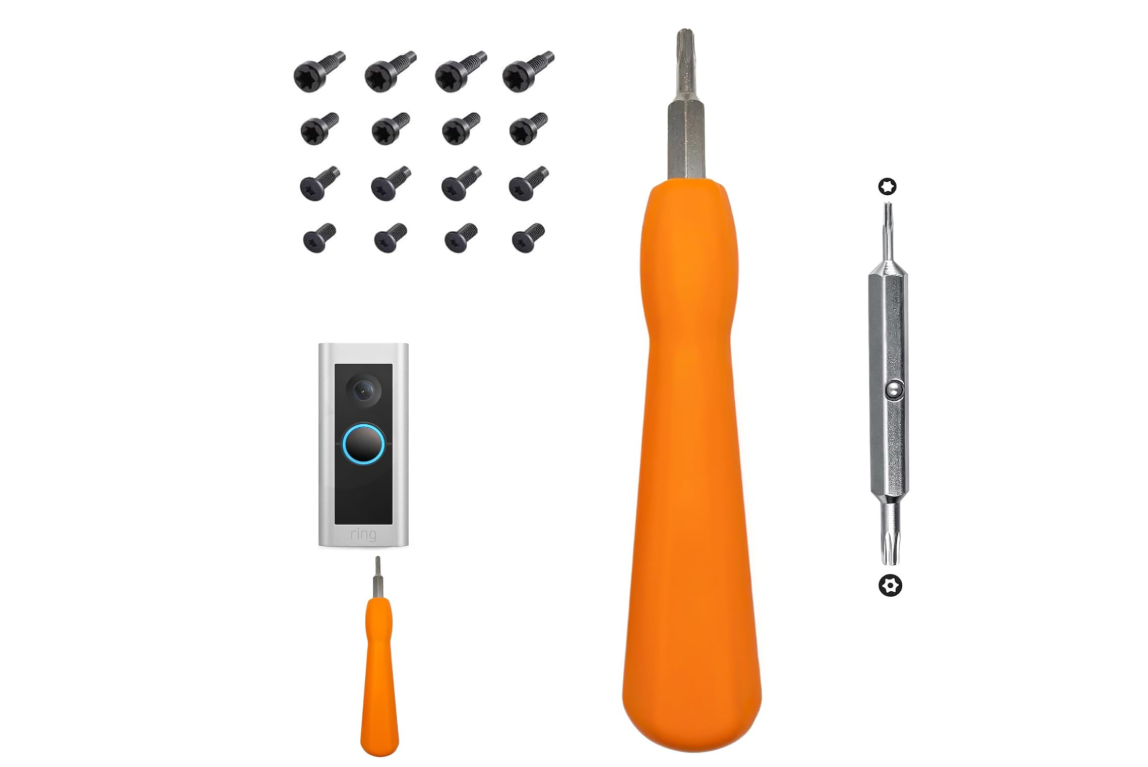
4) Tools you should have before mounting
Keep these tools ready to avoid mid-installation delays:
- T15 security Torx bit
- T6 security Torx bit (for older models)
- Phillips #1 screwdriver
- Optional extension bit for tight door frames
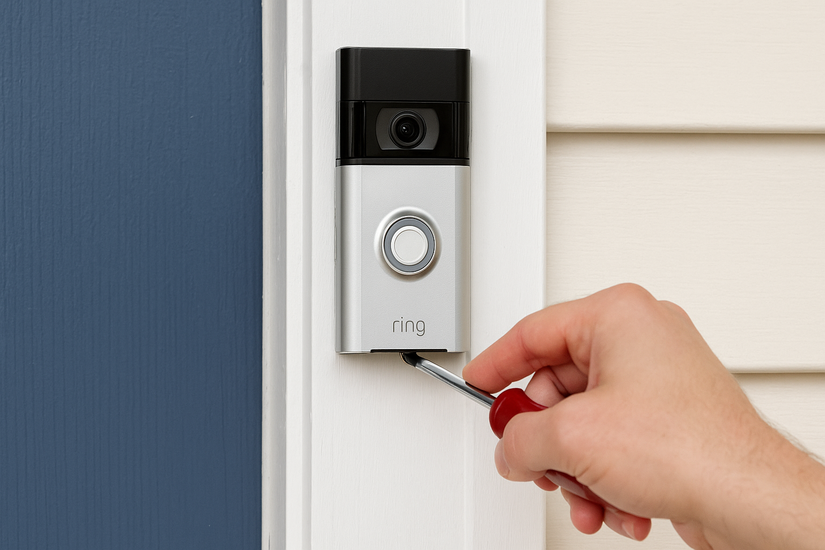
5) Step-by-step: How to remove or tighten the security screw safely
Removing the security screw
Position your Torx bit correctly. Keep the tool straight to avoid cam-out. Next, ensure you apply firm pressure by pushing into the screw head as you turn to maintain grip. Lastly, turn slowly to prevent stripping.
Tightening the screw after mounting
Start by aligning the faceplate correctly. Make sure it sits flush with the frame. Next, insert the screw gently to avoid cross-threading. Then, tighten just until snug.
6) Troubleshooting screwdriver problems
- Screwdriver bit doesn’t fit: If the bit wobbles inside the screw, you may be using T6 instead of T15. Try the larger bit before forcing the turn.
- Stripped security screw: Place a rubber band over the screw head and press the bit into it. The band increases friction and often frees the screw without damage.
- Lost the original Ring screwdriver: Any security Torx kit with T6 and T15 bits works. Avoid non-security Torx bits because they do not engage the center pin.
Safety and warranty notes
Using the wrong bit damages the screw head and may affect support eligibility. Apply moderate torque and avoid over-tightening during installation.
FAQs
Can I use a normal Torx bit instead of a security Torx bit? No. Security Torx screws have a center pin that requires a matching hollow bit.
Are Ring screw sizes different outside the U.S.? Most international units use the same Torx and Phillips sizes, but mounting screws may vary slightly by region.
What screwdriver do I need to remove a stuck Ring doorbell? Use the correct T15 security Torx along with firm downward pressure and slow rotation.
Summary
- Most Ring doorbells use a T15 security Torx for the faceplate.
- Older models may use T6.
- Mounting brackets usually need a Phillips screwdriver.
- Use slow, firm pressure to avoid stripping screws.
- A security Torx kit gives you everything you need for all Ring models.
Conclusion
Choosing the right screwdriver size ensures a smooth Ring installation and prevents damage to the mounting hardware. A T15 security Torx covers most models, while a Phillips driver handles the bracket screws. Keep both tools in your kit, and you will mount or remove any Ring Video Doorbell without issues.

Discussion (1)
This article never mentions the size of the flat head provided to install the the two doorbell wires to the back of the ring device. It is obviously precision size, used for small electronics…but I need a size to replace. Any thoughts?