


Building your own 3D printer gives you complete control over performance, design, and upgrade paths. Most DIY builds follow a predictable sequence: choosing a frame style, sourcing parts, assembling the structure, installing electronics, and tuning firmware. This guide walks you through each step so you can assemble a reliable, accurate printer at home.
But before you start, note that DIY printers require patience and basic tool skills. Expect the full process to take several evenings if this is your first build. Working in a clean, well-lit area helps you avoid wiring errors and misalignment.
1) Choose your 3D printer design
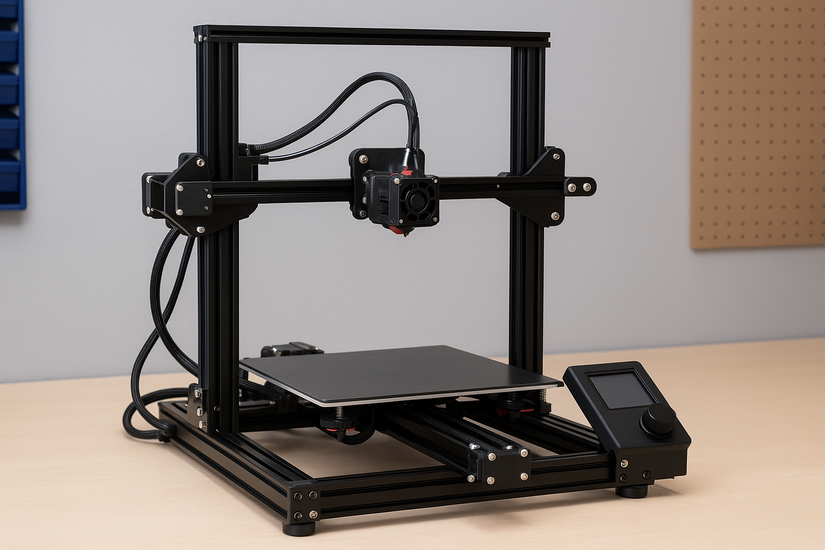
Your frame design determines stability, print speed, and difficulty. Most beginners start with a Prusa-style i3 layout because it balances strength and simplicity. More advanced builders use CoreXY layouts for higher speed and tighter motion control.
Compare frame types
Prusa-style frames work best for simple assembly and easy maintenance. CoreXY designs offer faster movement but require precise alignment. Delta frames move quickly but challenge beginners with complex calibration.
2) Gather the essential parts
You need mechanical, electrical, and motion components before you begin assembly. A complete parts list keeps you from stopping mid-build to order missing hardware.
Frame and structural parts
Most DIY printers use aluminum extrusion for strength and rigidity. A stiff frame reduces vibrations and improves dimensional accuracy on every print.
Motion components
You will install NEMA 17 stepper motors, belts, pulleys, linear rods or rails, and bearings. These parts handle all controlled movement along the X, Y, and Z axes.
Extruder and hotend
Choose between Bowden and direct-drive extruders. Bowden setups reduce carriage weight for faster motion, while direct-drive models offer better extrusion control for flexible filaments.
Electronics and wiring
A typical setup includes a mainboard, stepper drivers, a heated bed, a display module, limit switches, and a 24-volt power supply. Organized wiring improves airflow and makes troubleshooting easier.
Firmware and software
Most DIY builders flash Marlin or Klipper. These firmware packages control movement, temperature, and safety features. Your choice affects performance and the complexity of setup.
3) Prepare your workspace
Clear a sturdy table, gather hand tools, and confirm you have ventilation for the first power-on tests. This preparation reduces mistakes and protects sensitive parts.
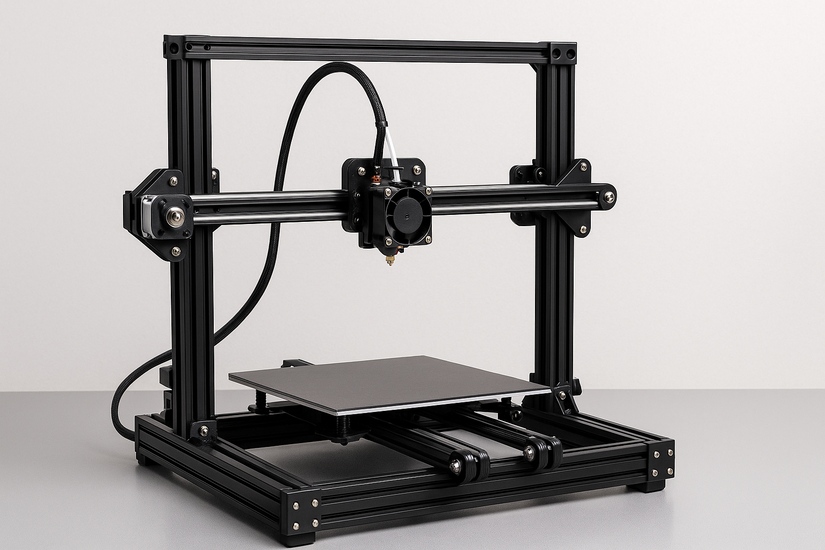
4) Assemble the frame
Start with the outer structure and confirm each corner is square. A level, rigid frame prevents binding on any axis.
Install the motion system
Mount the motors, belts, idlers, and linear rails or rods. Proper belt tension ensures smooth travel and reduces print artifacts.
Mount the hotend and extruder
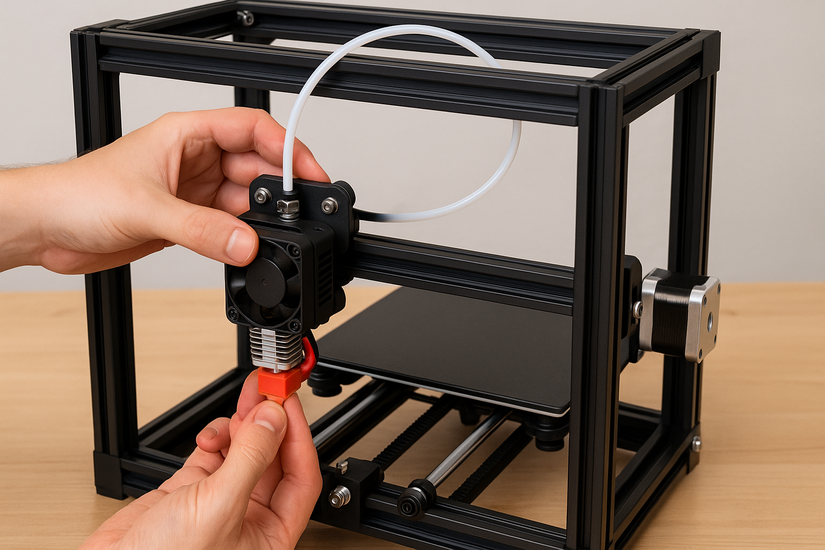
Attach the extruder assembly to the toolhead or frame. Route the filament path cleanly and avoid sharp bends that can cause jams.
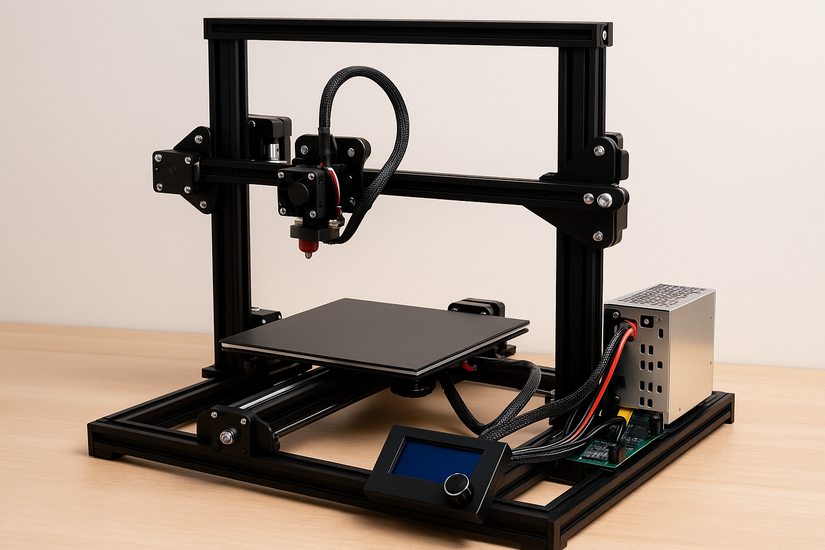
Install the electronics
Secure the mainboard, power supply, and display. Use cable sleeves or zip ties to group wiring safely.
Connect the motors and sensors
Wire the stepper motors, endstops, thermistors, and the heated bed. Double-check connector orientation to prevent reversed motion or faulty temperature readings.
Power supply setup
Verify the voltage switch is set to the correct US input (115 V). Add strain relief to prevent accidental cable pull-outs.
5) Flash and configure the firmware
Download the firmware files and adjust settings for your printer’s bed size, stepper direction, thermistor type, and extruder configuration. Flashing correct values ensures stable temperature control and accurate motion.
Tune steps/mm and motion limits
Calibrate X, Y, Z, and extruder steps to match your mechanical components. Proper tuning improves dimensional accuracy and extrusion flow.
Configure bed leveling
Choose between manual leveling or automatic leveling with a probe. Set your Z-offset carefully to ensure the first layer adheres without scraping.
6) Initial calibration and testing
Home all axes and heat the hotend and bed to confirm sensors work correctly. Listen for grinding or skipped steps.
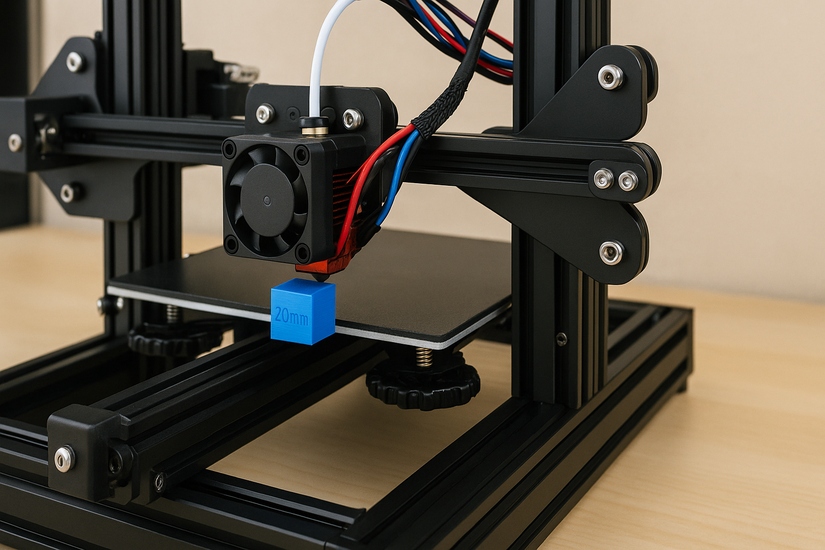
Print a calibration cube
A 20 mm cube reveals dimensional errors and backlash. Small adjustments to belt tension or steps/mm usually resolve these issues.
Check temperatures and cooling
Confirm hotend and bed temperatures match their targets. Test part cooling fans to reduce stringing and improve overhangs.
7) Maintenance and safety tips
Check belt tension monthly, lubricate linear rods or rails, and clean the nozzle regularly. Inspect wiring and terminal connections to prevent electrical hazards.
8) Estimated cost and part-sourcing tips
In the US, budget builds start around $250 using basic aluminum extrusion and entry-level electronics. Mid-range builds reach $400-$600 with better hotends and linear rails. Premium DIY builds exceed $800 with CoreXY frames and advanced controllers.
Troubleshooting common build issues
Axis binding, reversed motors, and incorrect thermistor readings appear often in new builds. Short tests help you locate wiring mistakes or misaligned mechanical parts quickly.
Optional upgrades and enhancements
Many builders add auto-bed leveling probes, PEI spring-steel beds, quieter stepper drivers, or linear rails. These upgrades improve print consistency and noise levels.
Conclusion
A DIY 3D printer build lets you tune performance, customize features, and expand capabilities over time. With careful assembly and proper calibration, you can produce consistent, high-quality prints from a machine you built yourself.


Discussion (0)
Be the first to comment.