




Microsoft Word makes it easy to design a professional-looking restaurant menu without advanced design software. Whether you own a café, food truck, or full-service restaurant, you can create a clean and printable menu using built-in tools and templates.
This guide explains how to create a restaurant menu in Microsoft Word on Windows 10 and Windows 11.
Method 1: Use a Built-in Menu Template
The fastest way to create a menu is by using a Word template.
- Open Microsoft Word
- Click File
- Select New
- In the search bar, type Menu
- Browse available templates
- Select a template
- Click Create

Replace placeholder text with your own menu items, prices, and restaurant name.
Templates save time and offer ready-made layouts.
Method 2: Create a Menu from Scratch
If you prefer a custom design:
Step 1: Set Page Layout
- Click Layout
- Choose Size
- Select page size such as A4 or Letter
- Adjust margins if needed
For folded menus, consider landscape orientation.
Step 2: Add a Title
- Click at the top of the page
- Type your restaurant name
- Use a larger font size
- Center the text
Choose a clean and readable font style.
Step 3: Insert Sections
Create sections like:
- Starters
- Main Course
- Desserts
- Beverages
Use bold text or larger font for section headers.
Step 4: Add Menu Items and Prices
Type menu items on the left and prices on the right.
To align prices neatly:
- Highlight text
- Click Home
- Use Tabs or Right alignment
You can also use a table for better alignment.
Method 3: Use Tables for Clean Formatting
Tables help keep items organized.
- Click Insert
- Select Table
- Choose 2 columns
- Enter item names in the first column
- Enter prices in the second column
After entering data:
- Select the table
- Click Table Design
- Remove borders if you want a cleaner look
This creates a structured layout.
Add Images and Design Elements
To enhance appearance:
- Click Insert
- Choose Pictures
- Add food images or logos
- Resize and position as needed
Avoid cluttering the menu with too many images.
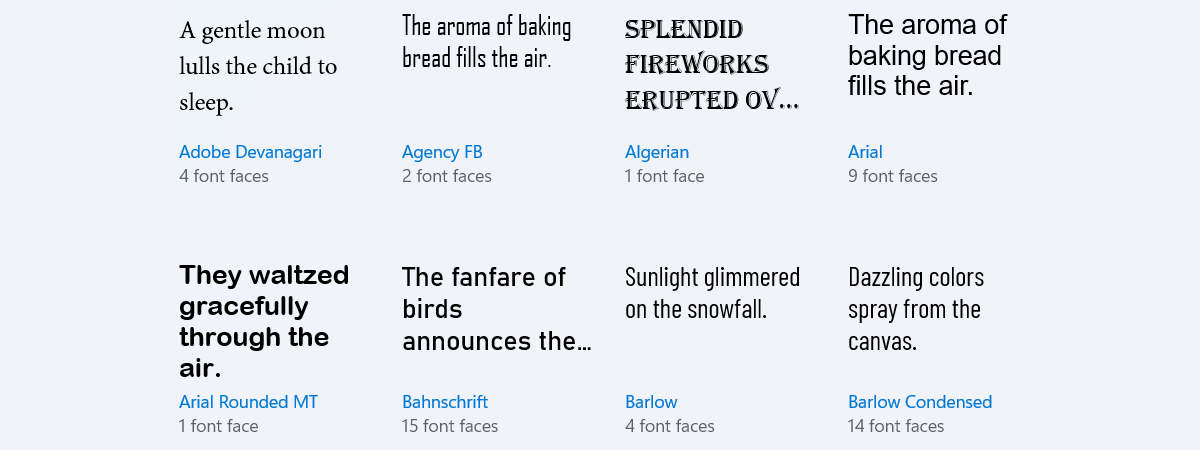
Choose Appropriate Fonts
For readability:
- Use clear fonts for menu items
- Use decorative fonts only for headings
- Maintain consistent font sizes
Avoid overly fancy fonts for body text.
Use Columns for Multi-Column Layout
For professional menus:
- Click Layout
- Select Columns
- Choose two or three columns
This gives a traditional menu appearance.
Tips for a Professional Menu
- Keep descriptions concise
- Use consistent spacing
- Highlight signature dishes
- Proofread carefully
- Avoid overcrowding
A clean layout improves customer experience.
Final Thoughts
Creating a restaurant menu in Microsoft Word is simple and cost-effective. Whether using templates or designing from scratch, Word provides tools to build a professional and printable menu. With proper formatting and design choices, you can create an attractive menu that reflects your restaurant’s brand.
FAQs
Can I create a professional menu in Word
Yes, Word offers templates and formatting tools for menu design.
Should I use tables for menu layout
Yes, tables help align items and prices neatly.
Can I add images to my menu
Yes, use the Insert > Pictures option.
Is it better to save menu as PDF before printing
Yes, PDF ensures formatting remains consistent.
Does this work in Windows 11
Yes, Microsoft Word functions the same in Windows 10 and Windows 11.

Discussion (0)
Be the first to comment.