Windows has included the Check Disk tool for a long time now. With it, you can check the partitions and drives in your computer for disk errors, bad sectors and so on. You can also use this tool to repair those errors and have your drives working without problems again. The tool is also known by its command-line name: chkdsk. Here is how to use Check Disk in Windows 7:
NOTE: For Windows 10 see Test and fix errors on your drives with Error Checking (chkdsk) in Windows 10. To use the tool covered in this article, you need to be logged in as an administrator.
How to start Check Disk in Windows 7
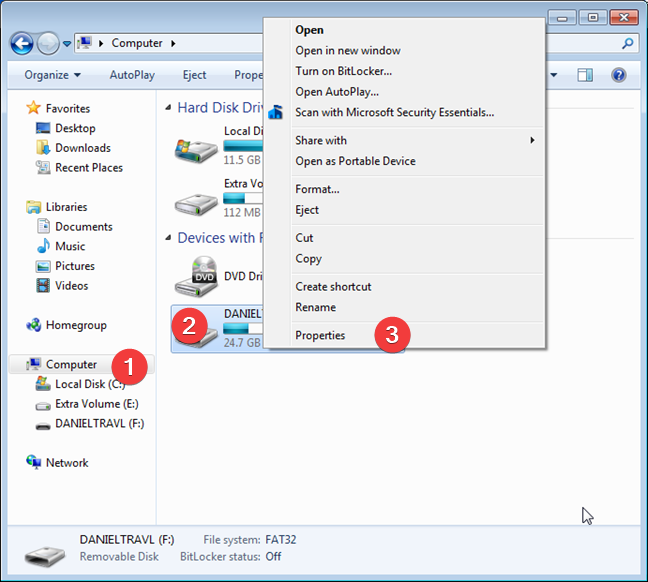
First open Windows Explorer. Go to Computer and then to Hard Disk Drives. Right-click on the drive or partition that you want to check for errors and, in the right-click menu, choose Properties.
In the Properties window for the selected drive, go to the Tools tab and look for the Error-checking section. There, click the Check now button.
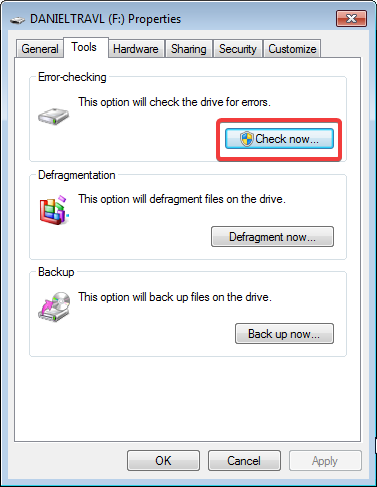
The Check Disk window is opened.
How to check a disk for errors in Windows 7 with Check Disk
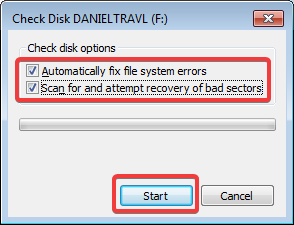
In the Check Disk window for the selected drive you can select any of these options:
- "Automatically fix file system errors" - you should always select this option. Otherwise, the tool won't fix the issues that it finds, it only reports them.
- "Scan for and attempt recovery of bad sectors" - it performs an in-depth scan that attempts to find and repair physical errors on the hard disk itself. When you check this option, the scan takes much longer to complete, but more problems are identified and fixed, if they exist.
When you are done selecting the options you prefer, press Start.
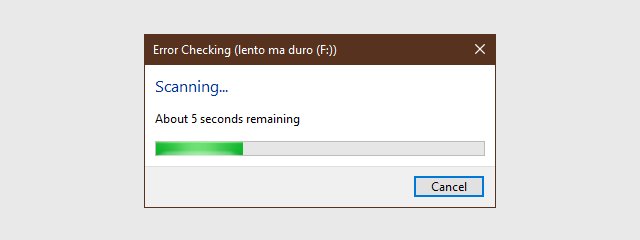
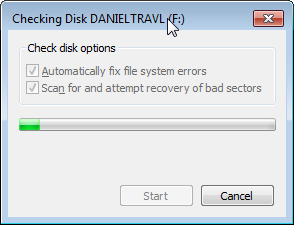
A progress bar is displayed during the checking process.
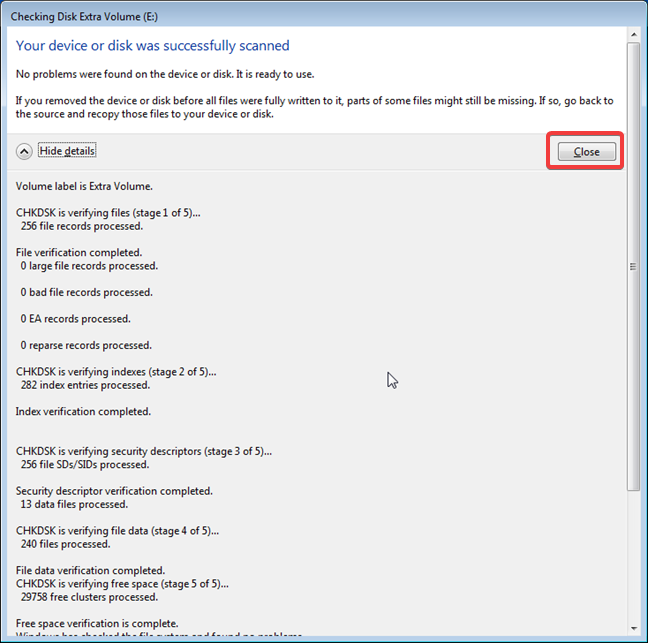
When the scan is complete, you are shown a brief description of the results.
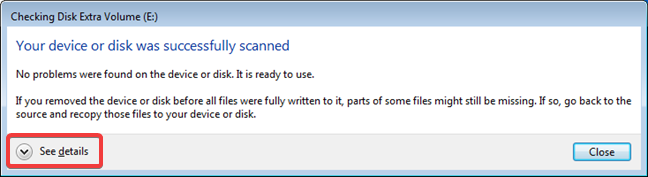
Click the "See details" arrow to view more detailed information about the steps that were involved and the results. When done, click Close.
NOTE: Sometimes, when you try to scan a partition that is in use but can be dismounted, Windows 7 gives you the option to "Force a dismount." Click the button with this name and the selected partition is dismounted and made inaccessible to Windows applications while the scan is performed.

Once the scan is over and the appropriate repairs are performed, the partition is mounted again by Windows 7, and it can be used.
How to schedule a disk check when Windows 7 cannot check the drive because it is in use and cannot be dismounted
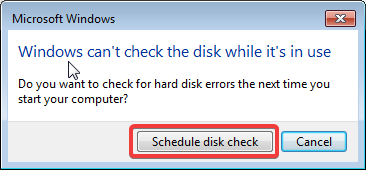
If you select a disk that is in use, like the partition where Windows 7 is installed, you are prompted to schedule the disk check for the next time you restart the computer. This happens because there are many running processes using files on the selected drive and it cannot be unmounted by Windows 7. If you encounter a warning that "Windows can't check the disk while it's in use," your options are to click "Schedule disk check" or to Cancel the scan.
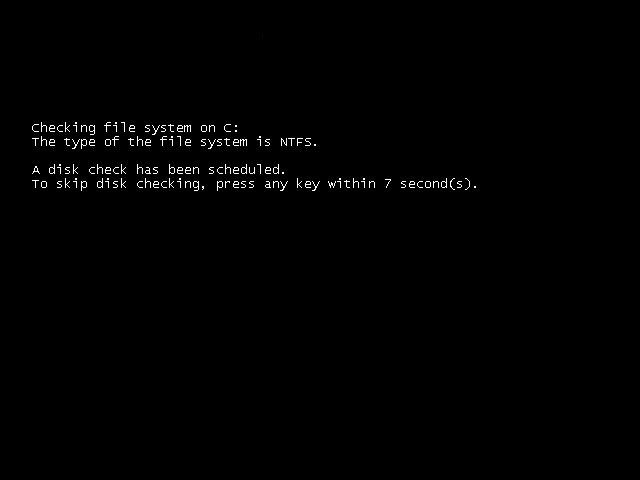
We recommend that you schedule the disk check and restart your Windows 7 computer. When it restarts, you have only 10 seconds to press any key to cancel the operation. We recommend that you do not press any key on your keyboard and allow the disk check to be performed.
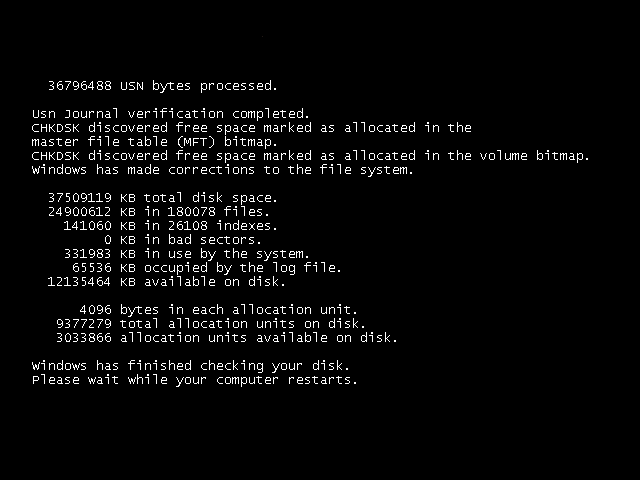
The Check Disk tool runs the three stages of verifications:
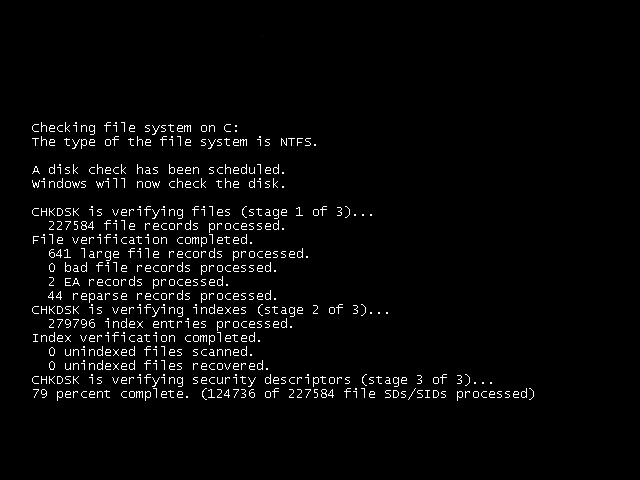
When finished, you are shown a report of what happened. It contains detailed information like partition space, free space available, how many bad sectors were identified, and so on. Windows 7 automatically restarts, so that you can log in.
How to run chkdsk from the Command Prompt or PowerShell
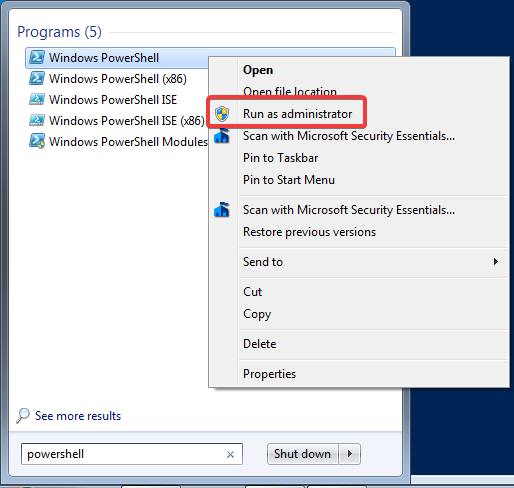
If you want to skip the Error Checking graphical interface, you can run chkdsk from the Command Prompt or PowerShell. Read this tutorial to learn to launch the Command Prompt in Windows, and this one for launching PowerShell in Windows.
To be able to run the chkdsk command from either Command Prompt or PowerShell, make sure the tools are launched with the option "Run as administrator."
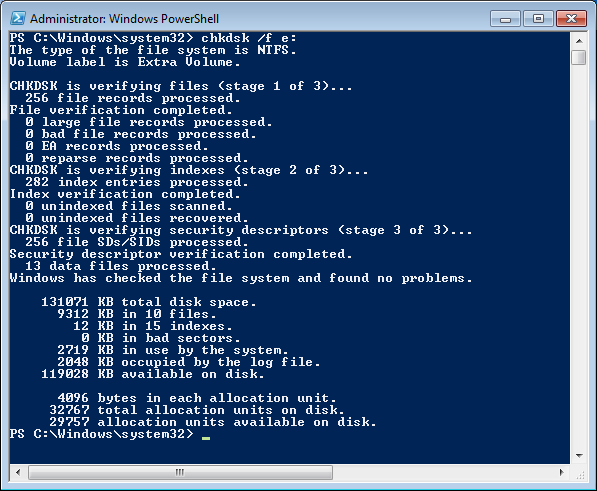
In this example, we have run chkdsk with the /f parameter which immediately fixes the errors that it finds without asking if you want to do the repairs.
This guide teaches you how to do this: Command Prompt - 6 disk management commands you should know (see section 5 "How to check a disk for errors from the Command Prompt").
Did you solve your disk problems with Check Disk?
This tool can save the day when problems appear with your data and your hard disk(s). For example, if a power outage takes place, your Windows 7 computer stops, and this can cause file corruption. A quick scan and repair with Check Disk are of great help. If you want to learn more about other useful tools in Windows, do not hesitate to read the articles recommended below. Also, comment below and let us know whether you have fixed your problems with Check Disk.