The Homegroup is a Windows 7 feature that provides an easy way for sharing libraries, folders, and devices on small networks, such as that from your home. Accessing stuff shared with the Homegroup is easy and doesn’t require users to type in usernames and passwords. In this article, we explain what a Homegroup is, how the Homegroup works, how to create and join Homegroups in Windows 7, and how to recover a password if you no longer remember it.
What is a Homegroup? What is the use of a HomeGroup?
What is the HomeGroup on my computer? The Homegroup is a group of Windows computers and devices connected to the same LAN (Local Area Network) that can share content and connected devices. For instance, computers that are part of the same Homegroup can share pictures, music, videos, documents, and printers.
What is shared with the Homegroup is not available to other computers on the same network and not part of the Homegroup. The computers that are part of the Homegroup are not required to enter a username and password each time they connect to something shared with the Homegroup. When you create or join a Homegroup, you can choose what libraries you want to share. After the initial configuration is done, you can select specific folders from your libraries that you do not wish to share. You can also share other folders and files or new libraries other than the defaults.

What a Windows 7 Homegroup looks like
A Homegroup can be created or joined by other Windows 7 computers. If by any chance, you are using Windows 7 Starter or Windows 7 Home Basic, you can join a Homegroup, but you won’t be able to create one. By design, there's no limit to the number of computers that can join a Homegroup.
Unfortunately, the HomeGroup feature has been removed in Windows 10, starting with version 1803. Maybe that’s why some people are asking questions like “Is HomeGroup a virus?”. No, it’s not a virus: just a feature that’s been deprecated, so you can’t use it anymore. That’s also why in this guide, we’re only talking about the Windows 7 Homegroup. However, note that you can also use a Homegroup on Windows 8 or 8.1 computers, where it works just like on Windows 7.
How to configure Windows 7 to create or join a Homegroup
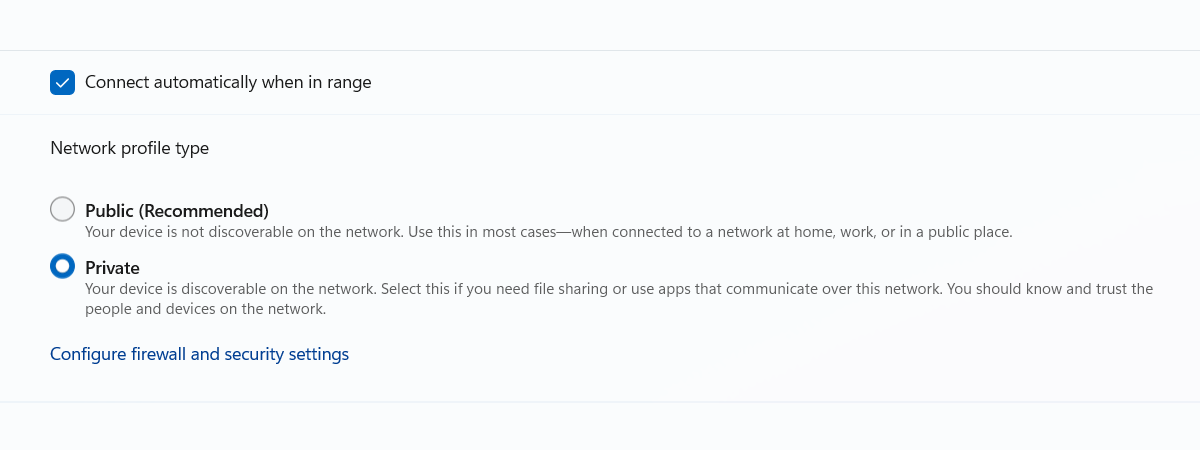
Each time you connect your computer to a new network, Windows 7 asks you to select that network’s type. If you choose Home network, it means you are in a trusted network of computers, and Windows 7 allows you to use the Homegroup feature.
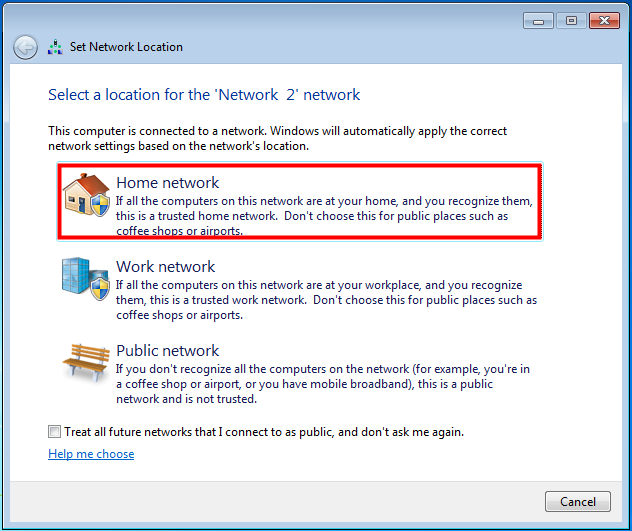
To use a Homegroup in Windows 7, you need to set the network location to Home
The Homegroup is not available for Public or Work networks. If your network location is not Home, change it to Home before the tutorial’s next steps.
A quick way to do it is from the Network and Sharing Center. Search for it using the Search field from the Start Menu, and then click on the Network and Sharing Center shortcut.
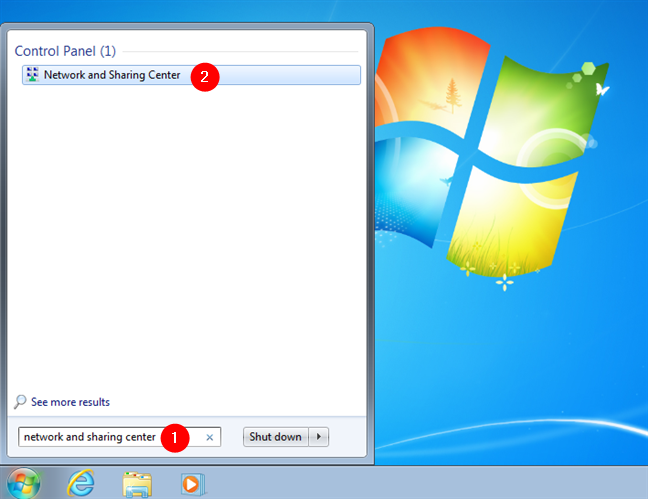
How to open Network and Sharing Center in Windows 7
Then, click on Public network or Work network, and select Home network in the dialog box that pops up.
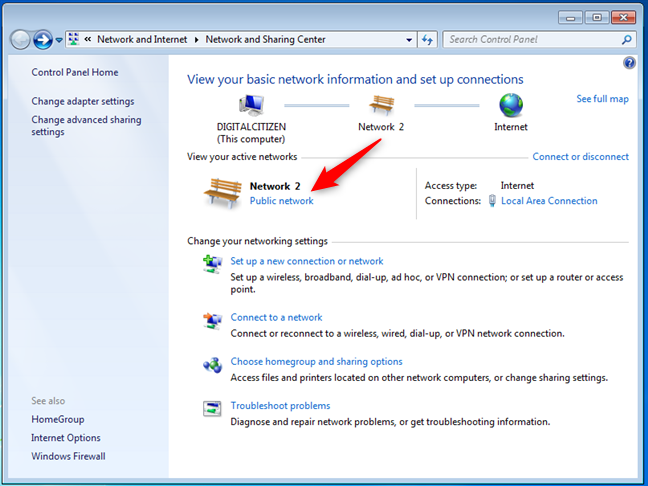
Setting the network location to Home in Windows 7
Once you’ve set up your Windows 7 computer correctly, here's how to create your first Homegroup:
Is there a Homegroup on your network? Did you already join the Homegroup?
There’s a section named “View your active networks” in the Network and Sharing Center window. In it, you can see the network you are connected to, its type, and whether you have already joined a Homegroup or not. If there is no Homegroup in your network, you should see a line that says "Homegroup: Ready to create.”
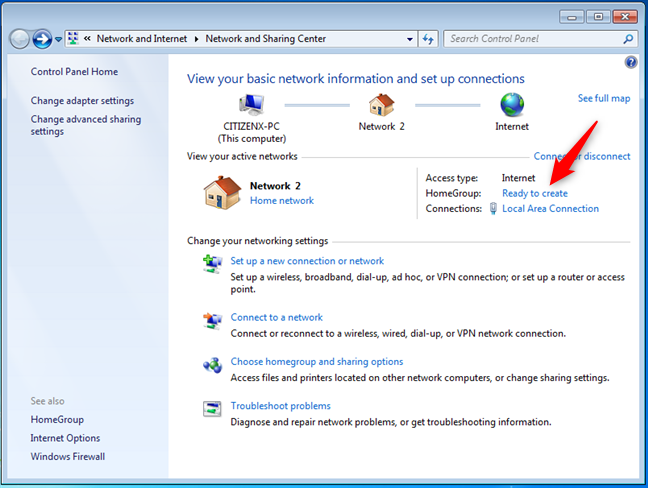
Windows 7 Homegroup: Ready to create
If another computer created a Homegroup in your network, the same line tells you “Homegroup: Available to join.”

There is a Windows 7 Homegroup available, and you're ready to join it
If your Windows 7 computer already belongs to a Homegroup, the line says: “Homegroup: Joined.”
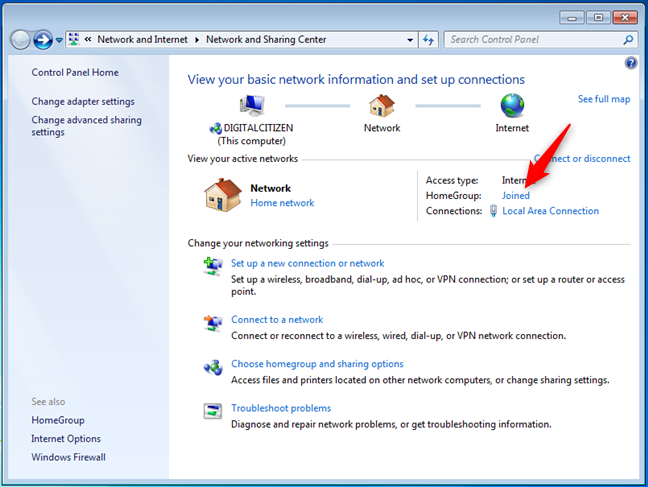
A Windows 7 computer that joined a Homegroup
If you have joined a Homegroup and want to create another one, you need to leave the current Homegroup and then make another one. All computers and devices that are part of that Homegroup need to do the same. Then, only one of them creates the new Homegroup, and the others join it.
How to create a Homegroup in Windows 7
To create the Homegroup, click the “Ready to create” link from the Network and Sharing Center window. Alternatively, you can open the Homegroup window and start from there. You can launch this window by opening the Control Panel and then going to “Network and Internet -> Network and Sharing Center - Homegroup.”
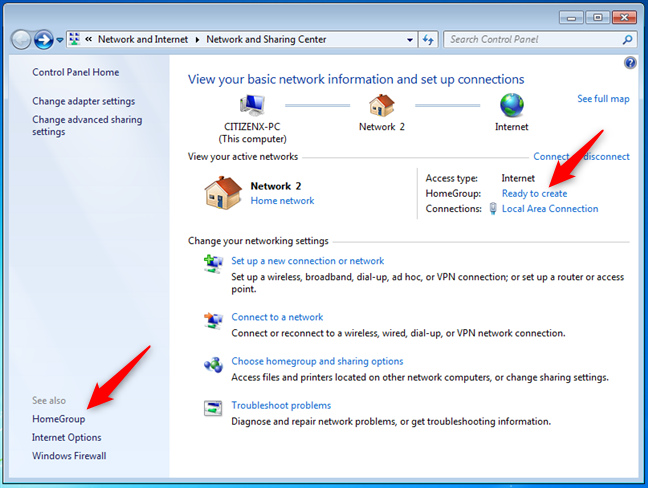
How to start creating a Homegroup in Windows 7
In the Homegroup window, click on the “Create a Homegroup” button.
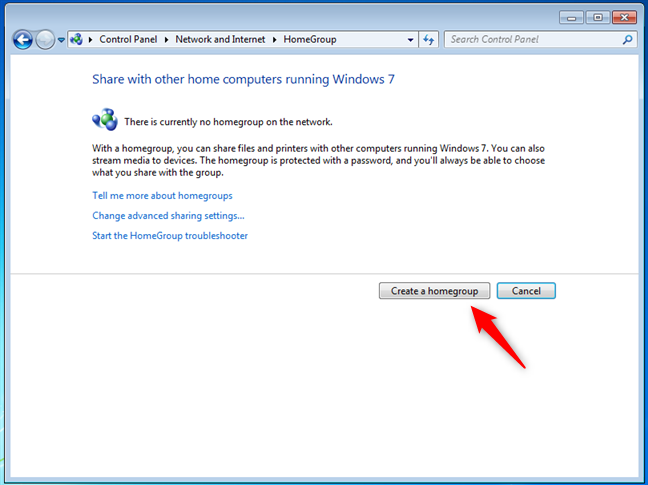
Choosing to Create a homegroup
The “Create a Homegroup” wizard starts and shows you some information about this feature and the way it works. You are also asked to select what you want to share with other Homegroup members. At this step, you can share only your libraries, printers, and devices. You will be able to share different items later on using the Sharing Wizard. Set what you want to share from the start and click Next.
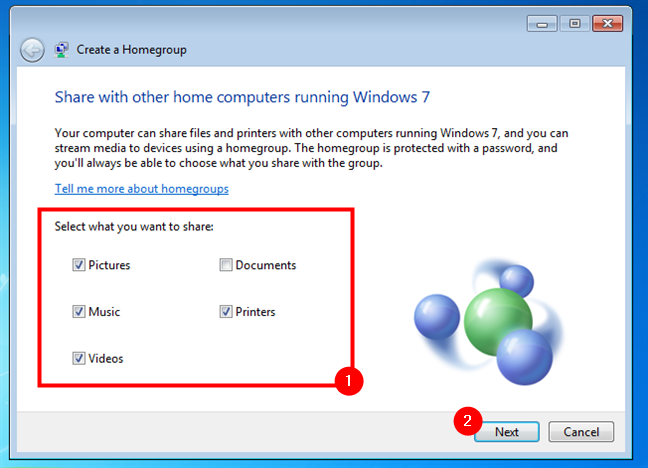
Choosing what to share on the Windows 7 Homegroup
After a couple of seconds, the Homegroup is created, and Windows 7 generates a random password. So if you were wondering what information must be given to anyone you want to share files with in Homegroup, this is it: its password. You can use it on the other computers and devices that you want to join your Homegroup. Make sure you write it down, or if you don't like it, forget about it and read this guide until the end to find how you can change this password.
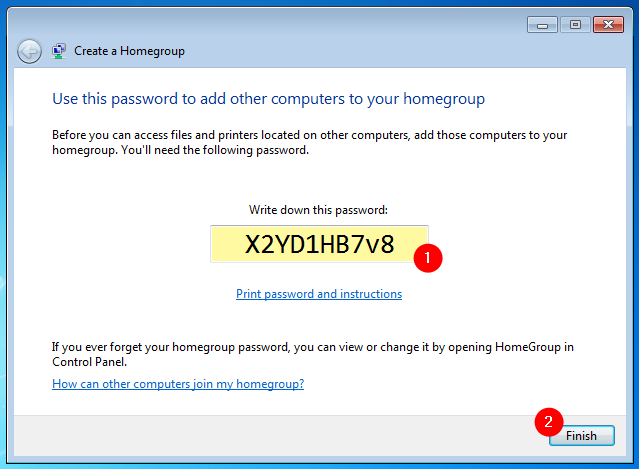
What information must be given to anyone you want to share files with in a Homegroup
Click Finish, and you are taken to the Homegroup window, where you can further configure the way this feature works.
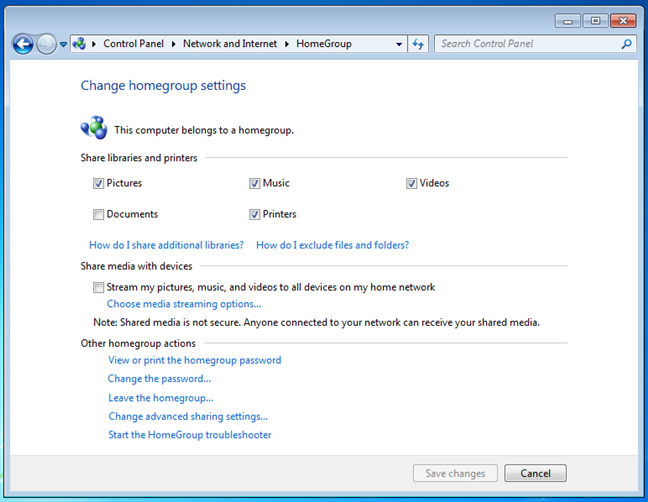
Change homegroup settings
Next, let's see how you can change the default Homegroup password.
How to change the Homegroup password in Windows 7
Any user from any computer that has joined the Homegroup can change its password. Unfortunately, if you change the password after other computers have joined it, you have to retype it on all of them and have them join the Homegroup again. Therefore, it is best to immediately change the Homegroup password after creating it before other computers join in.
To change the Homegroup password, open the Homegroup window and, in the “Other Homegroup actions” section, click on “Change the password.”
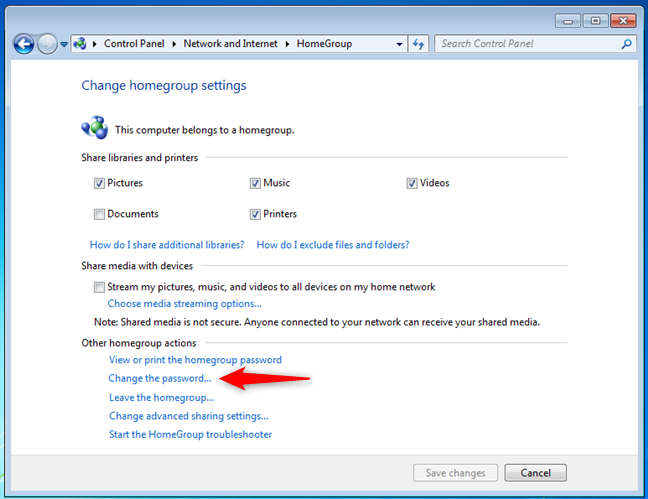
Change the password of the Windows 7 Homegroup
The “Change Your Homegroup Password” wizard starts, asking what you want to do. Click “Change the password.”
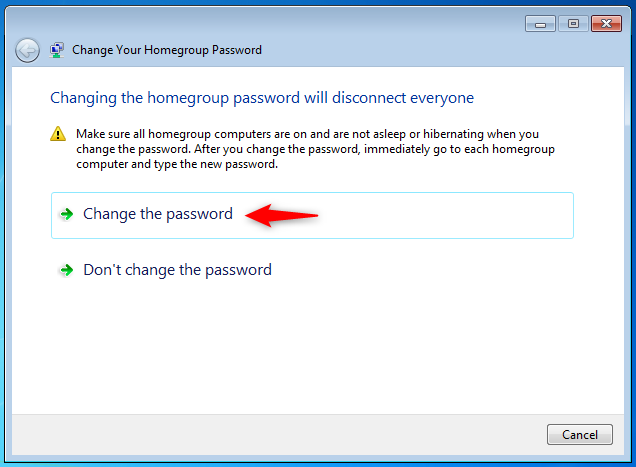
The Change Your Homegroup Password wizard
By default, Windows 7 generates a new random password. But we’re sure you just want to type your own password. Delete the newly generated password and type your custom one. Make sure it is at least eight characters long, so that Windows 7 accepts it as a valid password. When you’re done, click Next.
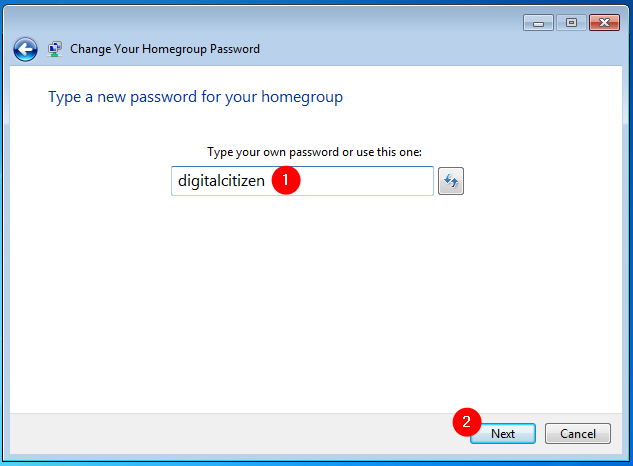
Type a new password for your homegroup
Then, the wizard notifies you that you’ve successfully changed the password.
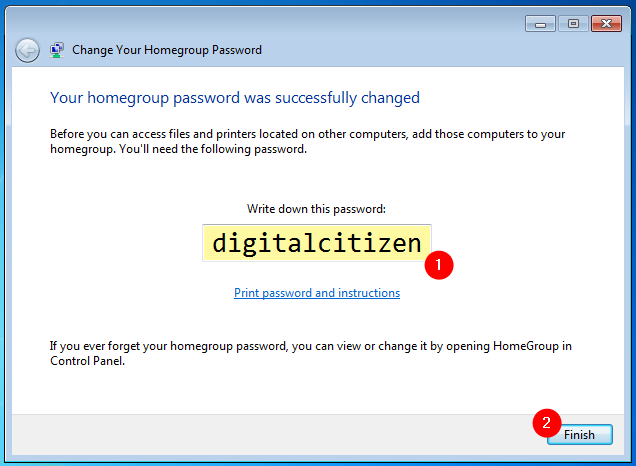
Your homegroup password was successfully changed
Click Finish, and you are done.
How to find the Windows 7 Homegroup password
If you want to add another computer to the Homegroup but forgot the password, you can easily access it. Use one of the PCs that are part of the Homegroup. Go to the Homegroup window and look for the “Other Homegroup actions” section. Click the link that says “View or print the Homegroup password.”
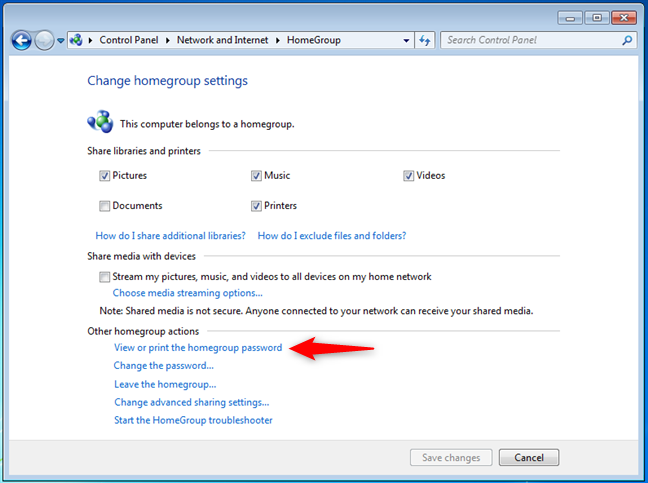
View or print the homegroup password
The password is now shown in a yellow box. You can either write it down or print it by using the “Print this page” button.
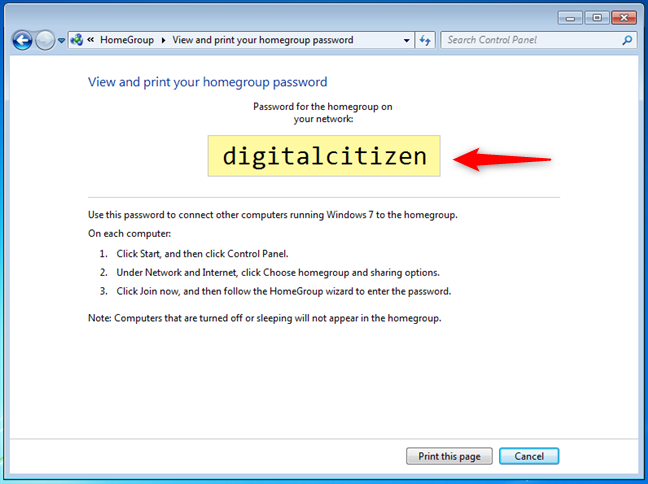
The Windows 7 Homegroup password
When done, close the window.
How to join a Homegroup from a Windows 7 computer
Once the Homegroup has been created, and the password has been set, it is time for other PCs and devices to join it. Go to the other computers you want to join and open the Network and Sharing Center. Click the “Homegroup: Available to join” link.
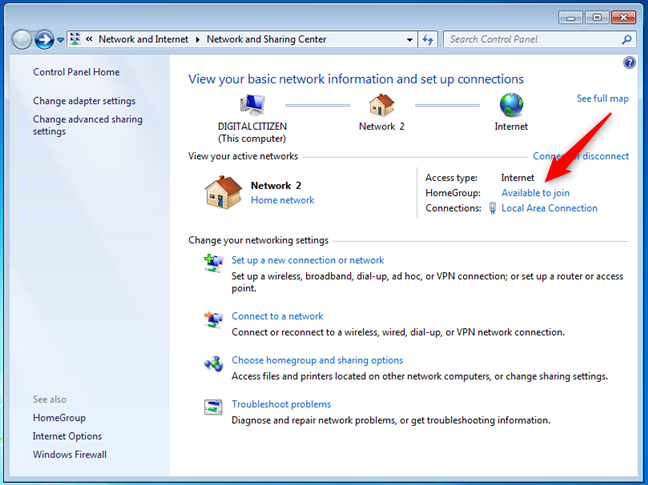
A Windows 7 Homegroup is available to join
Alternatively, open the Homegroup window and click “Join now.”
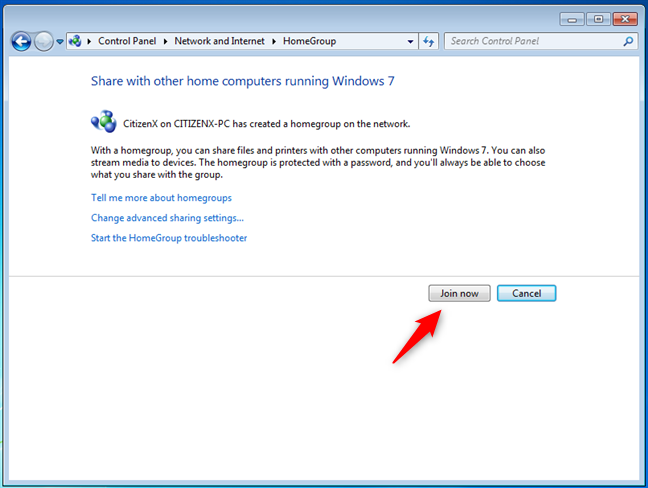
Choosing to join a Windows 7 Homegroup
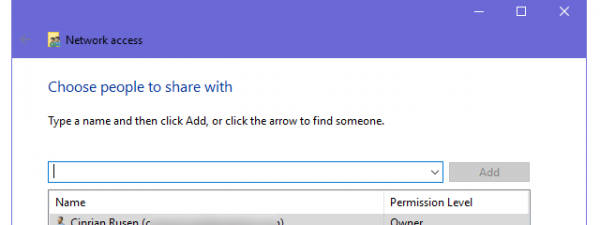
The “Join a Homegroup” wizard starts. It is time to select what libraries and devices you want to share. When you’re done, click Next.
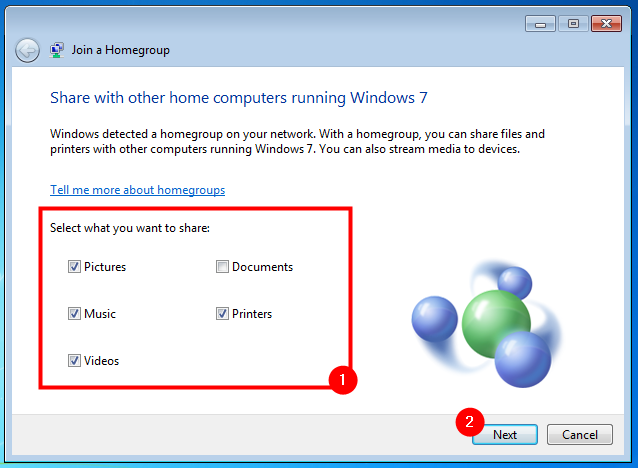
What to share on the Windows 7 Homegroup
Then, type the Homegroup password and click Next.
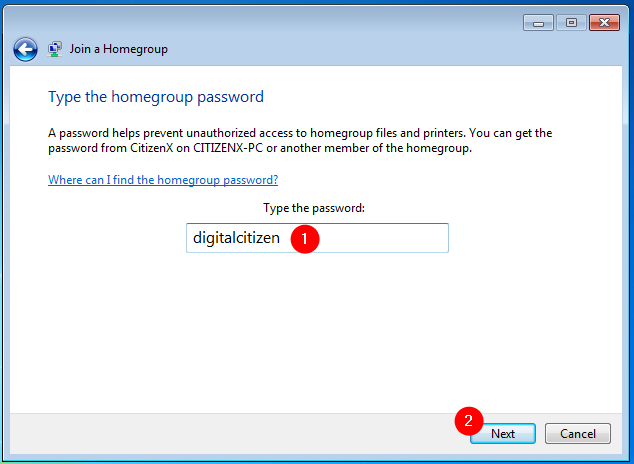
Type the homegroup password
When you are notified that your Windows 7 computer has joined the Homegroup, click Finish.
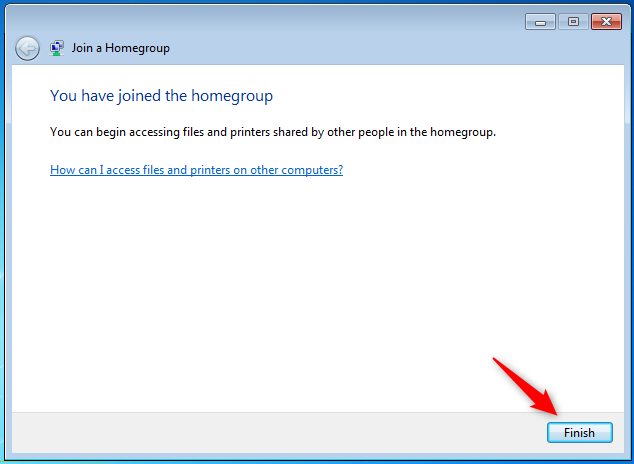
You have joined the homegroup
Repeat this procedure on all the other Windows 7 computers that you want to join the Homegroup.
How to access what's shared on the Windows 7 Homegroup
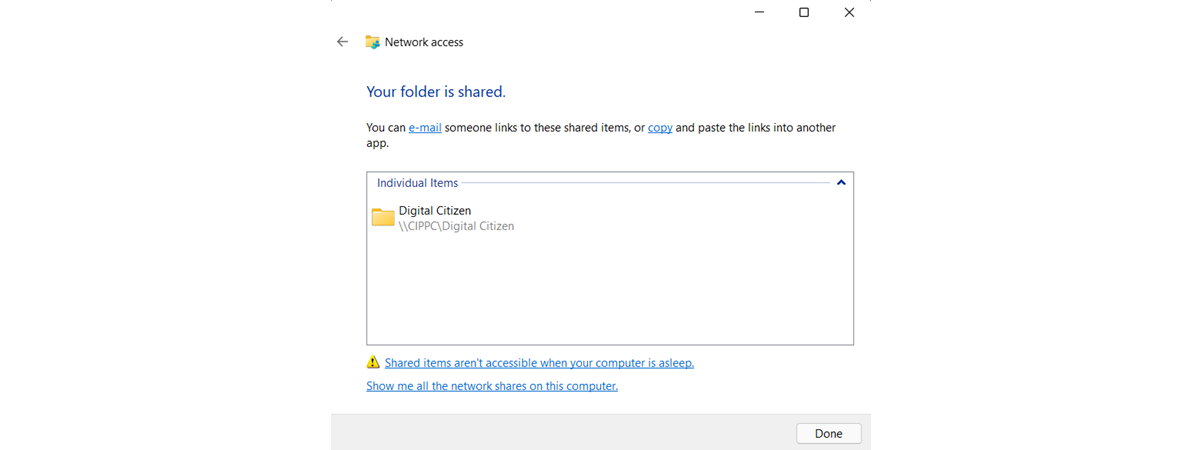
Once the Homegroup is created, and all computers have joined, accessing their shared libraries and devices is easy. Open Windows Explorer and go to the Homegroup section. There, you can see each user account used on each of the computers that are part of the Homegroup and what they are sharing.
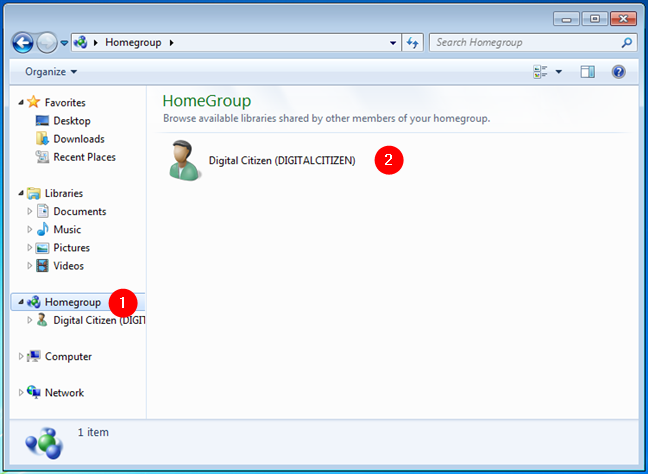
A Homegroup created on a home network
Double-click on any of them to view their shared files, folders, and devices.
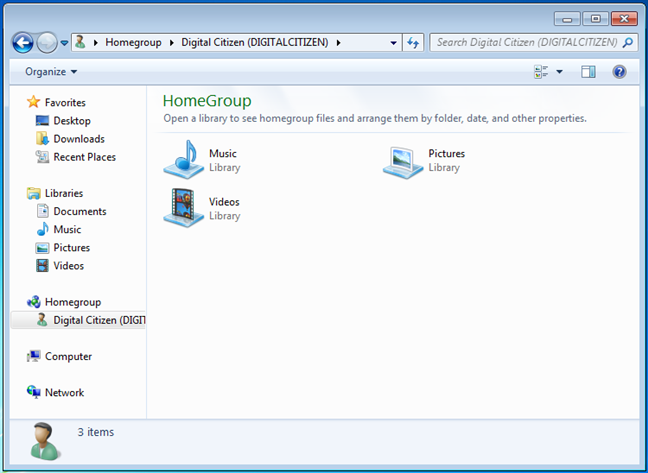
What a Windows 7 computer shared with the Homegroup
There’s no need for you to type any username & password. The Homegroup handles the access for you.
NOTE: Someone asked us “What is HomeGroup, and why is it on my desktop?”. We’ve already answered what the Homegroup is. The reason why Homegroup might be on your desktop might be because you created a shortcut for it for faster access? If you don’t want it there, you can simply delete it, although that doesn’t remove your Windows 7 computer from the Homegroup. For that, read the next chapter of this guide.
How to leave a Windows 7 Homegroup
If you want to leave the Homegroup, you first need to open the Homegroup window. Then, click the “Leave the Homegroup” link found in the “Other Homegroup actions” section.
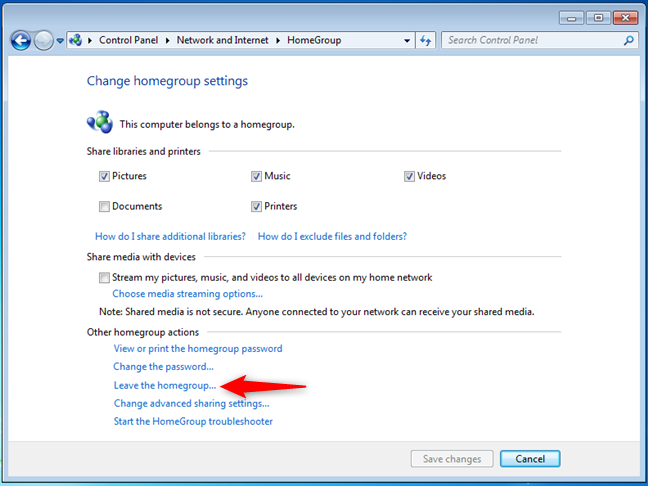
Leaving a Windows 7 Homegroup
The “Leave the Homegroup” wizard opens, asking what you want to do. Click “Leave the homegroup.”
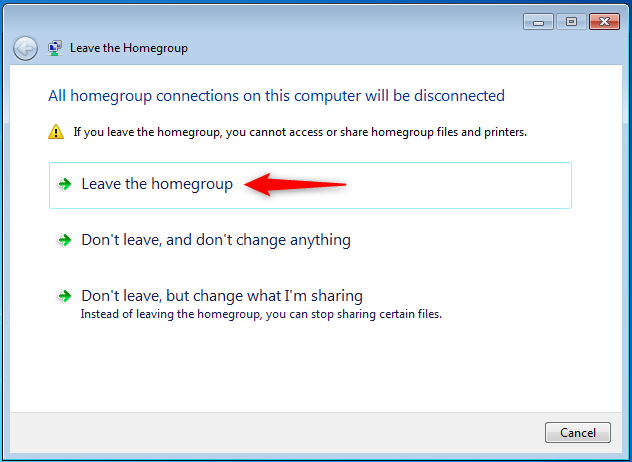
Leave the homegroup
After a few seconds, you get a notification that the procedure was finished successfully.
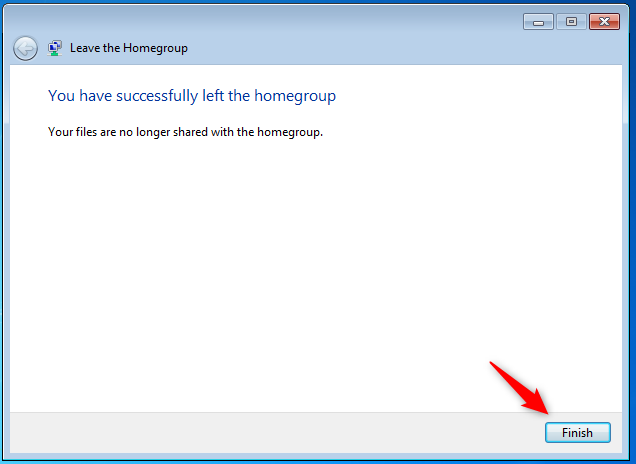
You have left the homegroup
Click Finish, and you are done.
Are you using a Homegroup on your Windows 7 computers?
As you can see, the Homegroup simplifies sharing a lot. If you still enjoy Windows 7 and unless you have computers with Windows 10 installed, there's no reason why you should not use a Homegroup on your home network. Before you go, let us know how well it works for you and whether you regret Microsoft removing Homegroup from Windows 10.