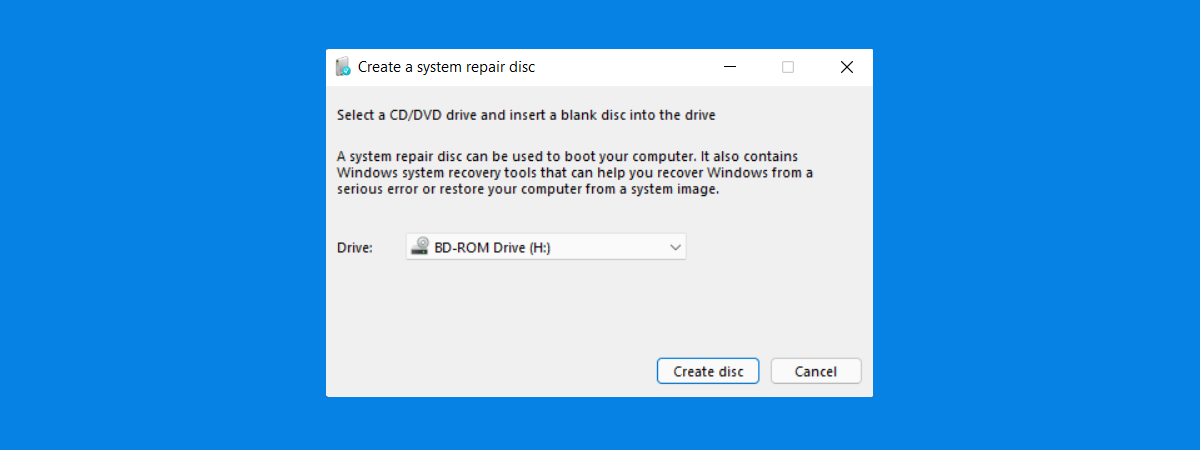
By default, Windows 7 gives you the option to create a system repair disc on a CD or a DVD, and all it takes is a few clicks. However, Windows 7 does not give you an option to create a bootable flash memory stick with system recovery tools on it. There is no built-in tool for creating a flash drive with such tools, and there is no command which you could use. However, that does not mean that you cannot do it. You must get your hands dirty in the process, as it involves changing some security permissions on a system folder called Recovery and it also involves copying some system files onto your memory stick. If you want to learn how to create a USB memory stick with system recovery tools on it, in Windows 7, read this guide:
Step 1. Prepare the USB memory stick
There are times when having a bootable USB flash with System Recovery tools is useful, especially if you are a netbook owner. Creating and using a USB flash memory stick with recovery tools is not easy but it you can do it if you follow the steps described below.
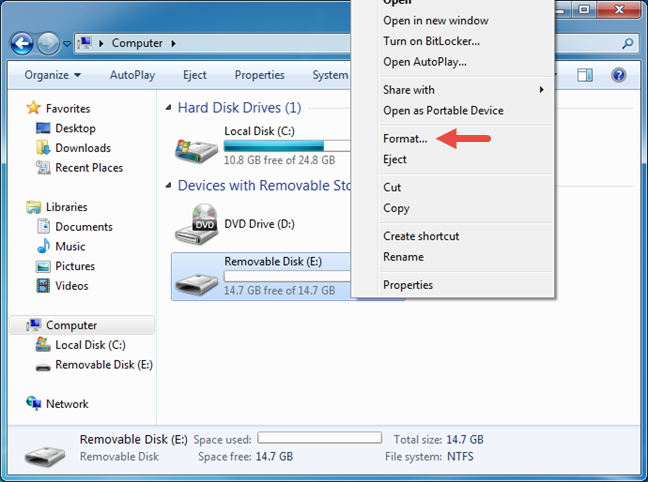
First of all, you need to insert the memory stick into a USB port on your Windows 7 computer. Open Windows Explorer and check that there are no files that you need on the memory stick. If you do have files you need on it, copy them to your computer. Then, right-click on the drive and choose Format.
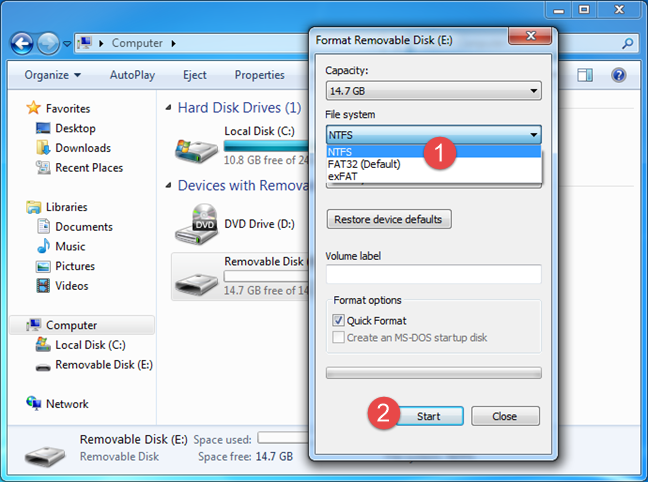
In the "Format Removable Disk" window, make sure that you choose the NTFS file system. Then click on Start. The other configuration options are not critical - the defaults work just fine.
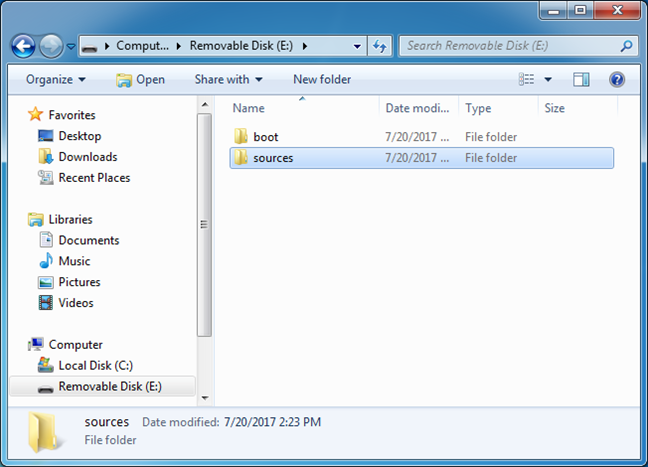
After you have formatted the USB stick, create on it two folders named boot and sources, as shown in the capture below.
Step 2. Get access to the files you need
You must have access to files found in two folders from your computer. One of them is called Recovery, and the other is called Boot. The files that you need to copy on the memory stick are in them:
- Recovery is located at C:\Recovery. This folder is used by Windows 7 to load System Recovery tools.
- Boot is located at C:\Windows\Boot and its contents are used to boot the operating system.
Note that the C letter represents the drive where Windows 7 is installed. It might be different on your computer.
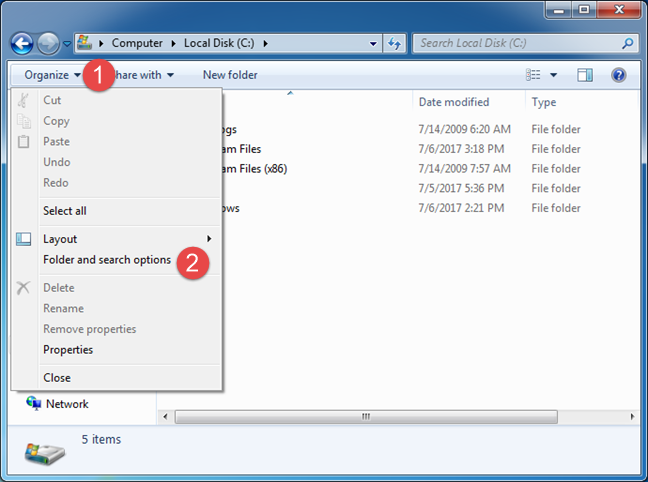
Both the Recovery and the Boot folders are hidden by default. To view them, open Windows Explorer and access Folder Options. Click the Organize button from the top-left corner of the window and then on "Folder and search options."
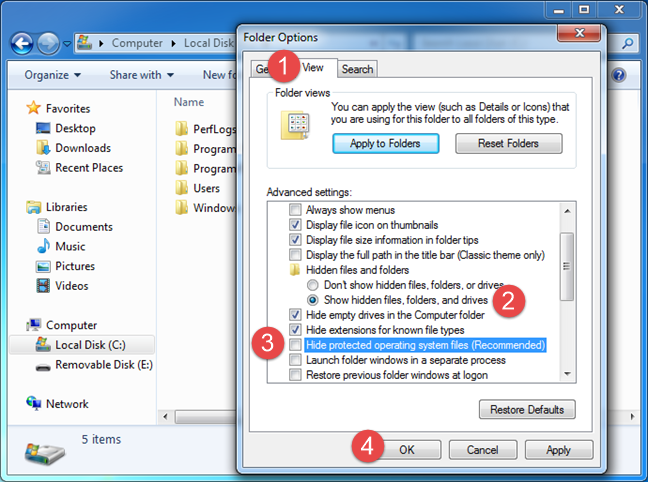
In the View tab check "Show hidden files, folders and drive" and uncheck "Hide protected operating system files (Recommended)." Press the OK button to enable the new settings.
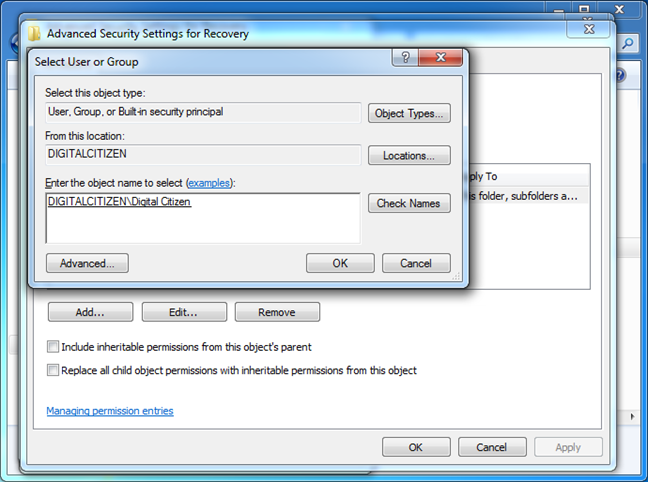
Next, you need to open the Recovery folder on your computer. By default, it cannot be accessed, even if you are logged on as administrator. To open it, follow the steps described in the article How to take ownership and change permissions of files and folders and add "Full control" permissions for your user account.
Step 3. Copy system repair tools to the USB memory stick
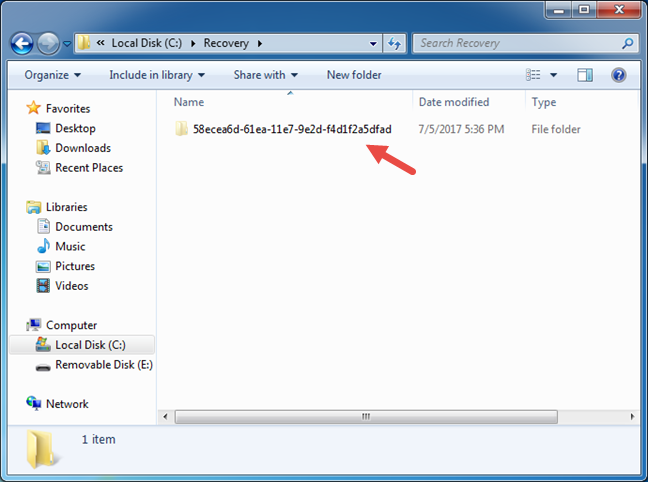
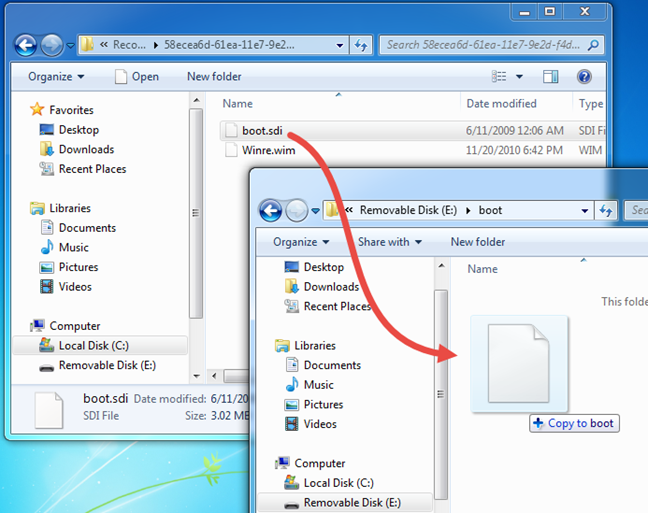
Now you have all the needed files to create the bootable memory stick. First, open the Recovery folder. Inside it, there is a subfolder with an automatically generated name (series of numbers and letters) with a standard length of 32 characters. The folder's name is different from one PC to another. Open yours.
Copy the boot.sdi file and paste it in the boot folder on the USB memory stick.
Then copy the Winre.wim file to the sources folder on the USB memory stick and rename it to boot.wim.

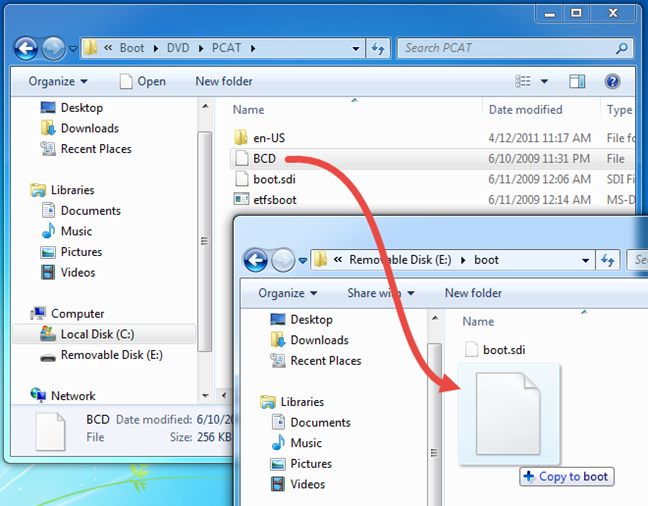
Now open the folder "C:\Windows\Boot\DVD\PCAT" and copy the BCD file to the boot folder on the USB memory stick.
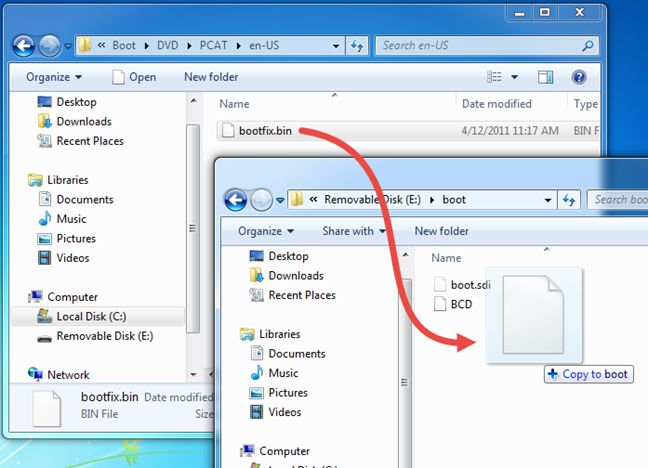
Go to "C:\Windows\Boot\DVD\PCAT\en-US" and copy the bootfix.bin file to the folder boot on the USB memory stick.
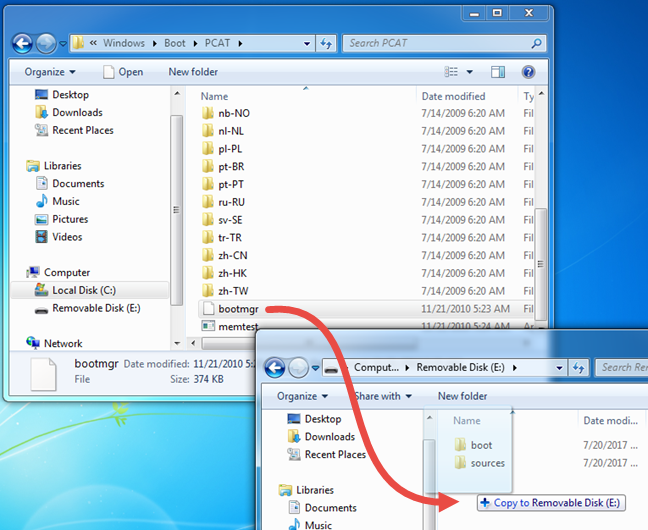
Finally, go to "C:\Windows\Boot\PCAT" and copy the bootmgr file to the root of the memory stick.
The structure of the newly created memory stick should be similar to the one in the picture below.
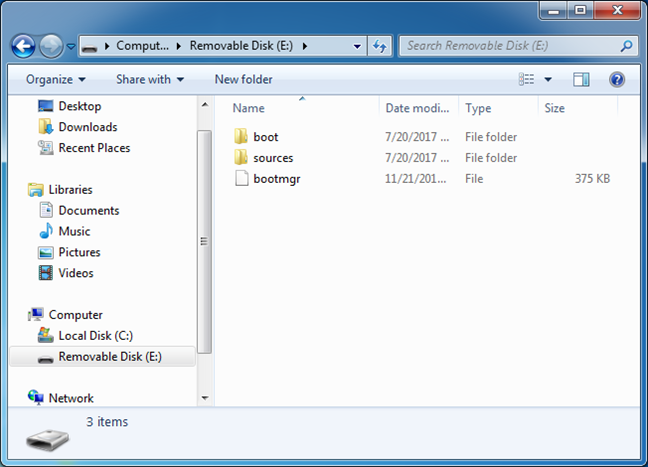
The boot folder contains the files: BCD, boot.sdi and bootfix.bin files, and the sources folder hosts only the boot.wim file. In the root directory of the memory stick, you have to have the file bootmgr.
Step 4. Test the USB memory stick with system recovery tools
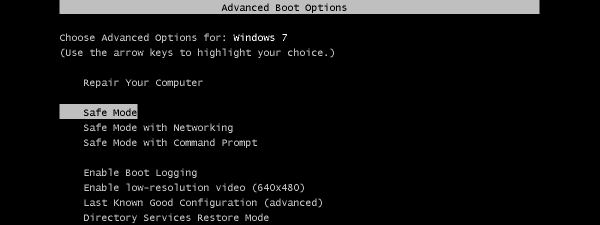
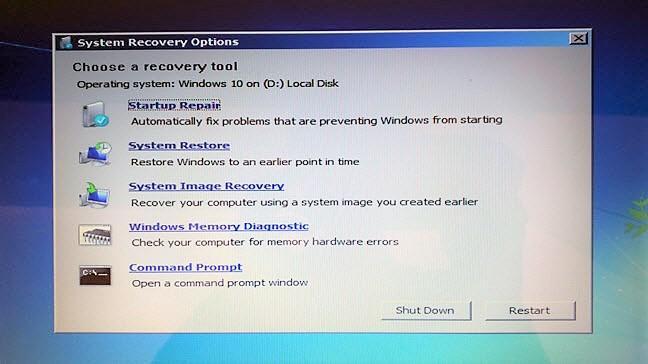
After you have completed all the steps from this tutorial, we recommend you to test your newly created bootable stick. Reboot your computer and boot from the memory stick to check if it works properly. If it works, you should get the System Recovery Tools menu.
Note that to boot from a USB memory stick the removable device has to be the first device set in the "Boot Device Order" section of the computer BIOS.
What to do if there is no Winre.wim file in the Recovery folder?
In some situations, you might be faced with this problem when there is no Winre.wim file found in the Recovery folder. If you have this bad luck, the easiest way to solve it is to copy the Winre.wim file from another Windows 7 computer that has it. However, you must pay attention to use a Winre.wim file that is from a Windows 7 that uses the same architecture as yours. If you intend to use the bootable USB memory stick on a 32-bit Windows 7 device, then make sure you copy the Winre.wim file from another 32-bit Windows 7. If you use it on a 64-bit device, then copy Winre.wim from a 64-bit Windows 7 computer.
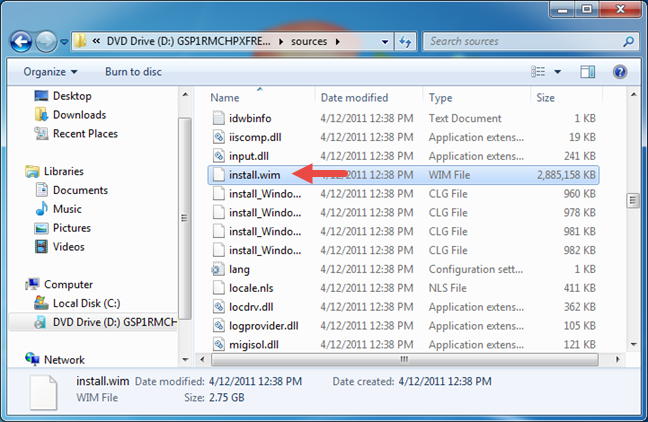
If you do not have access to another Windows 7 device and you cannot copy Winre.wim from it, the other solution we know is to use a Windows 7 installation DVD or USB memory stick. Insert or plug the Windows 7 installation DVD or memory stick into your computer. Then launch Windows Explorer and open the sources folder from the installation DVD or memory stick. Inside it, you should find a file called Install.wim.
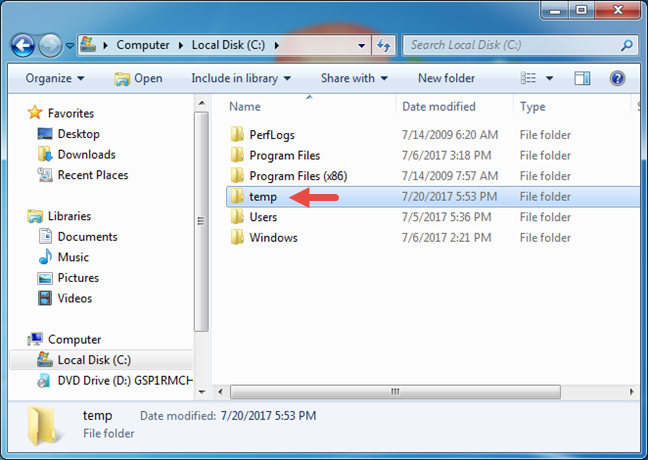
On your computer, create a new folder and give it any name you like. For example, we created a folder called temp on the C drive where Windows 7 is also installed.
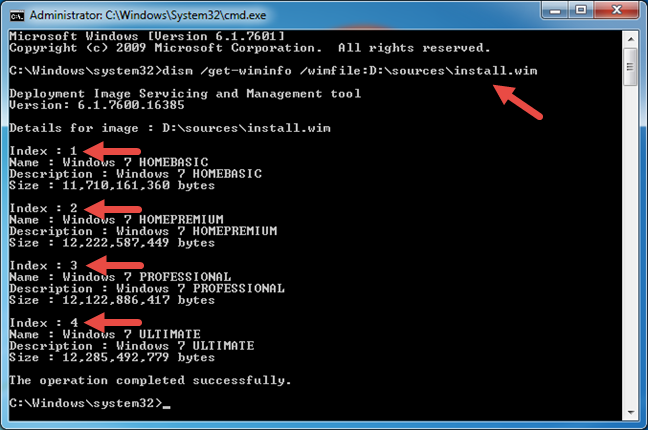
Now open Command Prompt as an administrator and enter the following command in it: dism /get-wiminfo /wimfile:D:\sources\install.wim. Note that D is the letter assigned to the DVD or USB memory stick with the Windows 7 installation. Replace it with the letter that is right on your computer. You should get a list with the versions of Windows 7 installations available on the DVD or the USB memory stick. Write down the index number of the Windows 7 installation that matches yours. As said earlier, it is important that you use the same architecture - 32-bit or 64-bit. If the DVD or memory stick with the Windows 7 installation contains different editions of the operating system such as Windows 7 Home Basic, Windows 7 Home Premium, Windows 7 Professional, or Windows 7 Ultimate, you can choose any one of them, as they all have the same Winre.wim file inside.
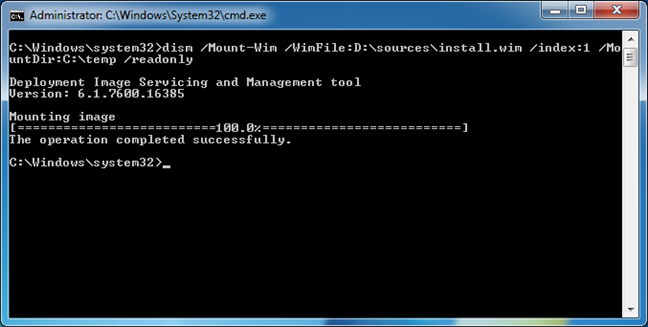
You should be still inside Command Prompt, where you must now enter the following command: dism /Mount-Wim /WimFile:D:\sources\install.wim /index:1 /MountDir:C:\temp /readonly. Note that you must adjust this command to match your environment:
- D:\sources\install.wim is the path where the install.wim is found on your DVD or USB memory stick with the Windows 7 installation;
- /index:1 is the index number that you chose on the previous command;
- C:\temp is the path of the folder you created in the beginning. In our case, that is the temp folder from the C drive.
Now your computer should mount the install.wim file in the temp folder. This is a large file with a size of over 2GB, so it takes at least a few seconds to mount. That also depends on the speed of your computer and DVD/USB memory stick data reading performance. When it is done, you should get a message about "The operation [being] completed successfully."
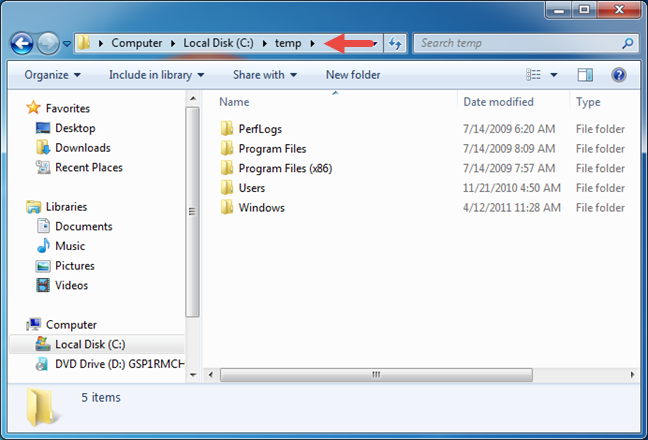
Close Command Prompt and launch Windows Explorer. Navigate to the temp folder or to the one you created. Inside it, there should be all the standard Windows 7 folders: Program Files, Users, and Windows.
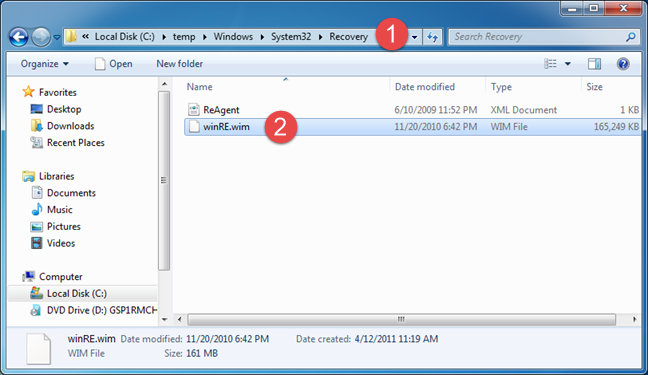
Browse to "C:\temp\Windows\System32\Recovery" - that is the place where you will always find a winre.wim file. Copy it and complete the other steps from this tutorial to create your USB memory stick with system recovery tools in Windows 7.
When you are done, open the Command Prompt as administrator once more and run the command dism /unmount-wim /mountdir:C:\temp /discard to unmount the install.wim file.
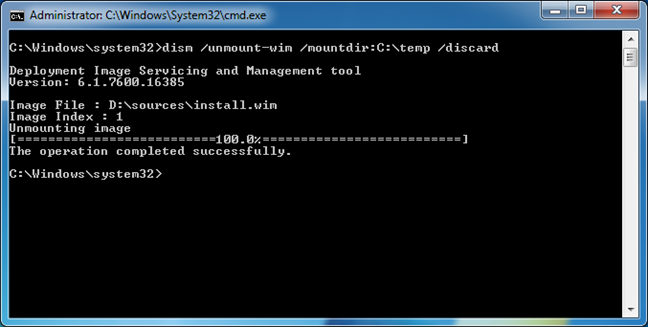
Then, you can also delete the temp folder that you created to find winre.wim.
Conclusion
The option to create a system repair stick is a great insurance to have in case your computer crashes. We hope you found this tip useful. For more information about the recovery tools, read the articles below. Also, if you have any questions, leave a comment.