Are you having problems with your webcam while using Skype? You can hear the people to whom you speak, but they can't see you? Or maybe the only thing they can see are blurred lines or gray images? Whether you use an external webcam that's connected to a USB port on your computer, or you rely on the built-in webcam from your notebook, there are more than a few things you can do so that Skype correctly uses correctly the webcam you want for video chat. Here is what you can do to troubleshoot issues with your webcam on Skype:
1. Check that everything is configured correctly in Skype's video settings
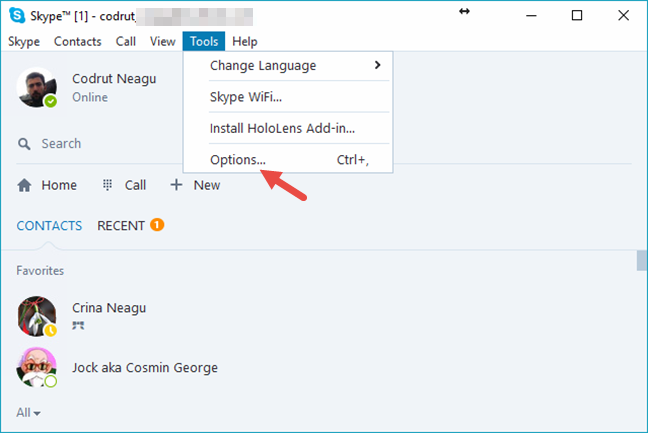
Most issues related to webcams in Skype can be resolved from the Video settings. In Skype, open the Tools menu and then click or tap Options… A faster way to open Skype's settings is to press the "Windows + ," keys simultaneously.
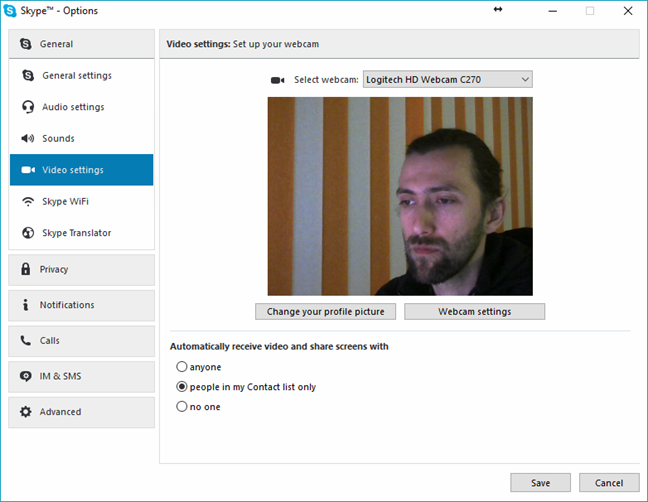
Once Skype's Options open, click or tap Video settings in the General tab from the left side of the window. On the right side of the window, you should see a video feed from your webcam, like in the screenshot below.
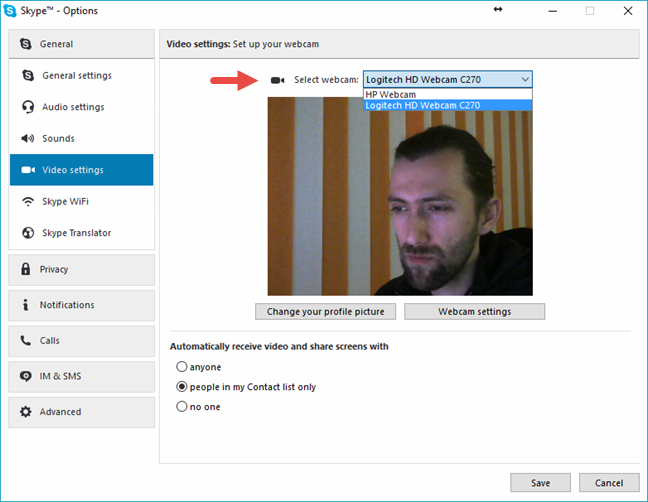
If you don't see any image and your computer has a video capture device, or if there are any other other video devices connected to your PC, it may happen that Skype thinks that they are also webcams. In some cases, Skype can set a wrong device as a default webcam. To make sure that it's using your webcam, check if you have a drop-down list called Select webcam at the top of the Video settings window. If you do, open the list and select the correct webcam. After a few seconds, you should see a video feed from your webcam being displayed.
Also, if your webcam has a driver that allows more detailed configuration, Skype should display a button called Webcam settings. Clicking/tapping on it will open your webcam's driver settings and allow you to change things like the brightness, contrast, hue, saturation and other similar settings. Make sure that all these settings are set correctly.
Then, follow the instructions from the next section of this article.
2. Check that the audio settings are set correctly
Most webcams also have built-in microphones and although you might have video in Skype, there are times you have sound issues. To check that everything's alright in this area too, in Skype's Options window, head to the General tab and open the Audio settings. On the right side of the window, you should see what microphone and what speakers Skype is configured to use.
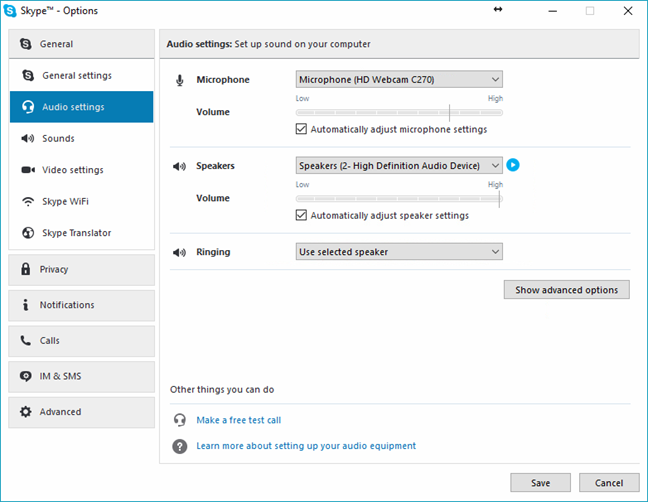
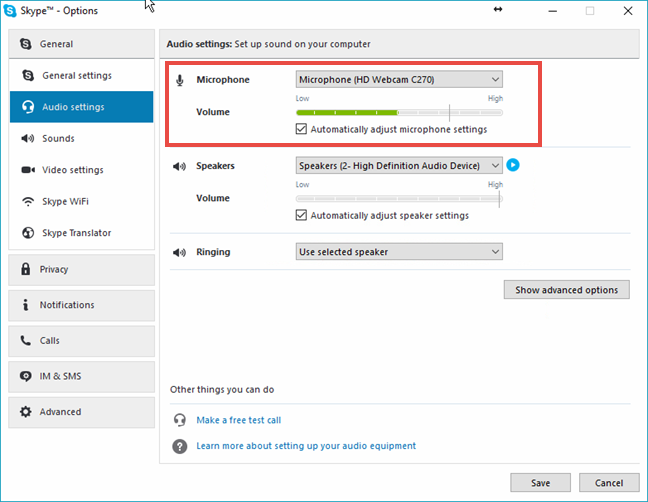
Make sure that the correct microphone is selected. For instance, if you want to use the microphone that's built into your webcam, it should bear the same name as the webcam. If you want to use the microphone on your headphones, or if you want to use an external microphone, it should bear a name like Microphone (Your sound card's model name). Select the right one and say something aloud - when you do that, the microphone's volume slider should turn partially green to let you know that sound has been detected. If it doesn't turn green at all, the microphone you've selected most probably doesn't work.
Although it's not related to the webcam, it doesn't hurt to also check that the right speakers or headphones are also set. Right beneath the Microphone section, you should be able to select the ones you want to use.
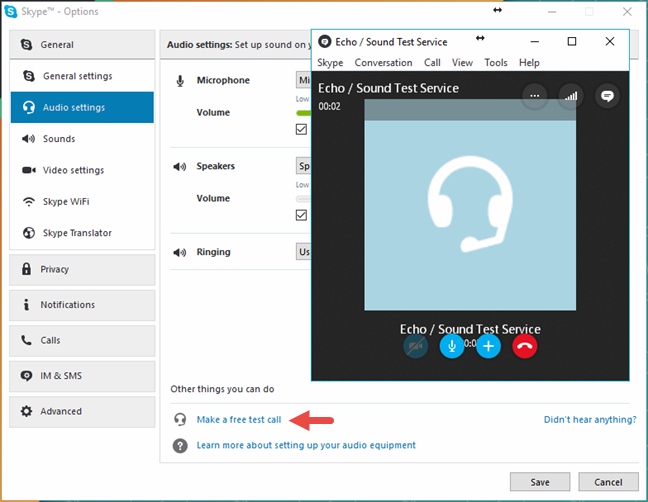
3. Make a free test call to make sure that your webcam's microphone works correctly
Once you've made the configurations you want, at the bottom part of the Audio settings panel, you will see a link that says "Make a free test call". Although it's not mandatory, if you click/tap on it, Skype will initiate a call that will let you say something, record what you say using your microphone, and then play it back to you. If you can hear yourself, then it means that the webcam's microphone is set correctly.
Once everything's set as you want, press Save to apply your changes.
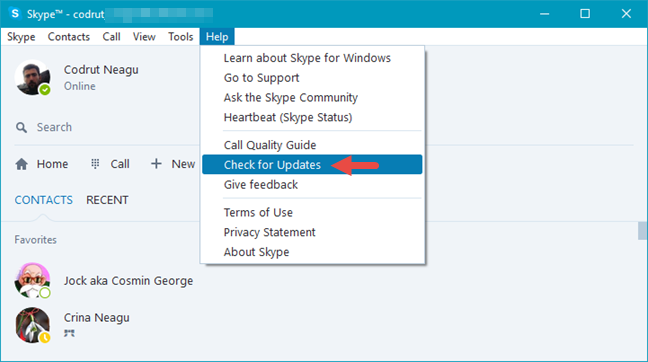
4. Make sure that you use the latest version of Skype
It may seem pretty obvious, but making sure that you use the most recent version available of Skype is crucial. This platform is evolving rapidly and, if you use a very old version of Skype, things won't work smoothly anymore. Microsoft delivers new updates for Skype on a regular and rather fast pace. Outdated versions of Skype may have annoying bugs, certain features become deprecated and the Skype infrastructure changes rapidly, requiring users to stay up-to-date with their apps. On the desktop version of Skype, go to "Help -> Check for Updates" and Skype will tell you whether you have the latest version or not.
You can always download the latest version of Skype from its official website: Download Skype.
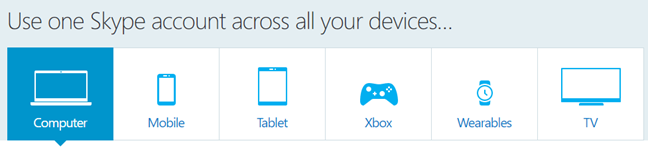
As you will see, Skype is available for all kinds of devices, starting with computers with Windows or Linux, to smartphones of all kinds, tablets, Xbox consoles, wearables and ending with smart TV's.
5. Close other apps that could interfere with the webcam
Webcams are not usually able to provide video feeds to more than one app requesting video. This means that, if you use Skype for a video call, it should be able to use your webcam exclusively. Sometimes, Skype can stumble upon barriers: if your webcam is already being used by another app that doesn't grant the control over to Skype, then Skype can't use the webcam. To avoid this situation, make sure that there are no other apps open on your Windows computer that use your webcam. For example, you should avoid using other chat apps that are capable of performing video calls.
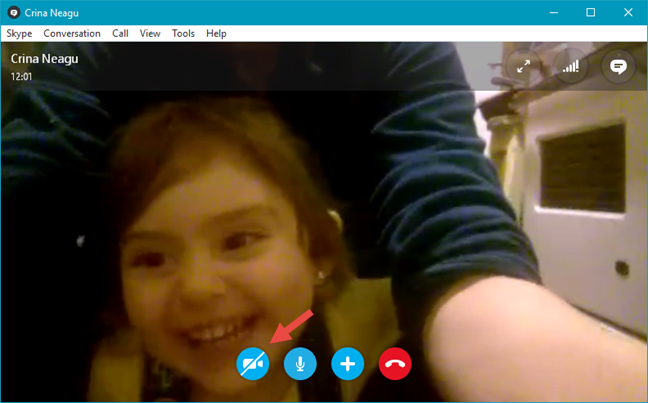
6. Make sure that the webcam is on and that it's facing you
Don't laugh, as there are times when this can happen, like after a very long night with your buddies at the local pub. 🙂 You should check that the webcam is facing you and also make sure that it's on. When you're in a Skype call, check that its video button is enabled.
Read the next page of this article, to see more things which you can do to troubleshoot the issues you have with your webcam in Skype. Some of the other possible causes are poor USB connections, poor internet connections, or bad drivers.