
Once you get your hands on a copy of Windows 8, you'll notice it comes packaged with a few useful apps to get you started. These apps aren't the standard Desktop applications you're used to, they're Windows 8 apps, and they're nothing like anything Windows has offered before.
The first of these apps that we'll take a look at is Mail. After a short setup, this app can take the place of any mail client you've used in the past. You can pull all of your emails, from all of your various accounts into one place, and I'll show how.
How to Launch the Mail App in Windows 8
In order to get started with the Mail app, you'll need to get to the Start screen. Check out this handy guide for a full list of the available ways to get there: Seven Ways to Access the Start Screen in Windows 8.
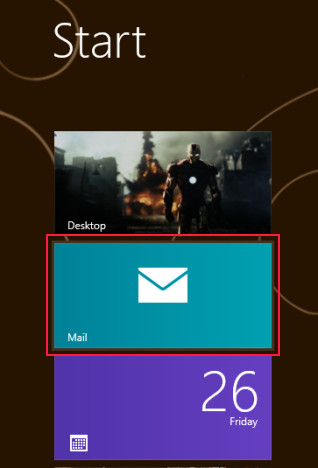
Once the Start screen loads, look for the bright blue Mail tile and give it a click or a tap.
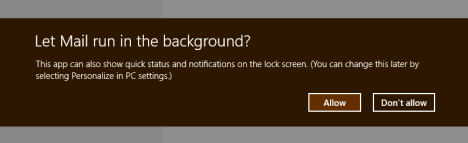
The first time you load the app, you'll be asked a few questions to help with the initial setup. The first question you'll have to answer is whether or not Mail can run in the background. In order to get the most from this application, including receiving notifications when new mail arrives, you'll want to click or tap "Allow." If you don't want notifications and you want to conserve limited system resources, you can click or tap "Don't Allow."
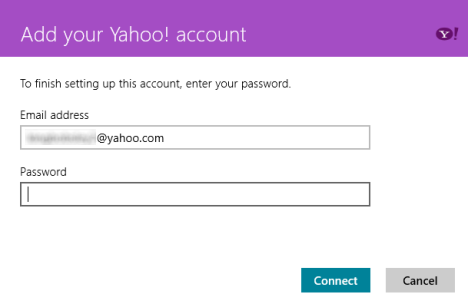
Next, Mail will check the account you use to log-in to Windows and ask you to configure it. In this case, the user logged in with a Yahoo account. If you are also using an account that Mail recognizes, you'll simply have to enter your email account password and click or tap "Connect." If you're account isn't immediately recognized by Mail, you'll have to configure it manually as describe in the next section.
How to Add an Account to the Windows 8 Mail App
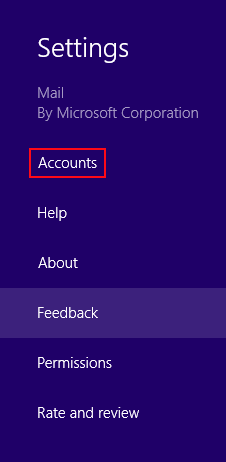
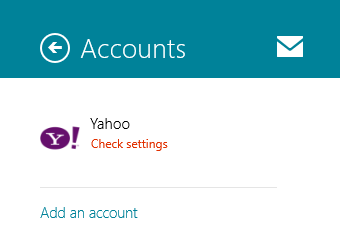
Now that your primary account is added, you'll be able to receive and send email. If you have another account, you'll want to add that as well. To do this, access the charms when the Mail app is opened and click or tap "Settings." From there, click or tap "Accounts."
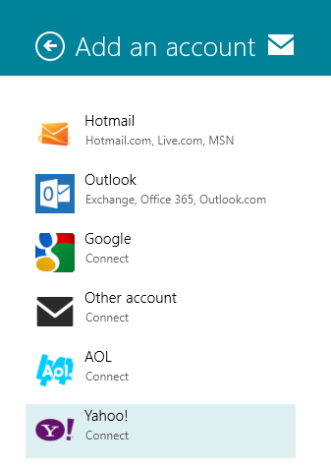
Click or tap "Add an Account."
Select your email account service from the available list. If your email account isn't listed you may be able to select "Other Account."
However, if your email account is a POP3 account and is not on the list, you won't be able to add it to Windows 8 Mail. To get around this, you can create a new email account using a compatible service such as Yahoo! or Gmail, or use another existing account. Add the compatible account to the Mail app and then configure that account to check your POP3 account for mail. This way, email from both accounts will be received in Windows 8's Mail.
For instructions on how to do this, check out these helpful guides for: Outlook.com, GMail and Yahoo!.
Once you've selected your account, enter the email address and password and click or tap "Connect."

How to Switch Between Multiple Mail Accounts
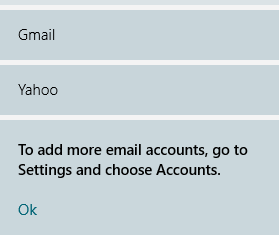
Once you have multiple accounts configured, you'll see their names listed at the bottom left corner of the Mail app window. To get email from one account or the other, simply click or tap on its name.
How to Configure your Windows 8 Mail Accounts
Mail will configure each email account with default settings when you add it. If you want to make some changes including altering the password used by the app, how often Mail checks for new messages or whether or not to use a signature, you'll need to access the account settings. Open the Settings charm and click or tap "Accounts". Click or tap the account you want to edit to load its settings.
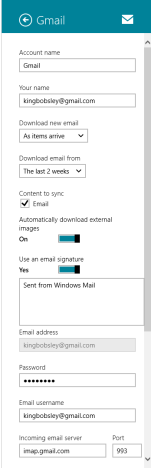
Make your changes and then click or tap the arrow on the top of the menu. You'll notice the last option to configure is whether or not to receive notifications from this account. For more information about configuring notifications in Windows 8, read this article: Introducing Windows 8: How to Configure App Notifications.
Another useful & more advanced guide you should read is this one: Introducing Windows 8: How to Configure Mail App Accounts.
How to Read E-mail Messages in Windows 8 Mail
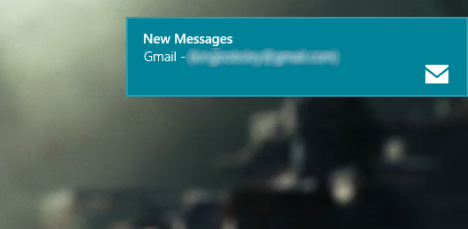
Once your accounts are all set up and configured, you'll start receiving emails in the Mail app. The fastest way to get to your messages is to click or tap the New Messages notification.
You can also access the Mail app from the Start screen. Select the mail folder on the first column of the app, select the message from the second column and read it in the third column.
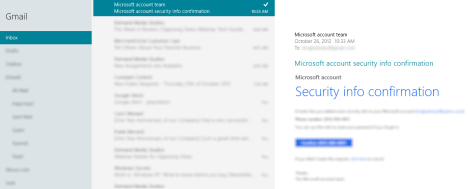
NOTE: On smaller displays and lower resolutions (such as 1024 × 768 pixels), the second column is merged with the first column. For example, when you select an email account or folder, the Mail column is replaced by the Inbox column. To get back to the Mail column, click or tap the Back button at the top of the column.
How to Send Emails in Windows 8 Mail
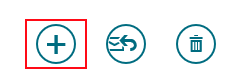
To send a message, click of tap the "+" in the top right corner of the app screen.
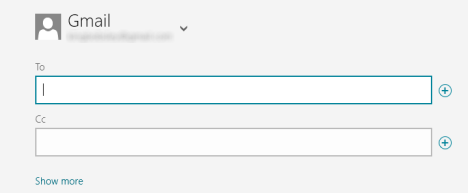
Enter the recipient in the "To:" field, enter a CC address if required and click or tap "Show More" if you want to add a BCC or change the message priority. If you have multiple accounts configured, click or tap the down arrow to the right of your email address and select the account from which you want to send the message.
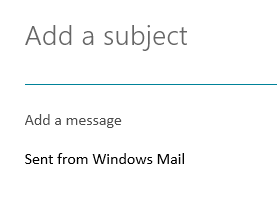
Click or tap "Add a subject" and type a subject for your message. Click or tap "Add a message" and type to enter the body of your email. Click or tap "Sent from Windows Mail" to edit the signature. To get rid of this signature, or to permanently change it, use the account settings described above.
Once your message is composed, click or tap the Send button on the top of the window.
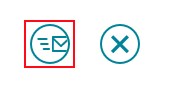
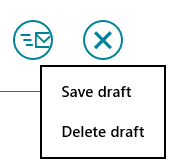
If you don't want to send the message, or you want to discard it, click or tap the "X" on the top of the screen. Click or tap "Save Draft" to complete the message later or click or tap "Delete Draft" to discard it and return to your inbox.
We have created a detailed tutorial that shows how to arrange your inbox, format messages, sync your inbox on an ad-hoce basic, etc. You can find it here: Introducing Windows 8: How to Manage Your Mail App's Inbox & Messages.
How to Reply to Messages in Windows 8 Mail
To send a reply to a message you receive, click or tap the reply button on the top right corner of your inbox screen while reading the message. Use the instructions above for addressing and writing the reply message.

How to Delete Messages in Windows 8 Mail
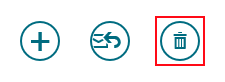
To delete an email message, click or tap the trash can button from the top right corner of your inbox screen after selecting the email. If you hit this button in error, don't panic. The message is only sent to your Deleted folder and can be retrieved from there. Simply find the deleted message, select it, right-click or swipe up from the bottom of the screen, click or tap "Move" and select the folder you want to move it to.
Conclusion
At this point you should be fairly comfortable with Windows 8 Mail. This simple streamlined app should serve to make your life easier, especially if you're used to corralling mail from multiple web services. Take your time to get used to this new app, it's a bit different but we're confident that in no time you'll be glad to have this app on your Start screen.
Now that you've gotten to try out Mail, how do you think it compares to other email clients like Outlook or Thunderbird? Give us your opinions or questions below.