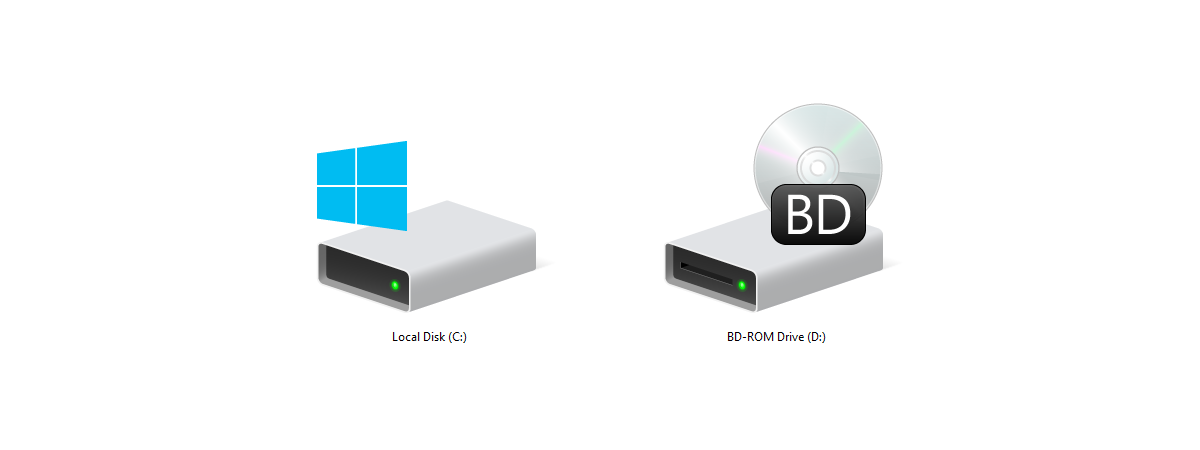
Do you have a USB drive for which you want to change the name and icon displayed by Windows in File Explorer? Are you tired of the default drive icons shown by Windows, and you want to change them with custom ones? If the answer is yes to any of these questions, you’re in the right place. Here’s how to set a custom name and icon for any drive on your PC, including USB drives:
IMPORTANT: I created this guide using Windows 11, but the procedures described also work in Windows 10, as well as older versions like Windows 7. Before you go ahead with any of the two methods in this guide, you need to download the icon(s) that you want to use. They must be using the ICO file format. You can’t use PNG, JPEG, or other image files. Here are some sites where you can download cool icons for free.
How to change a drive’s name and icon manually
You first need the icon (a file with the extension .ico) and the name you want to use for your USB memory stick, hard disk drive, or internal drive. For example, I enjoyed Batman a lot as a teenager, so I decided to use the icon below. If you like it too, you can find it here: Cinema Batman Old Icon.
Cinema Batman Old Icon
Open File Explorer and copy the icon to the root of the drive where you want to use it. Set File Explorer to show file extensions if it doesn’t do that already, like this:
- In Windows 11, click or tap the View button at the top of the File Explorer window and choose “Show -> File name extensions.”
- In Windows 10, click or tap the View tab and check the box that says “File name extensions.”
While in File Explorer, go to the root of the drive for which you want to change the default icon and name. In my case, it’s the E: drive, which is a USB memory stick. Right-click (or press and hold) inside the empty space on the drive and choose “New -> Text Document.”
Create a new Text Document
Windows creates a new text file named “New Text Document.txt” - check the screenshot below.
The icon and the text file are on the drive you want to personalize
Click or tap on the file’s name to select it, press the F2 key on your keyboard, or right-click (press and hold) and choose Rename. Delete the file's original name, including its “.txt” file extension. Write autorun.inf or Autorun.inf instead and press Enter on your keyboard or click or tap outside the file.
Rename the file to autorun.inf
You are asked to confirm that you are ok with changing the file name extension. To go ahead, click or tap Yes.
Confirm that you want to change the file name extension
You’ll notice that the file is renamed, and its icon changes. Double-click (or double-tap) on autorun.inf to open it. Then, write in it the following:
[Autorun]
Icon=The icon’s file name
Label=The new name of the drive
You can see what I wrote for my USB drive in the screenshot below. Before doing anything else, don’t forget to save the file's contents, so that your settings are applied. In Notepad, you do this by clicking or tapping File -> Save or pressing CTRL + S on the keyboard.
What to write inside autorun.inf
If you placed the icon in a folder instead of the drive’s root, you must specify the icon's location relative to the root of the drive. For instance, I placed my icon in a folder named Batman. Look at the screenshot below to see the path I wrote in autorun.inf.
Specify the location of the icon, relative to the drive's root
Last but not least, you might want to hide the .ico and autorun.inf files, to keep them from being shown in the drive's contents. To do that, right-click (or press and hold) on each of them, choose Properties, check the Hidden box, and click or tap OK. This way, you ensure that they will never be deleted by accident because they won’t be visible in File Explorer unless you set it to display hidden files.
Check the Hidden box for both the .ico file and autorun.inf
Eject the newly configured USB drive or restart Windows if you’ve personalized a drive inside your computer. The next time you plug the removable drive or reconnect to Windows, the drive will bear the new name you chose, and it will use the new icon you’ve set for it.
My USB drive has a new name and icon
I’m definitely enjoying my Batman drive. 🙂
How to set a custom drive icon using Drive Icon Changer (free app)
If you’re not a fan of the first method, you can try changing the drive icon using an app. First, download the Drive Icon Changer app from Softpedia. There, you’ll find the latest version of the app, and you don’t have to fight your way through as many ads as on other download sites. You’ll download a DriveIC_setup.zip file which you have to extract. If you don’t know how, read this guide: How to unzip a file in Windows (with built-in tools).
Extract the DriveIC_setup.zip archive
Inside the archive, there’s a file named DriveIC_setup.exe. Right-click (or tap and hold on it) and choose Run as administrator. When you see the UAC prompt, click or tap Yes.
The setup wizard for the Drive Icon Changer is shown. Press Next and follow the instructions for installing the app.
The setup wizard for the Drive Icon Changer
Click or tap on the Drive Icon Changer shortcut in your Start Menu to run the app. Next, press the “...” button and choose the icon file you want to use. Then, select the Drive letter from the dropdown menu, and click or tap Change Icon.
Use Drive Icon Changer
You are informed that the icon was changed successfully.
The icon was changed successfully
I decided to use icons from the Batman universe for all my drives. Check out the final results:
I changed the icons for all my drives with stuff from Batman
NOTE: Unfortunately, the Drive Icon Changer app only changes the icons shown for your drives, not their names. If you want help with that, read this guide: 5 ways to rename any drive in Windows 10. Many of the methods shown in that guide also work in Windows 11, not just Windows 10.
Did you change a drive’s icon, name, or both?
I hope that you found this guide helpful and that you’ve personalized your drives as you wish. Before closing, tell me which method you used and what you ended up changing for your drive(s). What icons did you use? We’re curious to hear your ideas, so comment below, and let’s discuss.


