If you buy a laptop from a different country and Windows 7 comes pre-installed, most probably you will want to change the display language to the one used in your country. The same when, for example, you want to give a computer as a gift to someone else, who might not be keen on using Windows 7 in English and they prefer their local language. For such scenarios, you need to know how to install and change the display language. The procedure is different, depending on the version of Windows 7 you have installed. In this tutorial we will cover the procedure you need to follow when using Ultimate and Enterprise editions of Windows 7. For other editions, stay tuned for future tutorials.
Download & Install the New Display Language
First, you need to download and install the display language you want to use. For Ultimate and Enterprise editions of Windows 7, this is done easily, through Windows Update.
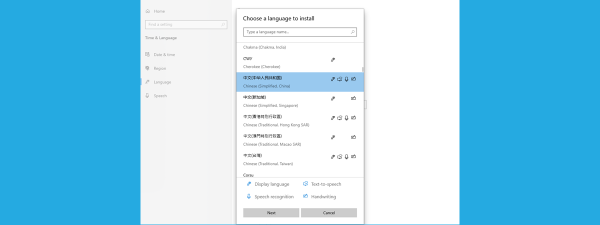
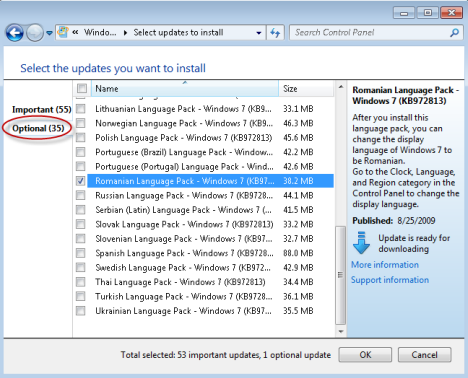
Open Windows Update and check for new updates. Review the results and go to the Optional section. There you can see the complete list of display languages available for your edition of Windows 7.
Check the language you want to install and click OK.
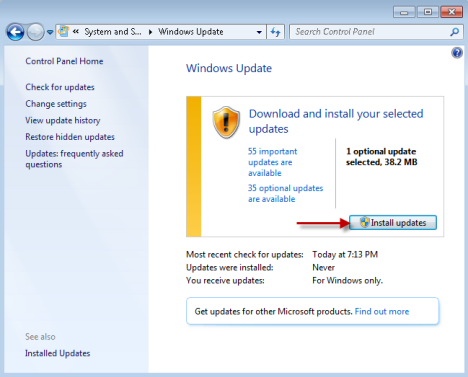
You are taken back to the main window of the Windows Update tool. Click Install updates.
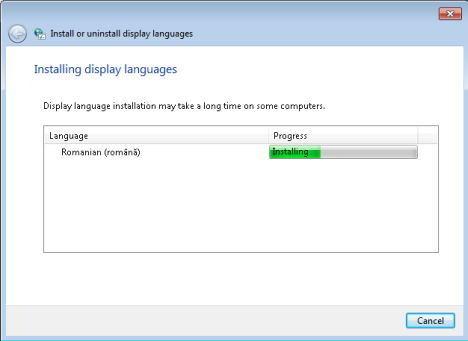
Wait for the update to be downloaded and installed. During the installation process, a new window opens, called 'Install or uninstall display languages'. If you access it, you can see the progress of the installation procedure. Let the process run without making any interventions.
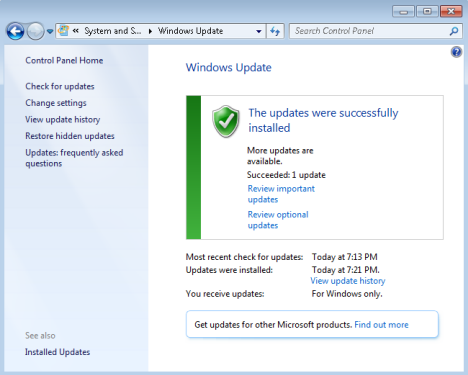
Once done, you are notified that the updates were successfully installed.
The new display language is now installed but not applied. Close the Windows Update window and follow the instructions in the next section.
Change the Display Language
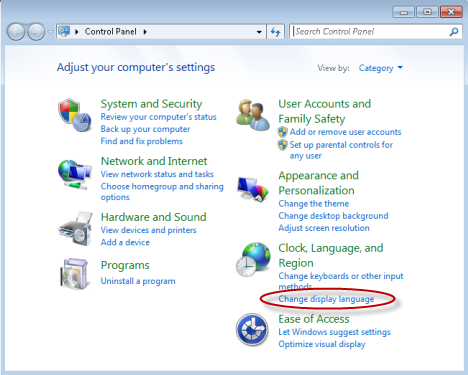
Open the Control Panel. In the 'Clock, Language, and Region' section, look for the 'Change display language' link. Click on it.
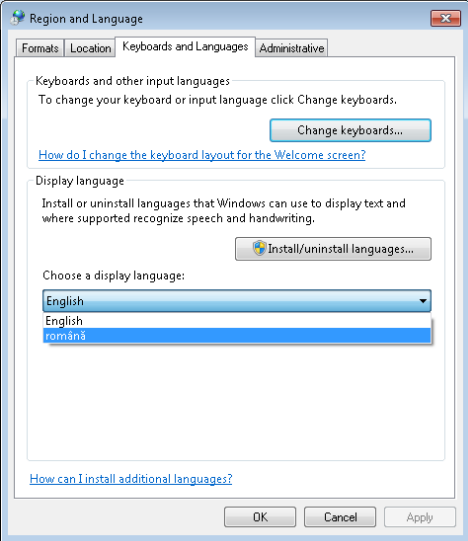
The Region and Language window is opened. In the Keyboards and Languages tab, go to the 'Choose a display language' drop-down list. Select the new display language you want to apply and click OK.
You are notified that you must log off in order for the new display language to be applied. Close the work you have opened at the time and then click Log off now.

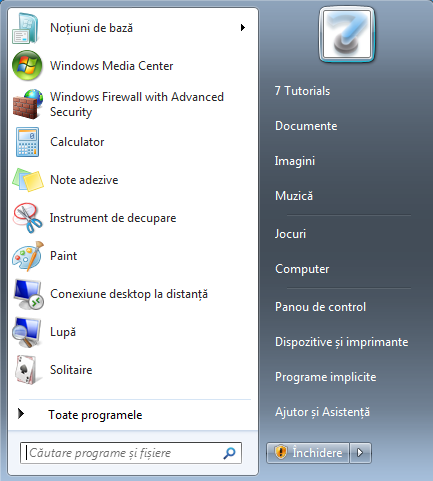
Log back in and the new display language is applied. If you open the Start Menu, for example, you will notice that all the shortcuts are named using the language you selected.
Conclusion
As you can see, the procedure is not really complicated. All you need is a bit of patience and a few clicks. If you have any questions or problems with the above procedure, don't hesitate to leave a comment.