
Windows 8.1 provides a more complex PC Settings panel that, for some tasks and settings, it is better and more complete than the traditional Control Panel. One of the surprising things you can do with it is that you can create VPN connections, configure them in detail and remove them when you no longer need to use them. Here's how it all works:
How to Start the Add VPN Connection Wizard
First of all, access PC Settings. If you don't know how, read this guide: Six Ways to Access PC Settings. There, go to Network and then to Connections.

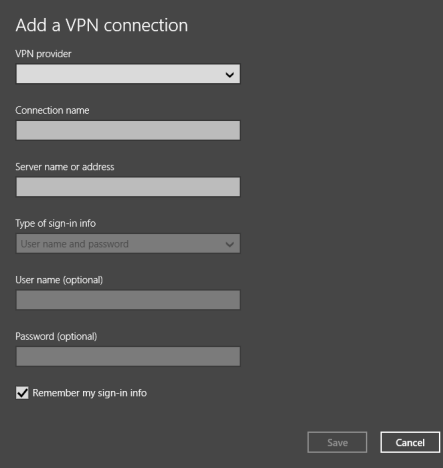
You will find several settings, including one named VPN. Click or tap Add a VPN connection. The Add a VPN connection wizard starts. If you compare this wizard to the desktop version, you'll see that this one offers more customization options.
I found this very surprising.
How to Add a VPN Connection in Windows 8.1
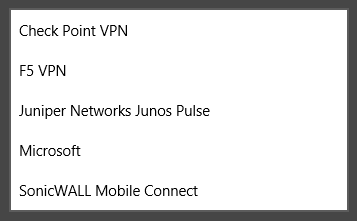
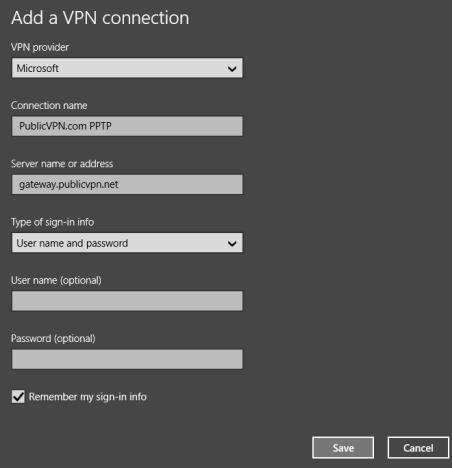
Now that the wizard is started, let's complete the required configuration options. First, select the VPN provider used by the service you connect to. Windows 8.1 provides support for the most popular service of this type.
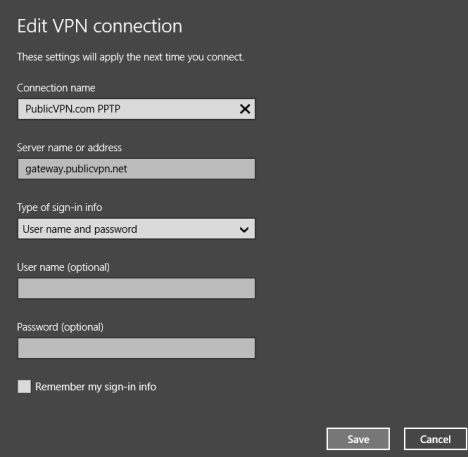
Next, type the connection name, followed by the IP or domain address of the VPN server, in the Server name or address field.
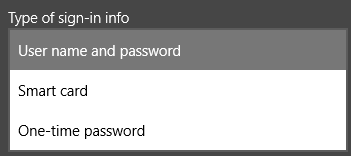
NOTE: Depending on the VPN provider you are using, you may not be asked to enter any sign-in information. If that's the case, you will only complete the fields that are editable and not grayed out. Then you can select the sign-in information that will be used to connect to the VPN service. Depending on how the VPN service is set up, you will need to have a user name and password, a smart card with a chip on it or a one-time password.
Depending on the sign-in info you selected, you may also need to provide a user name and password. However, they are optional at this step.
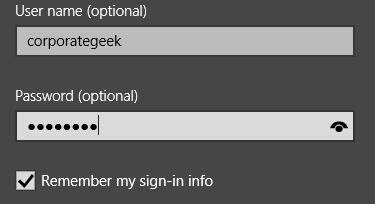
For security purposes though, it is best to uncheck the option that says "Remember my sign-in info" to make it hard for others to use your VPN connection. Click or tap Save to create the VPN connection and the connection is now listed in PC Settings, under Network -> Connections -> VPN.
How to Connect to VPN in Windows 8.1
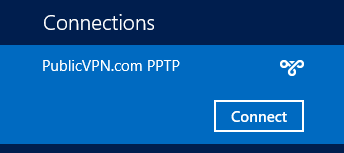
Bring up the Networks pane. In the Connections section click or tap the VPN connection, then click or tap Connect.
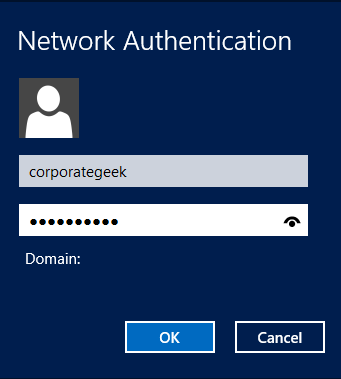
You are asked to enter your user account details. Type the username and password for your VPN connection and click or tap OK.
How to Edit the Properties of a VPN Connection in Windows 8.1
If you want to change anything about a VPN connection you added, you can do it from PC Settings.
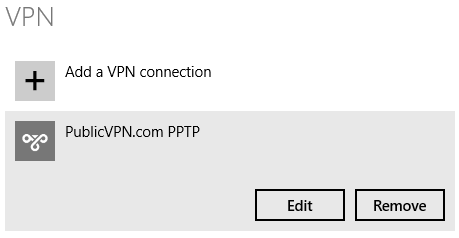
Go to Network and then to Connections. In the VPN connections, select the connection you want to configure and press Edit.
This opens a long list of connection properties and configuration switches and options. First, you see the Connection properties section.
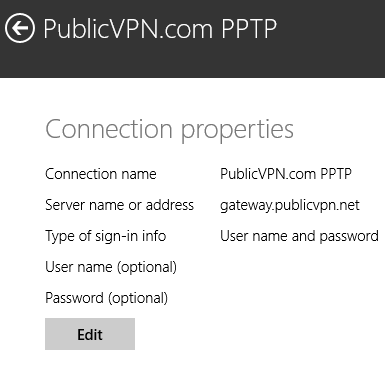
A press on Edit opens the initial settings you provided when you created the VPN connection. Make your changes and press Save.
If you scroll down, you have VPN proxy settings. First, you can turn on its automatic configuration and provide an address for the configuration script.

If you scroll further, you can turn on the manual configuration and provide the necessary details for using a proxy server.
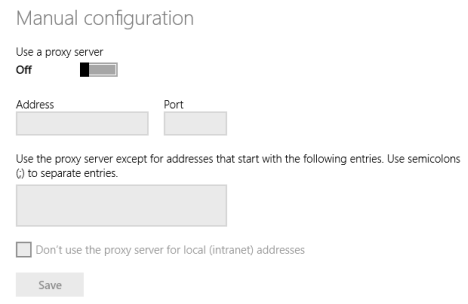
After making the changes you desire, don't forget to press Save, so that they get applied.
How to Remove a VPN Connection in Windows 8.1
If you want to remove a VPN connection that you created, go to PC Settings -> Network -> Connections. Select the VPN connection you want removed, then press Remove and confirm your choice.
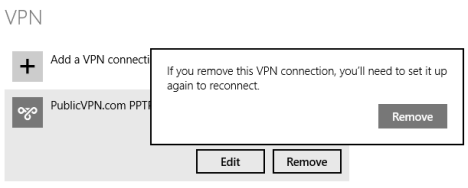
The connection is now removed from Windows 8.1.
Conclusion
As you can see from this guide, adding and configuring VPN connections from PC Settings is easy. Also, you receive access to a surprising amount of settings that can be changed in detail. If you are looking for other useful networking tips for Windows 8.1, don't hesitate to read the articles recommended below.