


Movie Maker allows you to easily create photo slideshows and home movies without any technical knowledge. You can give them a more professional look and feel by adding transitions, pan and zoom and other visual effects. In this tutorial, we will explain the differences between each of these animations and effects and we'll show you how to use them into your Movie Maker project.
NOTE: If you are new to Movie Maker, you might want to catch up on the basics before beginning this tutorial. Reading these articles will help you:
- Simple Questions: What are Windows Essentials & How To Install Them?
- How To Import Photos & Videos Into Windows Movie Maker
- How To Edit Videos In Windows Movie Maker
- How To Add Music To Videos In Windows Movie Maker
How To Add Animations Into Windows Movie Maker
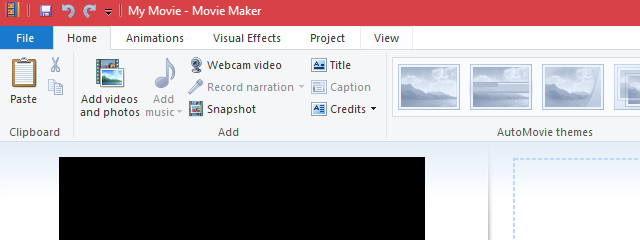
The Animations pane on the ribbon contains two different kinds of animations that you can add to video clips or photos: Transitions and Pan and zoom.

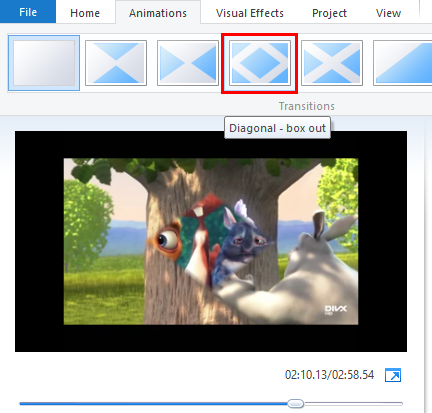
Transitions are applied to the beginning of the selected clip. In order to apply them, select a photo or a video clip and choose a transition from the gallery in the top-left side. You can mouse over a transition to preview it.
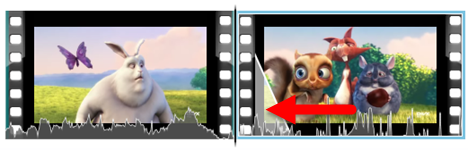
Once you've applied a transition, the clip in the timeline will have a washed-out diagonal region that shows where the transition begins and ends.
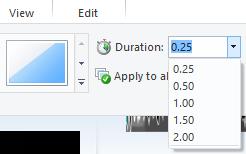
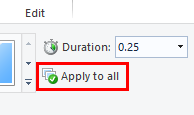
You can alter how long the transition takes by changing the Duration to the right of the Transitions gallery. After applying a transition to a clip or photo, select it and enter a duration between 0.25 and 2.00 seconds.
If you want to apply the same transition to all of your clips and photos, you can click or tap Apply to all after selecting a transition. This, however, is a surefire recipe for a repetitive video or slideshow.
You can't add a transition to the end of a clip. So, if you want to have a clip fade to black, you have to apply a dissolve transition to the clip immediately after it. A bit of a roundabout way to do things, but it accomplishes the same effect.
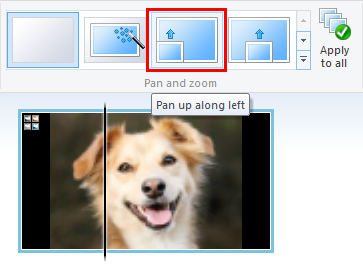
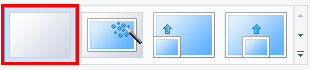
On the right-hand side of the Animations tab is the Pan and Zoom gallery. These can be applied in the same way as transitions. Select a photo, and then choose a pan and zoom setting from the gallery.
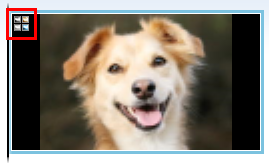
When you apply an pan and zoom effect, there will be an icon in the top-left of the clip. Note that you cannot alter the duration of a pan and zoom effect.
Just as with transitions, you can choose your selected pan and zoom effect to be applied to all by pressing the Apply to all button. The best use of this feature is to select Automatic and then Apply to all. This will apply a random pan and zoom effect to each photo, which helps change things up a bit.
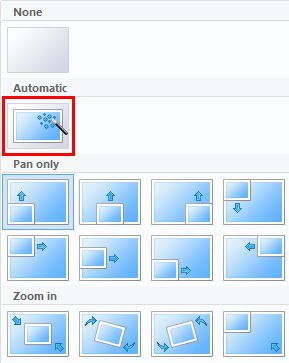
If you want to remove transitions or pan and zoom animations, simply click None from the corresponding gallery.
NOTE: You cannot add pan and zoom effects to video clips. This works only with photos.
How To Add Visual Effects In Windows Movie Maker
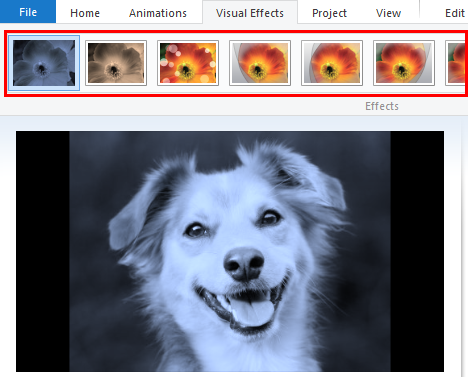
The Visual effects can be applied to both photos and videos. The Visual Effects are located in the tab with the same name and if you want to apply one of them choose a clip and then select an effect from the gallery.
In the Visual Effects tab, you will also find the setting that lets you adjust the Brightness. You can brighten or darken any clip or photo independently of any visual effects that have been applied.

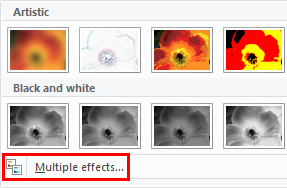
The Visual Effects feature allows you to add multiple effects to a single clip. In order to do this, click the arrow to expand the gallery and choose Multiple Effects.
In the Add or Remove Effects dialog, you can choose which effects to be applied to your selected clip. If you want to add an effect, highlight it in the Available effects menu and click or tap Add. If you want to remove an effect, select it in the Displayed effects column and click or tap Remove.
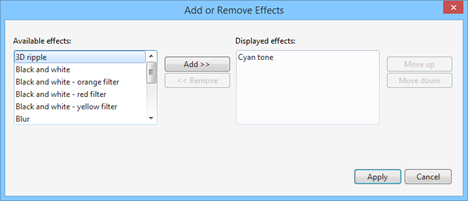
You can also choose the order in which the effects are applied. Depending on which effects you choose, this may affect how the video is ultimately displayed. Press Apply when you are finished.
Conclusion
That's all about adding transitions, pan and zoom and visual effects to your Movie Maker. Feel free to experiment with different combinations, there is no risk of overwriting the original, and you can always remove an effect as easily as you applied it. For more tips on Movie Maker, check out some of our related articles and if you have any questions or problems, do not hesitate to use the comments form below.


