


With more than two billion registered users using both computers and mobile devices, Skype makes it easy to connect with people from different organizations or geographies. The sound quality of your Skype calls on Windows 10 relies on making correct audio settings, as well as the quality of your internet connection. But, how many times have you been in a Skype call, only to be frustrated by the poor quality of the sound? Fortunately, you can adjust and test the audio settings in Skype for Windows 10 so that your next call goes more smoothly. Here is how to adjust and test your microphone and speakers settings in Windows 10:
NOTE: This tutorial covers the audio settings in Skype for Windows 10. If you need help with the camera settings, read 11 things you can do to fix webcam issues on Skype.
How to open audio settings in Skype for Windows 10
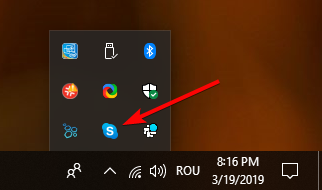
The adjusting of the microphone and speakers is done in the audio settings of the Skype app. Open the Skype app in Windows 10 by double-clicking or double-tapping on its icon in the system tray, or by using its shortcut in the Start Menu.
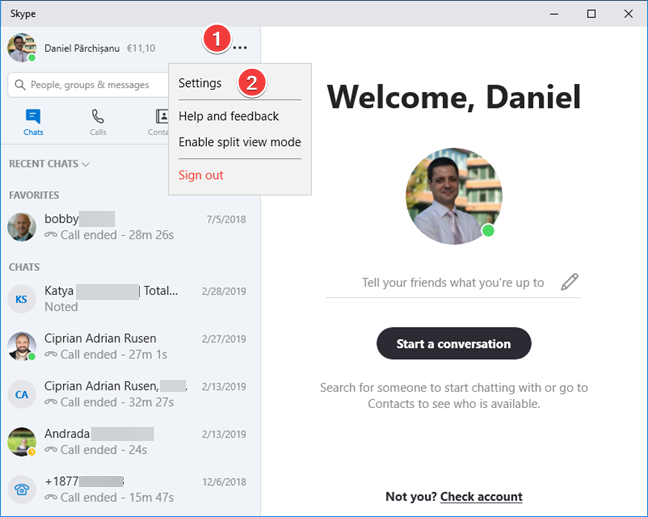
At the top-right of the left panel, you have a More menu button represented by three horizontal dots. Click or tap on it and then on Settings in the menu that opens.
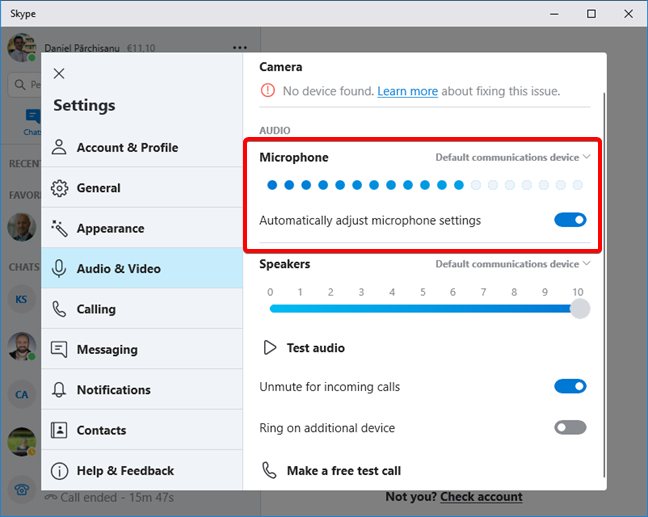
A window is shown, with all the settings for Skype. Click or tap Audio & Video on the left side.

How to configure the microphone in Skype for Windows 10
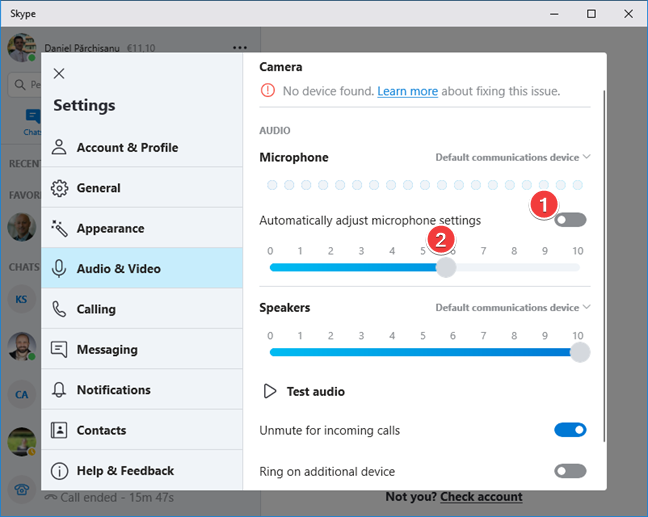
After opening the Audio & Video settings, continue by adjusting the microphone settings. They are the first ones in the AUDIO section. In the middle of the section, there is a microphone input bar represented by horizontal dots that show the level of the audio input that is entering the Skype app through the default microphone selected for the app. Talk a bit, and if you do not see the dots filling up while you talk, it may mean you have the wrong device selected as your microphone.
Skype selects the default microphone device chosen by Windows as your microphone. On the same line as the word Microphone, you have a button listing the current selection. The default value is "Default communications device." Click on its name and a drop-down menu opens with the list of all the devices that Windows can use as a microphone. In the menu, choose the device that you want to use as the microphone for Skype.
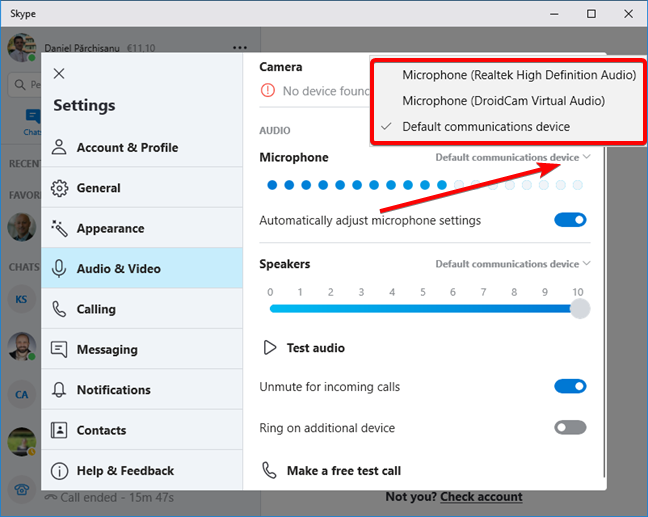
You can test your selection right away by speaking into the microphone. If you have made the correct selection, the microphone input bar starts to color its dots while you talk, showing the input level. You can repeat the process of changing the device until you select the correct microphone that works. If there is no improvement, your microphone might not be correctly plugged into your Windows PC. Check whether you plugged it into the correct port.
The next adjustment is the volume level for the microphone. By default, Skype manages this level automatically. That's why you have a switch for "Automatically adjust microphone settings." We found this automatic management to be reliable, especially for avoiding microphony. You can decide to overwrite Skype's automatic management and impose a volume level that works better for you. If you want to override the volume level, turn off this switch, and a volume level bar is shown where you can manually set the volume level by clicking on the desired level.
Next, let's see how to set up the speakers used by Skype, in Windows 10.
How to configure the speakers in Skype for Windows 10
The Speakers settings come immediately after the Microphone ones in the AUDIO section.
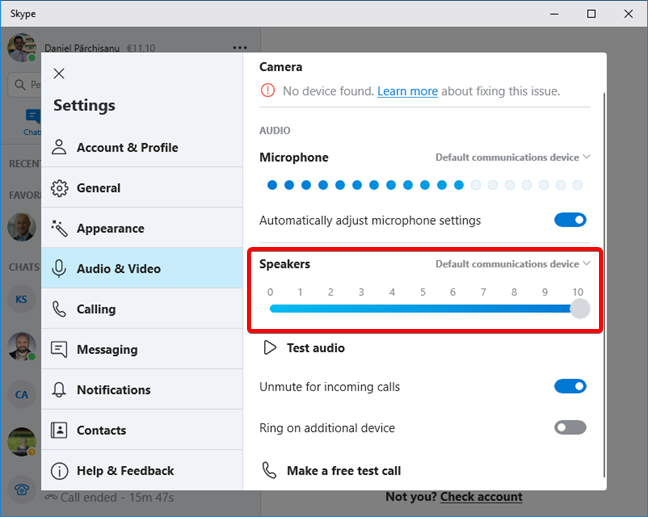
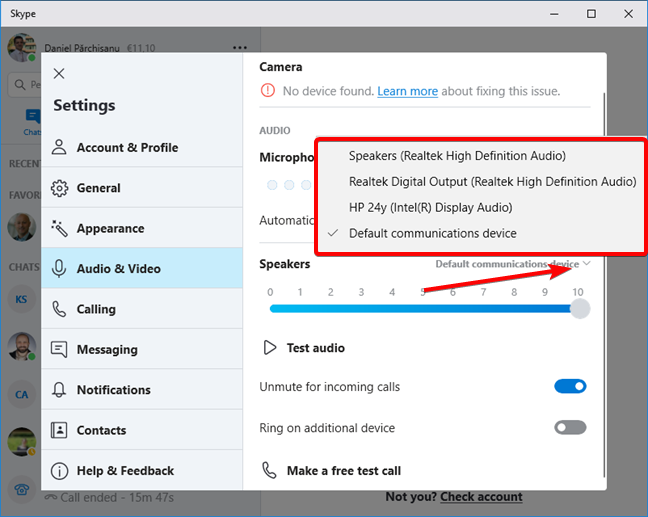
On the line with the word Speakers, the current device used for the speakers is displayed. Skype uses by default the speakers chosen by Windows and displays "Default communications device." If you want to change things, click or tap on the name of the device, and a drop-down menu opens with all devices that can be used as speakers for Skype. Select the one you want.
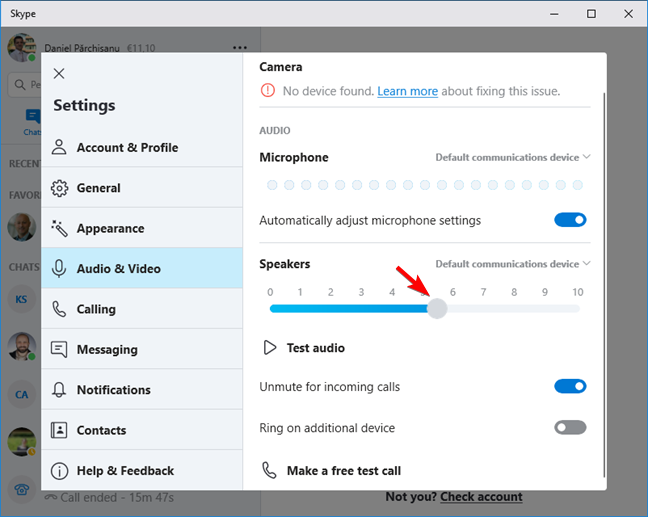
Underneath the device selection, there is a volume level bar for the speakers. Click or tap on it to set the desired sound level.
The microphone and speakers settings are done. Next, let's test them so that you do not have a bad surprise during your next call.
How to test the speakers in Skype for Windows 10
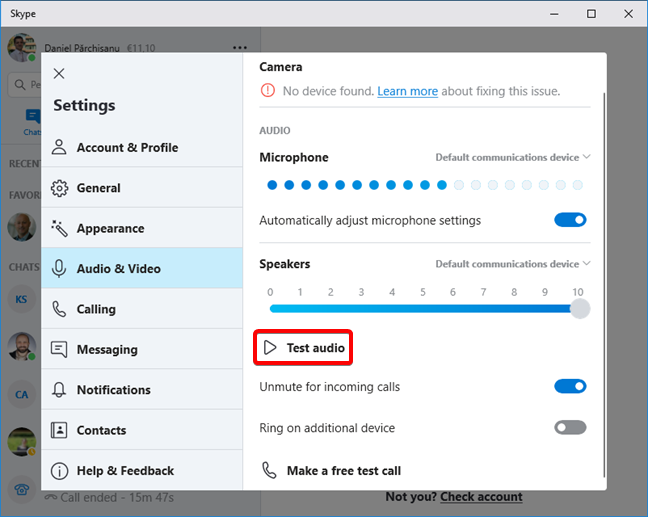
Immediately underneath the volume level bar, there is a Test audio button with a play triangle icon. Click or tap on the button to start the test.
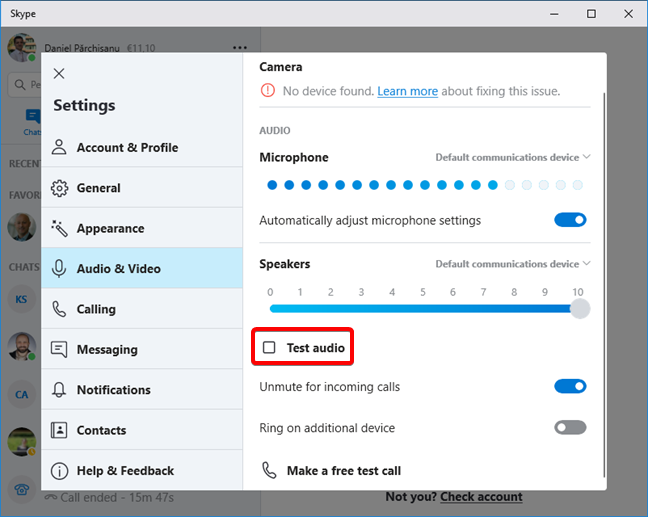
Skype starts playing the ring melody on your speakers. You can use the volume level bar for the speakers to adjust the volume level while you listen to the ring sound. When you are done, press the square Test audio button to complete the procedure.
How to test your audio settings in Skype for Windows 10
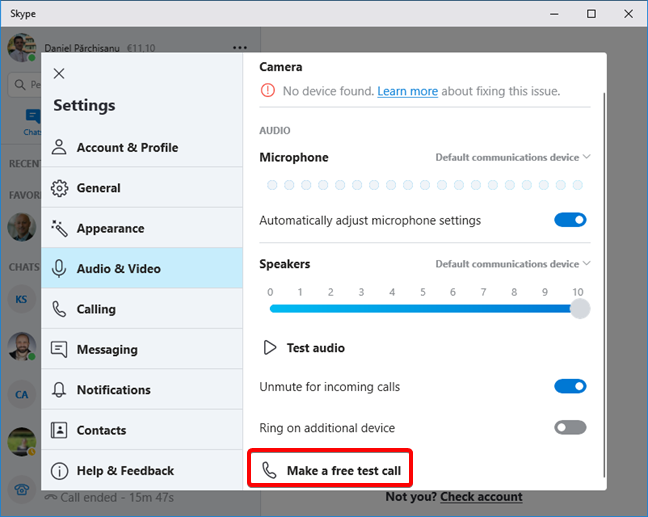
To test both your microphone and speakers, Skype gives you the option of running a simulation call. Click or tap "Make a free test call" button with a vertical phone receiver icon, found on the bottom of the settings page. This action starts the simulation call.
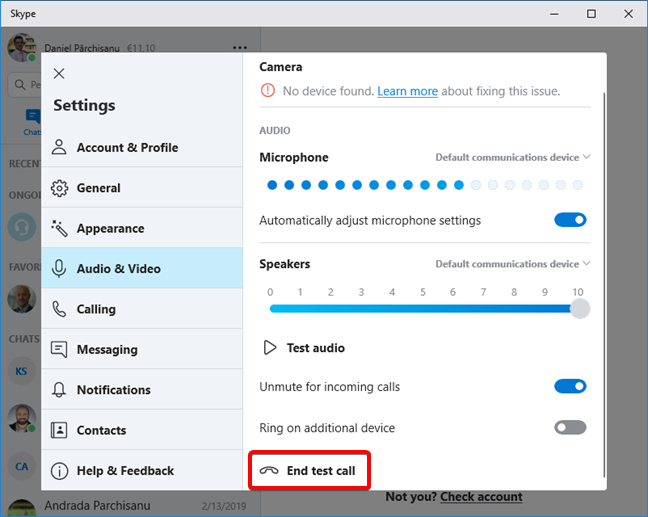
The button changes to End test call and the phone receiver icon is horizontal, and you hear instructions from Skype on how to test your Skype audio settings. Follow the instructions during the simulation call and register a voice message that you can hear it played back to you during the same call. Skype is going to close the call when it is finished. You can press the End test call button at any time, to cut short the simulation call.
After this simulation call, you have a precise idea of how you are going to hear your conversation partners, and how they are going to hear you. If you can hear what you say played back to you, everything is good, and you can enjoy Skype calls without problems.
Did you set up your microphone and speakers in Skype for Windows 10?
Skype is one of the pioneers of the voice call technology over the internet, and it remains a widely used solution today. Windows 10 comes with a pre-installed Skype app, and you can get your calls started right away without the need to install additional software. Also, now you know how to adjust your microphone and speakers settings so that you get the best out of your Skype calls. Let us know whether you were able to correctly set Skype so that you can call people without audio problems.
